Happy Thursday! I am posting this a little early as I have tickets to see Star Wars =). Our Designers have a lot of awesome new goodies debuting tomorrow! Let’s take a peek!
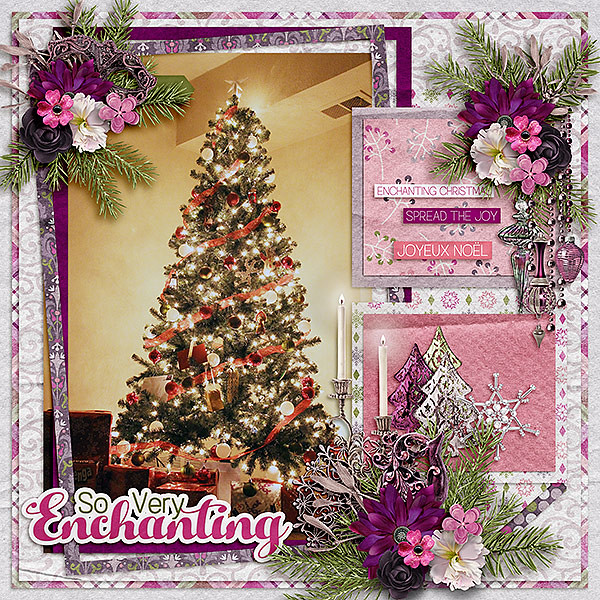
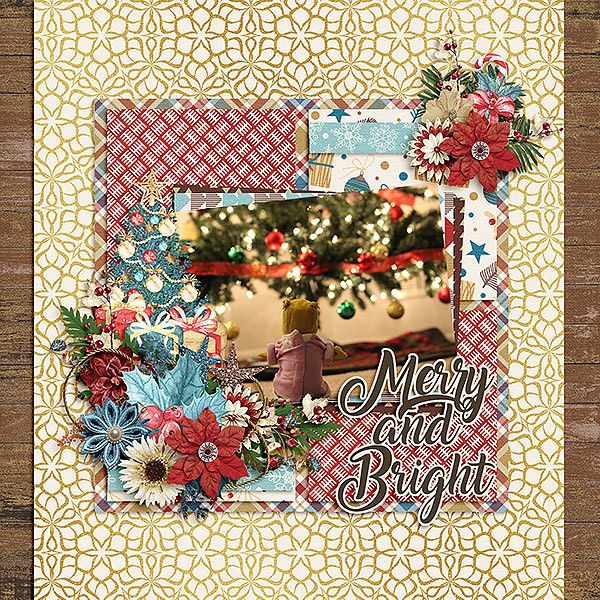
From JoCee


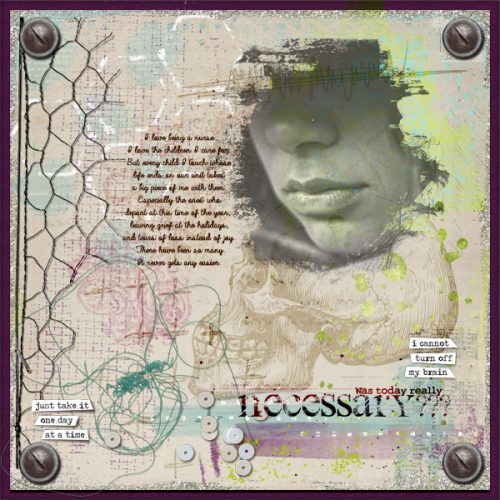
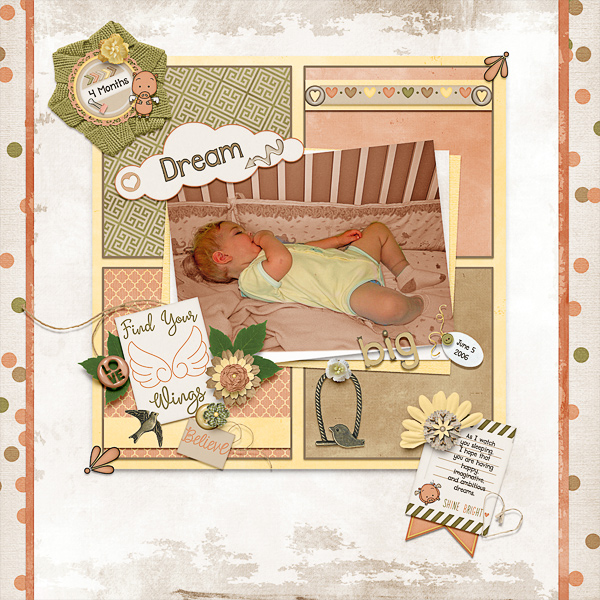
From Miss Fish


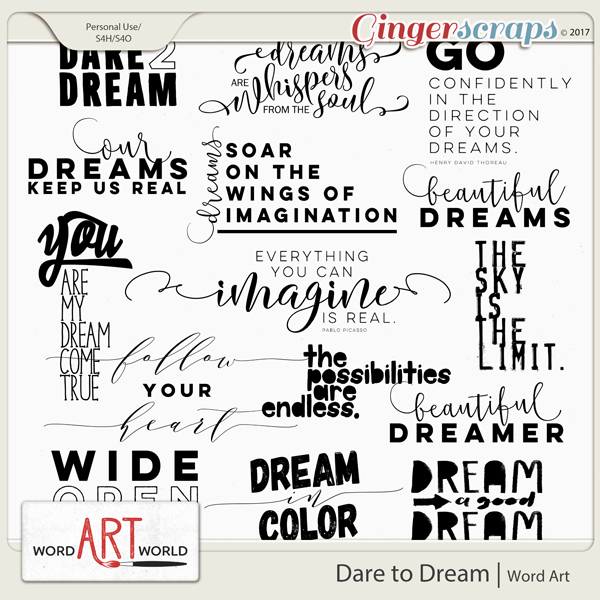
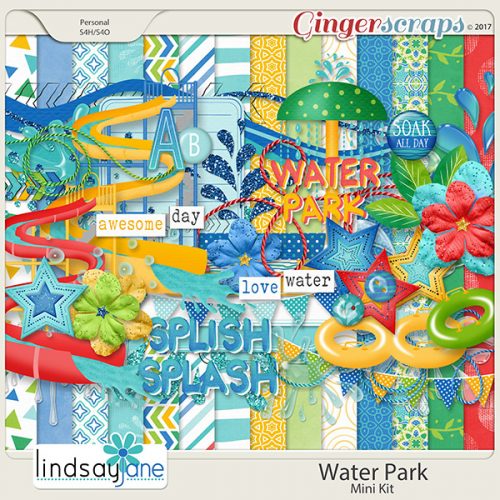
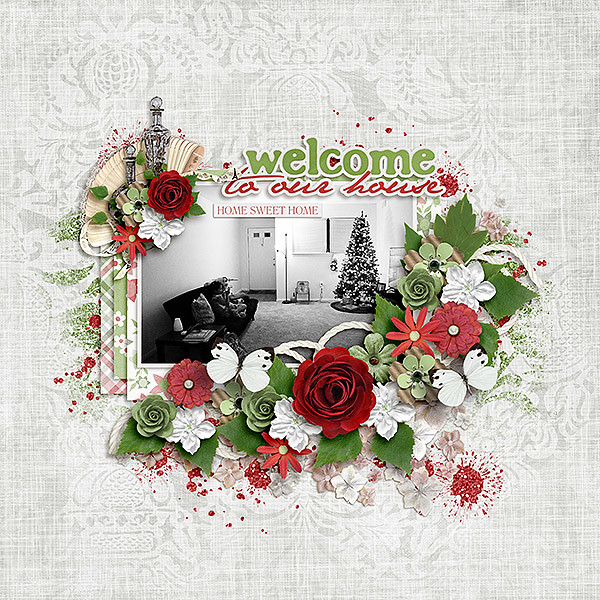
From Lindsay Jane


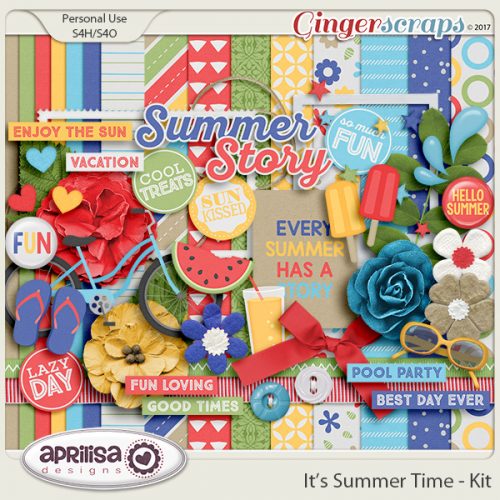
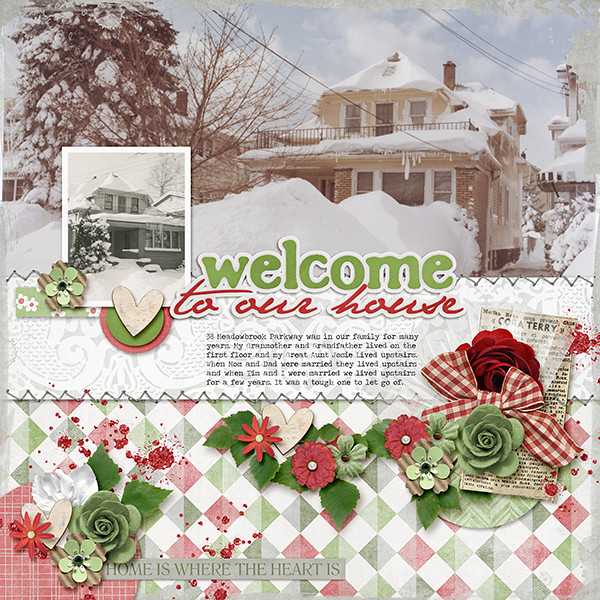
From Joyful Expressions


From Heather Z
From Aimee Harrison


From Day Dreams N Designs

Check back tomorrow to see the full products and more!