Hello Scrappers! I hope you had a beautiful week!
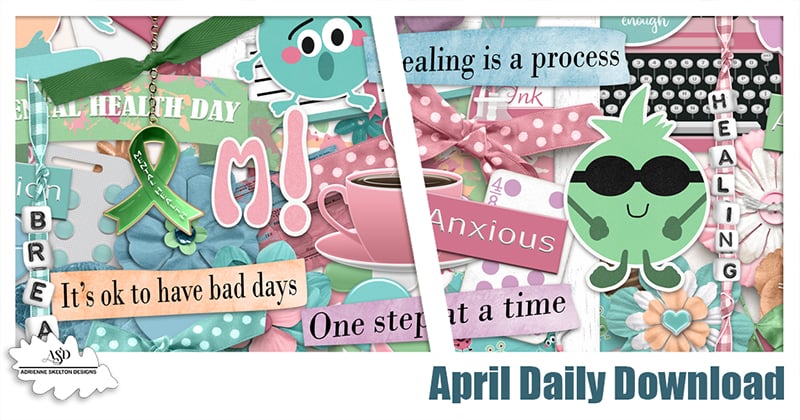
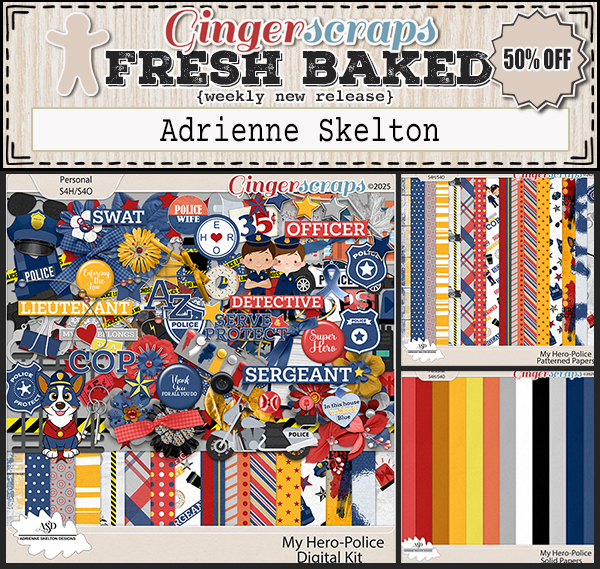
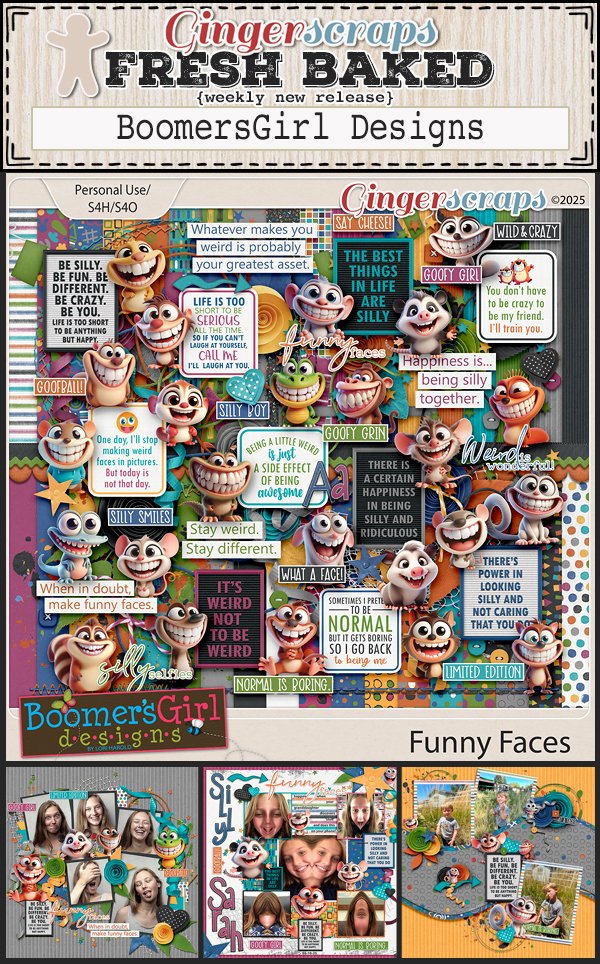
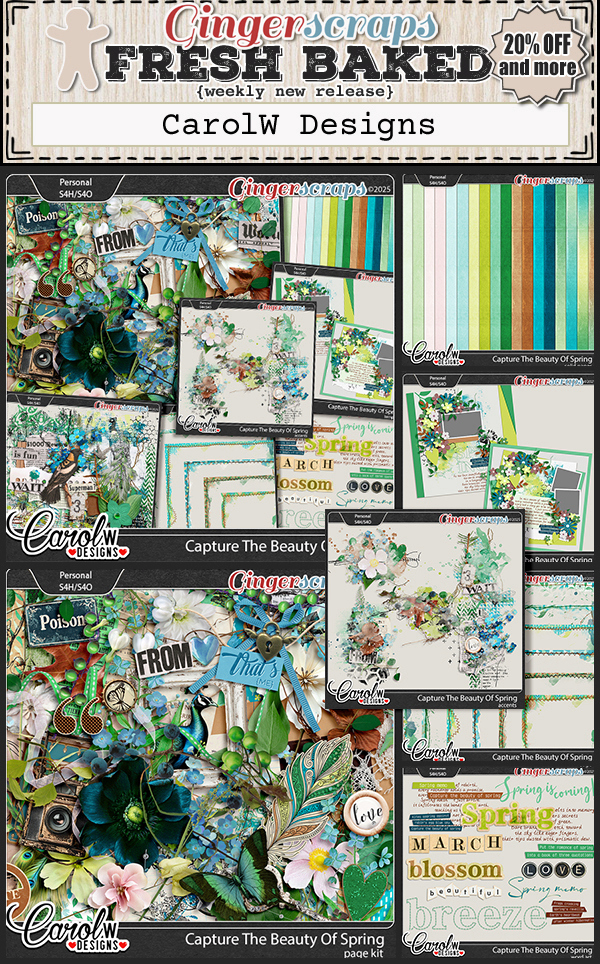
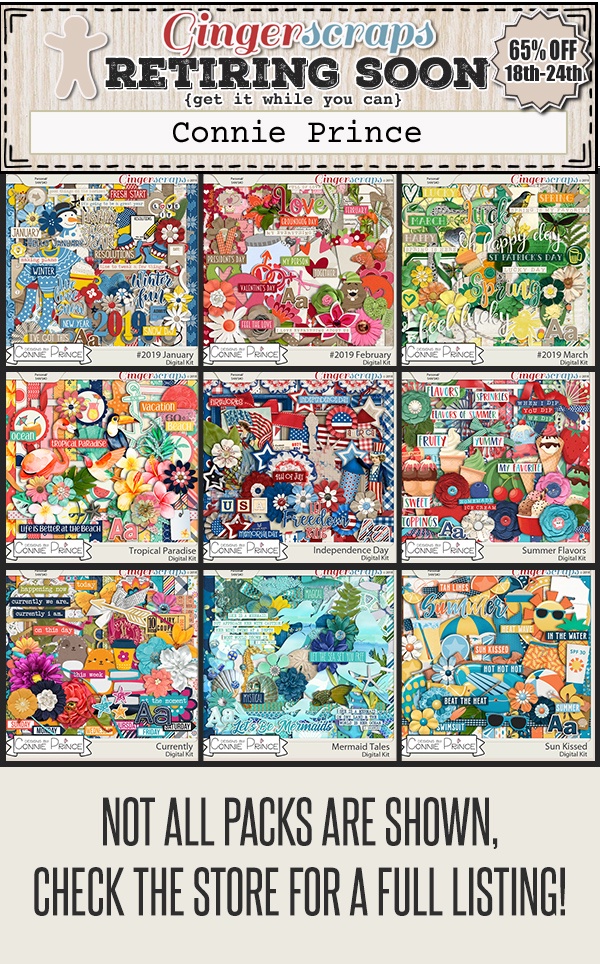
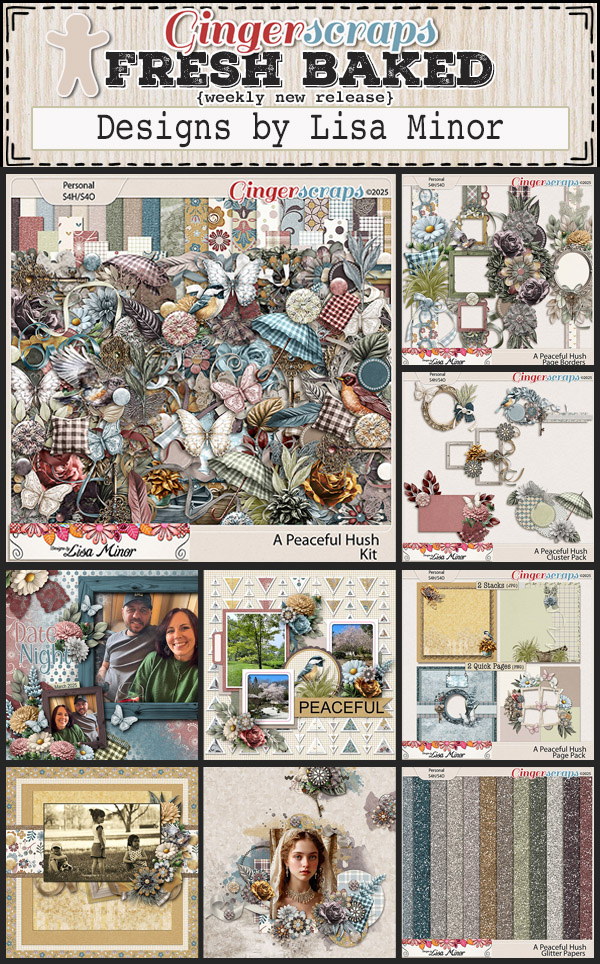
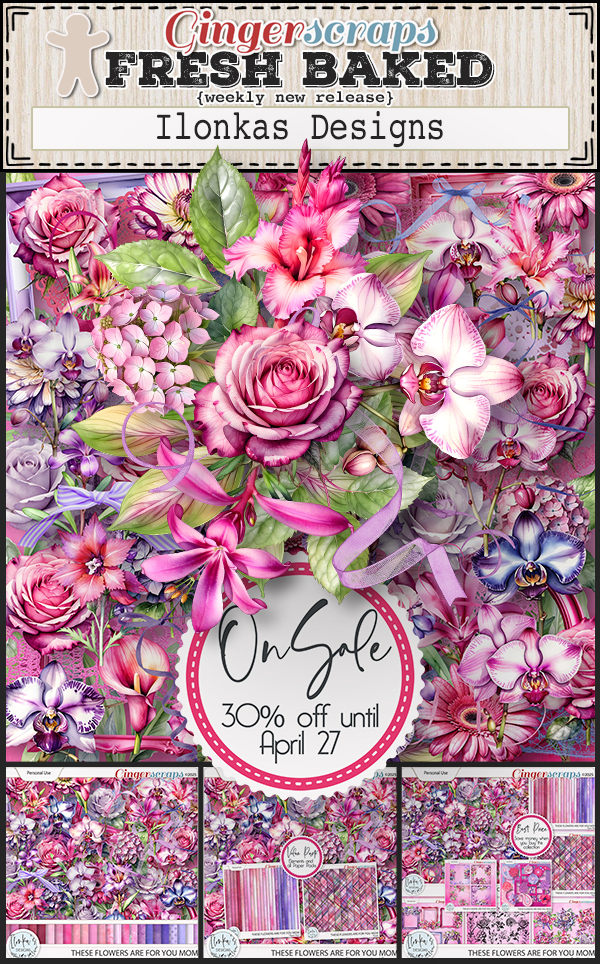
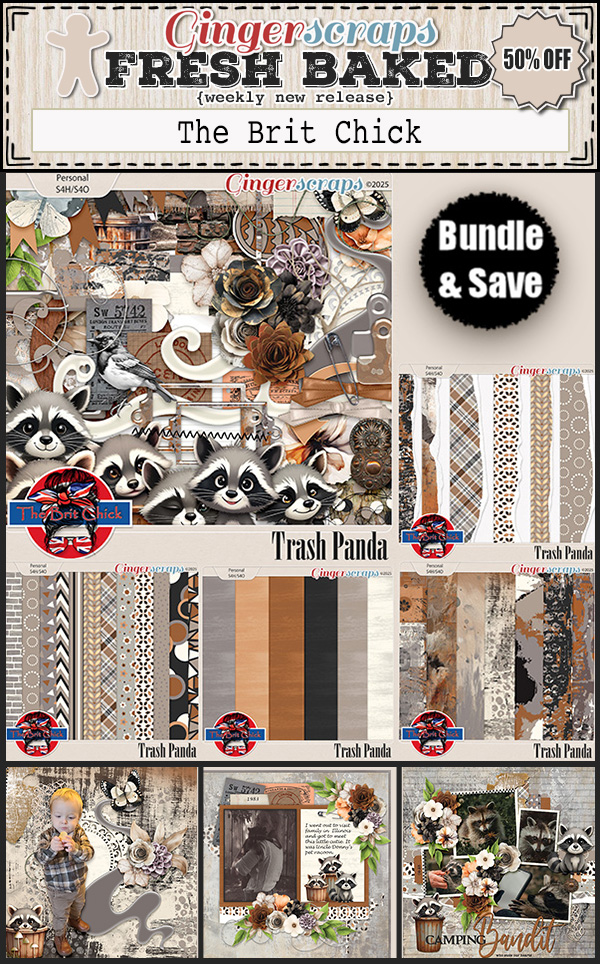
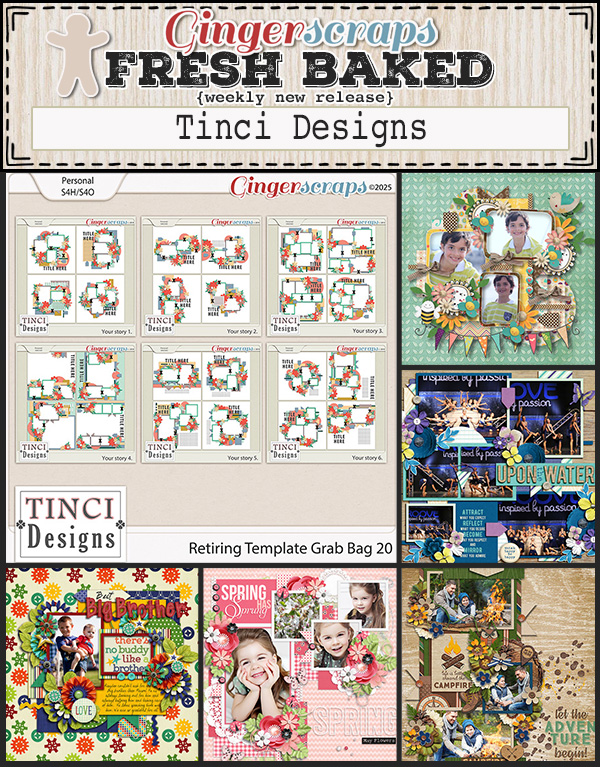
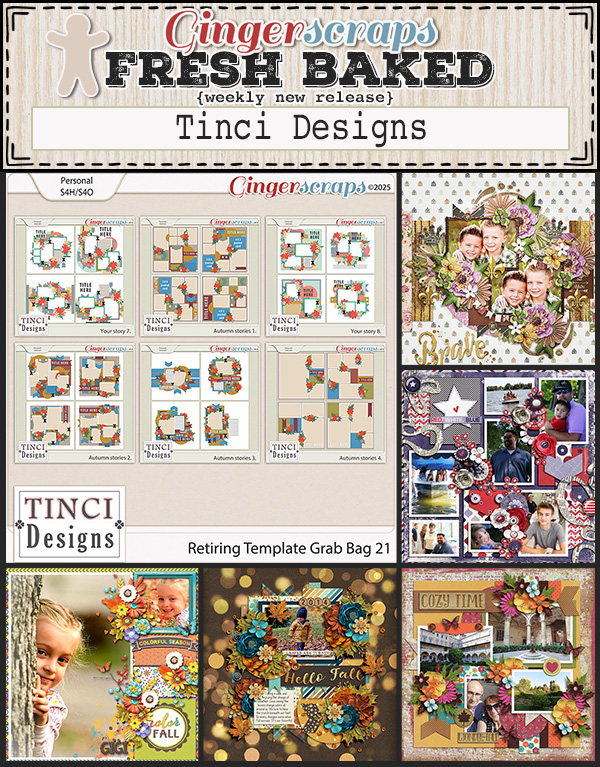
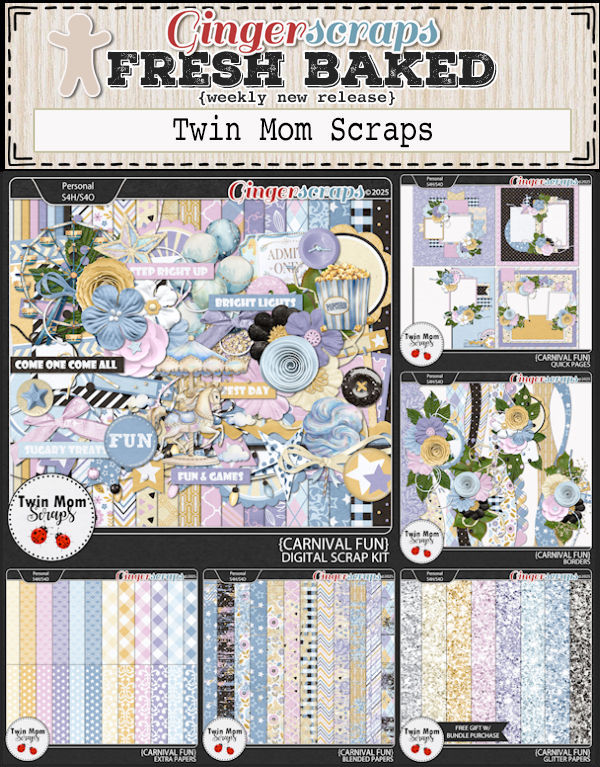
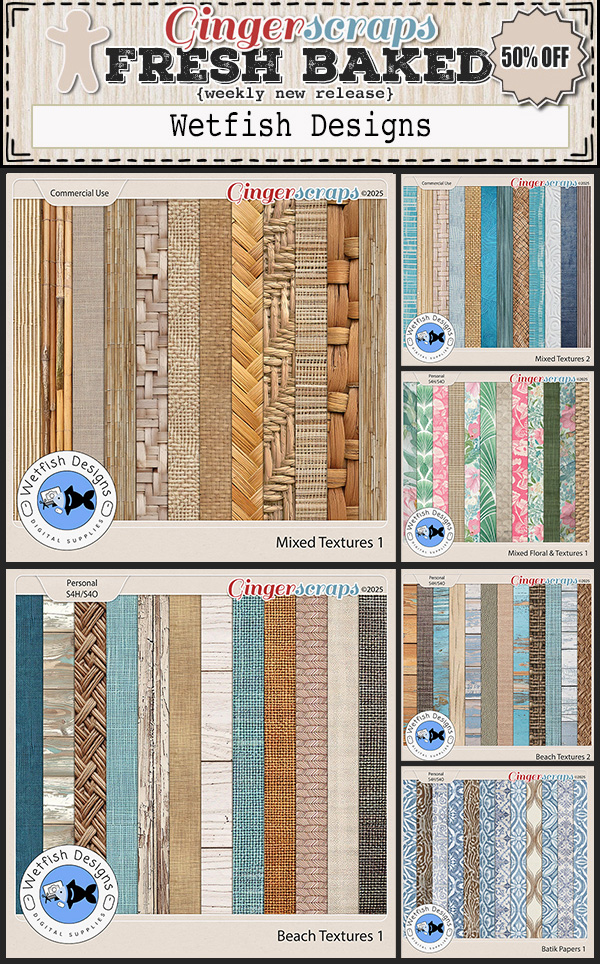
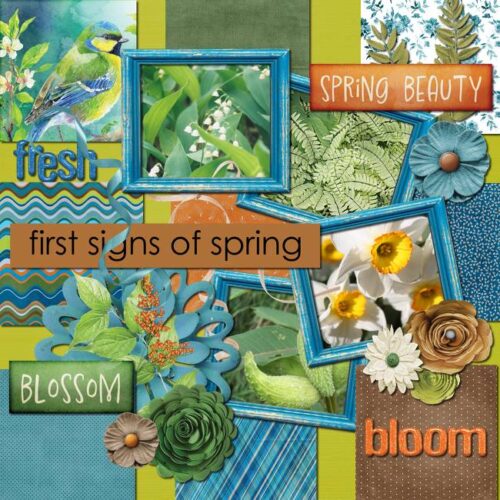
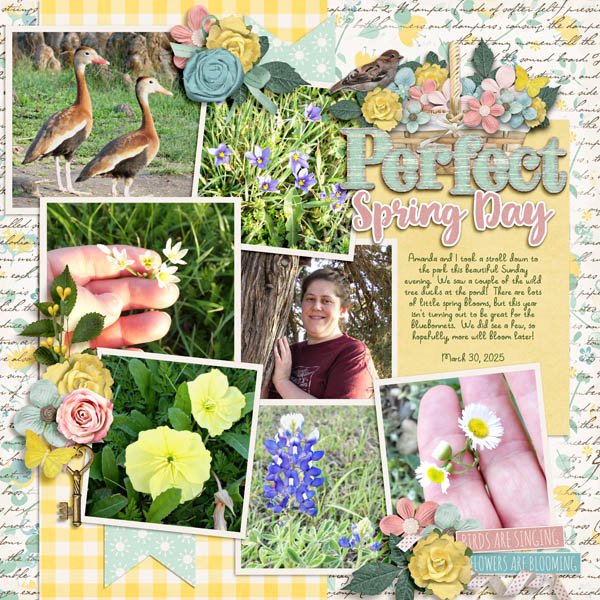
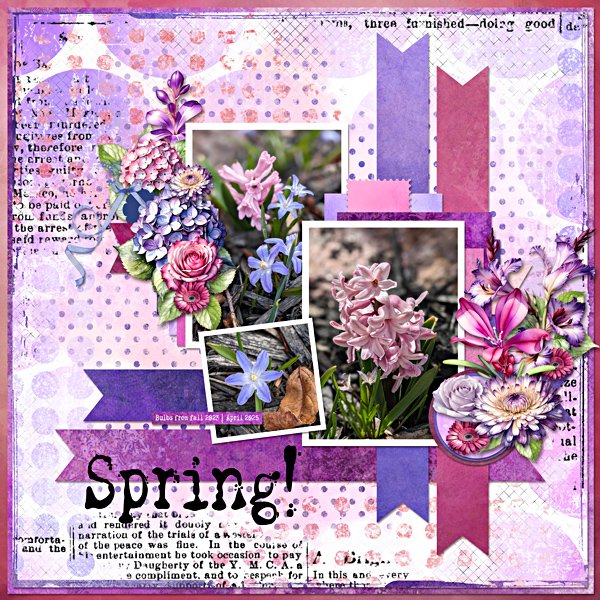
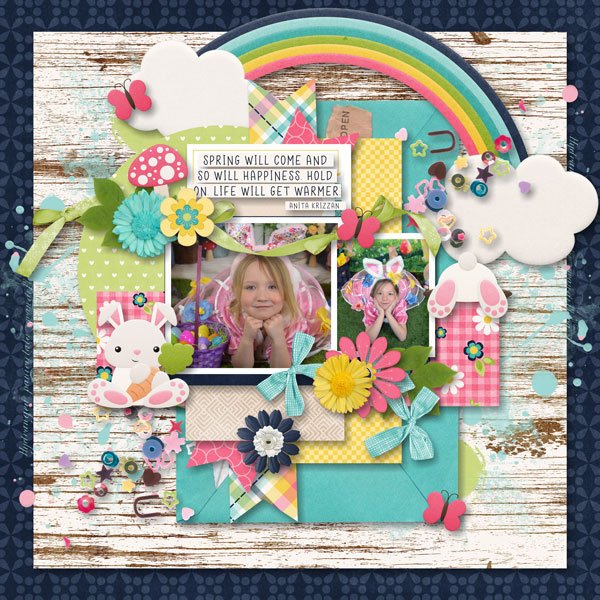
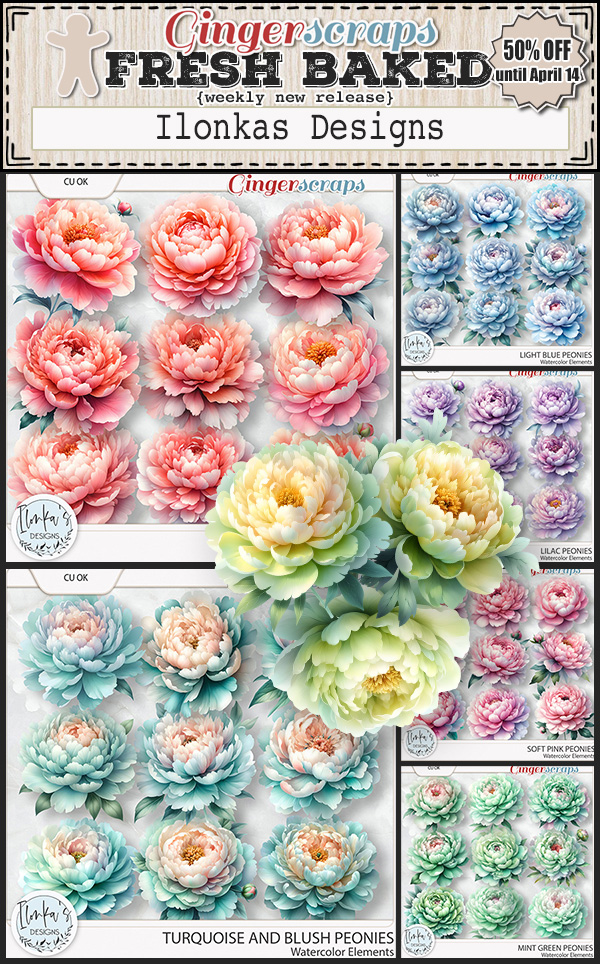
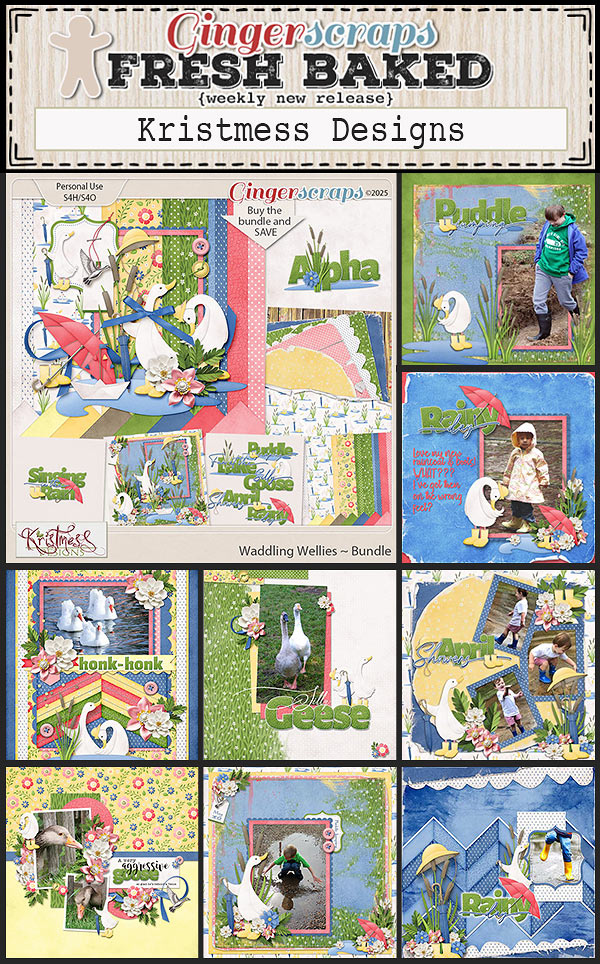
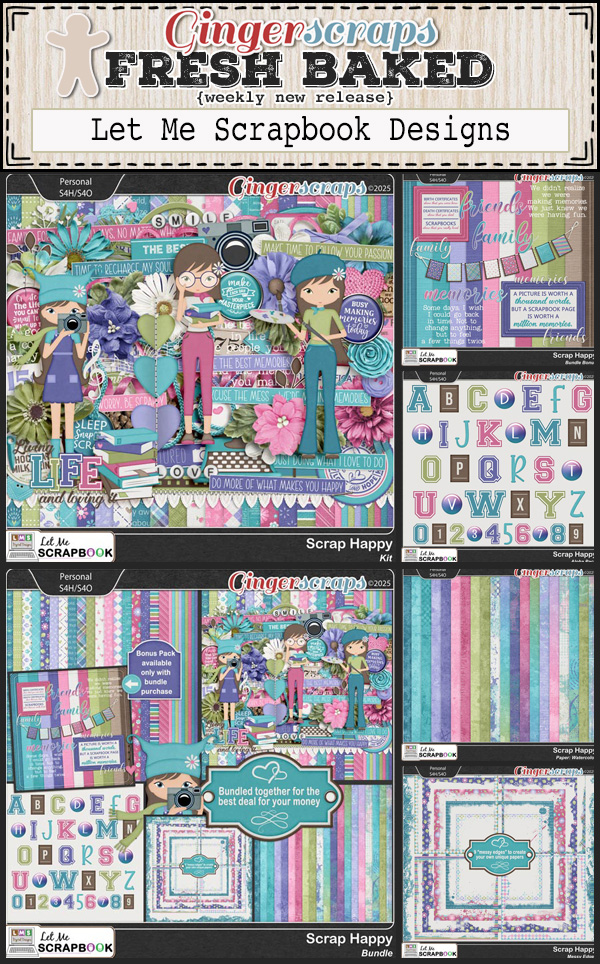
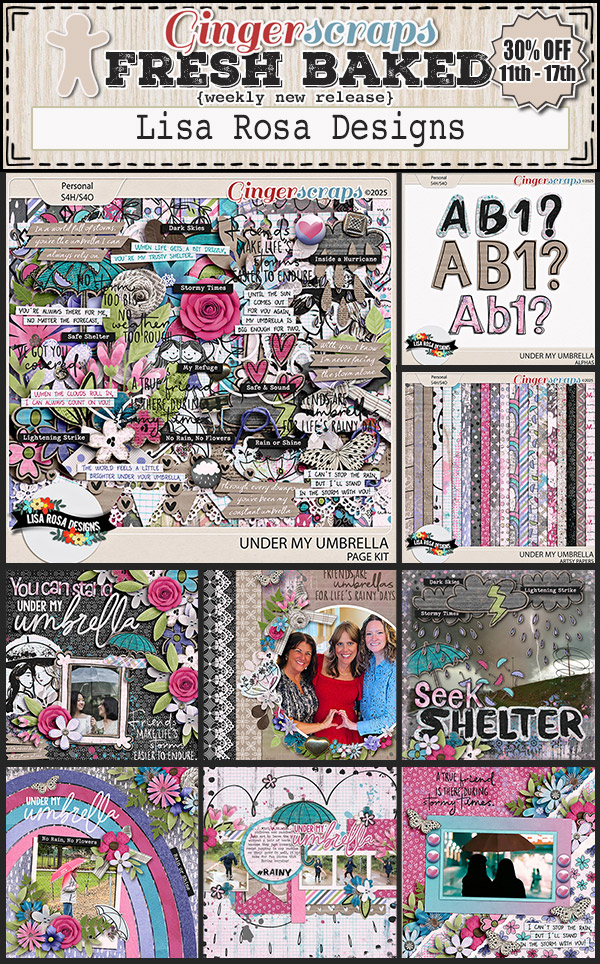
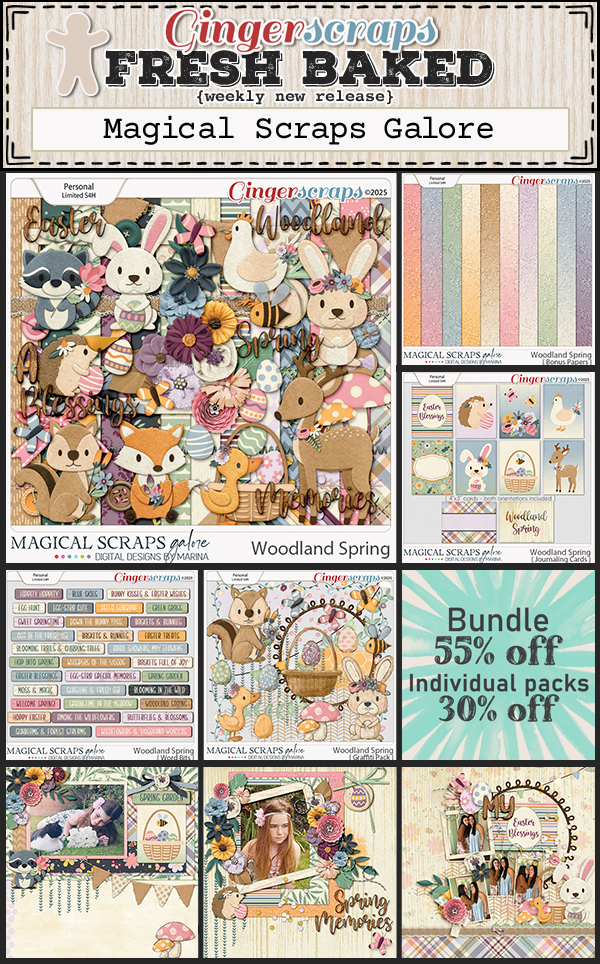
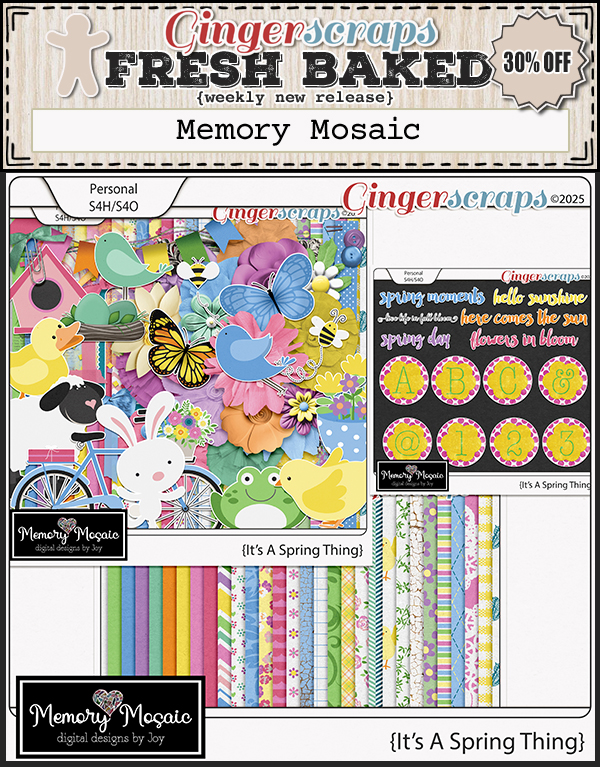
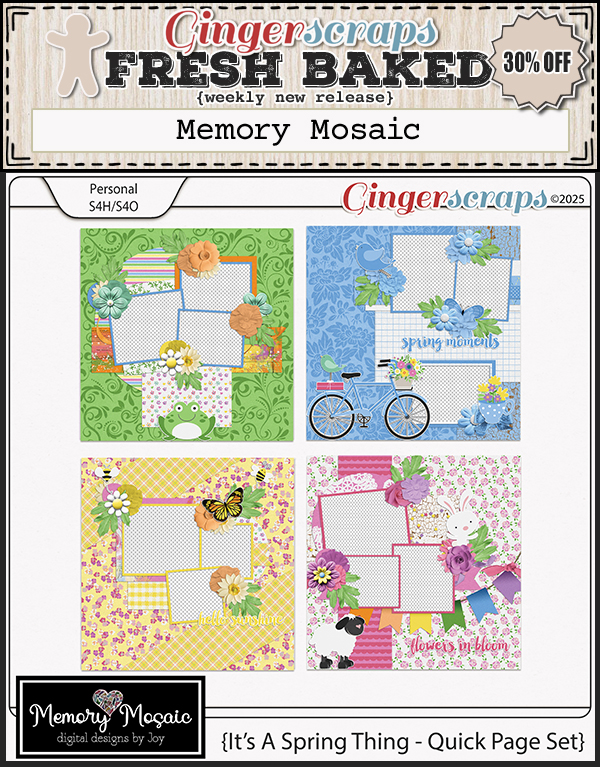
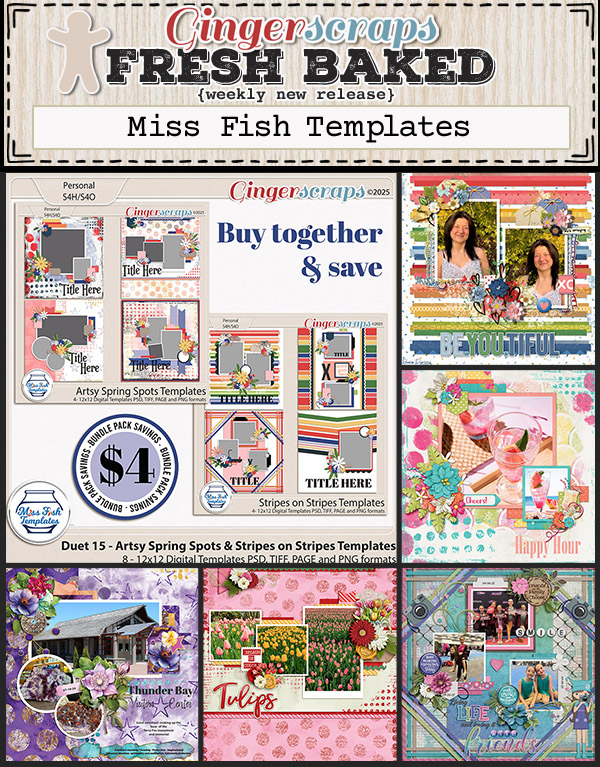
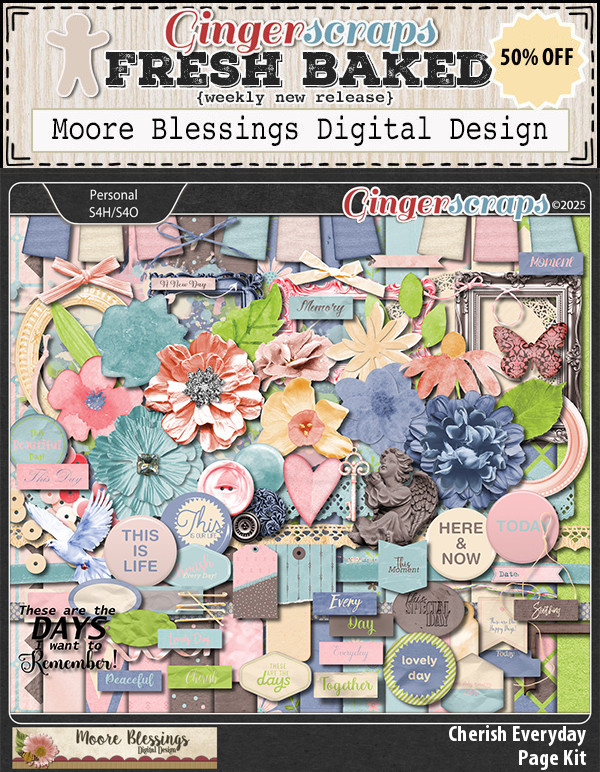
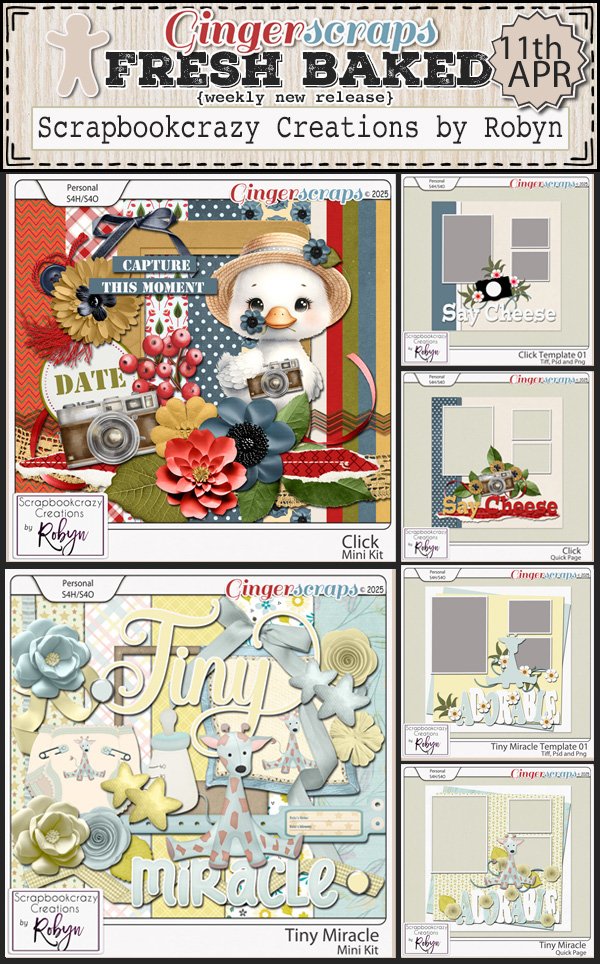
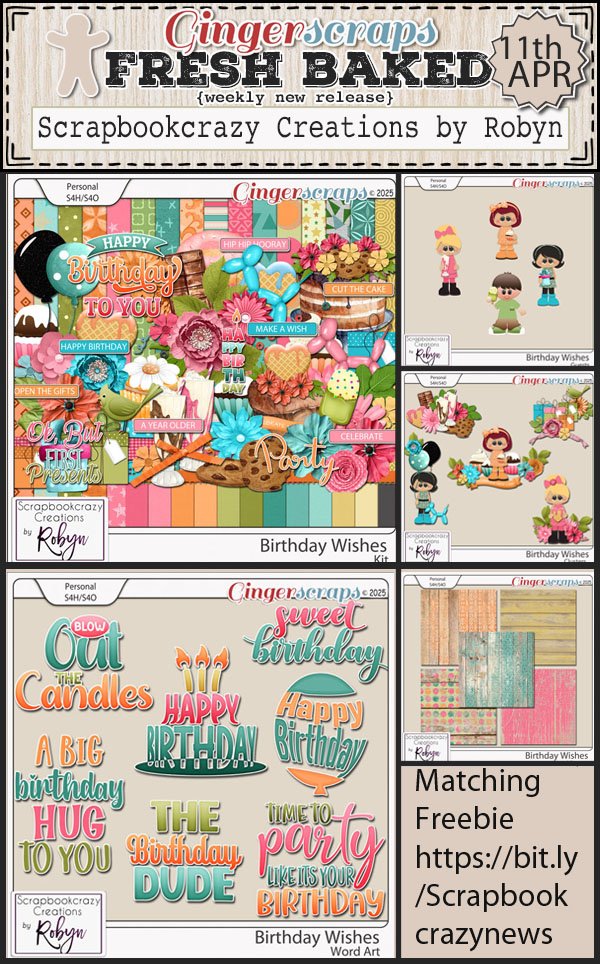
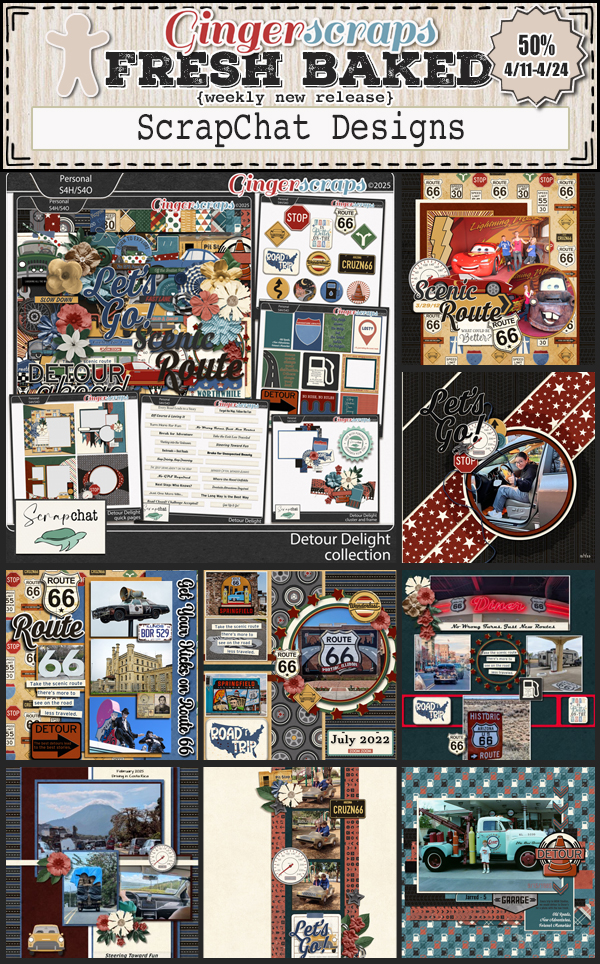
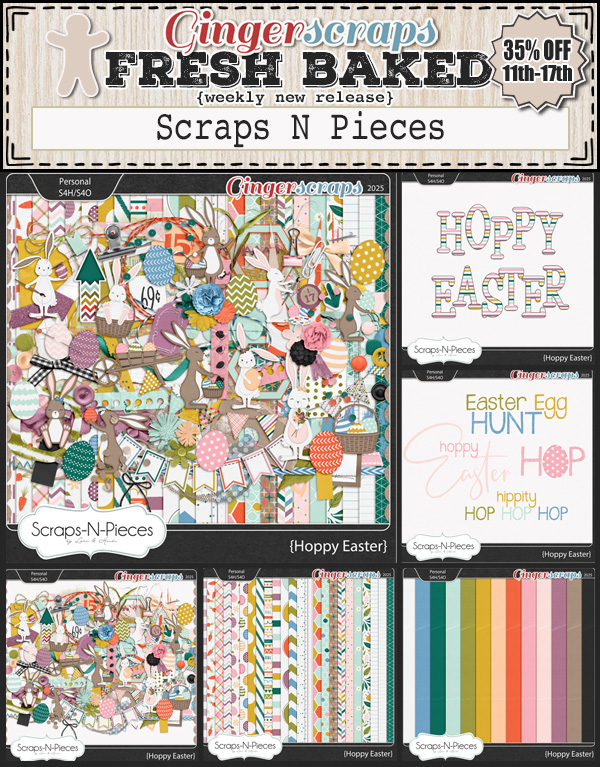
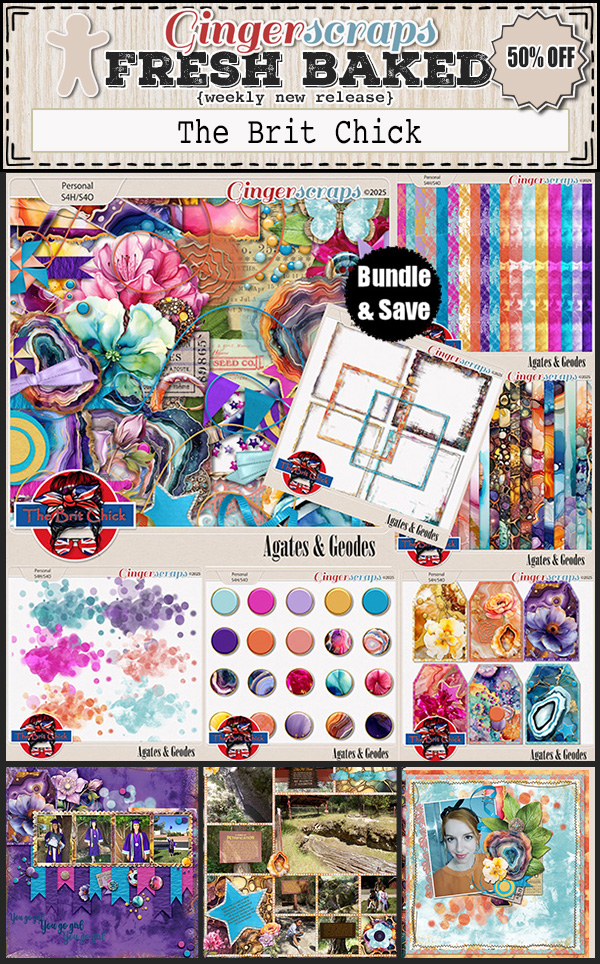
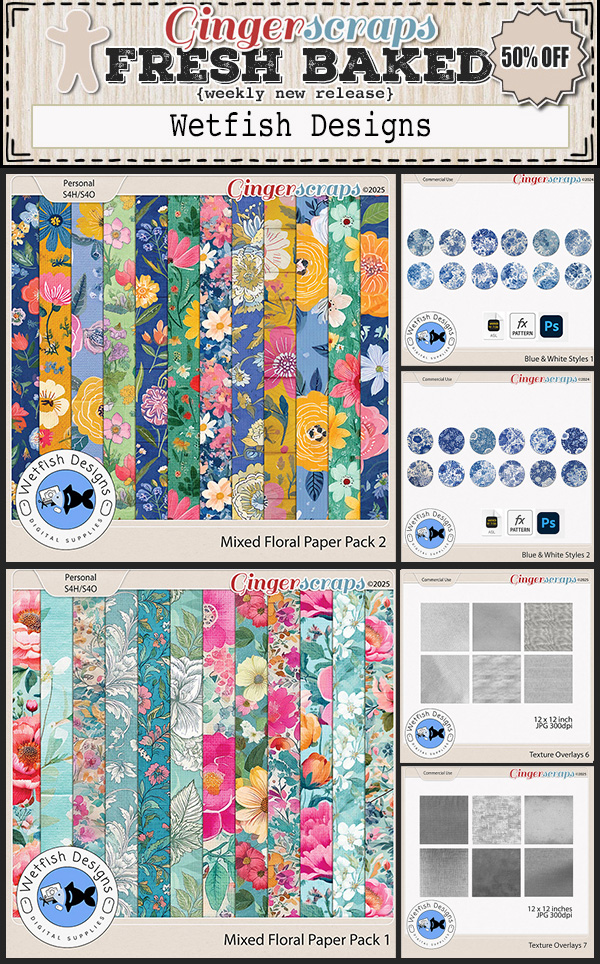
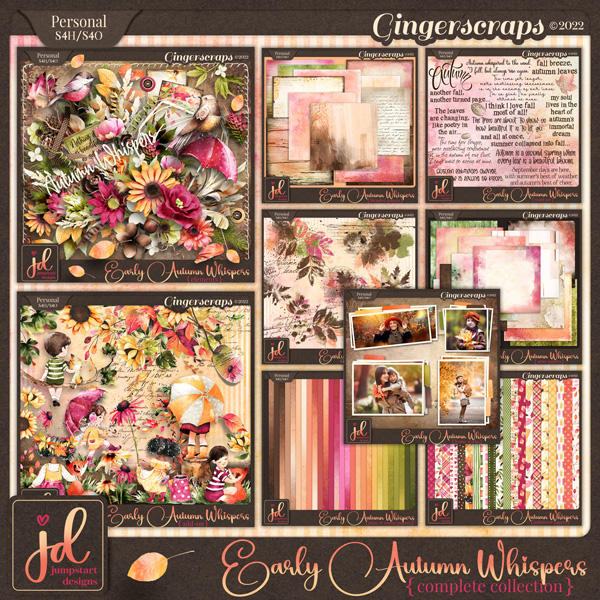
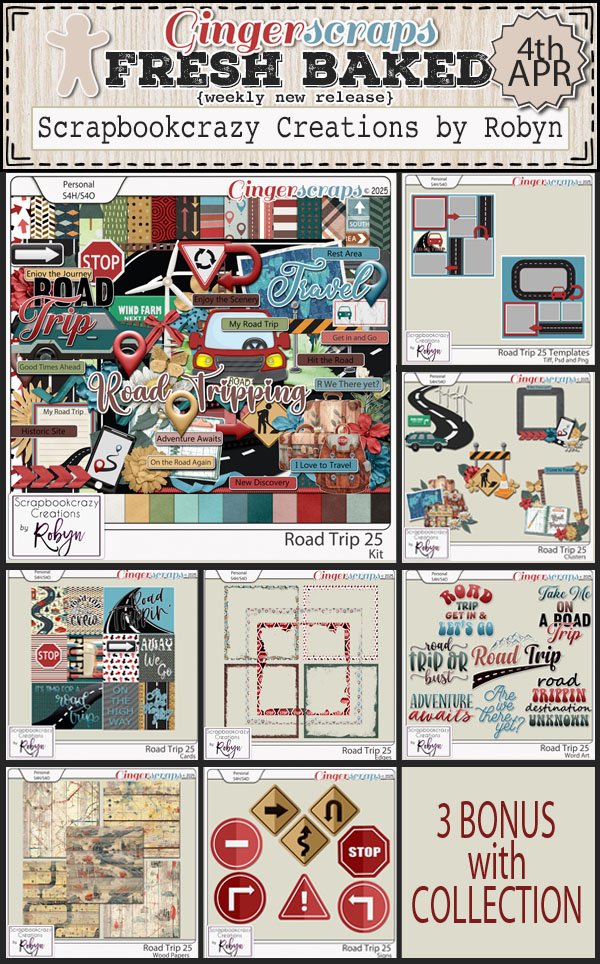
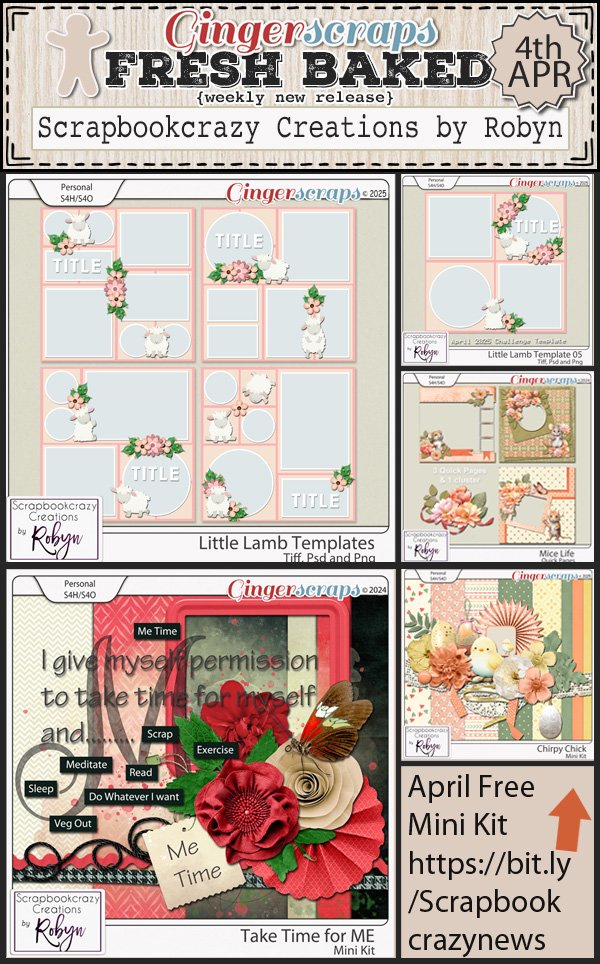
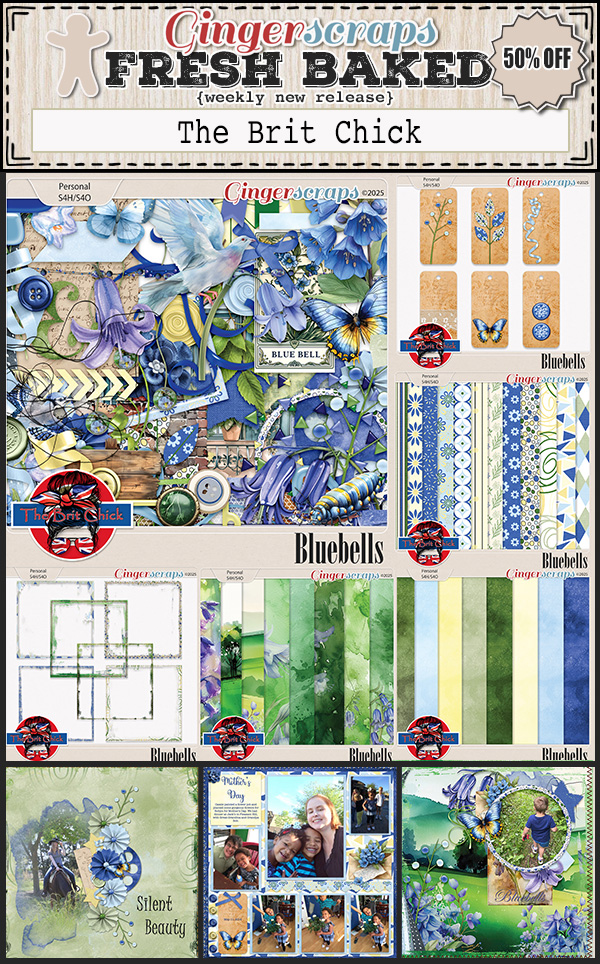
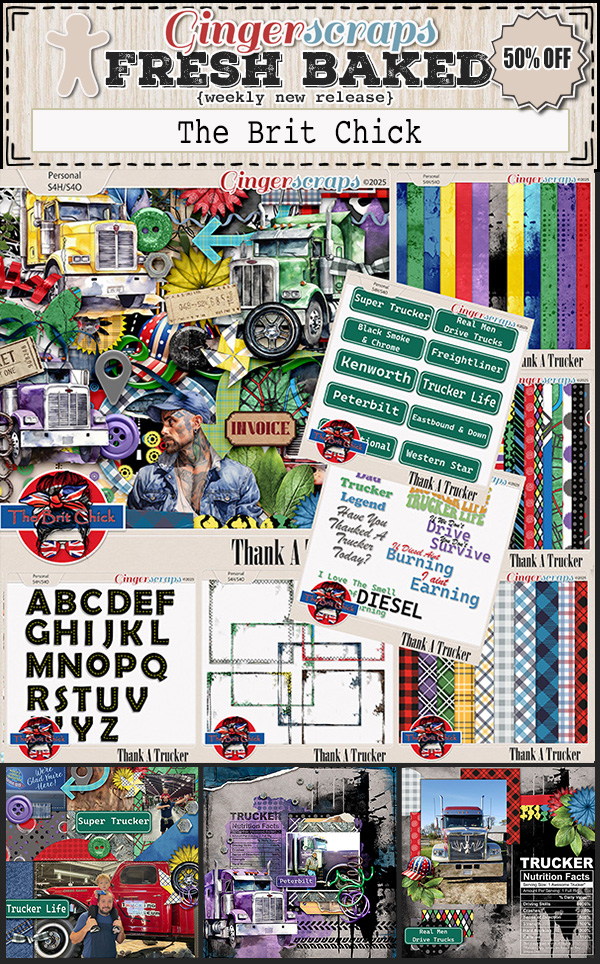
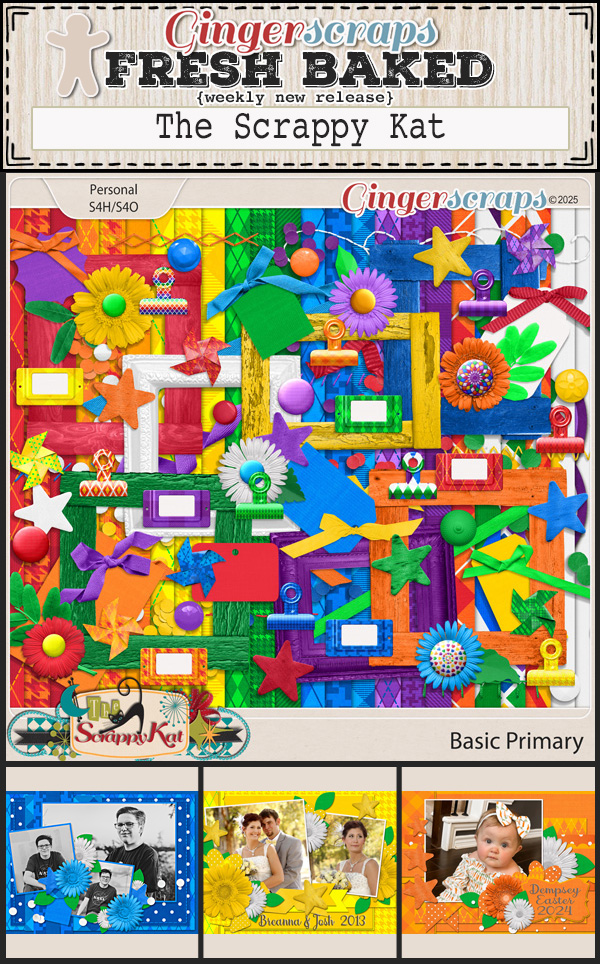
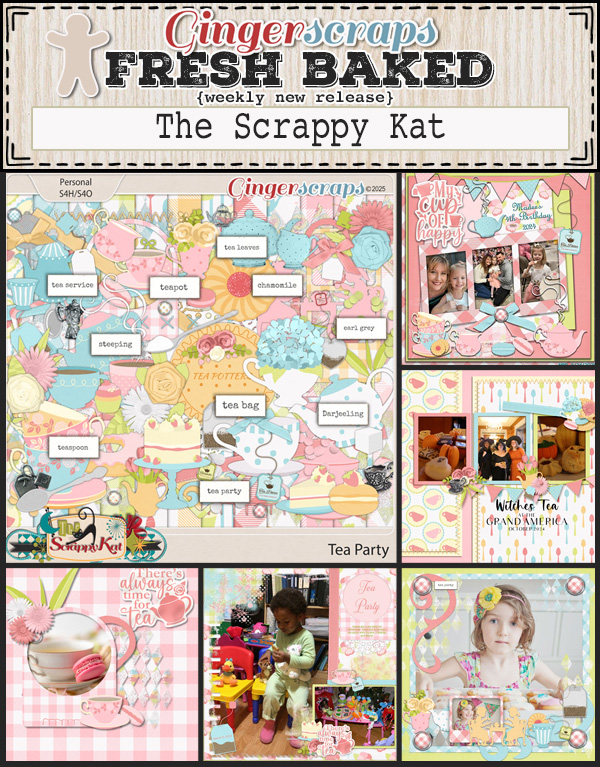
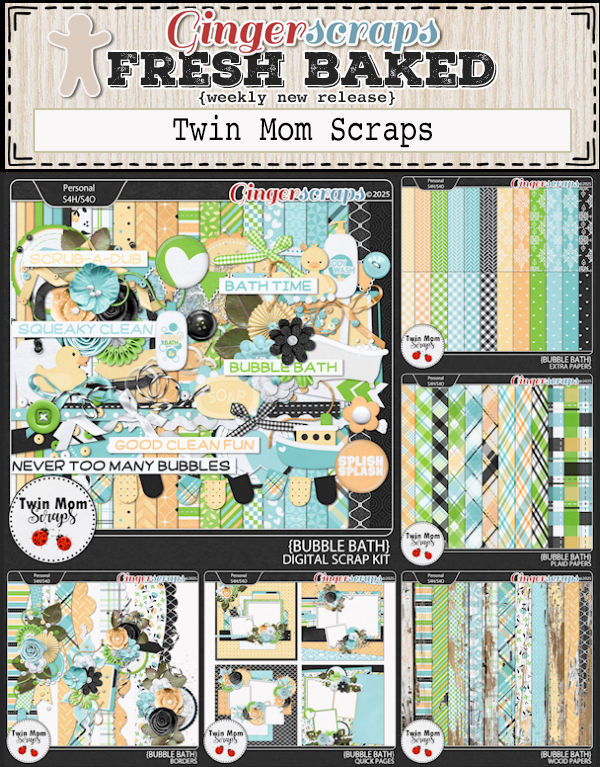
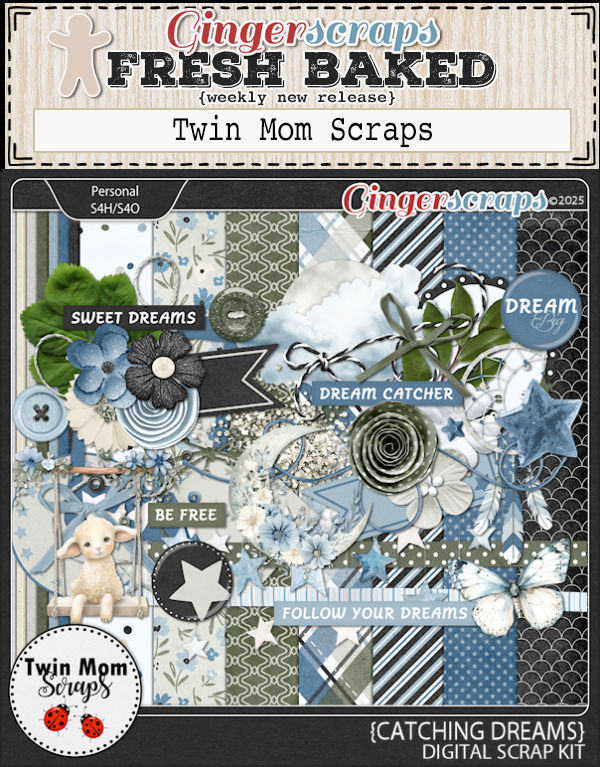
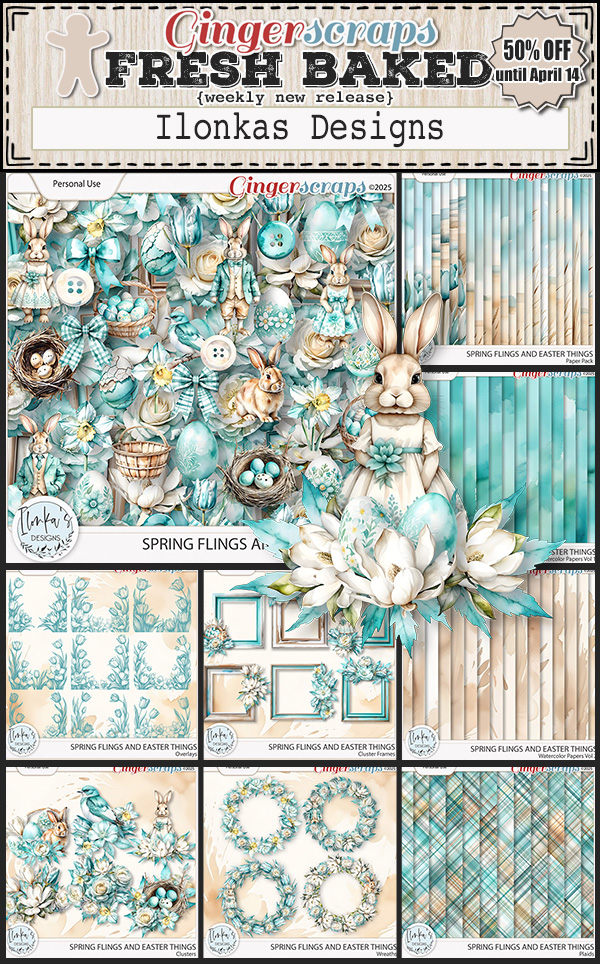
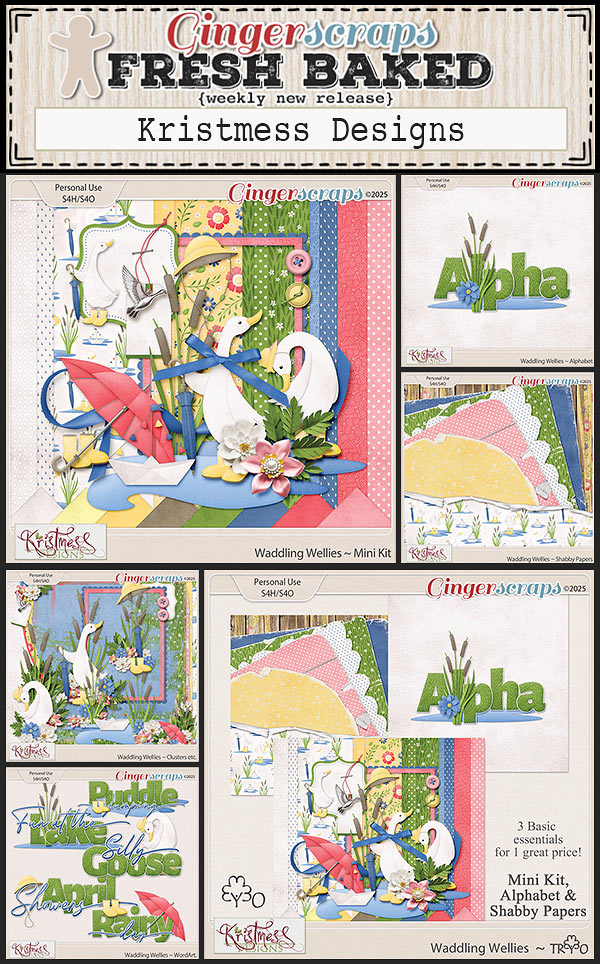
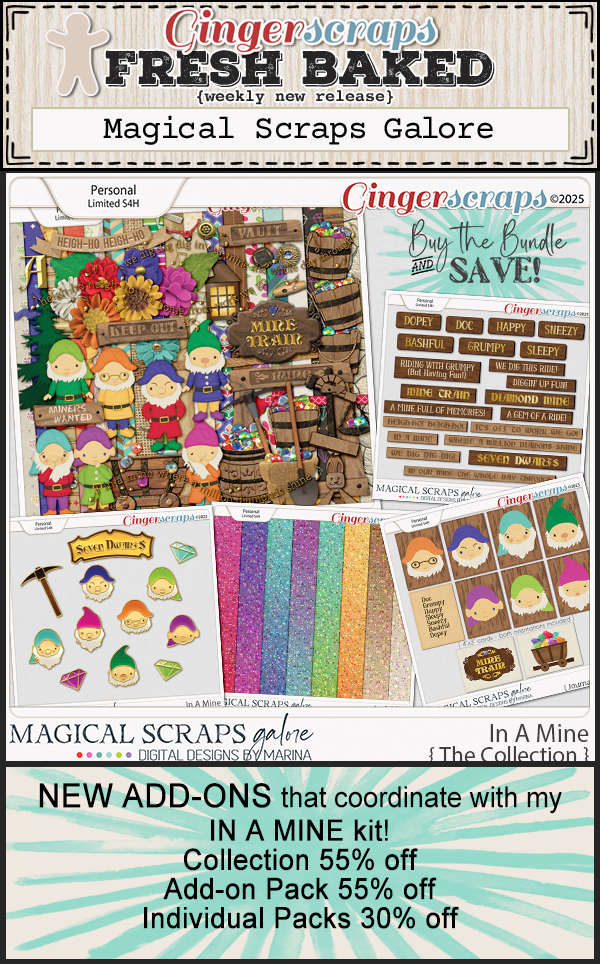
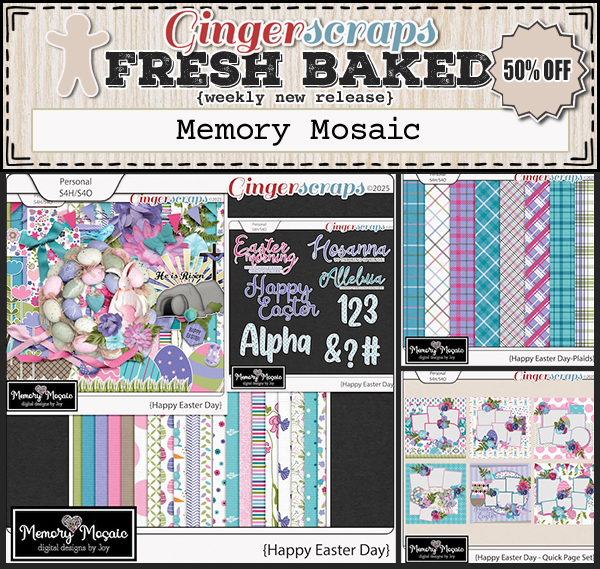
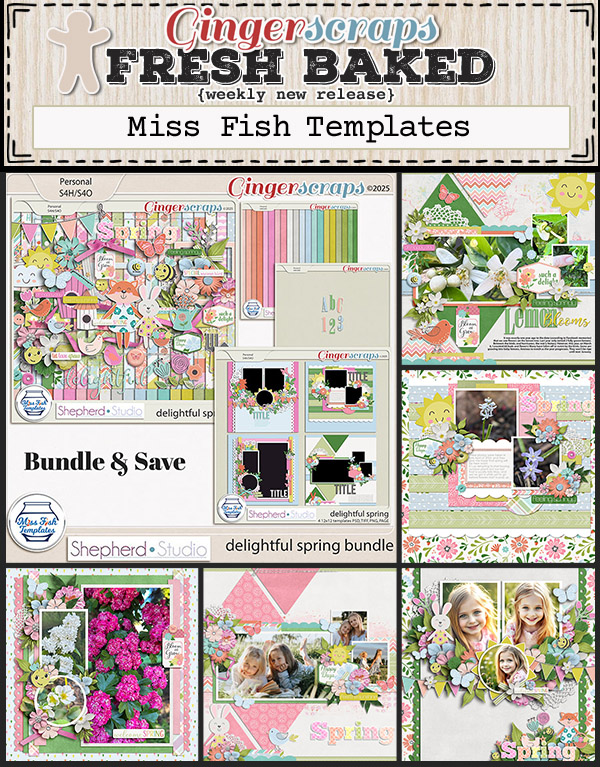
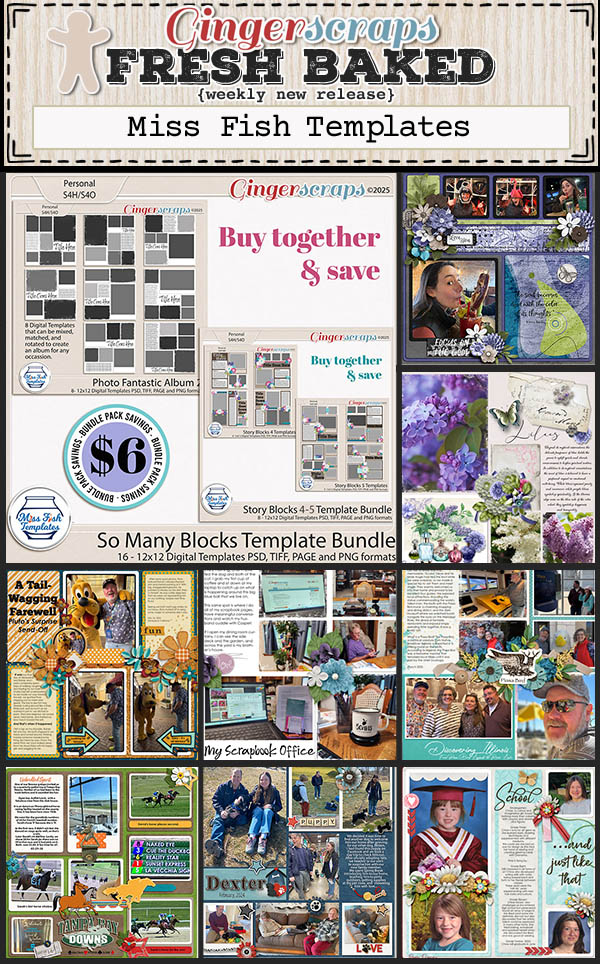
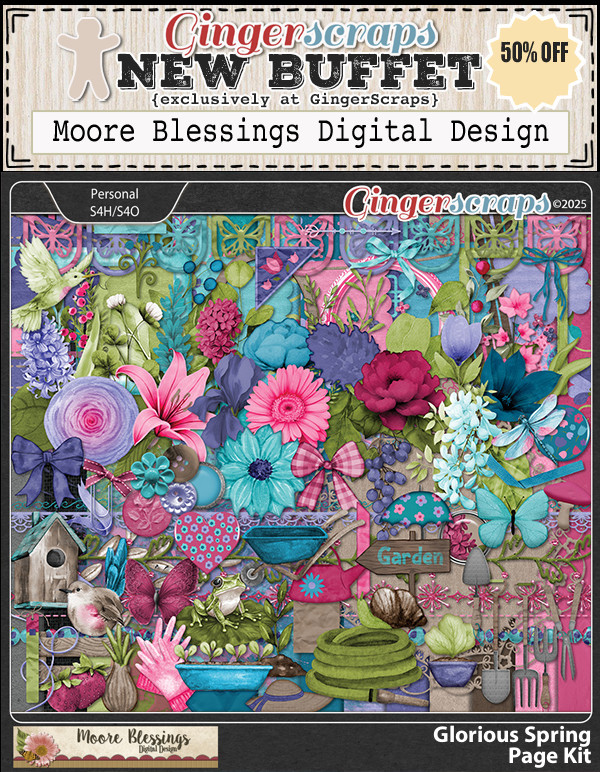
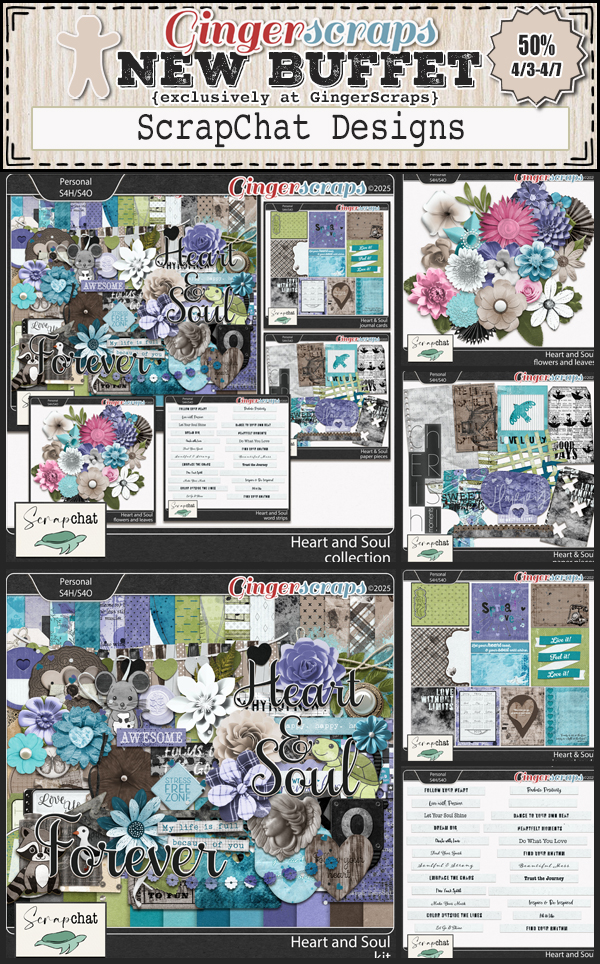
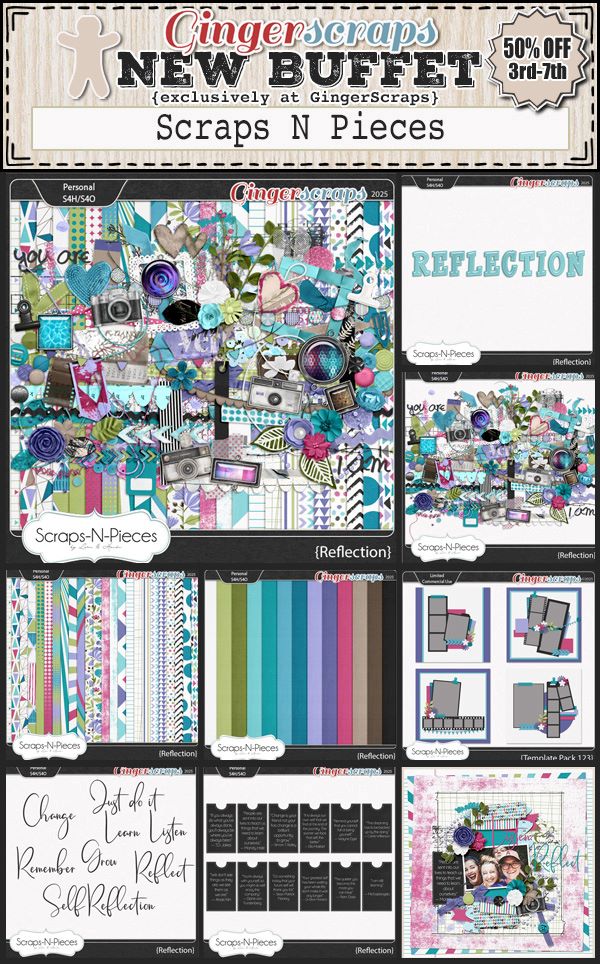
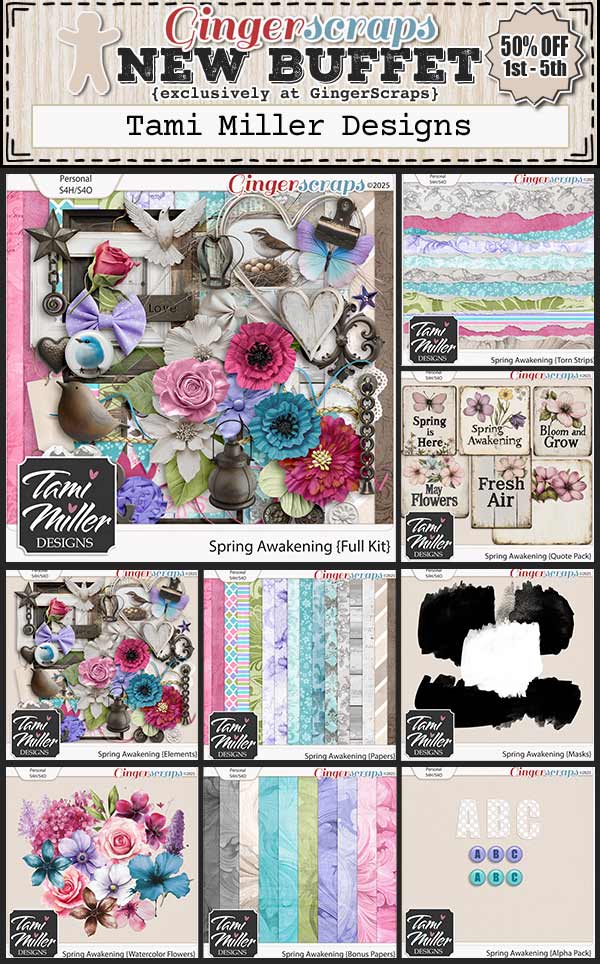
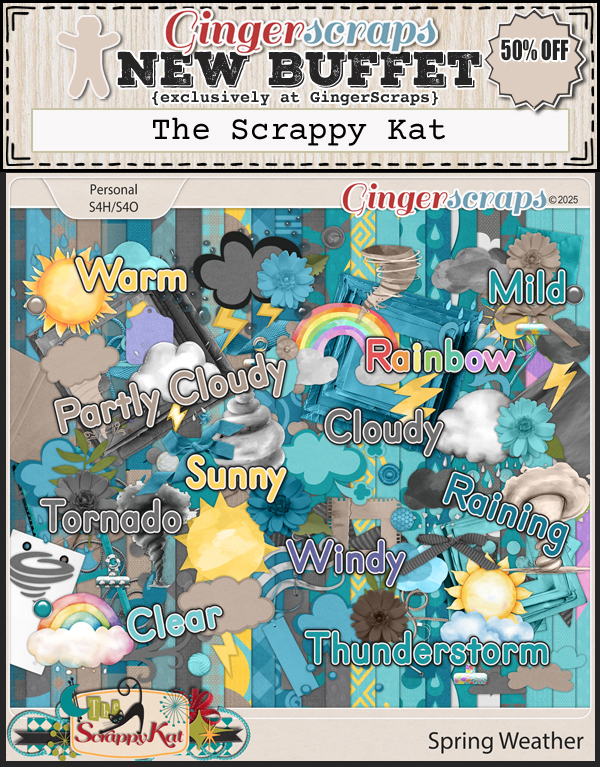
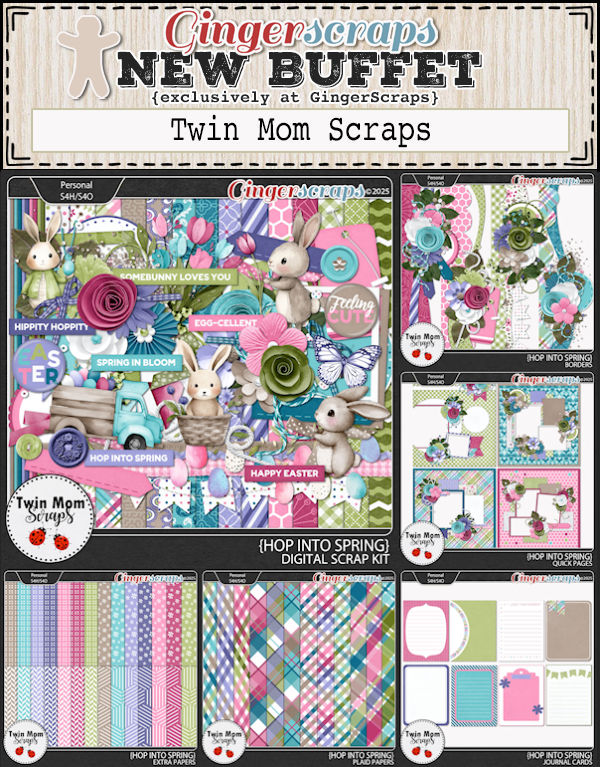
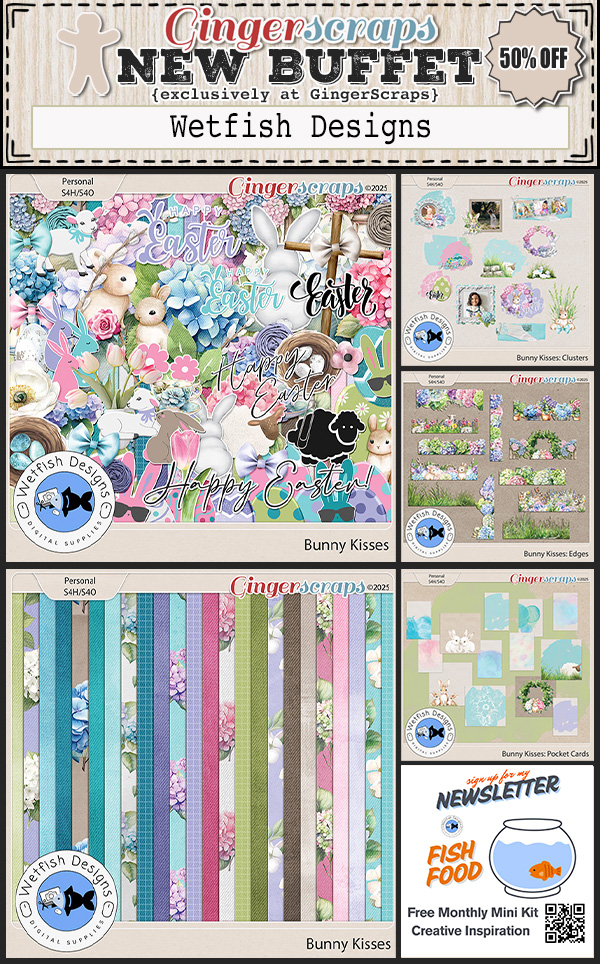
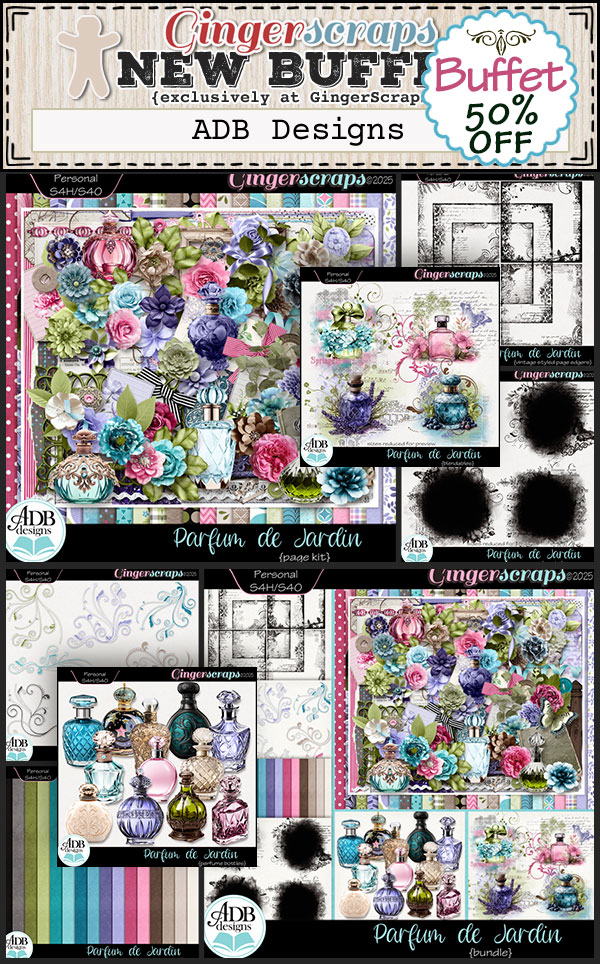
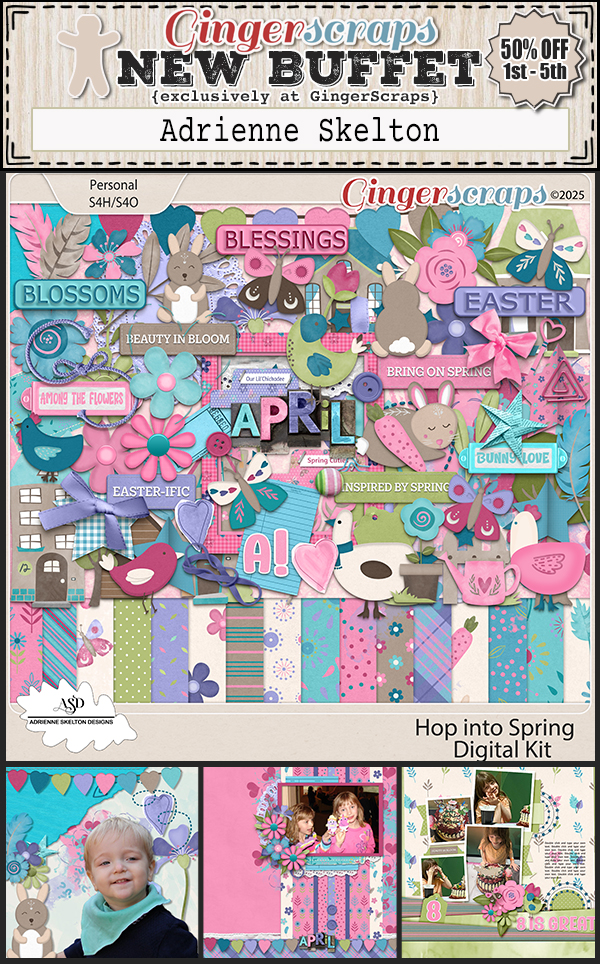
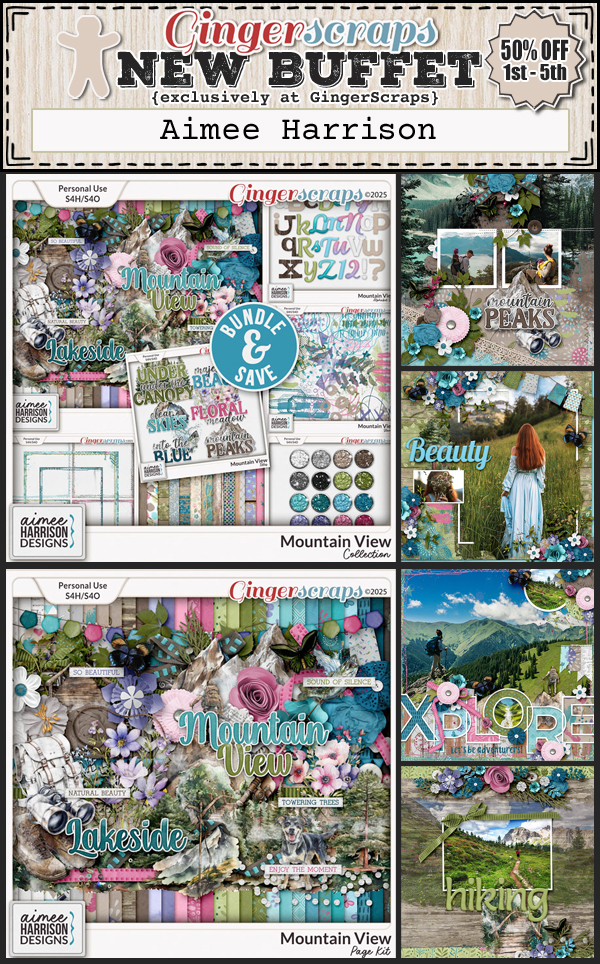
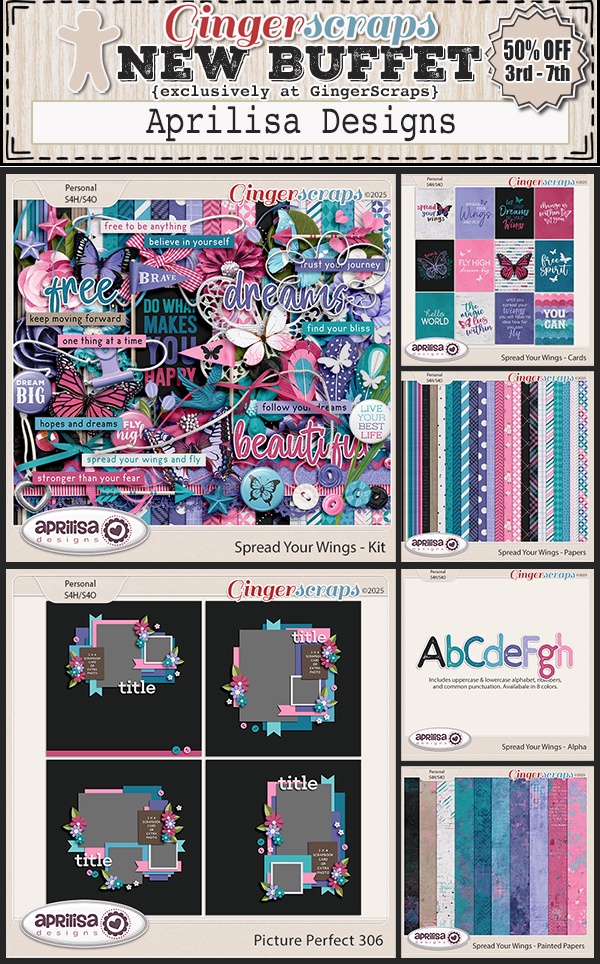
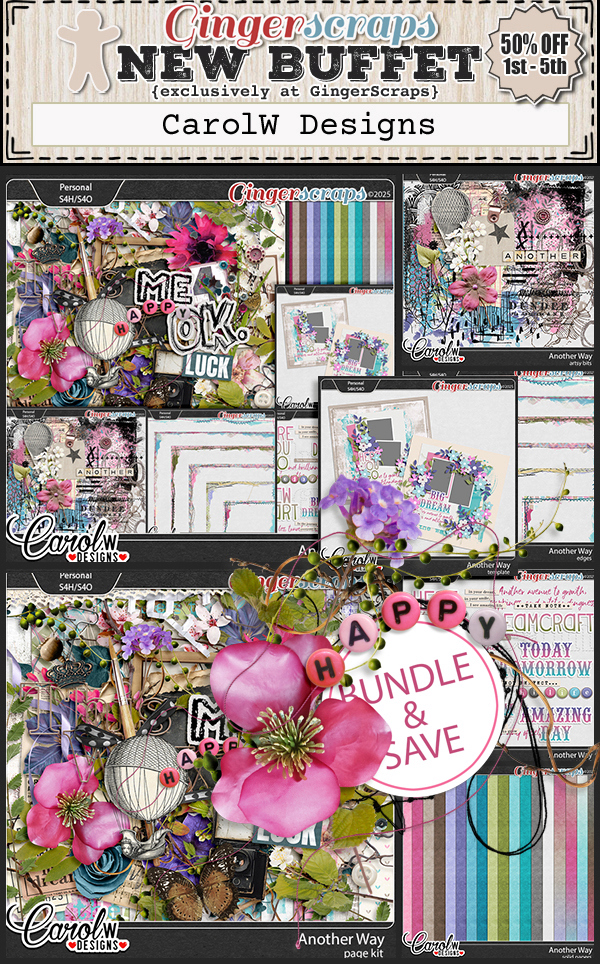
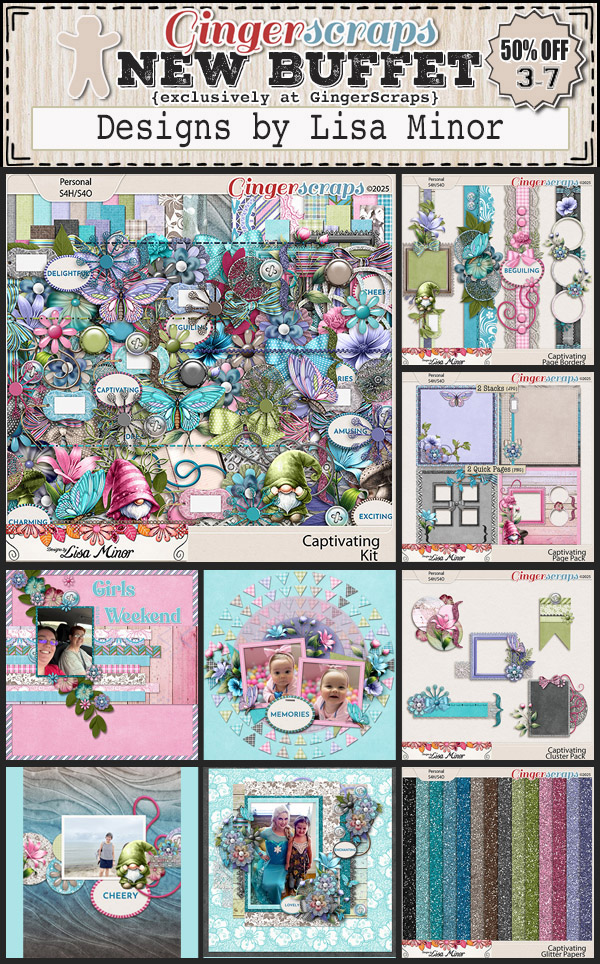
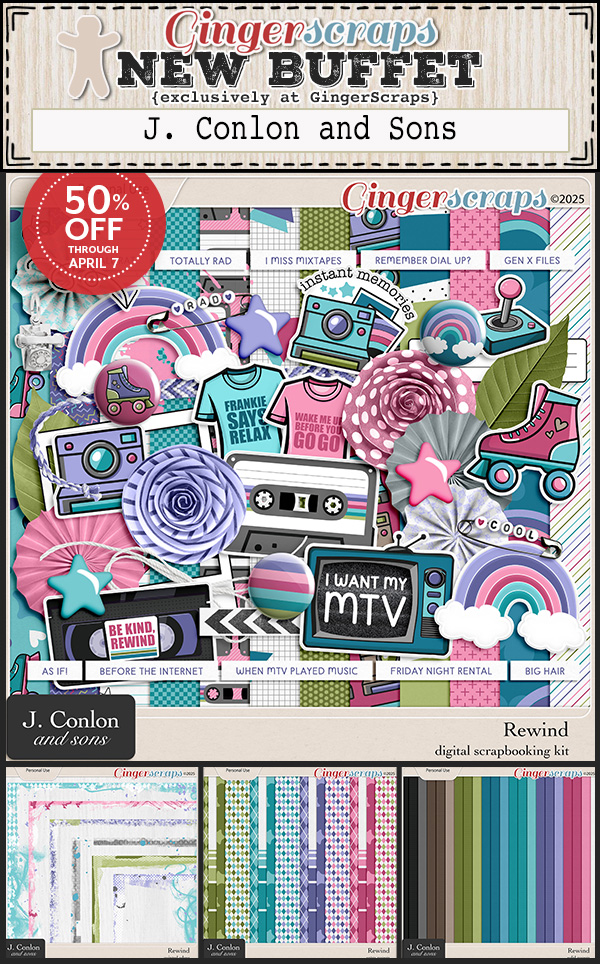
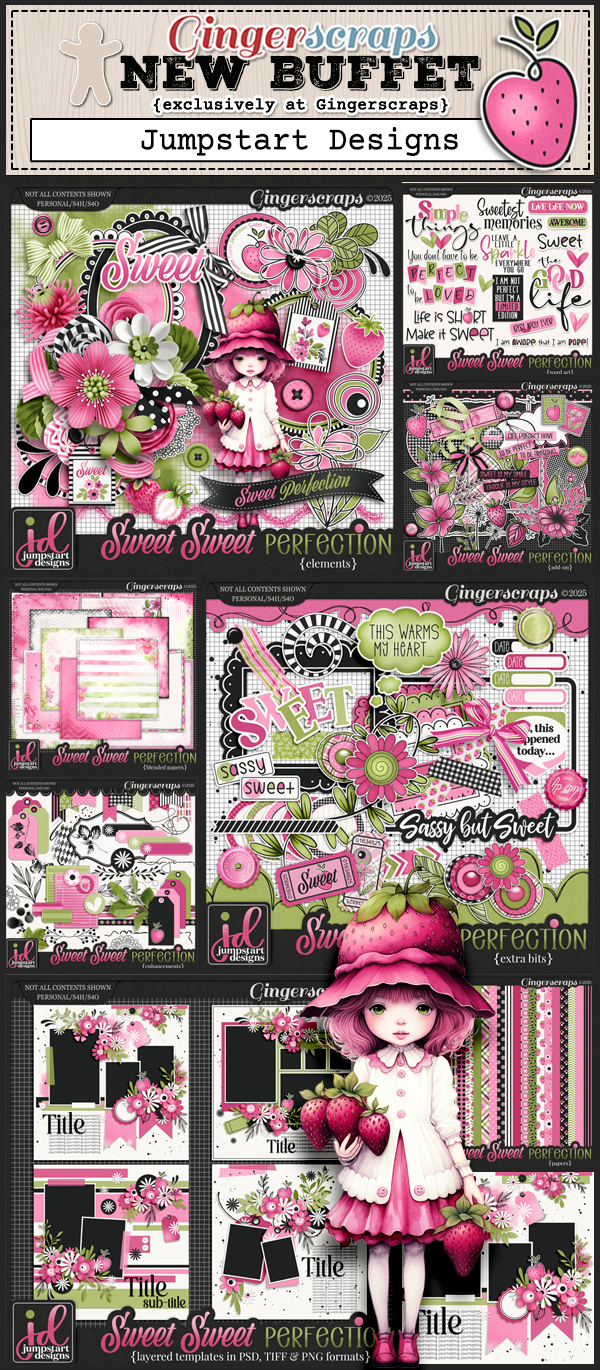
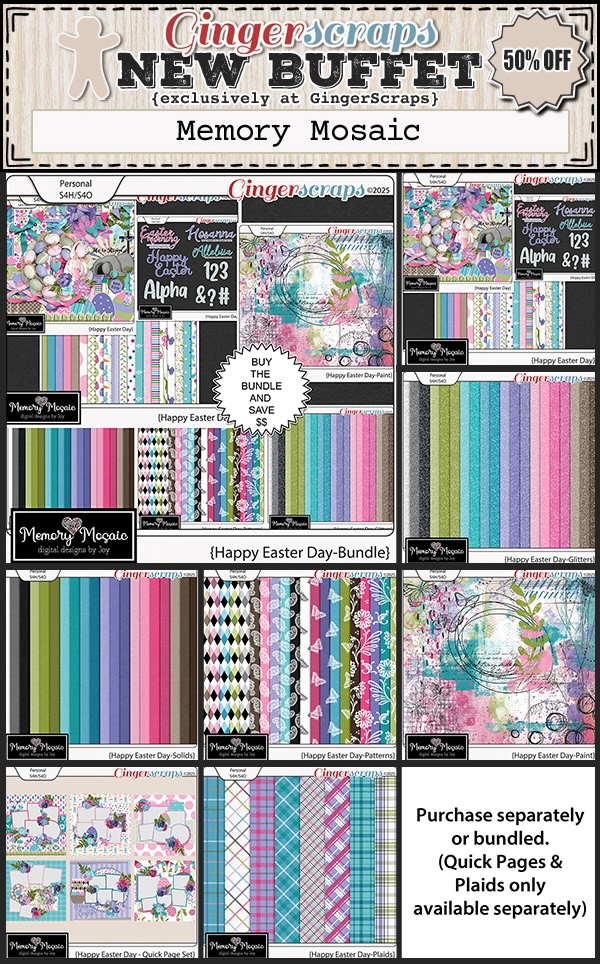
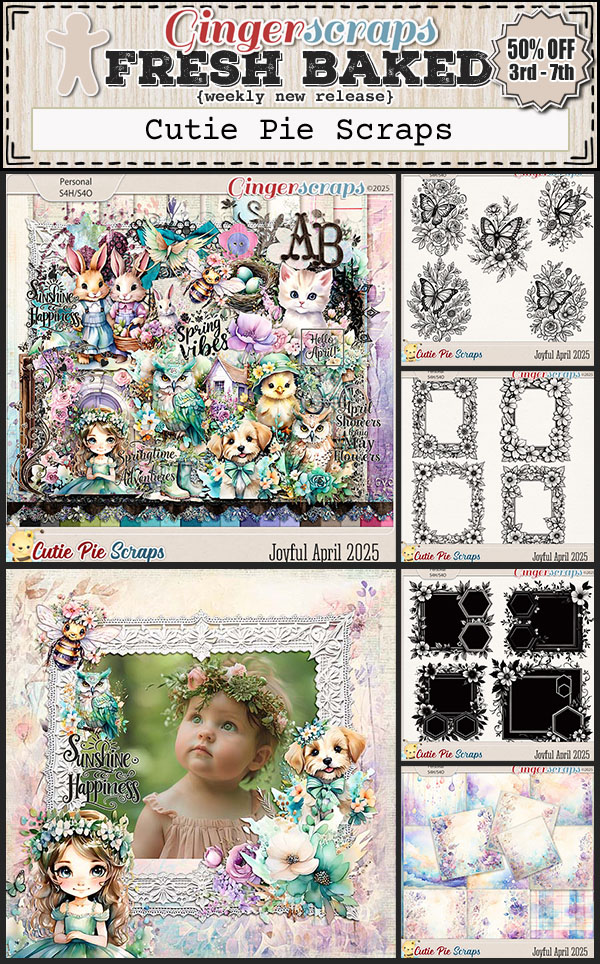
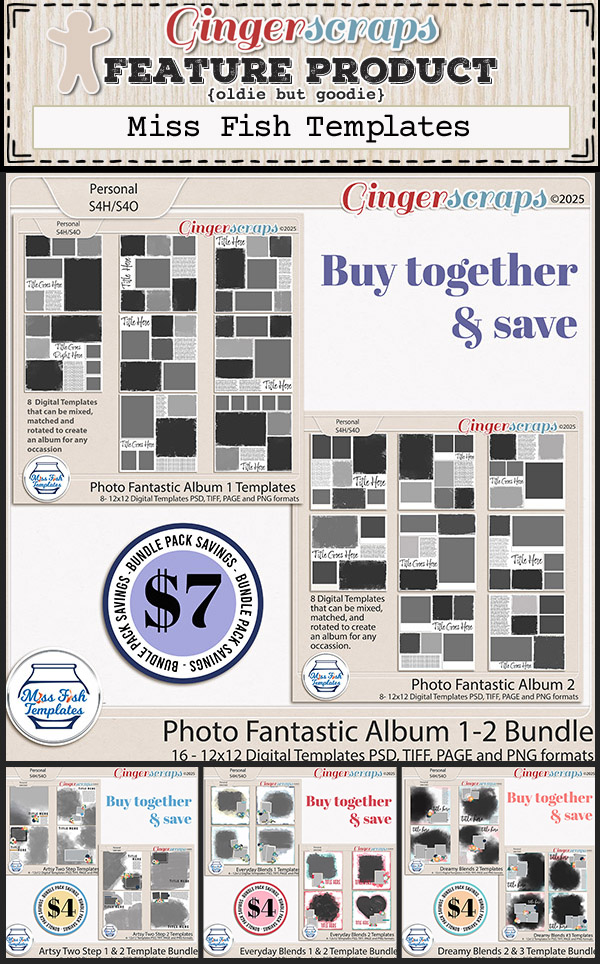
We’ve just added a fresh batch of digital scrapbooking goodies from your favorite designers at GingerScraps! Whether you’re documenting springtime adventures, everyday little moments, milestone memories, or something completely your own—there’s something new waiting just for you. These releases are designed to inspire and spark your creativity.
Have you had a chance to check out our brand new forum and gallery yet? It is AMAZING—and we’re so excited about the fresh new look and improved experience. We’ve got a few more enhancements coming soon too, so stay tuned!
Heads up! Starting May 1st, our new Gallery Rules go into effect. Please take a moment to read through [this thread] for all the details and updates.
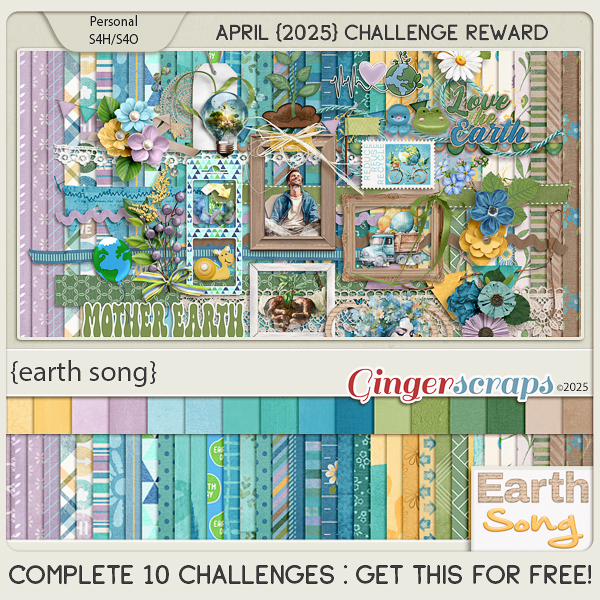
And don’t forget—you only have a few more days to finish up your April Challenges! We can’t wait to see what you create, and we’d love to see you over in the forums sharing your pages and connecting with our scrappy community.
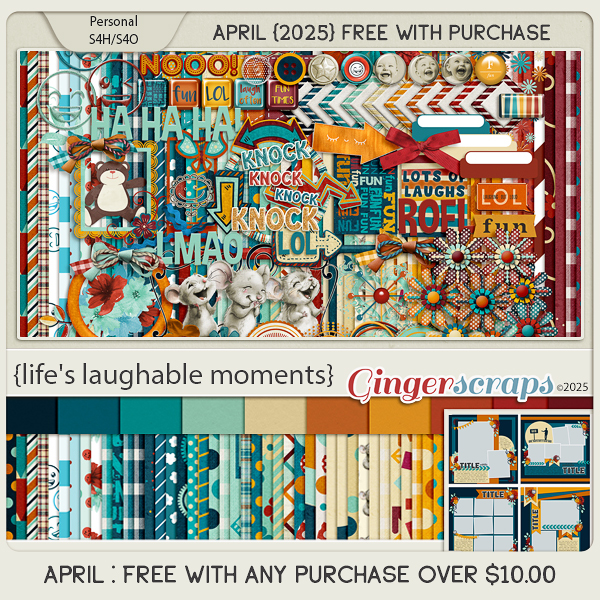
Remember if you spend $10 in the store you’ll get this great collab.
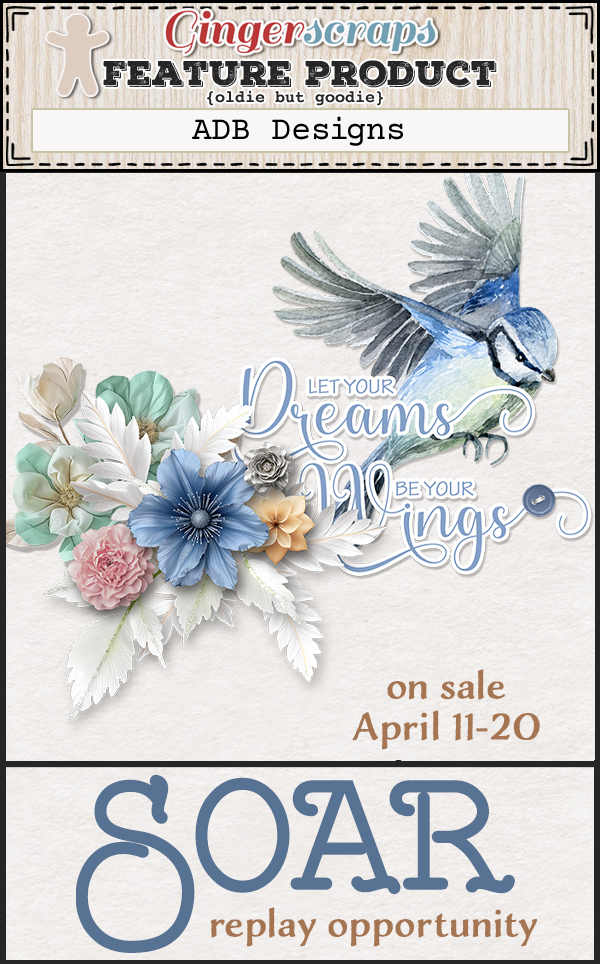
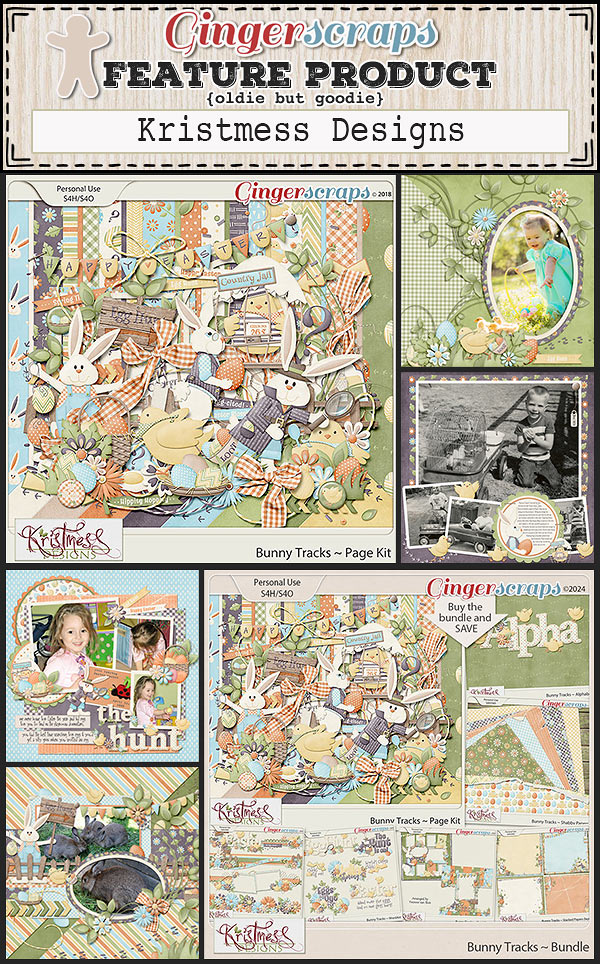
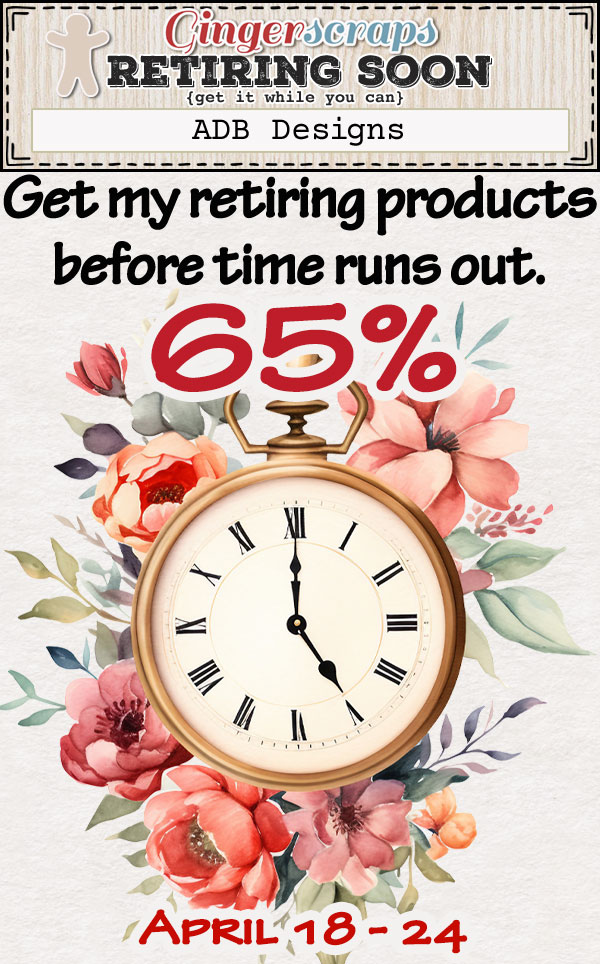
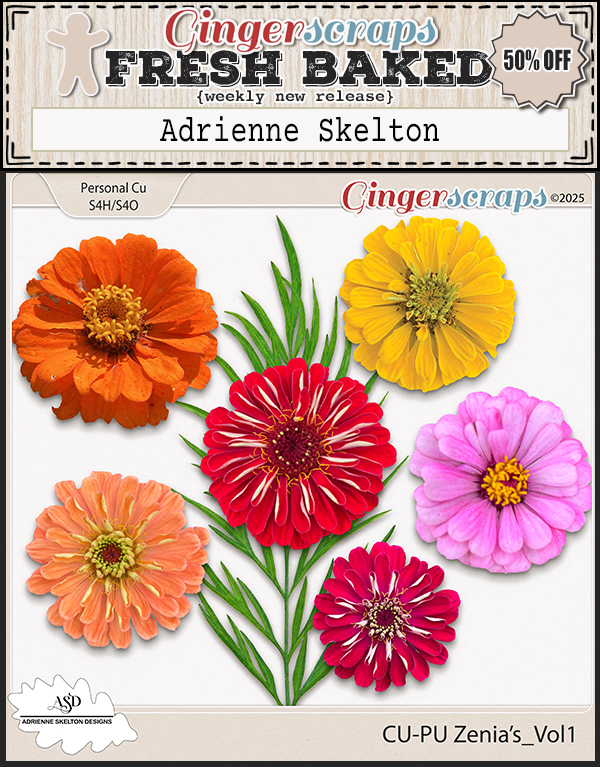
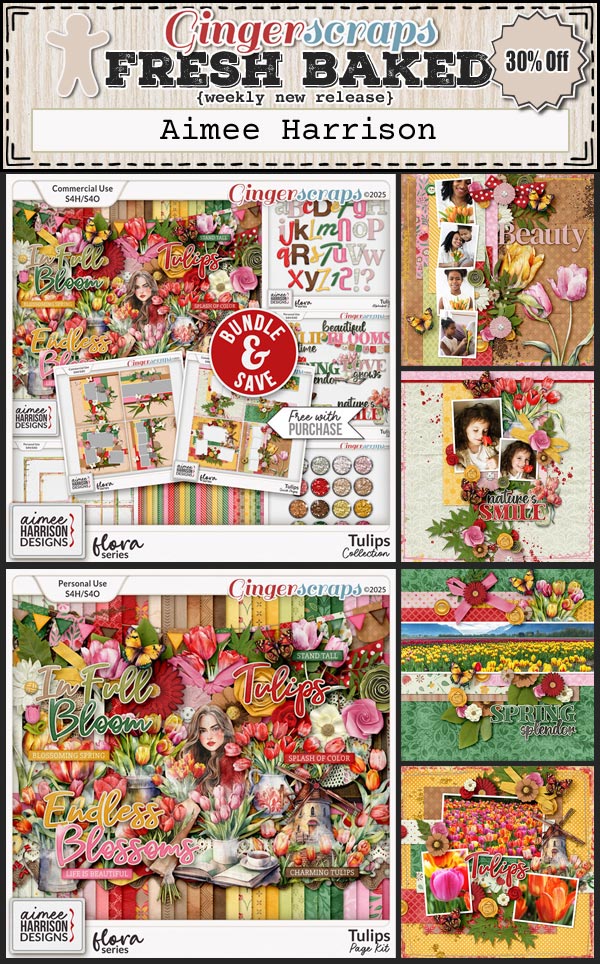
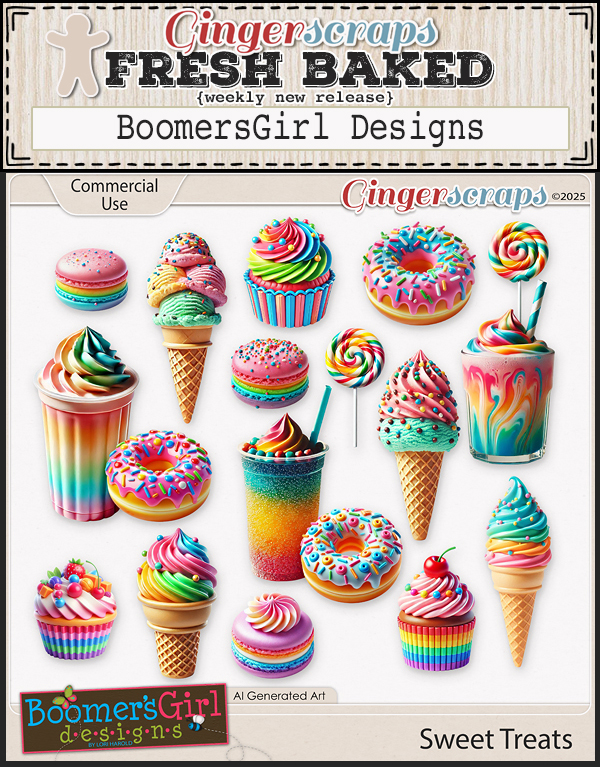
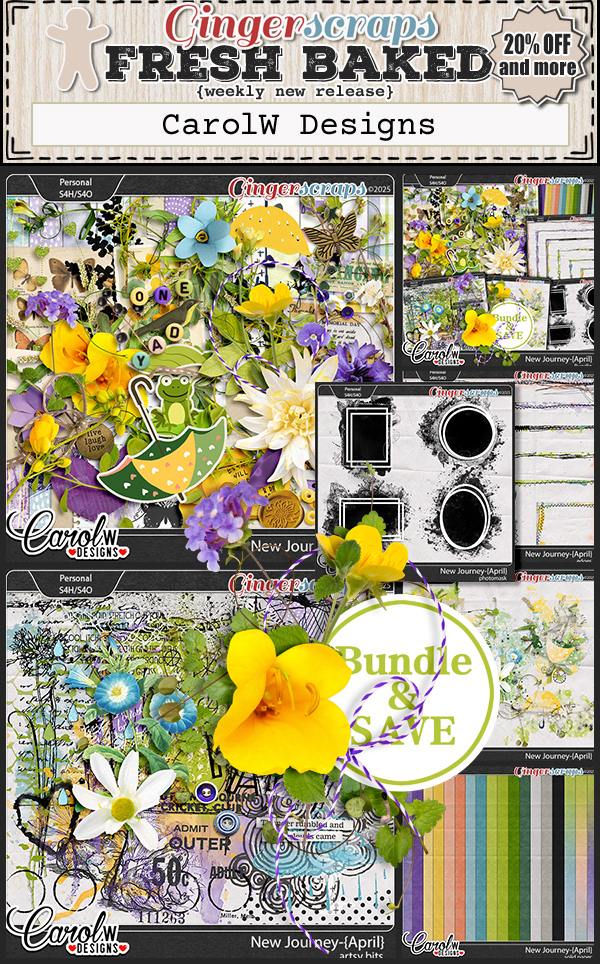
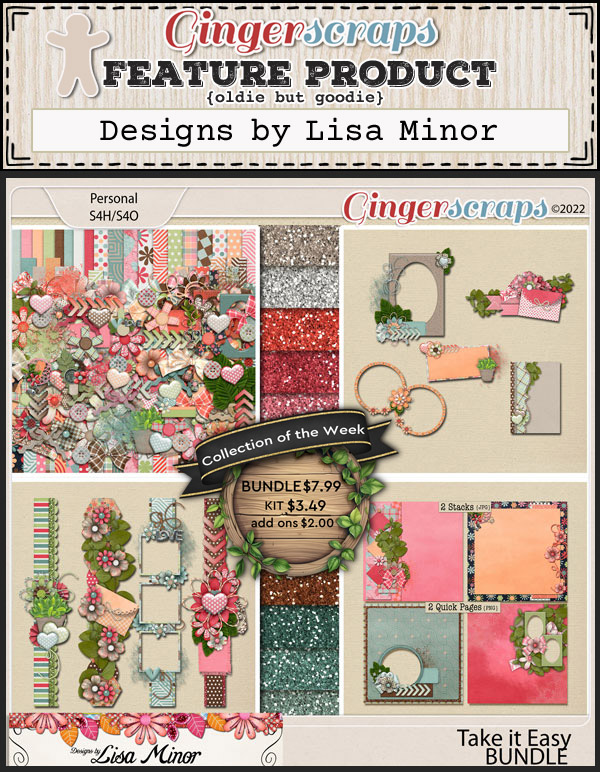
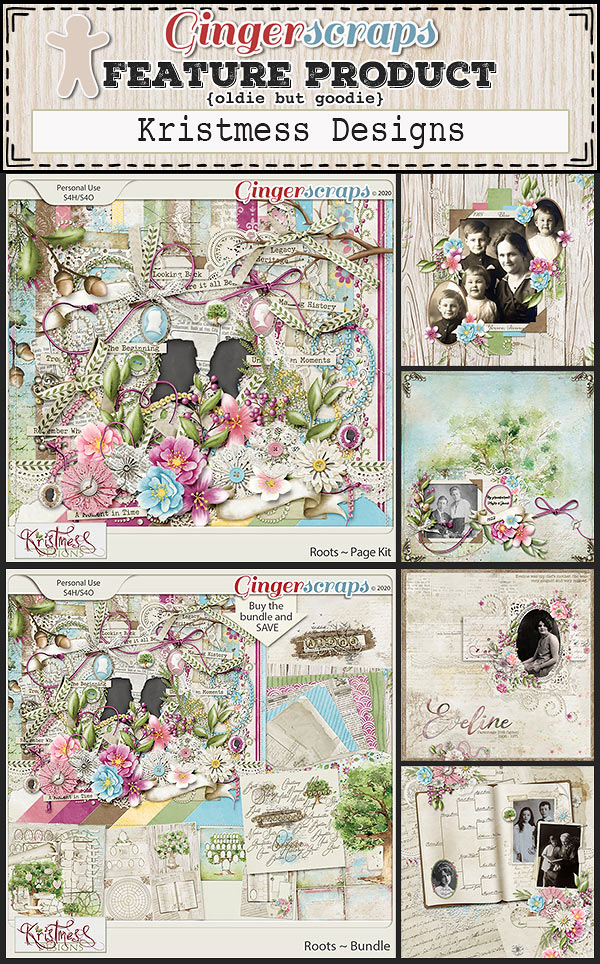
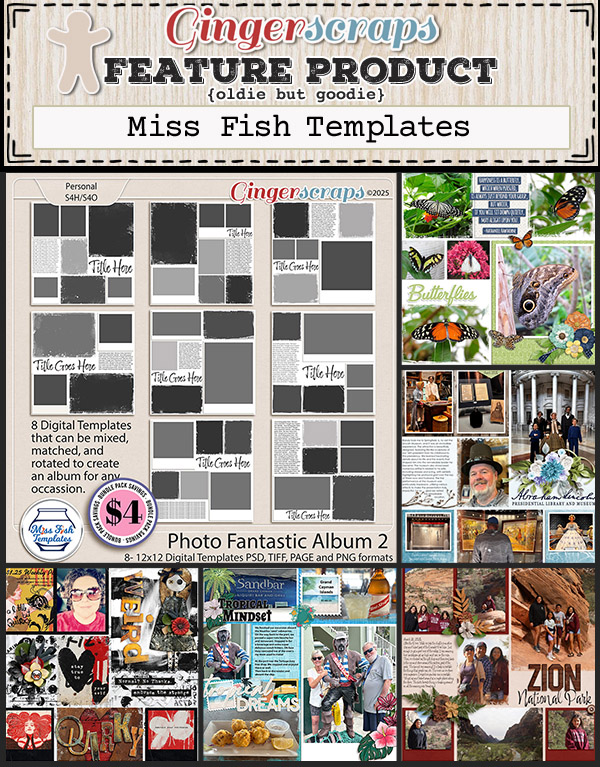
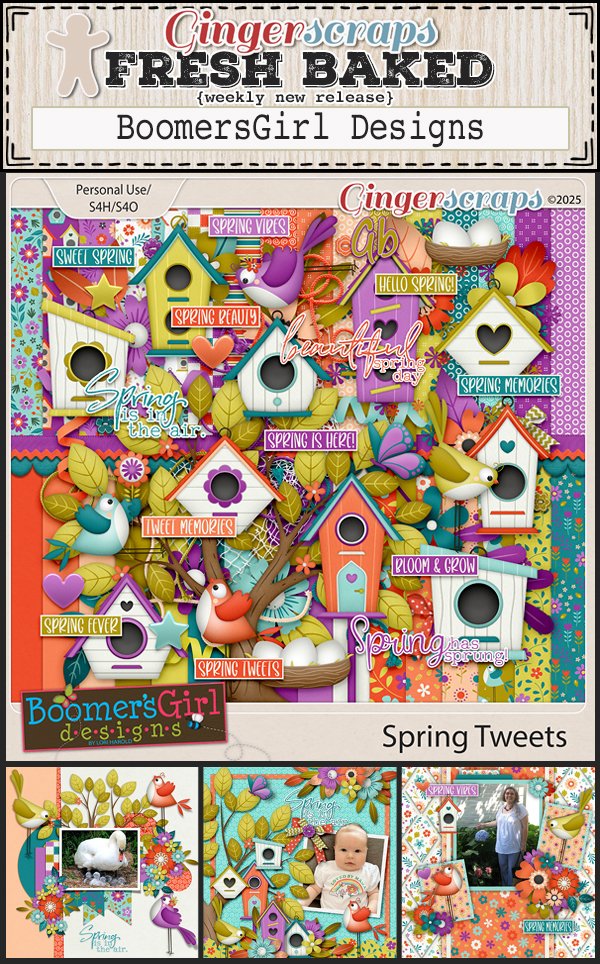
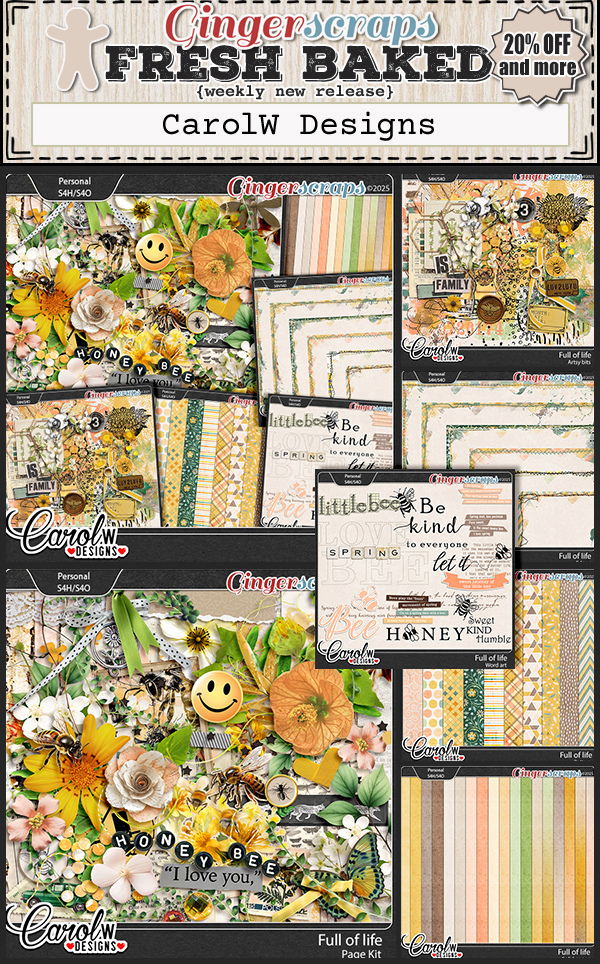
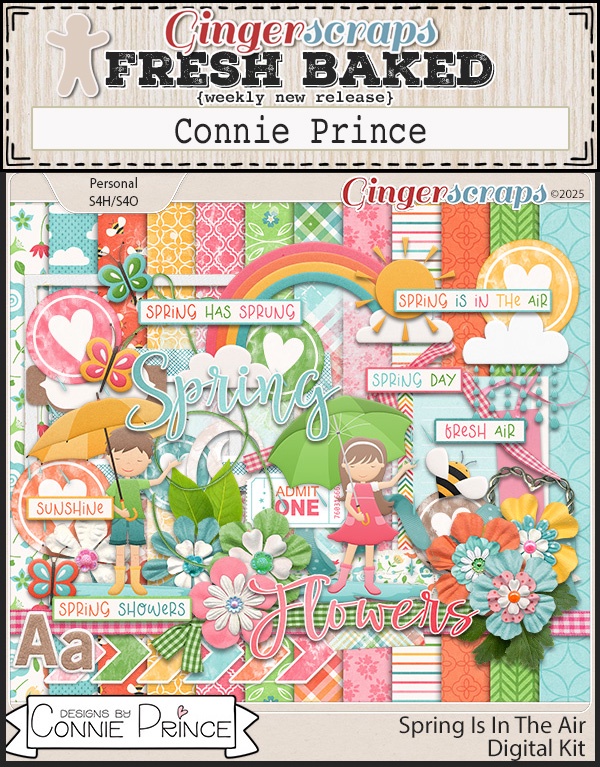
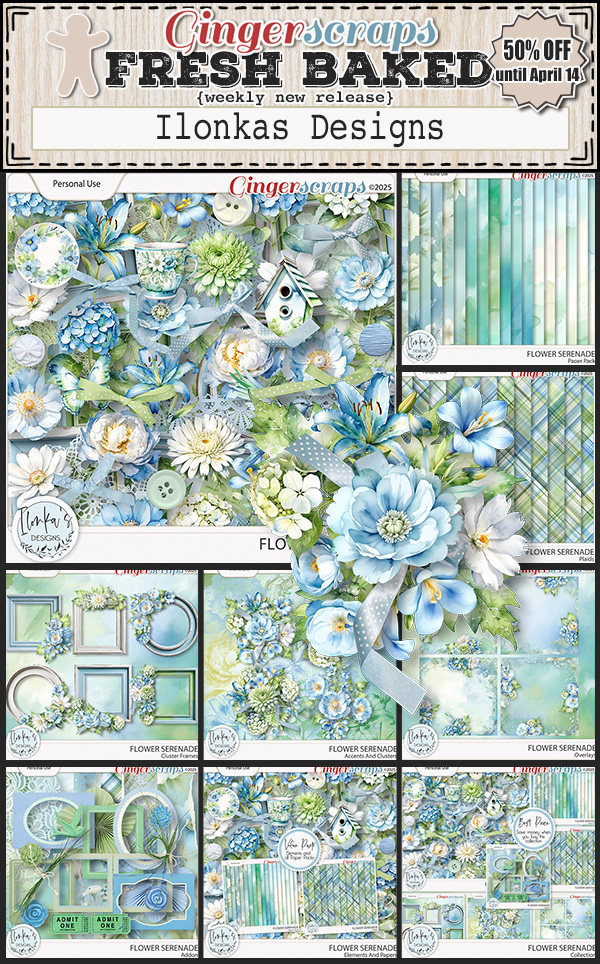
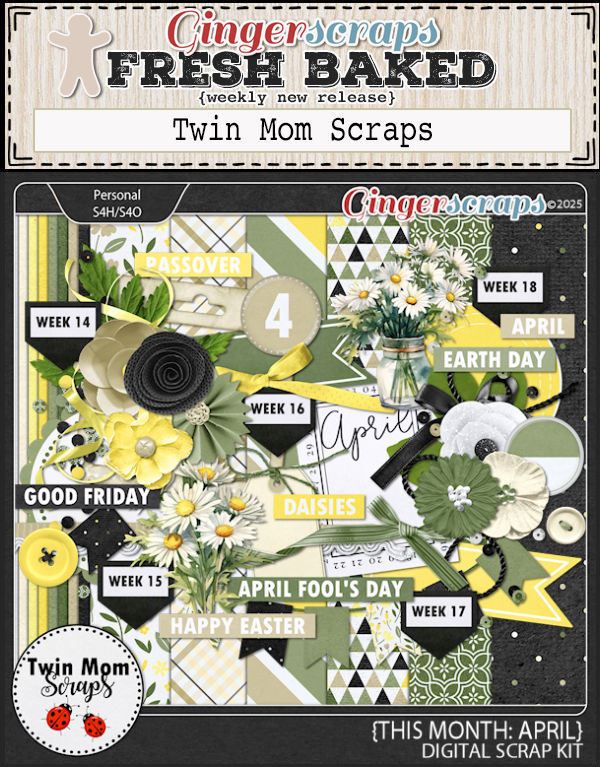
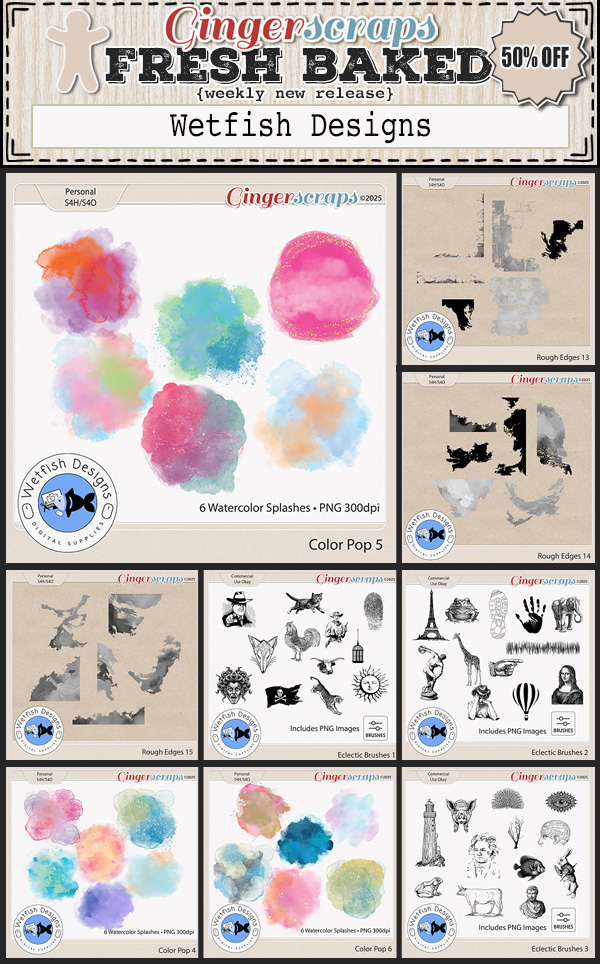
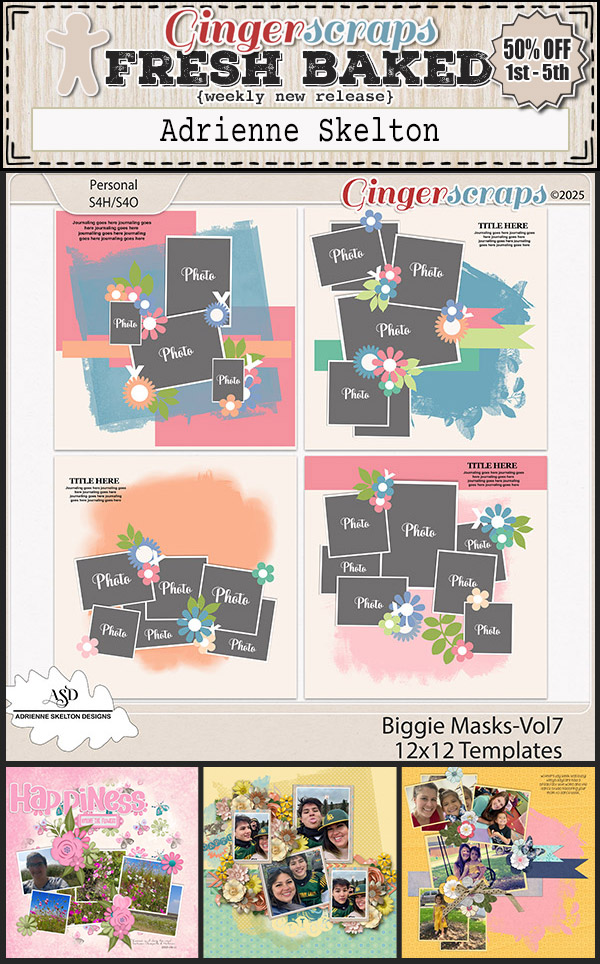
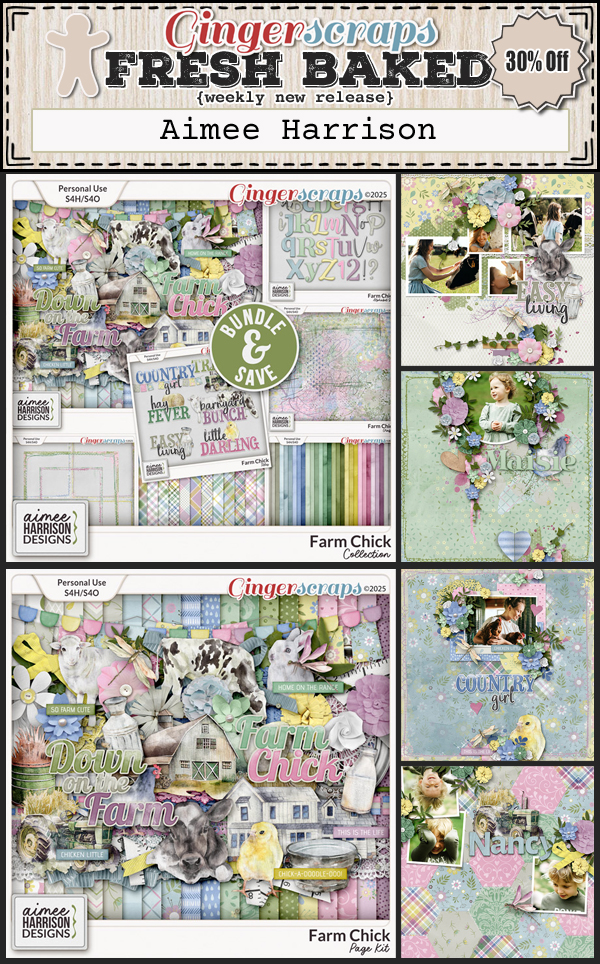
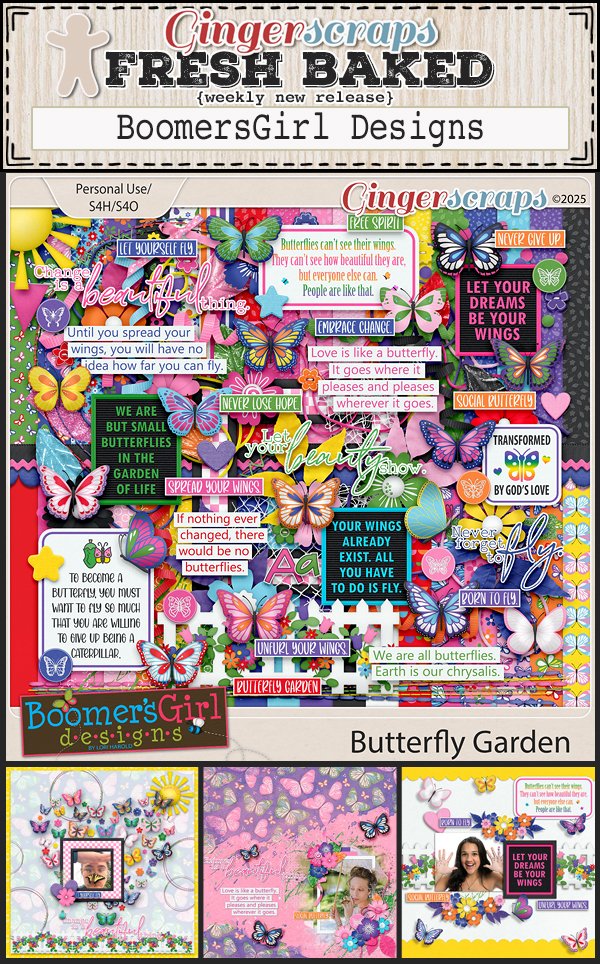
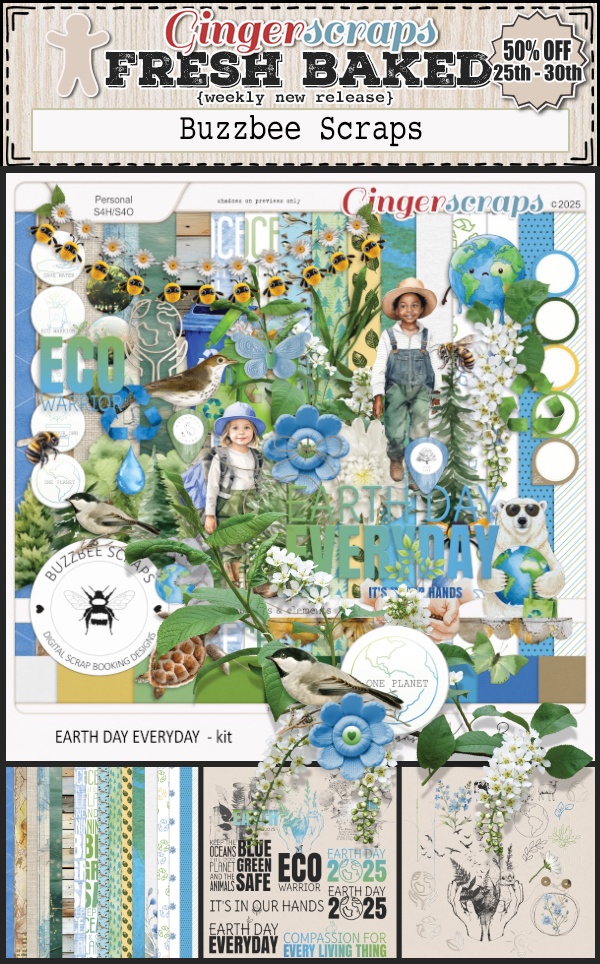
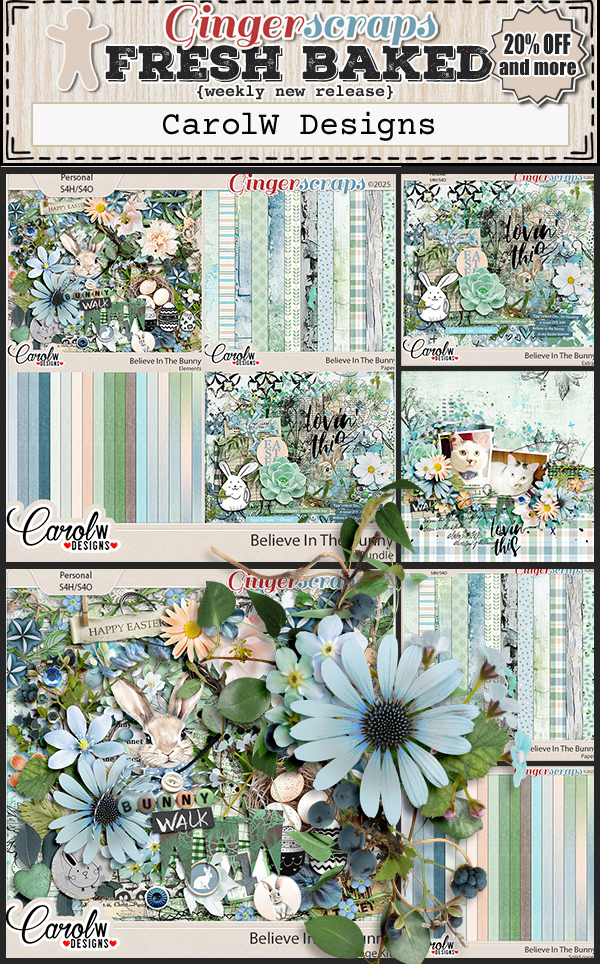
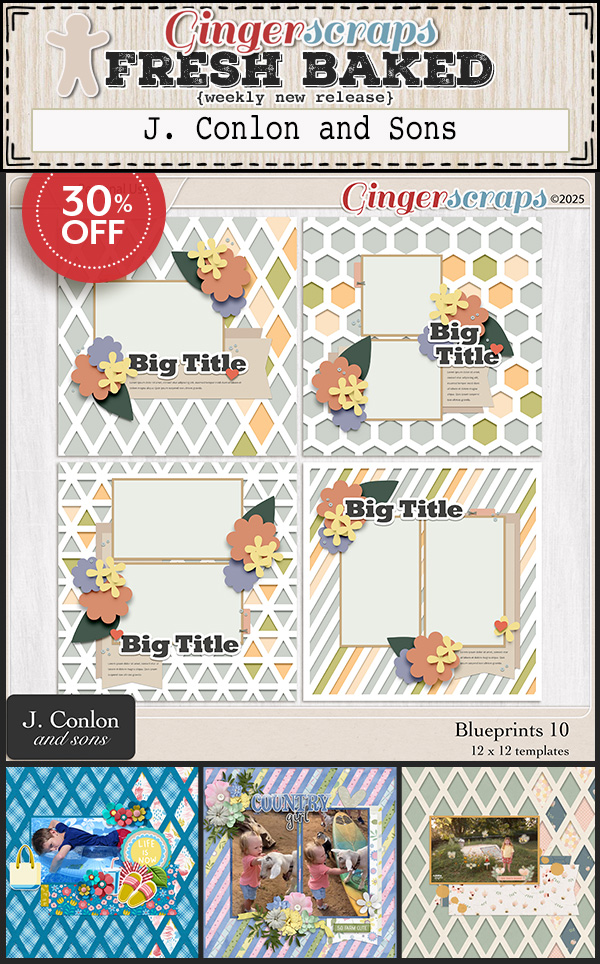
Let’s see what our designers have for us this week.


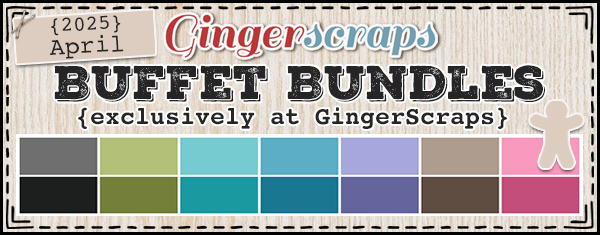
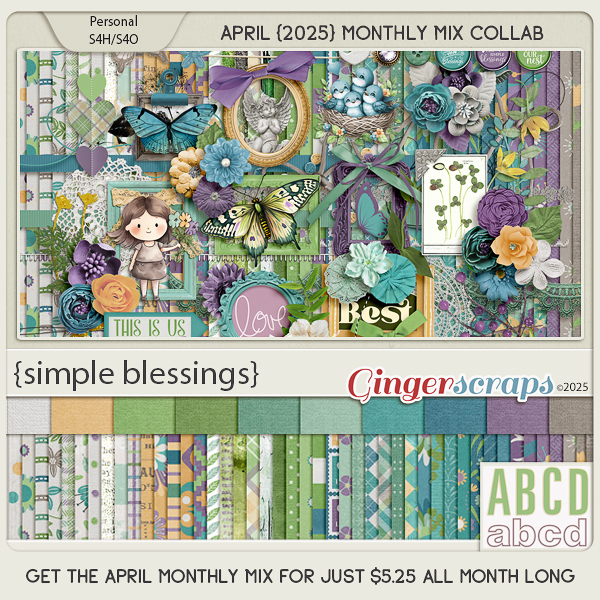
Have you grabbed the April Monthly Mix? Just a few more days to get it at this wonderful price.
How are on your challenges going? If you complete any 10 challenges this month, you get this gorgeous collab (or a variety of other choices from previous challenge collabs) as a reward!