How to use Distressed Patterns and a Freebie

Hey everyone! Today I’m here to talk about patterns.  Subtle or bold, distressed or not,  patterns add so much to a digital scrapbook page.

With the use of Blend Modes and Opacity Levels you can convert a plain paper to a pretty paper. Here’s how:

  1. In Photoshop CC or Photoshop Elements, open a background paper.
  2. Place a Pattern on the layer above the background paper.
  3. Experiment with Blend Modes and Opacity Levels of the Pattern.

Yes. It’s really that simple. Sure there are other things you can do to add even more interest, but basically, that’s it.

Here is a simple cardstock paper with a Distressed Pattern in Normal mode on the layer above the cardstock.

snickerdoodle-deslgns-how-to-use-patterns-01

In the image below I’ve changed the Blend Mode of the pattern to Multiply and lowered the opacity to 26%. The result is a soft and pretty look.

snickerdoodle-deslgns-how-to-use-patterns-02

By changing the Blend Mode to Screen, and increasing the opacity (to 73% in this case), we can get a totally different look:

snickerdoodle-deslgns-how-to-use-patterns-03

Here’s another example.  I changed the blend mode of the pattern to Hard Mix and lowered its opacity to 47%. I added a Color Balance adjustment layer to it, tweaking some of the colors. Now we have a totally different paper from the one above.

snickerdoodle-deslgns-how-to-use-patterns-7

Don’t restrict yourself to plain cardstock though. Here is a paper from my This is Me April kit.

snickerdoodle-deslgns-how-to-use-patterns-04

It’s a pretty paper by itself, but if you wanted to add even more interest, here’s something you might try:

  1. Add a pattern on a layer above a paper
  2. Experiment with Blend Modes and Opacity Levels. In this case, I used Color Burn and lowered the Opacity to 84%
  3. I added a Mask to the Pattern, and brushed away a majority of the pattern, just leaving it near the top of the paper to add more interest.

snickerdoodle-deslgns-how-to-use-patterns-06a

There are just so many ways to play with patterns!

These patterns are provided in PNG format, which gives you the ultimate flexibility!

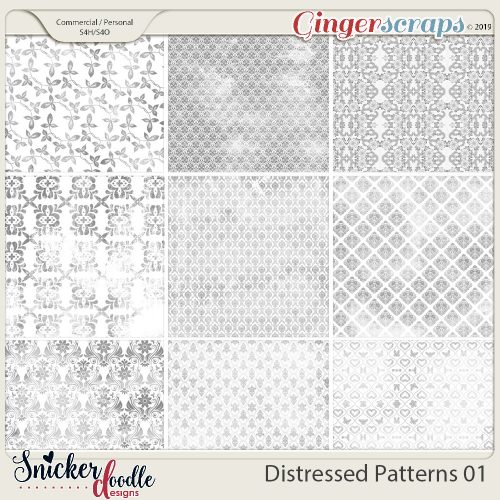
Distressed Patterns 01 & 02

Available at  here in my Commercial Use Store

Take advantage of the 40% sale on these products, valid through March 14th.


Distressed Patterns Snickerdoodle Designs

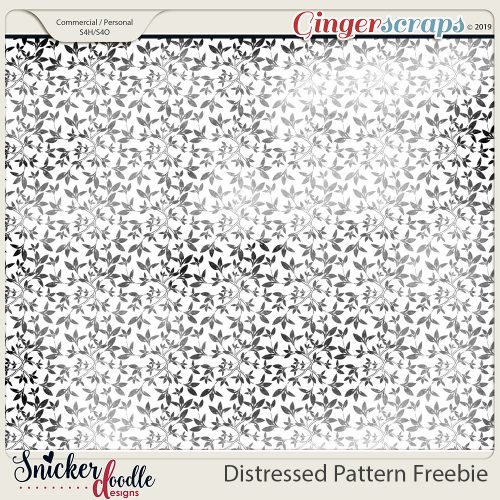
And here is a freebie for you to experiment with. Just click on the image below to download!

Distressed Pattern Freebie Snickerdoodle Designs


Experiment and have fun!!
4 Ways to Add Color Pop

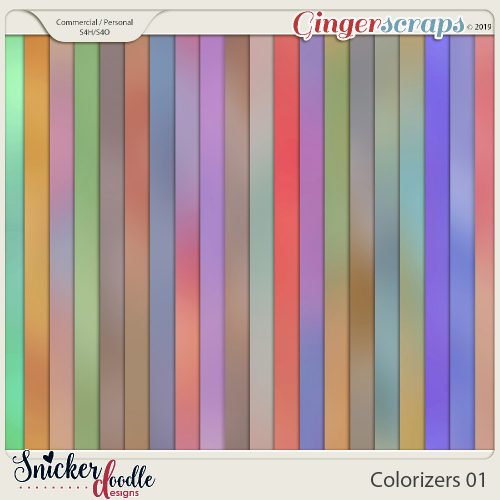
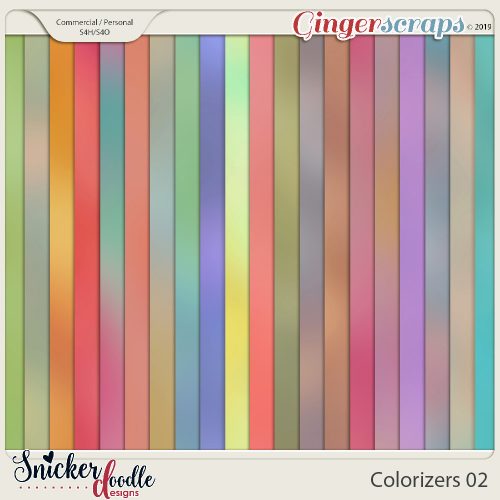
Colorizers, by Snickerdoodle Designs, are a new product here at Ginger Scraps. But what are they and what do you do with them?

Colorizers by Snickerdoodle Designs

Colorizers by Snickerdoodle Designs

Hi! I’m Karen, of Snickerdoodle Designs; and I’m here today to show you how to use my Colorizers to easily add color to your digital scrapbook papers, text, elements, and shapes.

I’ve prepared a 2-minute video to show you how easy Colorizers are to work with. Take a look at the video, and then scroll down for 4 additional ways to add color to your digital scrapbooking projects.

4 ways to add color pop to your digital scrapbook pages Snickerdoodle Designs

1. Changing the Color of an Element

Many designers include graffiti, doodles, or other graphic elements in their digital scrapbooking kits.   They are usually provided in papers or colors that coordinate with the designers kit, which makes them super easy to use. But if you love a specific graphic and want to use it with a kit of a different color palette, using a Colorizer is a fast and easy way to achieve that goal.

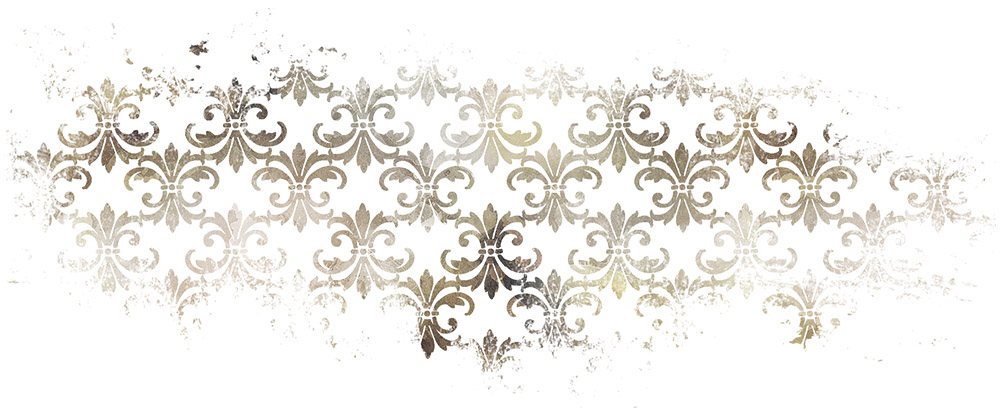
Here is a piece of graffiti from This is Me November Graffiti. While it coordinates beautifully with the kit, it is also a piece that could easily be used on any scrapbook page with a simple recolor.

snickerdoodle-4-ways-to-use-colorizers-tutorial-1

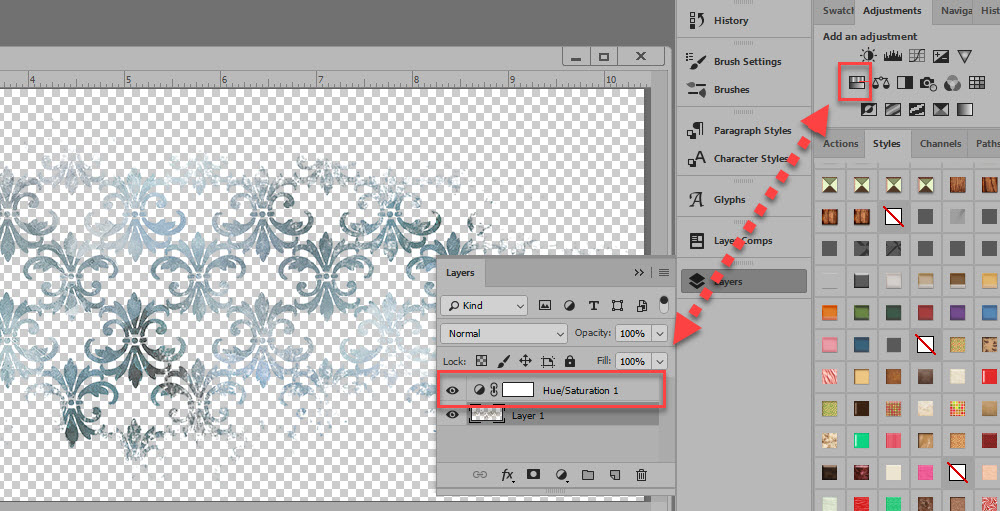
We could add a Hue/Saturation Adjustment Layer, to change the color, from brown to blue in this example.

snickerdoodle-4-ways-to-use-colorizers-tutorial-2

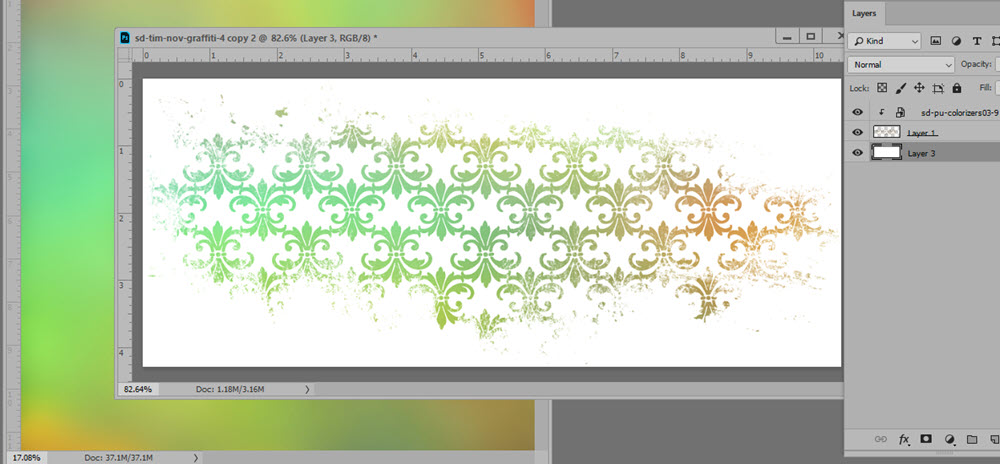
But if we wanted to add multiple colors to the design element, using a Colorizer is a quick method. Place a Colorizer above the graffiti and clip the Colorizer to the mask, and you’re done! The variegated color adds a unique flavor to this piece.

snickerdoodle-4-ways-to-use-colorizers-tutorial-3

2. Coloring Black Stamps

Stamps can add great interest to our pages. Most often they are black or gray in color. We can blend them into our backgrounds, colorize them, and apply Styles to them. Another quick way to color black elements in with Colorizers.

This is an element from You Color my World.” In the kit, it is colored, but I have made it Grayscale for this tutorial. I am going to use Colorizer #8 from Pack 1 to quickly color this Stamp.

I clipped the Colorizer to the stamp and experimented with Blend Modes. We can get a variety of different effects, based on the color of the stamp and the color of the Colorizer that we are using. In this example, Hard Light gives the best result. Sometimes just clipping a Colorizing to an image adds enough color, so you don’t need to do anything else. How easy is that?

snickerdoodle-4-ways-to-use-colorizers-tutorial-16

If you really want to play and experiment try adding a Levels or Curves Adjustment, or a Brightness / Contrast Adjustment. Or use 2 Colorizers – one Colorizer for half the stamp and a second Colorizer for the other half of the stamp.

3. Coloring Grayscale Backgrounds, Basic

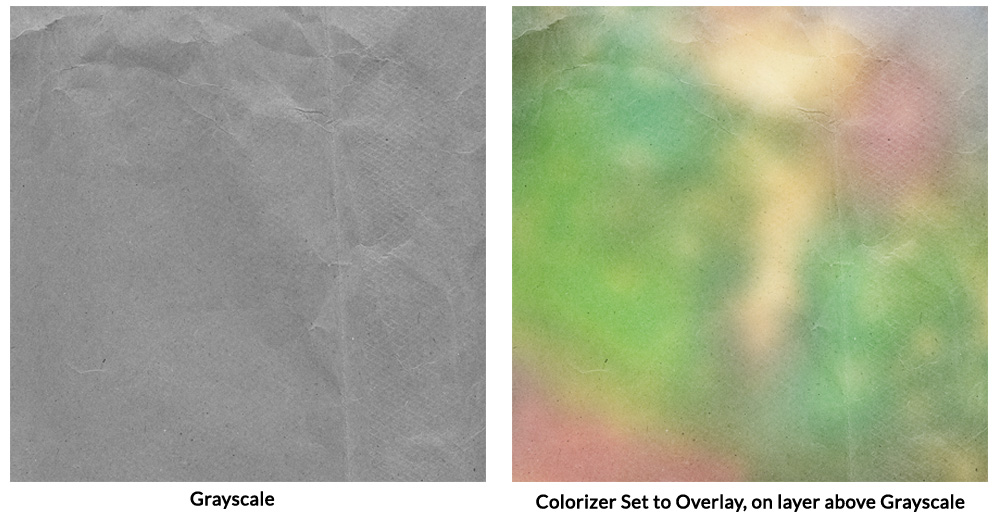
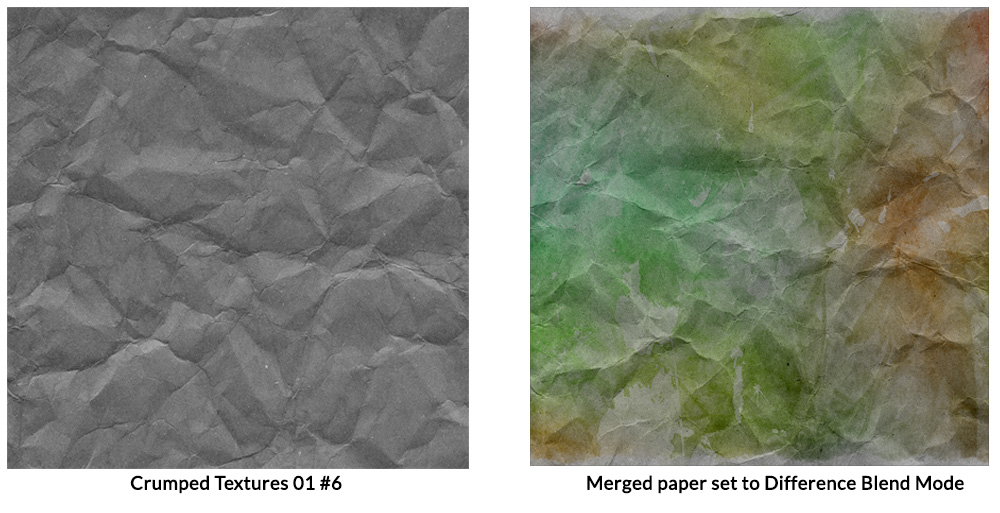
No matter what type of grayscale background you have handy, whether it is plain or patterned, using a Colorizer is a quick way to create a lovely background paper.  Place a Colorizer on the layer above your grayscale background and experiment with Blend Modes of the Colorizer. (Grayscale paper from Crumpled Textures 01).

4. Coloring Grayscale Backgrounds, Advanced

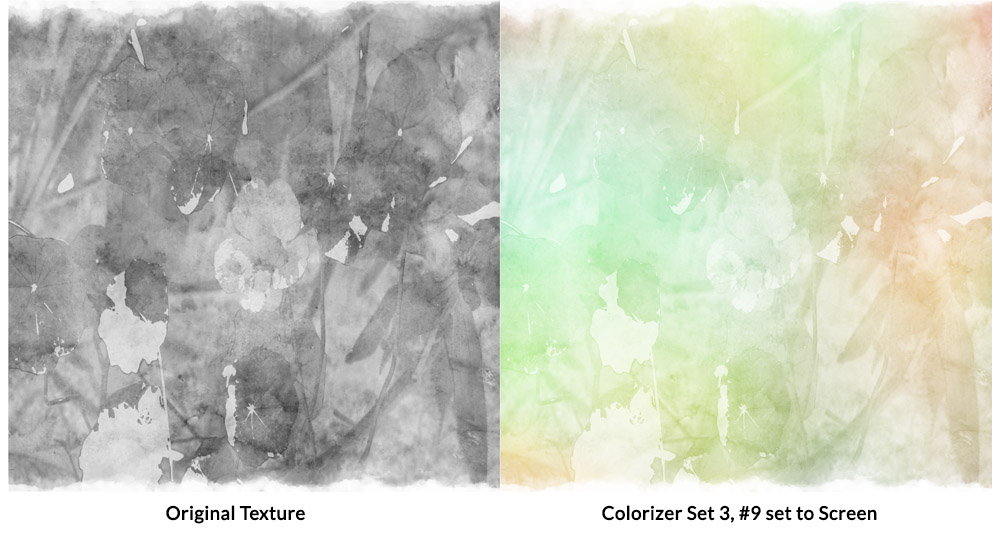
If you want a little more fun with the Colorizers, start with an artsy, mixed media background. The texture I am using for this example is from my Artsy Textures 01, #6. I placed the Colorizer on a layer above the grayscale texture and changed the Blend Mode of the Colorizer to Screen.

Next, I merged the grayscale texture and the Colorizer to create one layer.  I placed the merged layer above a Crumpled Texture and changed the Blend Mode of the merged paper to Difference.

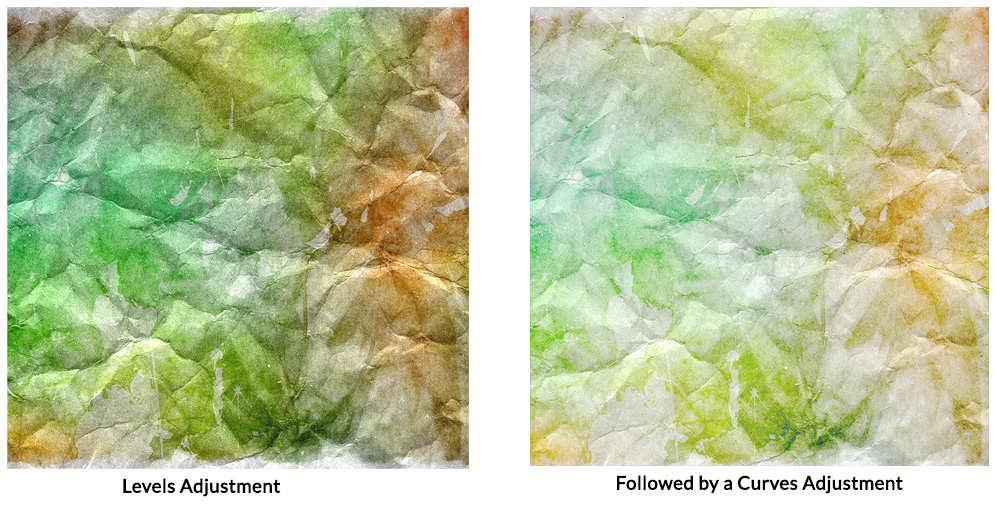
It was way too dark for my taste, so I added a Levels Adjustment, followed that with a slight Curves Adjustment. I was happy with that result.

Colorizers were designed to give you a multitude of options. You can get fabulous results by just using one Blend Mode, or you can use multiple techniques to get the effect you want. The key to using Colorizers is to play, experiment, and just have fun!

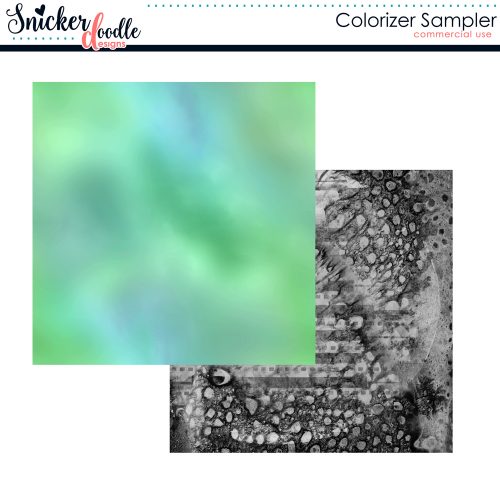
Go ahead! Give it a try!  Here’s a sample for you to experiment with. Just click on the image to download.

If you would like to download a PDF of this tutorial, you may do so here:  4 Ways to Add Color Pop.

Weekly Wrap-up!

Happy Sunday  ya’ll!

Where did August go?! I know I say it every month, but that’s because I just can’t believe how fast this year is whizzing by! We’ve got five days left until September begins and the start of a new month is always my favorite, I know I’ve said that too before! With good reason, too, it’s so exciting seeing all of the new challenges, the buffet that the designers work so hard on, new guest designers, new new new- I love all things shiny and new!


…now now now, before we get too excited about the newness of the beginning of a month, let’s not forget the end of this month! You’ve still got a few days left to complete your challenges – I know I need to get a couple done!

One of those on my list to finish is the Technique Challenge, clipping papers (to alpha, but you can clip papers to ANY shape!). The tutorial, by Amy P of Unforgettable Moments, is very good for beginner scrappers, definitely a good trick to know and have on your scrapper belt.

Here is a layout by Lisa from the gallery using this technique,

she blended two papers and clipped to her alpha, creating a fun effect!  Her entire page is beautiful, too.  I’m totally inspired now to get fancy with my alpha!

It’s truly a lazy Sunday here, but I’m gearing up to attend an exercise class (Lord, help me!) this afternoon and I’m terrified! Of course, I intend to scrap about it, maybe even for my technique challenge. 😉 There are a couple GREAT get fit, be healthy, weight loss, life changing kits in the store that I just HAVE to share with you!

Working on Me by Colie’s Corner,

A Work in Progress by Inspired Designs,

 and some great wordart, Getting Fit by Creations by Julie.

Pair all three kits together to make a fun food, exercise diary! You could even use Creations by Julie’s Hybrid planner pages template to create your diary/log. I’m totally inspiring myself right now, so I hope I’m also inspiring you too!

It’s a wee bit quiet the last week of the month, everyone so busy wrapping up, so I haven’t got much more to share with you, but do check out our Fresh Baked from Friday, there are some ridiculously cute kits that came out – that’s not exaggeration. RIDICULOUSLY cute, so go check ’em out!

Have a happy scrappy day my friends!

Fowers, Flowers, Flowers on Let’s Get Crafty Thursday!

It’s Thursday! Yea! Time to get crafty! Well, is wish I had time. I have been busy, busy this week. No time to get crafty yet! But, I will, Oh yes, I will. But, do not fear! We have other crafty ladies in our midst. One of our very own GingerScraps Designers has been making flowers, flowers and more flowers! Stephanie! I’m taking about you! You GingerScraps fans know her as the talented designer Scrappy Cocoa! But..not only is she a fab digi designer! She is a crafty goddess too! Look at all these cute little flowers…cute models too 🙂

Oh and her handsome little son even took his tired little sisters place as a model.

They look great in Mom’s hair too!

Steph even made this cool Flower Necklace.

Even cooler..she shows you all the steps you need to know to make your own on her blog! It’s really fun and pretty darn easy too! Pop over to her blog and make some of your own! You can check out all of her fabulous digi designs while you are there too 🙂

Happy Crafting!

“Clock” Plate on Let’s Get Crafty.

First off, before I start my Crafty Thursday post I want to say Happy Birthday to my best friend, my sister Ginger! She is the strongest, prettiest, smartest, best-est sister ever! Oh and make sure you scroll down to the post below to see a little Birthday Secret!

As I was browsing around some of my favorite crafty blogs the other day I came across this oh so pretty plate. I was like, Oh so cute. I could Hybridize that idea! So today for Let’s Get Crafty we are making a “Clock Plate”. It’s not a “Real” clock :). But, it is so pretty hanging on my wall. The original idea came from this lovely Blog HERE, Vintage Sky.

For my version the first step..well the second, the first was to go to the Thrift Store and find the perfect plate. Measure the plate and design a clock in Photoshop, or do what I did and find one in your digi stash! There are tons of kits that have clocks in them! The clock I used was a freebie I downloaded forever ago, by Digital Anemona. Re size to the size you need for your plate and print!

(Don’t mind those little squares at the bottom, those are for some scrabble tile necklaces I’m making)

Then cut it out and use some ModPodge to attach to your plate. Cover it with another layer of ModPodge to seal it.

It will dry clear.

When it’s dray make a little “hanger” on the back like this. I used my glue gun, but it came off a few days later..lol..so then I used super glue. That is holding so far!

Add a long piece of ribbon of lace to “hang” the plate. It’s really being held by the little tab we made. But it looks like it’s hung with the long pretty ribbon. Just tie the long piece to the short piece.

Ta DA! Here is the finished product.

Close up…

That’s it! Easy and cute!

Have a Crafty Thursday!

Let’s Get Crafty: Cutest Pedestal Goodie Stand

Have you missed me? It’s time to get crafty! Yea! I have missed doing these posts…it gives me an excuse to get crafty. Today is a fun one, and totally cheap..oh does that sound bad…how about inexpensive. That’s better. This whole project was my Mom’s idea, she is THE QUEEN of crafting. She does it all! She is amazing. I could do years worth of Crafty Thursdays with all the stuff she makes. This is where my sister Ginger and I get our artsy genes from. My Mom LOVES to make beautiful items that look like they came from one of those cute little boutiques, out of stuff she has around the house or finds at yard sales and thrift stores. She was the Queen of Up-Cycling before it became cool 🙂

So, this is what we are playing with today. Plates and candle holders. We probably all have one of those plates laying around that looks so cute but you never use it. And a mismatched candle holder. You just don’t want to throw away. Heck if you don’t just go to any Thrift Store. There are tons of super cute plates and candle holders you can pick up for next to nothing! My Mom took a bunch of her plates and candle holders she had gathered over the years and made them into the Cutest Pedestal goodie stand. Perfect to serve you yummy cookies, muffins, fruit, gosh everything looks great on these Pedestals!  Let me share with you some of the one’s my lovely Mother has created. Then I will show you step by step how we made mine 🙂

Here are my Mom’s creations…

Now aren’t those adorable! I just had to make one and I had the perfect plate. When my husband was in the Army we were stationed at Fort Bragg, in Fayetteville NC, lot’s of great memories there. One day I was looking around in my local Thrift Store..by the way, I’m in CA now. No where near Fayetteville, NC.  I found this plate that said Fayetteville NC on it! Can you believe that. All those years I lived there and I find the Fayetteville plate in CA. LOL. Of course I had to have it, and the price of .75 cents was just right! Now I have had this plate sitting in my cupboard for a while and when I saw my Mom’s Pedestals, I knew I wanted to do that with my special plate. Oh course my Mom had the perfect cream colored candle holder for me to use 🙂 Thanks Mom. Of course she got the candle holder at the Thrift Store too. So let’s get started.

First step (after you choose the perfect candle holder and plate that is) is to clean any dust off of your candle holder and plate. Then take some sandpaper or a sanding block and sand the bottom of the plate and the top of the candle holder. I used a sanding block.

Next, take some nail polish remover and clean it again real good removing any dust from the sanding.

Next you will want to lay your plate down with the front of the plate towards the table then lay your candle right in the middle of your plate. Get it nice and centered. Take a sharpie and draw a circle all the way around the candle holder.

It will look like this.

Take your glue, I used gorilla glue, it is super strong super glue. Don’t use the cheapo super glue. Get the good stuff. You an also use epoxy, but I didn’t want to deal with the mixing and mess, so I just used Gorilla Super Glue.

Put your glue on your plate right on the inside of the circle that you just drew. Like this. Be quick, it dries fast. And don’t use too much. Just enough.

Now, stick your candle holder right on top of the glue. Press it down and hold for like 20 seconds. You can wipe off the ink now too if you want.

Now to seal it even more for a nice smooth tight hold. We took some Aleene’s Jewel it glue and went all around the edges where the plate and candle holder meet. You could also use clear caulk. It works too. Just make a nice smooth bead all around the edge and smooth it with your finger.

Place a nice big book on the top for a while while the glue dries.

Now you have a beautiful Pedestal Plate Stand to place your yummy goodies on top of. Here is mine.

From the top. (Yes, I know my plate has a little chip, but it’s ok, it’s a special plate)

My kids ate all the cookies, but it looks great with fruit on it too 🙂

Now doesn’t that look easy and fun! Go out and make your own! Please share with us if you do! Have a happy Thursday and go get Crafty!

Let’s Get Crafty: Halloween Crafts

Hi GingerScrapers! I know..I know..I have missed a few Crafty Thursdays…I’m sorry! I have been so busy. I am the team Mom for the Freshmen Football team…our games are on Thursdays. But, not only is it the games, we feed the team and caoches before each game. It’s a big meal and I’m in charge of it!  I have to be at the school at 7am to collect all the food from the players. Make sure the food all gets warmed up by the lunch ladies, then serve the food at 2…game time at 5. So, what I’m saying here is…I’m a busy girl during Football sason 🙂 This week my kids don’t have school. We still have a football game though, but I dont have to collect the food until noon:) So, I figured I would do a little Let’s Get Crafty post for you!

Halloween is in like 10 days. I went online to find some cheap and easy Halloween projects to do with my kids and I am going to share them with you!

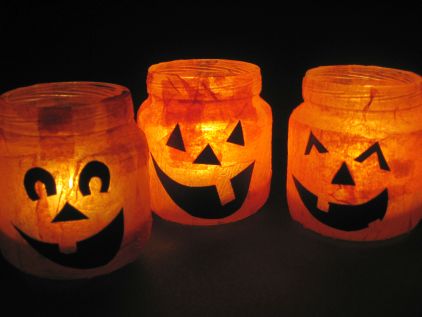
This first one is a great way to use up all those baby food jars you have laying around..

It’s super easy and fun to make with the kiddos. Go to Skip to my Lou for a tutorial.

How about a spooky tree…

You can get instructions and templates for this one here

How about a cute fabric banner…

You can learn how to make this on Running With Needles

How about making a “Hybrid Banner” Instead of fabric, use your digital scrapbooking supplies! There are so many cute Halloween kits at GingerScraps you could use! How about I give you a free template to make yourself a banner 🙂

I used the kit Gobblin Delights which is a GingerScraps collab that you will be able to get at our Halloween party next weekend! I use Statements by Jodis part for my banner:) Make sure you come to our Halloween Party at GingerScraps to get this kit and lots of fun games and prizes!

You can download your Free Template here!

I hope you make some time to get Crafty today! See you at the Halloween Party

Let’s Get Crafty: Camera Strap Covers

Time to get crafty! OK…so, I think I missed a week…sorry! Busy, Busy!

But, I actually made something today! I know!  Can you believe it!

I have been eyeballing these camera strap covers for a while now, and with all these football photos I have been taking, I need a little cushion for the neck! 🙂

So..lookie what I made today.

Yes, of course, with Cherry fabric!

I followed this tutorial on Skip to my Lou. It was really super easy. My fabric wasn’t even as long as the tut called for so I just seamed it together!

You girls, really, this is easy! Try it!

Let’s Get Crafty: Paper Flowers

Time to get Crafty! OK, so i must admit. I forgot it was Thursday again! Ha Ha. I have been soooo busy with my Team Mom duties, I haven’t had to to even think about crafting.

But, Ginger showed me these cool Paper flowers, and since it is my Birthday today 🙂 I am taking the easy way out and sharing these flowers with you!

Aren’t they pretty!

The instructions are HERE They look super simple to make!

Now, the really cool thing for us digi scrappers, use digital scrapbooking paper and make them any color you want!

There is even a video! Now that is what I call cool!

I hope you girls enjoy these as much as Ginger and I did! Have a great day!

Happy Crafting!