Here’s a Hybrid Gift Card Tag
![]()
Today’s tutorial is a big departure from the usual. I’ve created a hybrid project that mashes up a gift tag and a gift card holder, using digital scrapbooking images. I used the GingerBread Ladies Magic of Winter to build the look I wanted.

My brother is a humbug kinda guy when it comes to special occasions. He always says he doesn’t want anything for Christmas, but he’s also relatively impoverished, so I usually get him a gas gift card, something he definitely needs and will use. This year, I plan to give him a gag gift with the gift card inside the tag. Let me show you how I made it.
I started by making a template using the Custom Shape Tool. I measured an old gift card to get the dimensions. The template is the actual size I’ll need.
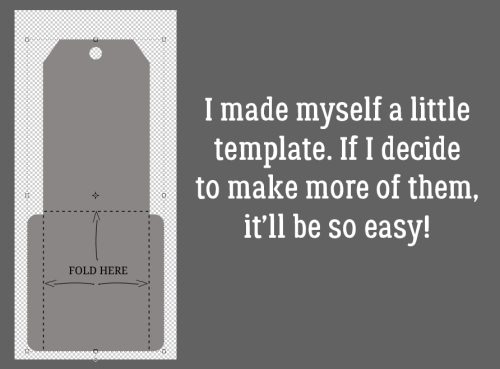
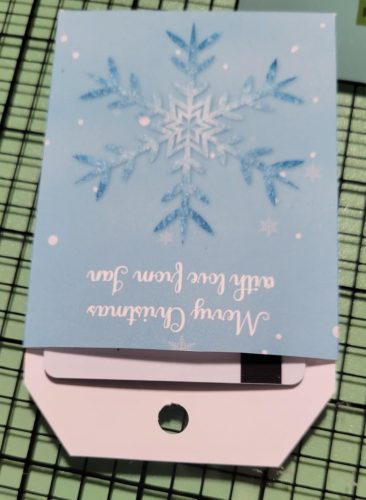
I Clipped a paper to the template then added a snowy overlay, also Clipped to the template. Then I added some wintery embellishments, the same as I would for a layout. Note that the text (Merry Christmas with love from Jan) is upside down in the image. That’s so that when I fold the cardstock to form the pocket, it will be facing in the right direction.

Before I moved on to printing, I Saved the finished tag by clicking File>Save As>PNG then deciding which folder to stash it in so I can find it later. I gave it a name I would remember then clicked OK. Why a PNG? I want the background to remain transparent.

The dialog box default settings are the ones I typically use so that I have a clean, crisp, solid image.

After I Saved everything, I put a sheet of white 65 lb cardstock in my printer and hit Print.

I used a guillotine paper trimmer to cut away the excess cardstock to make cutting out the tag a bit easier. Scissors work equally well. Rounding the corners takes a bit of finesse though. If you have a Cricut or similar cutting machine, you could do a Print and Cut with it to save yourself some effort.

Well #%@&!***. I used a new scoring board and the stylus that came with it to score the fold lines. But the cardstock I used tore! I’ve had some scoring issues with that particular brand of cardstock before, so I shouldn’t have been surprised… [Note to self: DON’T use the stylus that came with the board, use one with a ball tip!]

Back to the printer. This time I used premium matte photo paper, which gives a somewhat sharper, brighter image. It’s a 61 lb weight, and the finer fibers in it make it very smooth. I know from previous experience it scores nicely.
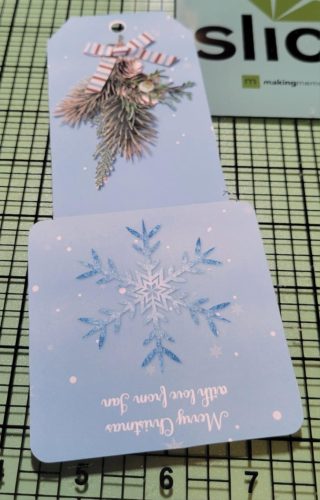
You can sort of see the horizontal scored line in the photo below. I’ve folded in the flaps and reinforced the folds to make them sharp.

For this step I used narrow double-faced tape. You could use quick setting liquid glue or a glue runner if you have one. Only the two flaps will be stuck down.
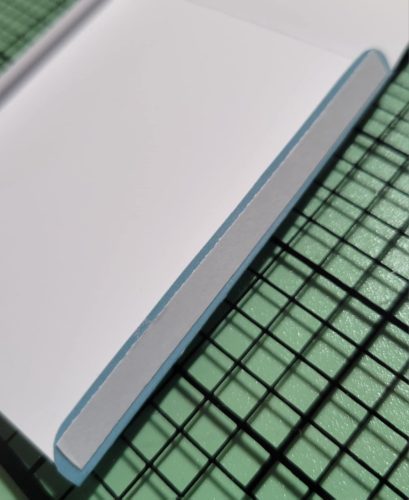
I tucked the flaps in as I folded the back up to meet the front. I put a ruler across the tops of the flaps while I did the fold to keep them flat, so I wouldn’t stick them crookedly.
Here’s the back of the tag with a gift card inside. It slid in there easily and there’s a decent amount of room to spare… It could probably hold several cards.
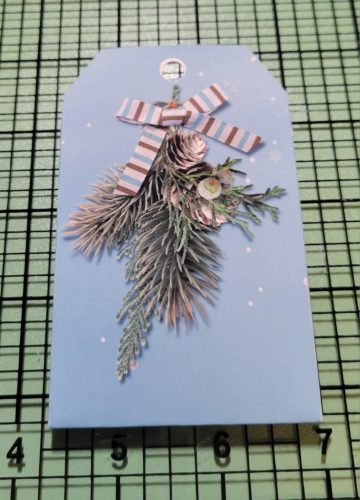
All that was left was to add a twine loop to hang it from the gag gift package.

If you want to give it a try, you can download the template HERE.
Next Tuesday will be Challenge Spotlight Day. Which Challenge will I pick this time? Check back to find out. 🙂
![]()