For all you former paper scrappers: INKED EDGES!
![]()
After last week, I hope there are still people willing to read my tuts. I know it was a bit of a beast, but I’m sure somebody out there is happy to give it a whirl.
Recently I was making some greeting cards and reverted to my paper-scrapping days. I LOVE inked edges on various parts of my cards and I did them on many of my paper layouts too. While I was getting dirty it occurred to me there might be a digiscrapping tutorial in there somewhere. I’ve done inked edges on some of my digi layouts and have an easy way to do them so now I’m going to share that with you. And as promised last week, this is a short snapper of a tut.
This handy tip will work on just about any paper item you can think of, with some slight variations. The trick is to work on a separate layer and on a larger-than-usual canvas. I used a template from Aprilisa’s Ready for the Weekend template pack #1 for this tutorial layout since a template makes things simple to demonstrate. So let’s get going.
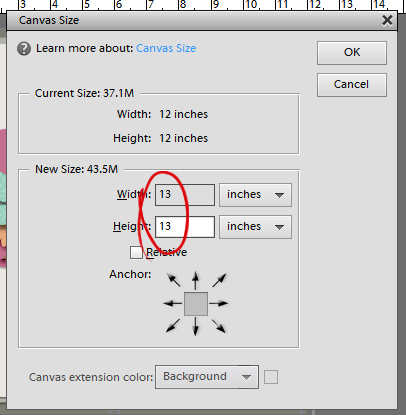
I opened my template on my work space. Then I enlarged the canvas size it’s sitting on to 13×13 inches. This part is important, otherwise all you’ll have is a mess. I use a keyboard shortcut (I know, shocking, right?) for this – CTRL/CMD>Alt>C but you might like to do it the hard way. Click on the Image tab, Resize and Canvas Size. (See the keyboard shortcut there?)

This menu will pop up. Choose something larger than 12×12 inches.
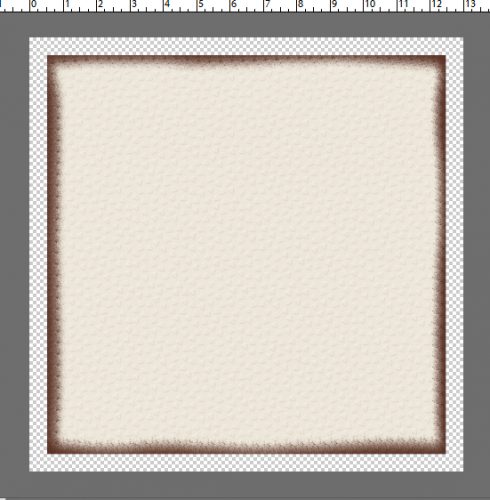
Now you should have a nice transparent border all around your template.

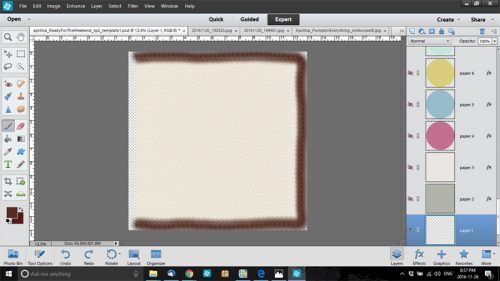
The next step is to turn off the visibility for all the layers except the background layer, where we’re going to start. There’s a quick and easy way to do this too. Just hold down the left click button while you drag your cursor over the little eyeballs.
Of course, if you’re just inking the edges on a tag or a journal card, you can skip this step. Just make sure you have a good transparent border all around your item.
*****Before going any further, open a new blank layer just above the layer you’re working on. All you have to do is click on the icon that looks like a piece of paper with a folded corner, above the Layers panel. This is another VITAL step.*****

Next, select a brush that has a bit of scatter, but not too much. You can use a default brush that came with your software, or you can pick up some cool free ones online from places like Brusheezy.com. I like to use a spray paint brush. And we old-school paper scrappers typically use a brown ink to grunge up our stuff, so I’ve got a brown in the foreground of my Color Picker. Just below the Brush pop-up menu is the adjustment panel for your brushes. Adjust the size so your brush isn’t huge, but is big enough to make the job easy. I usually go with about 400 pixels. You see the default settings for this particular brush set in the screenshot.

Now all you have to do is paint around the edges. Have your brush cursor just off the edge of the paper and go all around the whole piece of paper. You can stop-and-go or do it all as a smooth dragging movement.
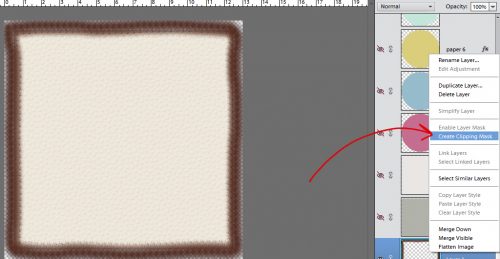
When you’ve got the whole edge inked you’re going to clip the brush layer to your paper. Right click on the brush layer in the Layers panel then choose Create Clipping Mask. Or you can do what I do, CTRL/CMD>G.
Magic! But there’s more!!
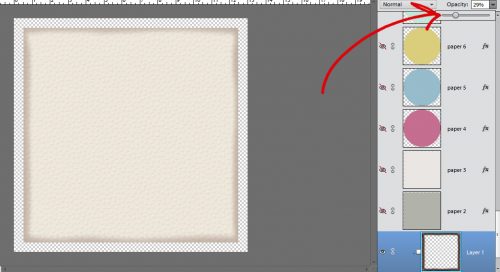
That inked edge is a tad bit dark, don’t you think? So let’s pull the opacity of that layer down to something more appealing. Like maybe about… oh… 29%. And now it’s a nice, grungy but understated inked edge.
The final step is to merge the layers. Select the background paper and brush layers, then right click and choose Merge Layers. Or… do like Jan does and go CTRL/CMD>E and you’re done.

I inked the edges of most of the papers I used for my layout for the November Buffet Challenge. I used parts of several kits: Aprilisa’s Pumpkin Everything Krafties, Connie Prince’s My Journey extra papers, Keley Designs’ Thankful for You stickers and Mandy King’s Family Tradition elements. And, of course, Aprilisa’s template.
I hope you’re enjoying your December and aren’t stressing too much about all the things you think you have to do. See you all next week!
![]()