Preferences and Settings
![]()
Thank you all again for your kind thoughts and prayers for my dad. You’ll be happy to know that he had his “big” surgery yesterday and is doing well today. He’s hoping to be home on Friday and that life will go back to normal for all of us. Now let’s talk about settings and preferences.
It hadn’t really occurred to me that this topic would be all that helpful, since preferences are quite individual. But a message from Ellen (gmae) told me maybe it would be something we could talk about. She messaged me to ask about layer thumbnails. “When you do your screen shots of the layers panel you can see your layers so well. I have to guess unless its a large background. is there a setting somewhere I am missing? I have looked at the general presets and nothing seems like it addresses the size of an image in the layers panel.” It’s actually a really simple thing to make the layer thumbnail fill the whole box. If someone like Ellen, who’s been digiscrapping for a long time, wasn’t sure how to do it then for sure there are people who are just learning the ins and outs who could benefit from some info about preferences and settings. There are a LOT of screenshots in this tutorial but they DON’T represent steps, so don’t be intimidated. I want to make what I’m showing you as clear as possible. (The thumbnail solution is one of the last things I’ll show you today.)
First, you can’t Edit Preferences if you don’t even know why you’d want to or if it’s possible. Customizing the way your software behaves is a big part of streamlining and improving workflow, making it easier to do the things you want. Under the Edit tab, Preferences is found at the bottom of the dropdown menu. Clicking on it opens another dropdown menu with a list of what can be changed. I’m going to go through each item on the list and expand on what they do.

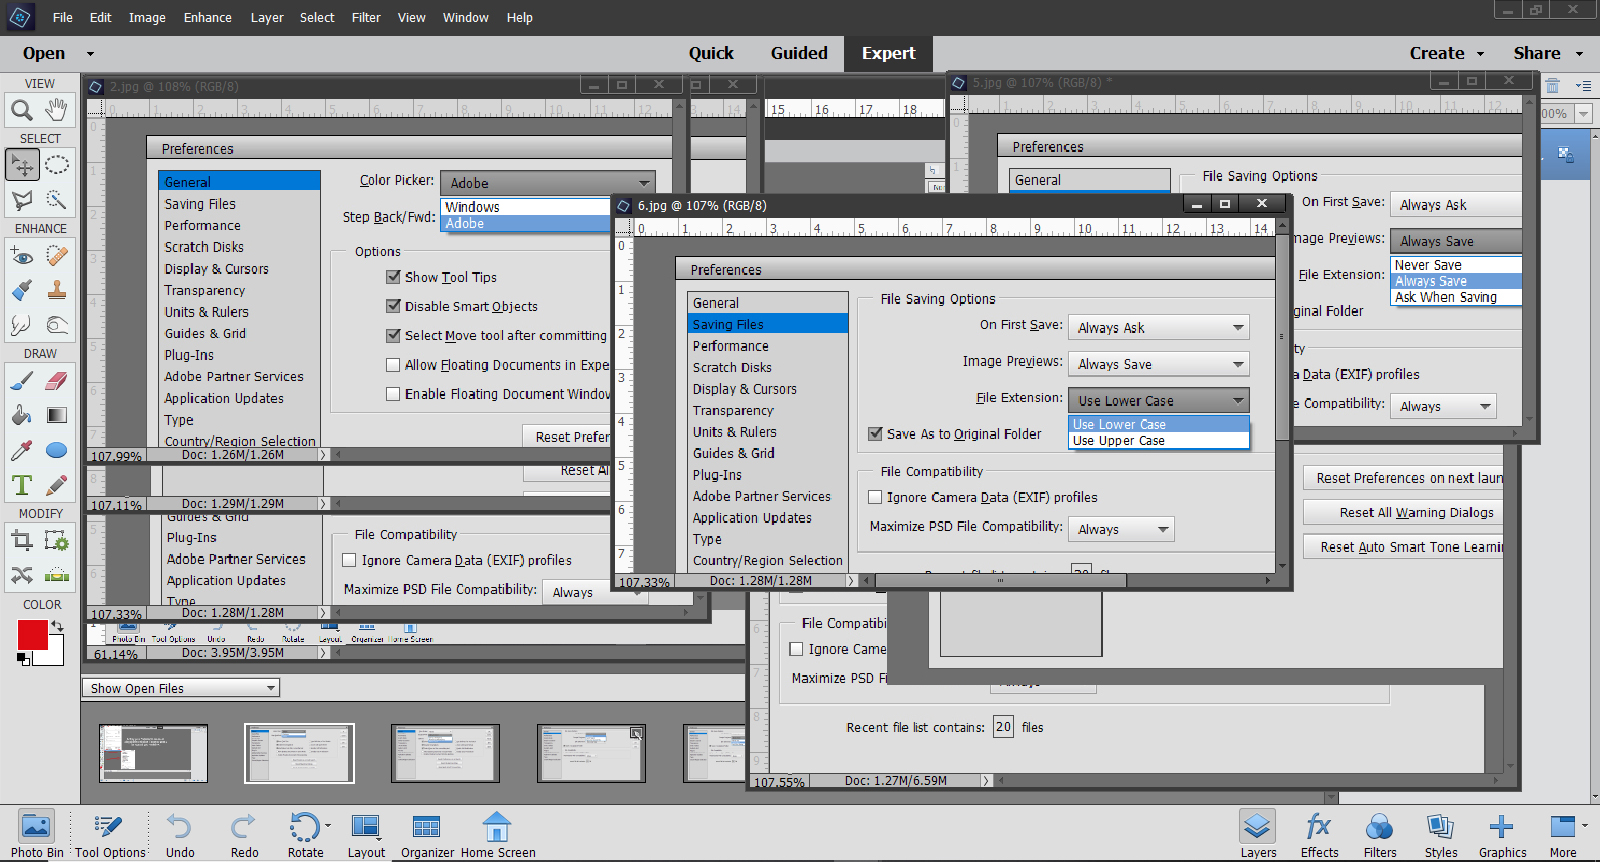
There are lots of options in the General menu. You can choose what Elements uses for the Color Picker, between Adobe and Windows. I let Adobe’s Color Picker do it for me; selecting Windows for this setting doesn’t provide the palette you’ll see in my tutorials where it’s possible to make tiny adjustments to the colour chosen and the only options presented are Windows‘ basic colour sets.
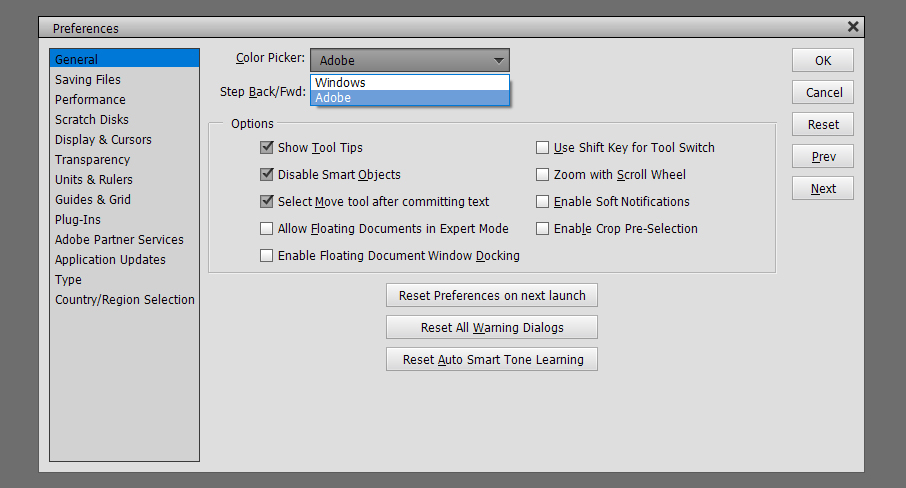
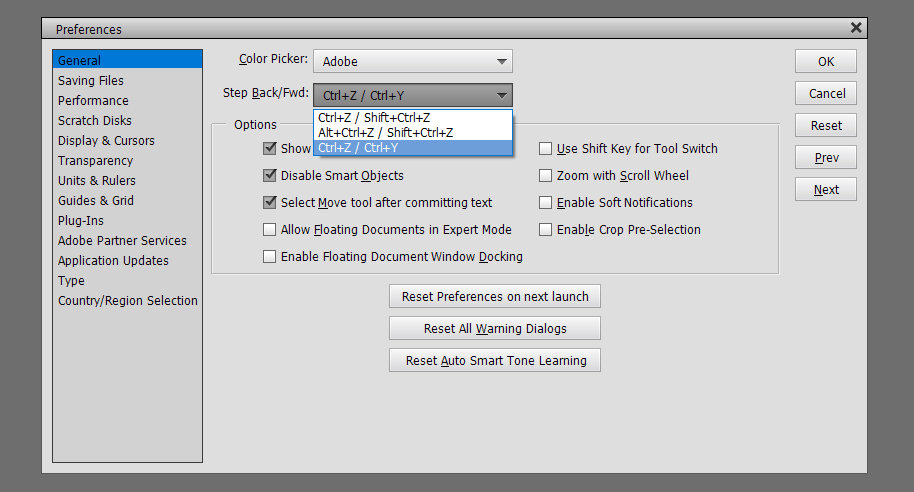
Just below the Color Picker setting is Step Back/Fwd. This allows you to decide the keyboard shortcuts used to Undo or Redo. I like the most basic, CTRL>Z and CTRL>Y – fewer movements and fewer keys to remember!
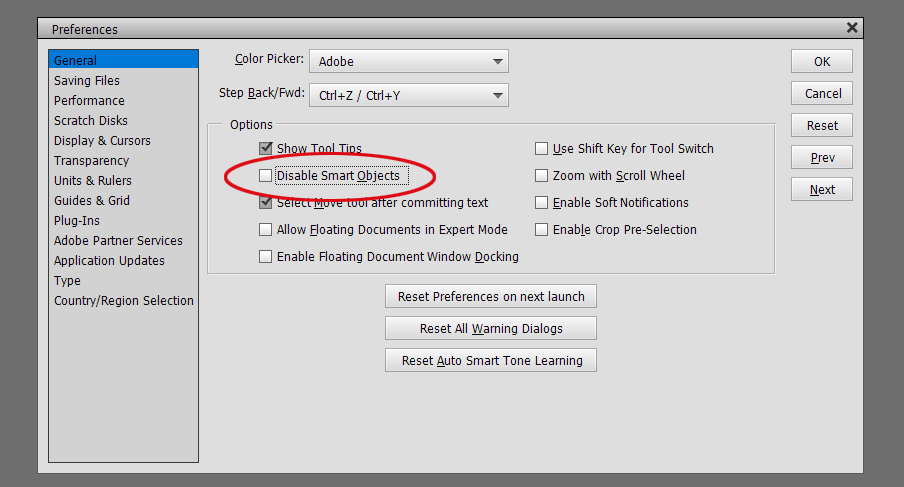
The other preferences I use are shown above and below. The ones I choose are largely self-explanatory but I’m going to talk about some of them in greater depth. Show Tool Tips means there’s a visible icon for the tool on the workspace so you can see where you’re putting your cursor. I don’t know about you but I NEED that visual! Select Move Tool after committing text also speaks for itself. As soon as the checkmark is hit, the Move Tool activates and you can shift your text in all directions, as well as resize it. Disable Smart Objects is a bit more complicated and needs a bit more discussion. Essentially, Smart Objects are “locked” and can’t be edited without first being Simplified. Also, in Version 14, everything was considered a Smart Object and when an item was dragged onto the workspace from the Photo Bin, it was automatically made to fill the canvas. Think about a 12×12 button… Nope! I’m going to show you what unticking this box does.
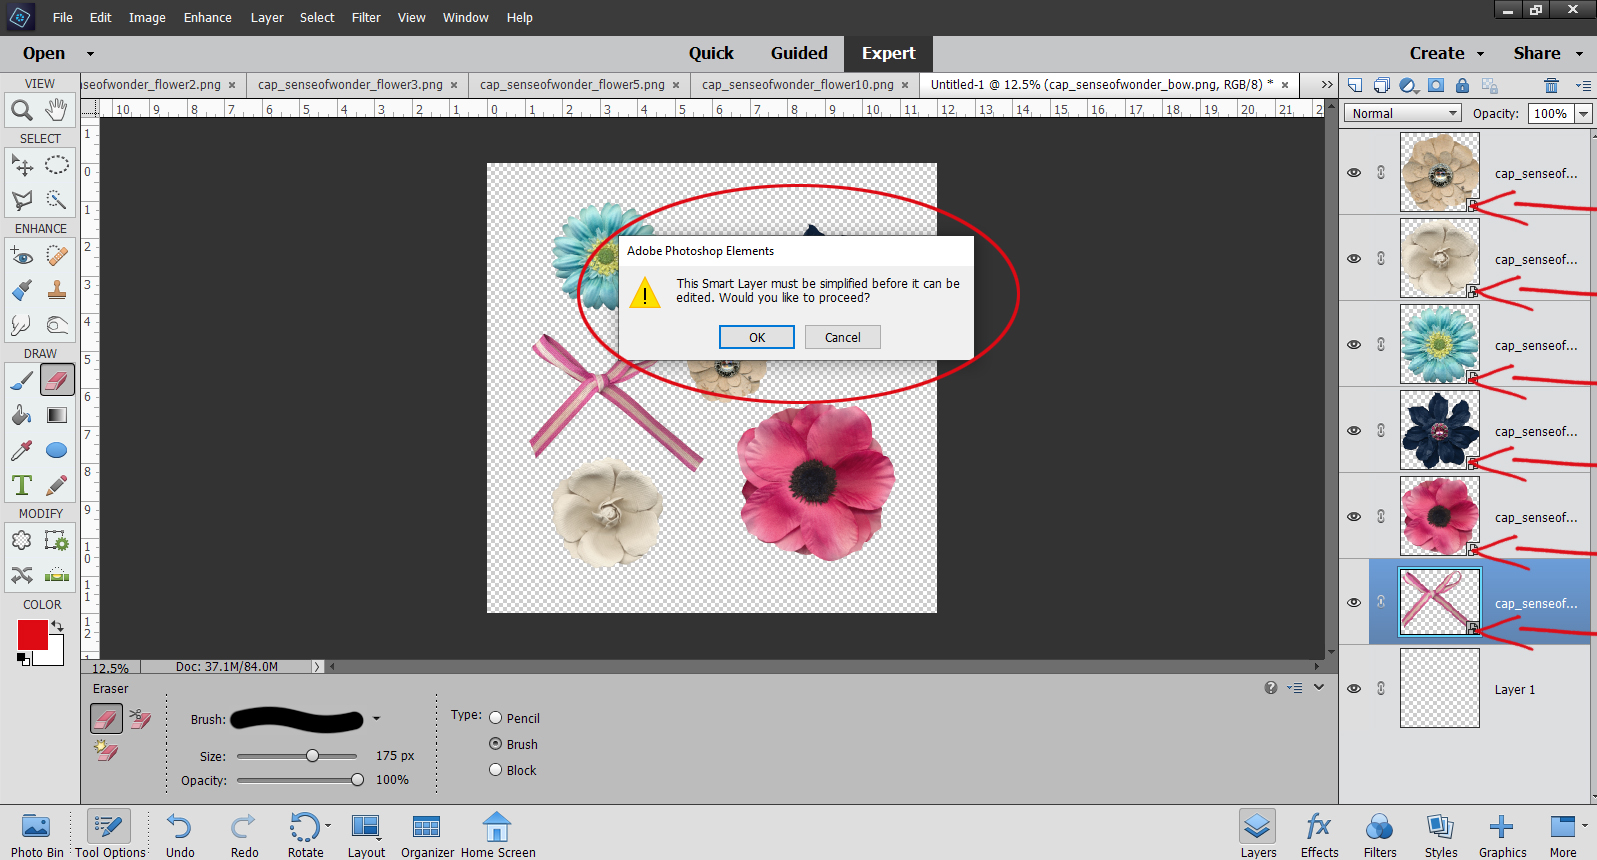
In the screenshot below, I want to Erase part of the bow. But when I try to do it, I get a pop-up as shown. And if you look at the layers in the Layers Panel, each of the embellishments I’ve got on my canvas has a little box in the lower right corner of the thumbnail. That tells me the layer CANNOT be modified other than to resize and rotate.
What does Allow Floating Documents in Expert Mode do? Well, instead of only having the images open up on the Photo Bin, they’re also opened in their own full-sized windows right on top of the workspace. These floating documents can be resized and moved around on the workspace by holding down the left mouse button and grabbing the document by the dark bar at the top. Lots of people like to work that way, because it allows you to drag things between these floating documents and it can be useful when photo editing. But for scrapbooking, I don’t think it’s all that practical. (“Preference”!) Here, I’ve resized some of the images I’ve opened.
Busy, isn’t it? Now let’s look at Enable Floating Document Window Docking.
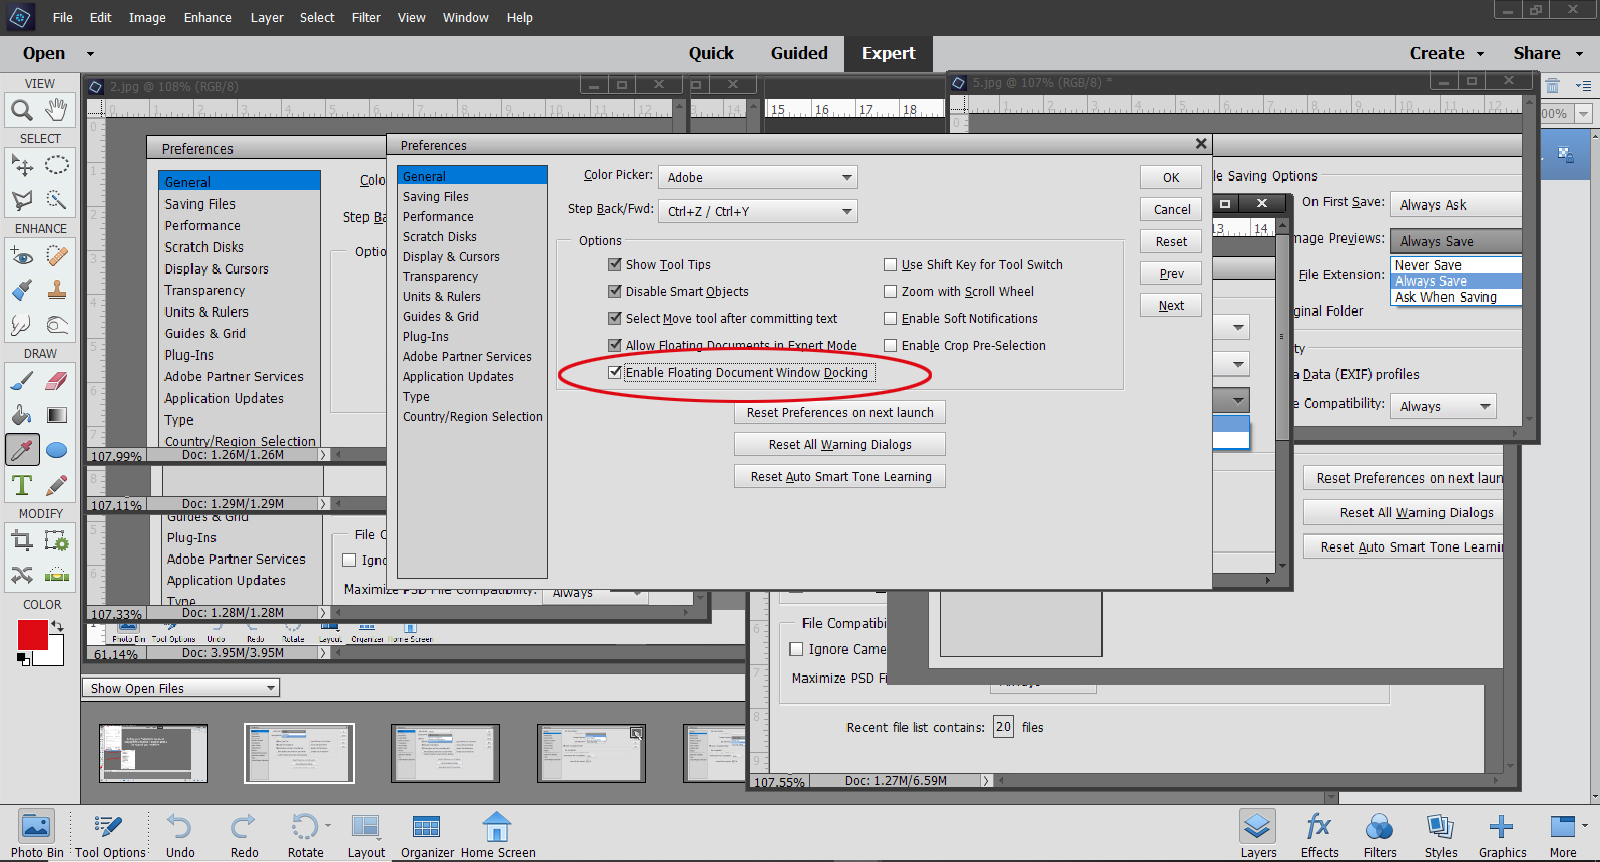
This is another preference that lots of people love, but for me it only adds to the overstimulation! What it does is give each of the documents its own tab. You can see multiple Elements icons in the toolbar as shown. Moving the mouse over the toolbar will show each of these documents and let you move between them. For me, this isn’t workable, so I went back and unticked both Floating Document boxes.
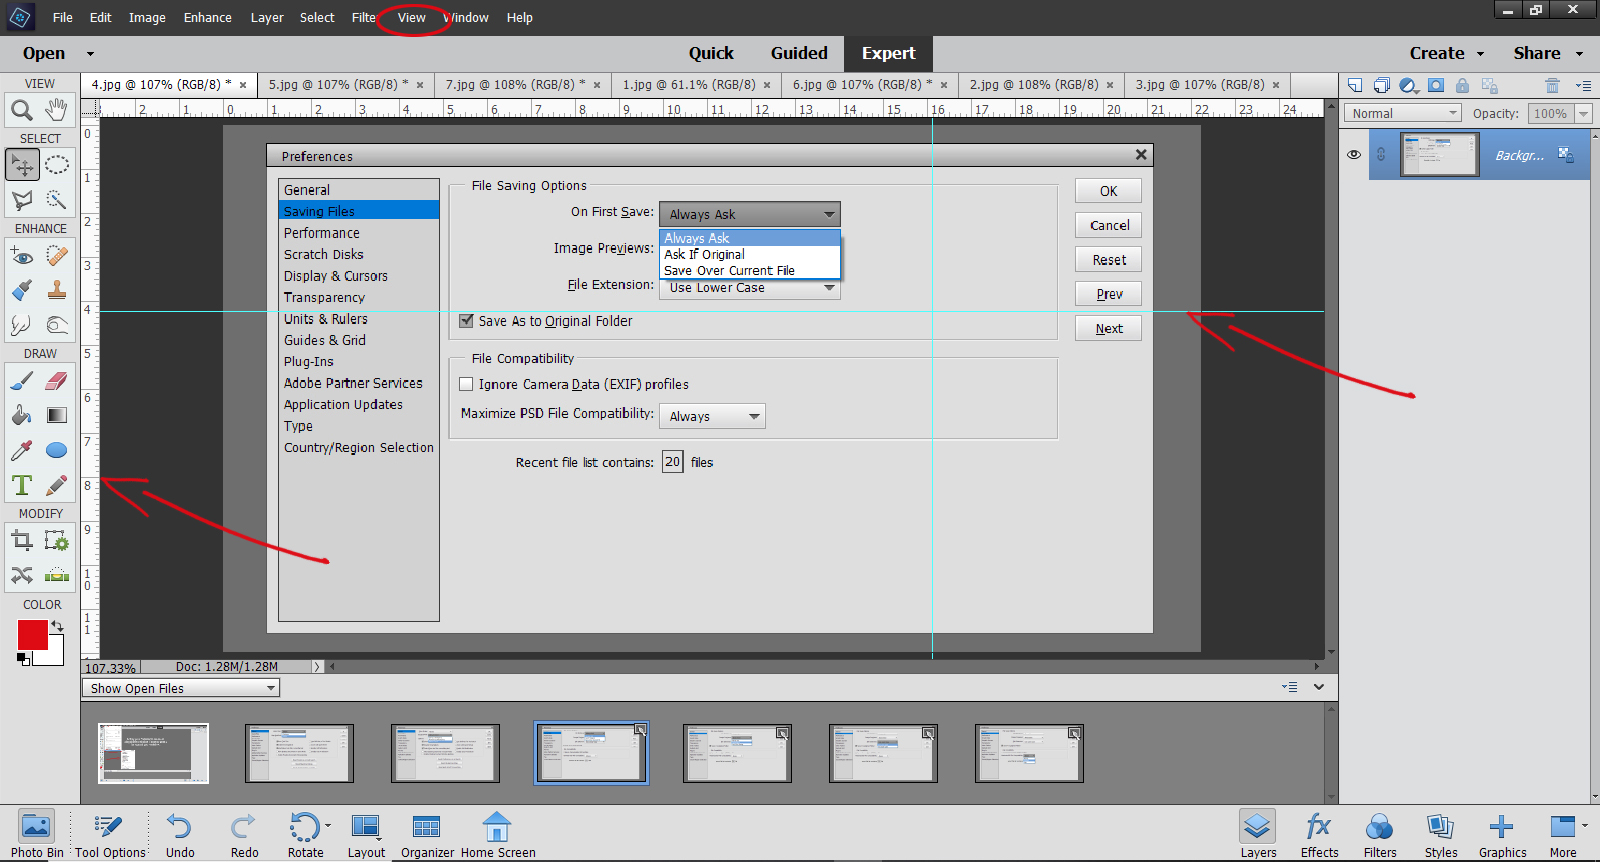
Next on the menu is Saving Files. These options can be really helpful. I like to be asked before Elements does anything that might be hard to undo. Other people are okay with only being asked if the file is an original, and yet others are okay with Elements just writing over the file every time.
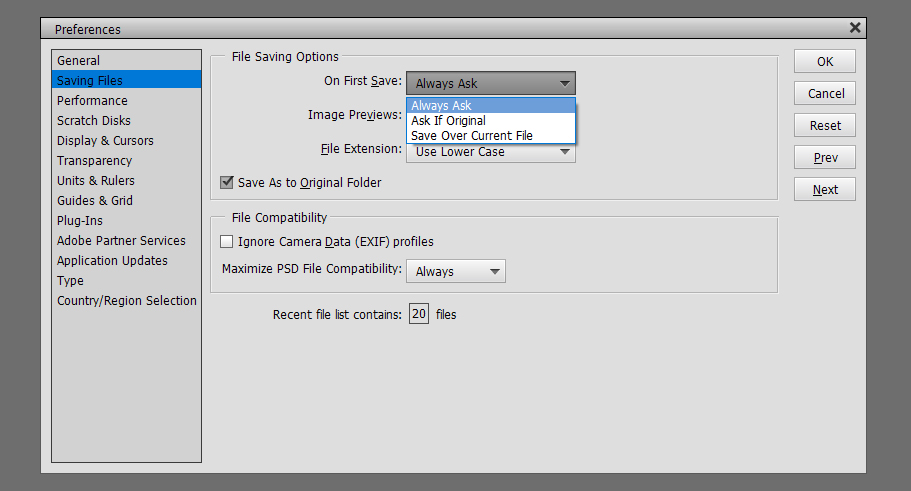
So you might wonder why I’ve selected Always Save when it comes to Image Previews. I’ve found it really doesn’t affect anything I do.
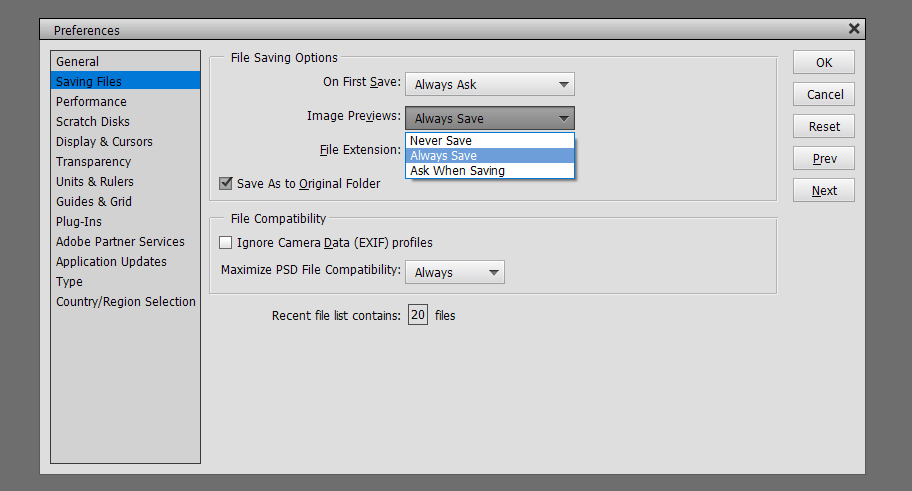
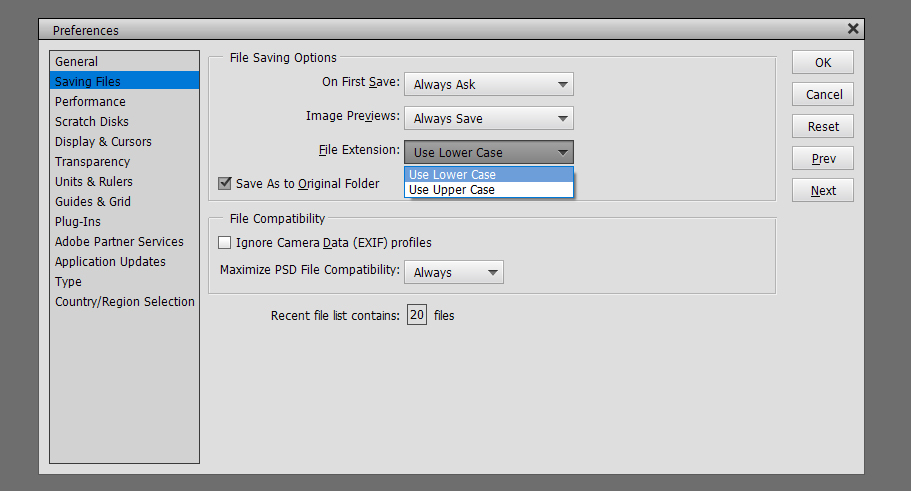
File Extension lets you decide how the saved file will be named when you save it. I prefer lower case. By ticking the Save As to Original Folder, I know anything I Save As (CTRL/CMD>SHIFT>S) will go into the folder where I opened it from originally. You may recall that I use folders to organize the things I plan to use for my layouts so this just makes sure the final versions of my layout will be easy to find later.
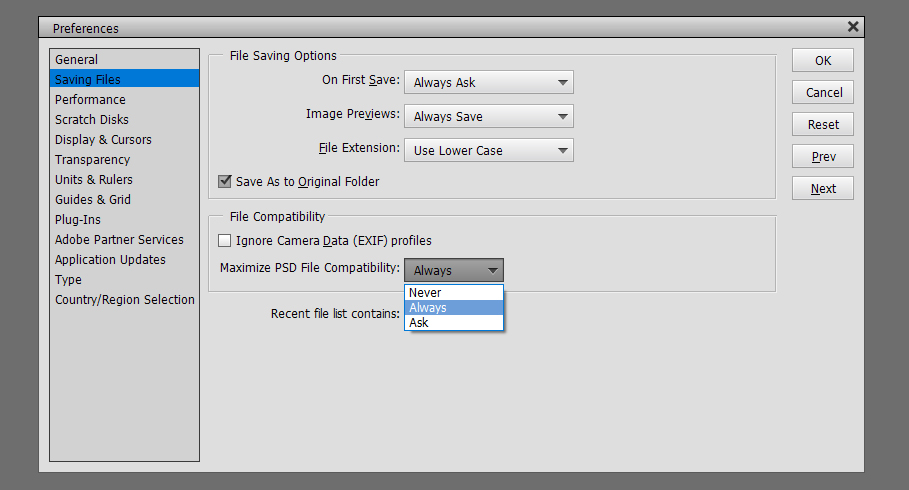
I’ve left the Ignore Camera Data (EXIF) profiles box unticked because although I use Elements for photo editing, that’s not my primary use and it makes no difference to my scrapbooking. Maximize PSD File Compatibility will allow me to use those PSD files in earlier and later versions of Elements without a lot of extra steps. Recent file list contains x files lets you choose how many files you’ve recently opened will show on the list when you select Open>Recently Edited from the File menu.
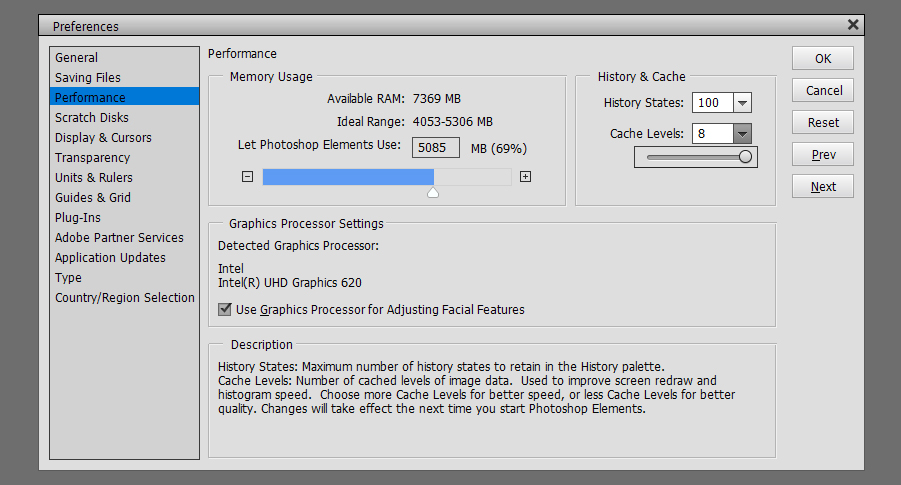
The Performance menu relates to how much of your operating system resources Elements uses when it’s running. The software will make a recommendation about how much RAM you have and how much you should allocate to Elements to keep things running smoothly. Just realize that when you allocate a lot of resources to Elements in this setting, while it’s running it will slow down other things you might use your computer for. There’s a good explanation of the other settings down at the bottom of the menu.
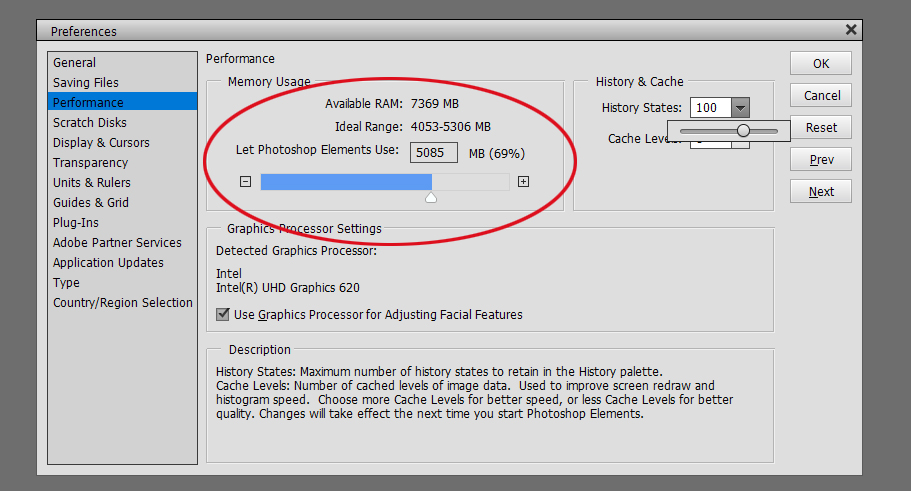
I like to have my Cache Level setting at the max to speed things up when I’m Undoing. With 100 History States and 8 Cache Levels, I can take a layout right back to almost any point from the start and make changes. Ticking Use Graphics Processor for Adjusting Facial Features lets the graphics processor in my computer be involved in any facial feature editing.
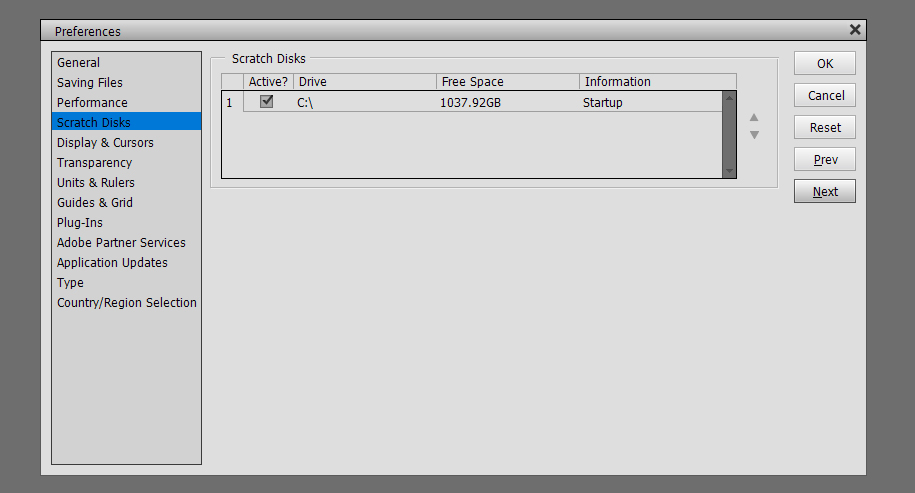
Scratch Disks relates to where Elements stores the History States and Cache Levels. If you have multiple drives, or work from an external drive, you can choose that storage area.
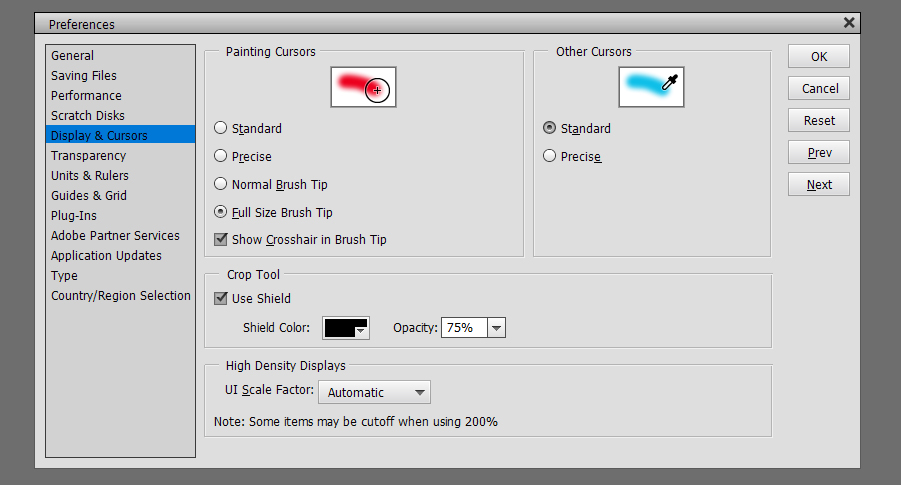
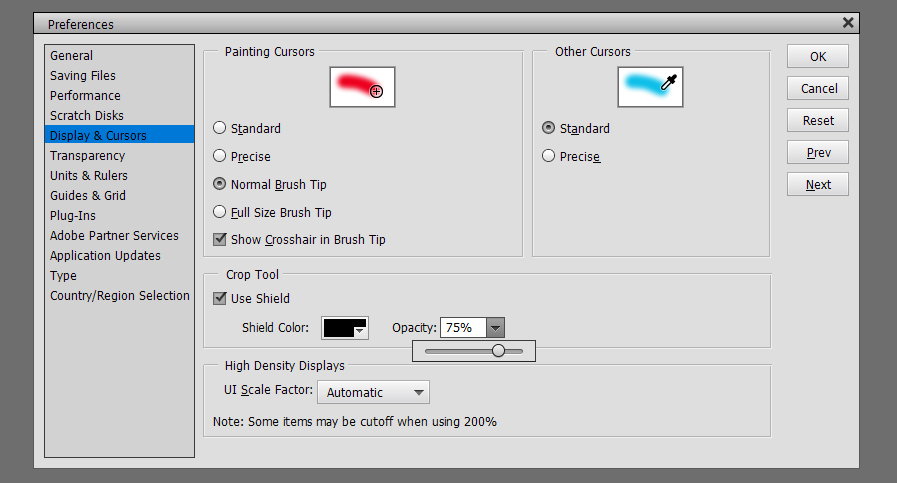
Display and Cursors is a really valuable menu. Here is where you can set things up to make working with Brushes, either as Brushes or within the Pen/cil, Dodge or Burn Tools, more streamlined and accurate. This shot shows my settings. I’ll show you what the rest of them look like in subsequent images.
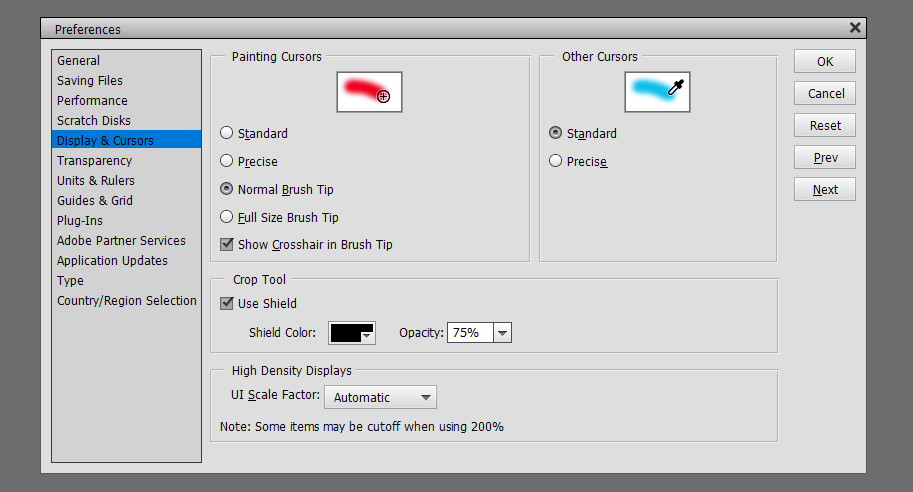
The thing to look for in these screenshots is how the cursor looks, then decide which will work better for you. Show Crosshair in Brush Tip gives a higher degree of accuracy when you’re doing delicate work.


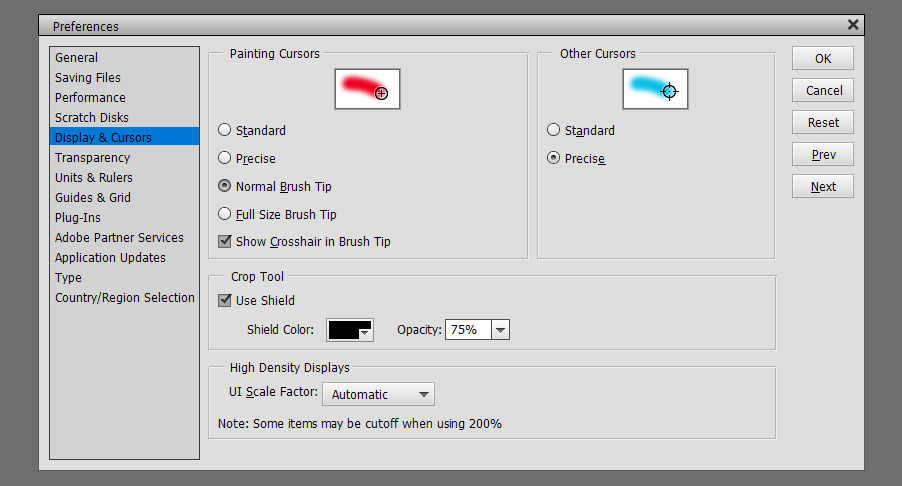
Crop Tool Shield lets you see exactly what part of your photo or image will be included when you crop it. I find that Black and 75% lets me see enough of the image to know if I’m keeping the parts I want. You do you!
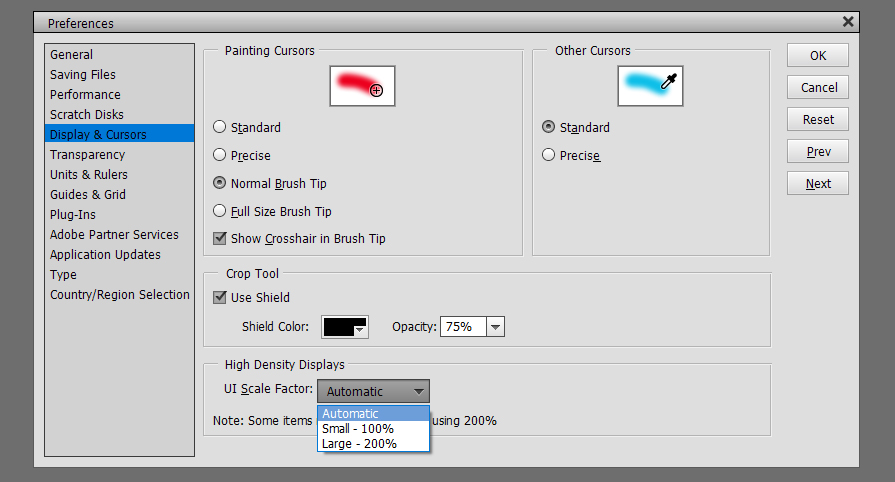
The last setting on this menu is for High Density Displays. Automatic seems like a no-brainer.
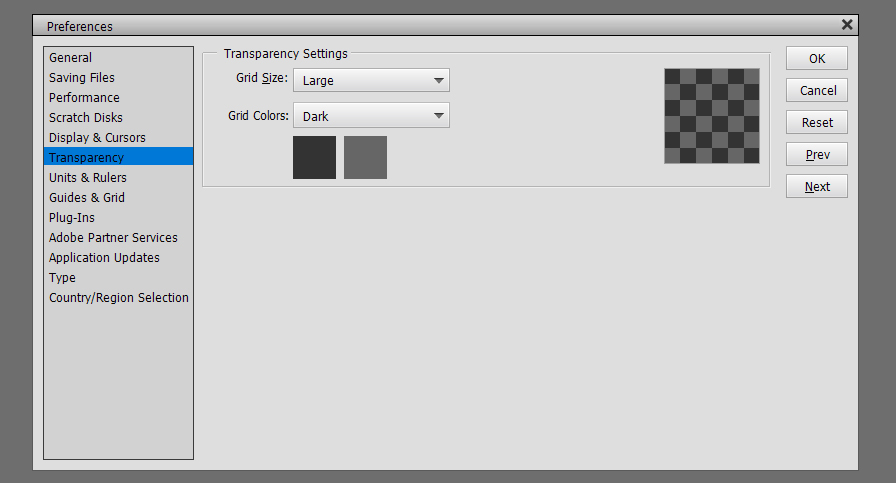
Another really important menu is the Transparency menu. Here’s where you decide what you want to see when you’ve got something with a transparent background. I’ll show you some of the options for reference.
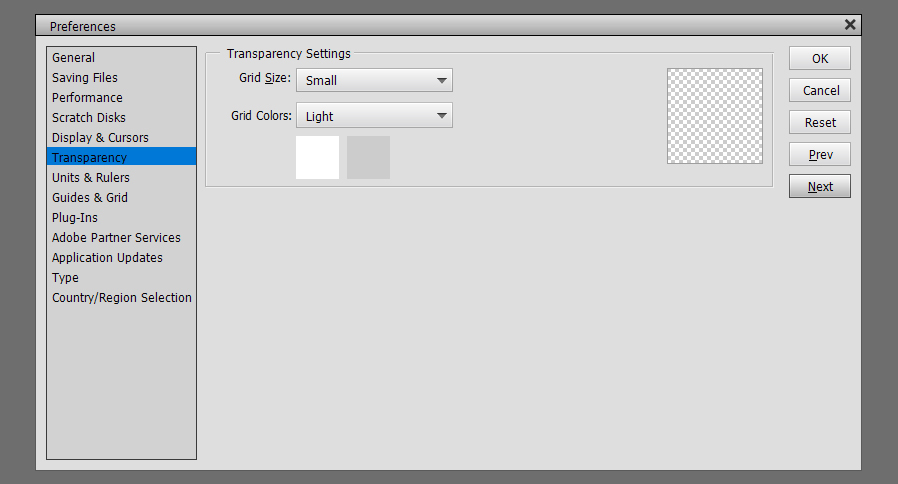
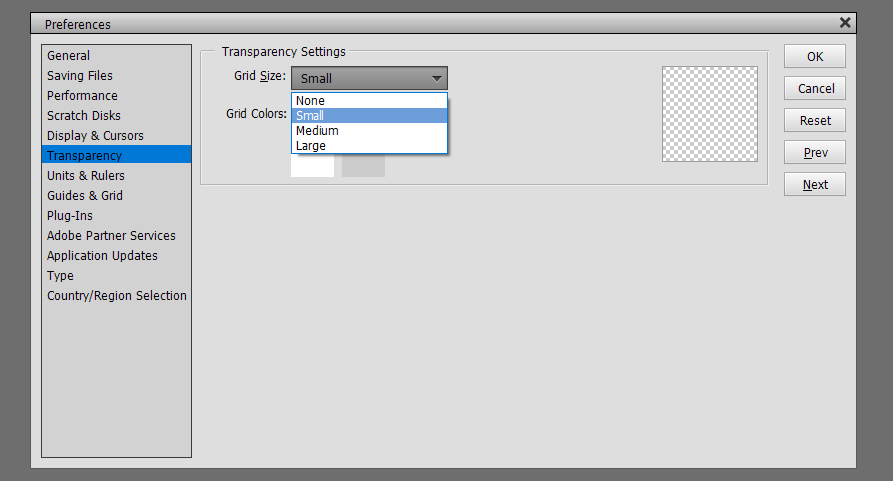
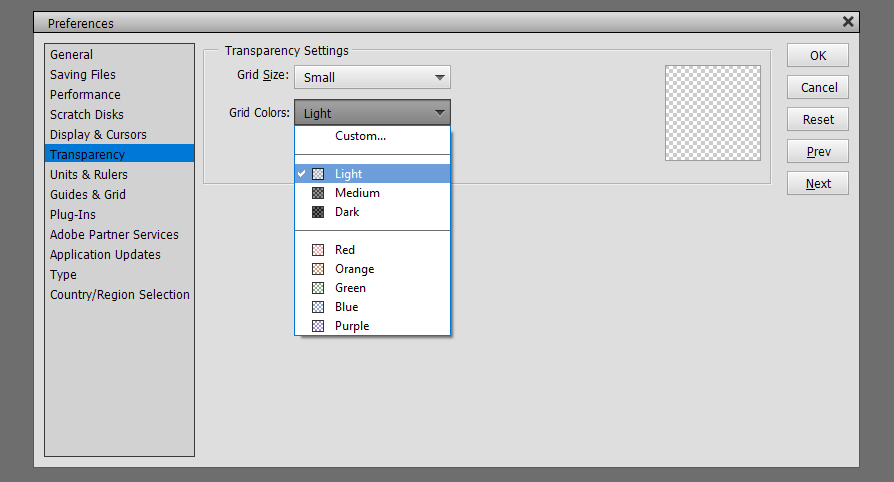

This combo might be useful for some activities but I really can’t think of one. 😉
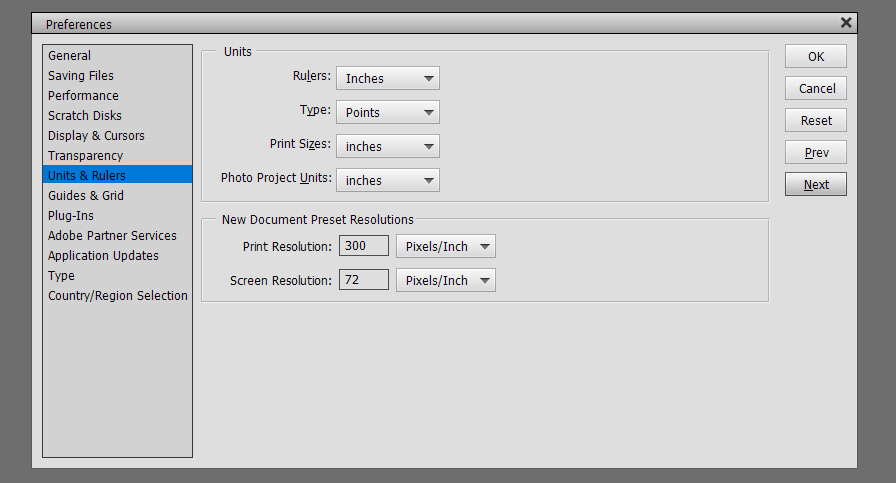
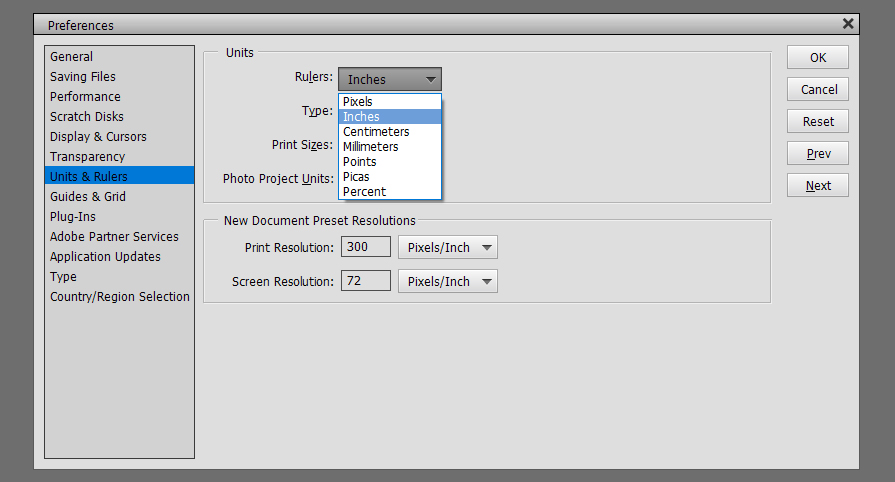
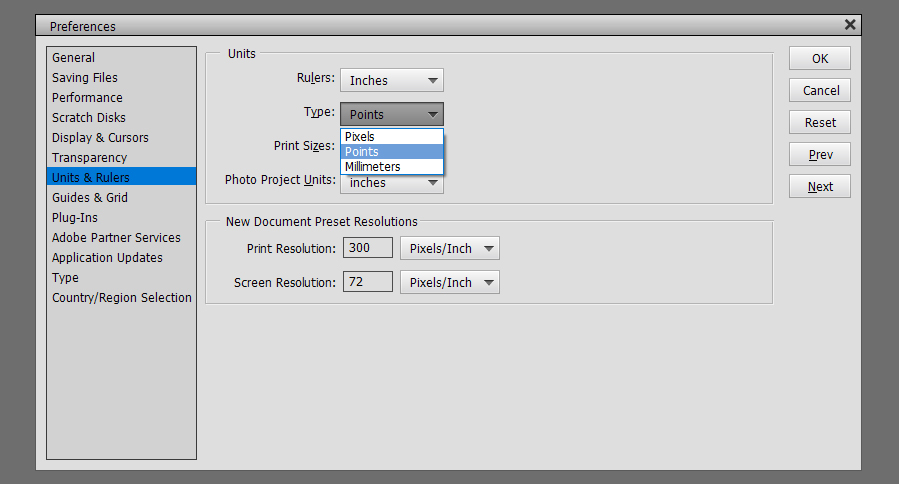
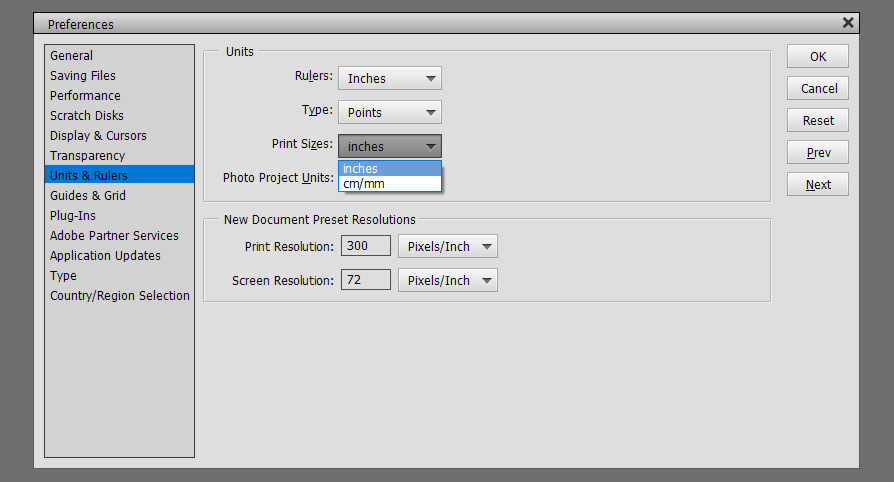
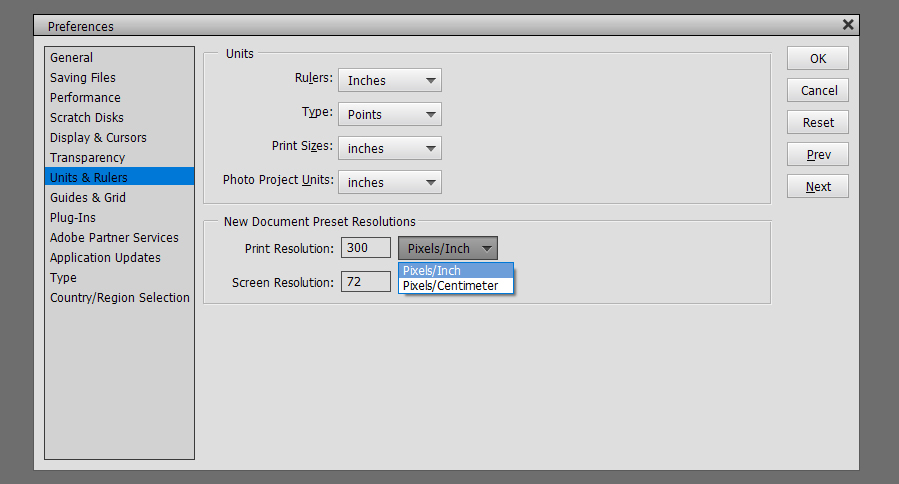
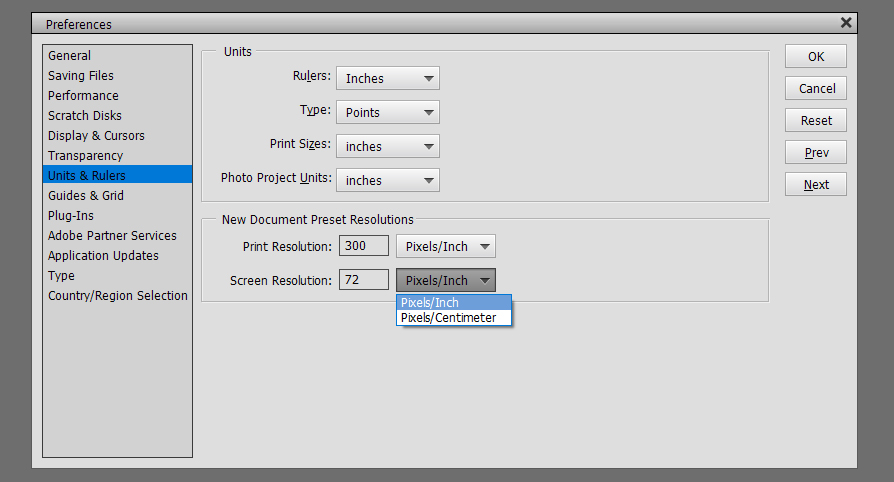
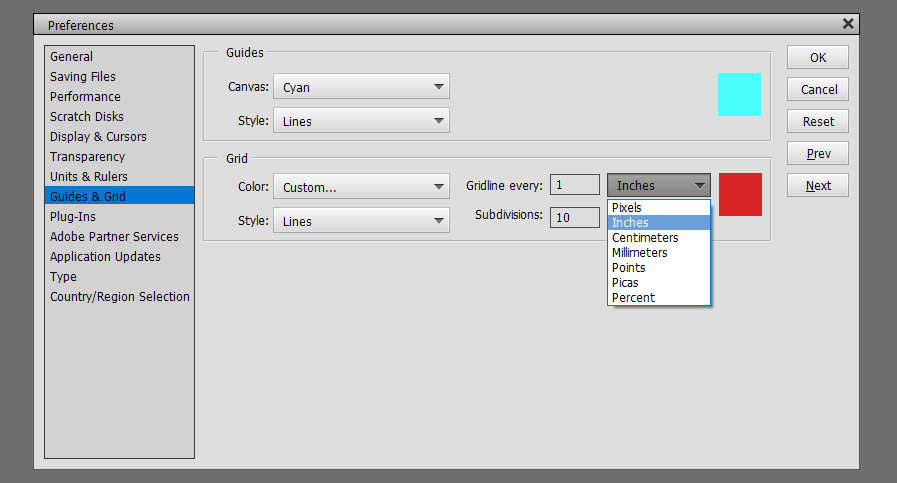
Units and Rulers is where you tell Elements how you think. I still think in inches rather than centimeters, but when I set the country at the tail end of the Preferences menu, Elements wants to default to metric. I have to get tough with it! When thinking about Type, Points is the most commonly used measure and makes it a lot easier to have a clue about what will happen when you type in your text. Print Resolution is a vital setting if you’re planning to print out your layouts. 300 pixels per inch is the optimum setting for that, but when you’re just looking at it on the screen, 72 pixels per inch is good enough. (That’s why my screenshots aren’t as crystal clear as my layouts are.)
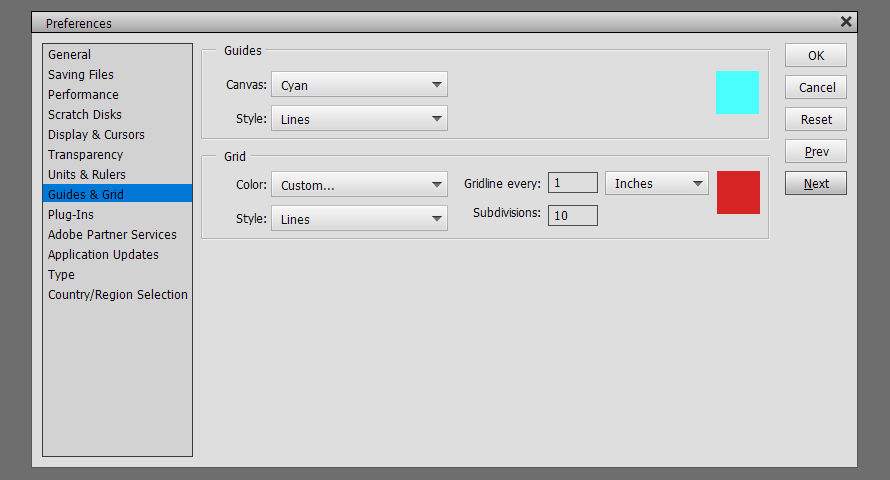
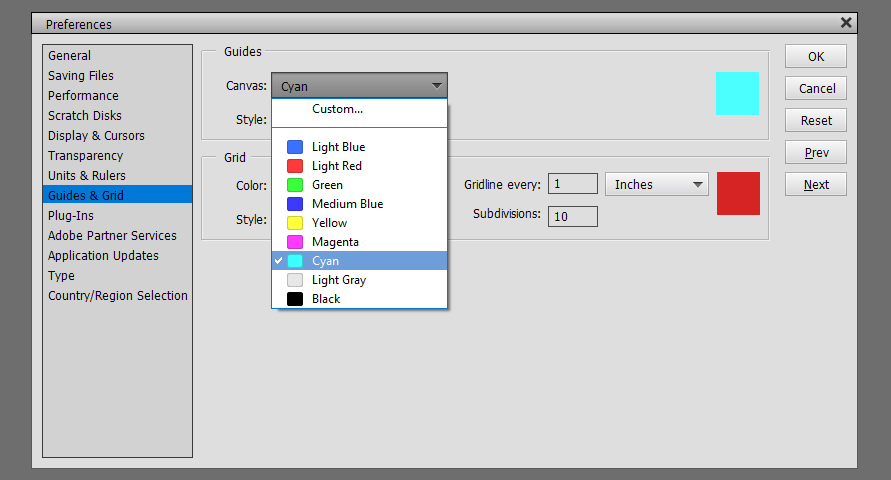
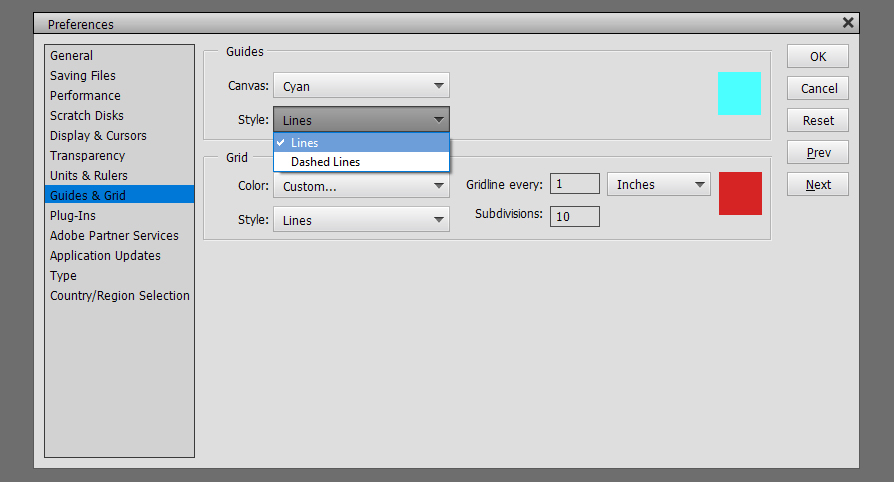
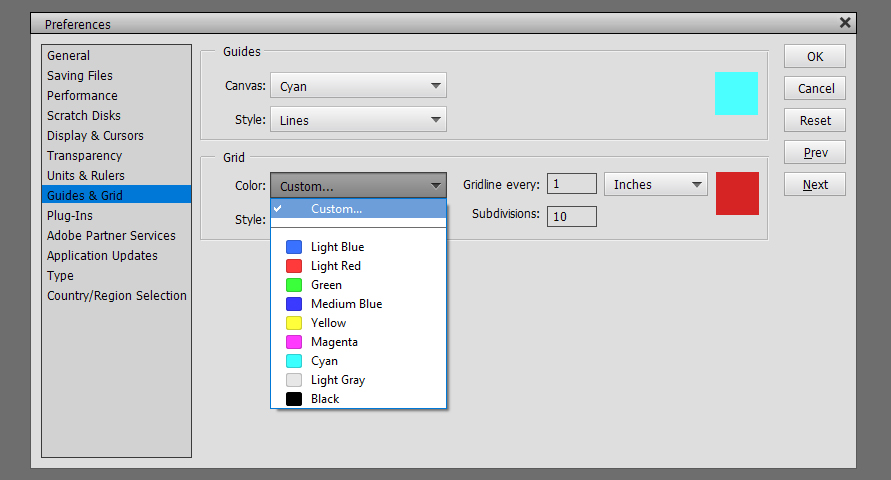
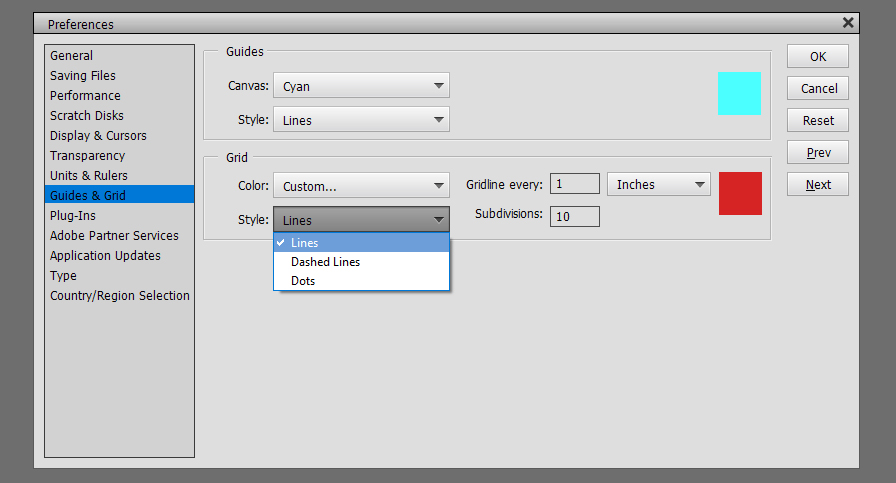
Guides and Grids are helpful tools. Guides are single straight lines that can be pulled from the top or the left of the workspace and allow for precise placement of objects and type on your layout. Grids give you graph paper, essentially. I use both regularly for my layouts. For them to be most useful, you need to be able to see them without them obscuring your work. These tools can be solid lines or dashed lines for Guides, solid, dashed or dotted lines for Grids. I have old eyes so my settings are what will work best for me. By all means, experiment until you get what you need.
Here’s an image with two perpendicular Guide lines on it.
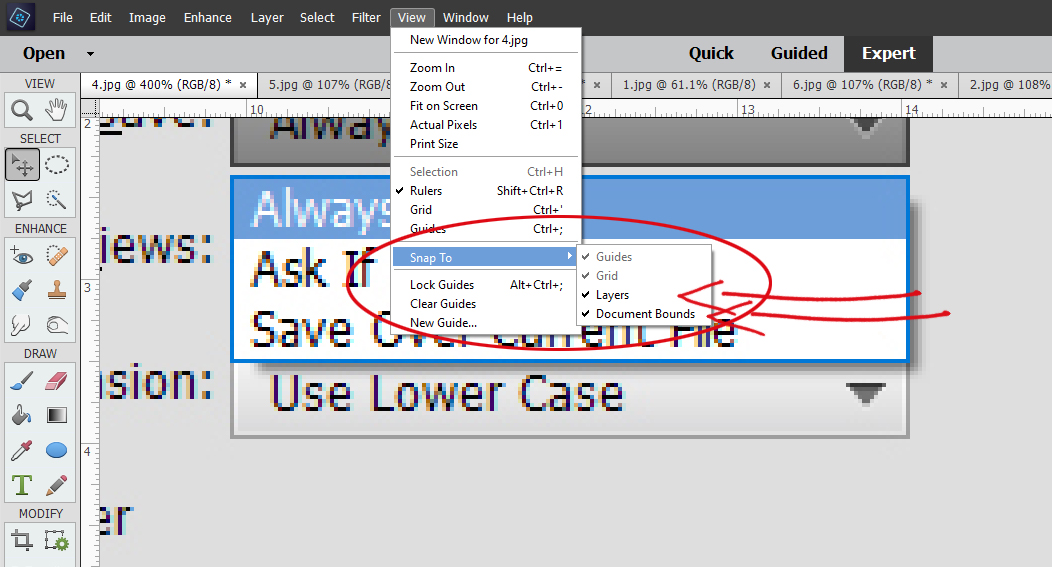
How do you get them to be visible? Along the top of the workspace there’s a View tab. Click it and a new menu opens. Click on the tool you want to make visible. I leave the Rulers on all the time. I like having them there as reference points. Guide lines don’t require this step. Just put your cursor barely off the workspace, hold down the left mouse button and pull the mouse either down or to the right. You can add multiple Guides in either horizontal or vertical plane. Making them go away again, click View and click Guide again.
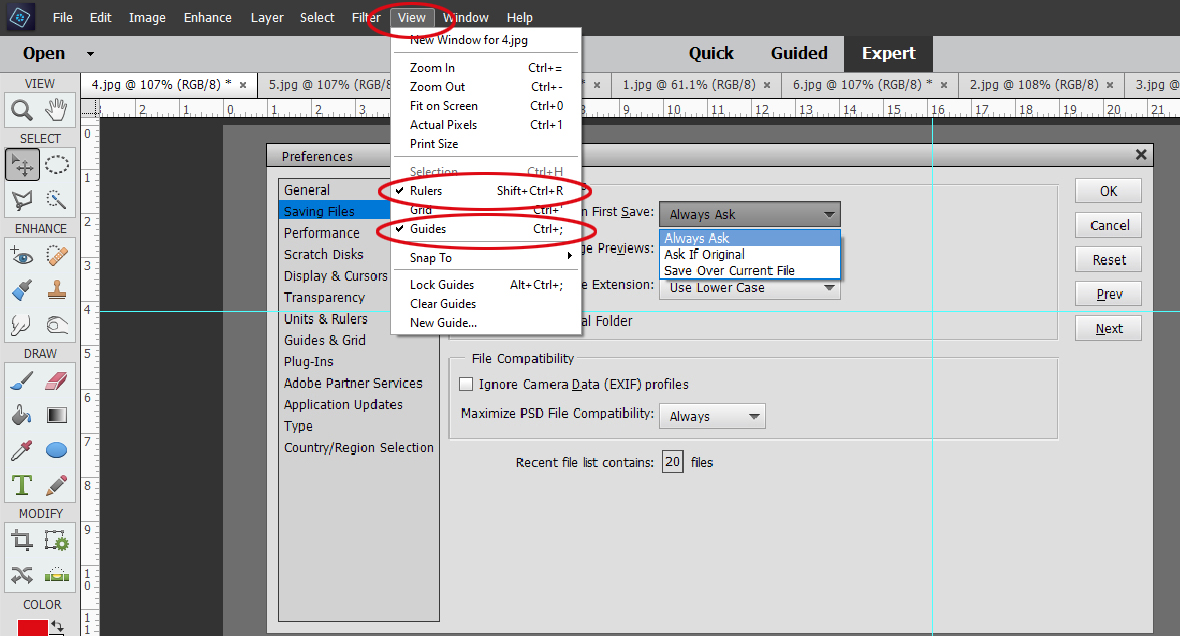
If you want to make it so your Guides and Grids don’t move when you accidentally mouse over them, you want to Snap To. To have them remain on your workspace regardless of what image you’re working on, Lock Guides.
The Grid, or graph paper tool is customizable in several ways. You get to choose the colour of the Grid, the measurements you want for your Grid lines and how that Grid is subdivided. Again you can choose between solid, dashed or dotted lines. I used this a ton when I was doing floor plans of the new house and trying out various furniture dimensions.
Here’s an image using a Grid. (This tool is so useful for speed-scrapping, when the facilitator says, “Place a large flower 2 inches from the left side and 1 1/2 inches up from the bottom.” Or, “Cut a rectangle from your paper measuring 4 inches long by 3 1/4 inches high.”)
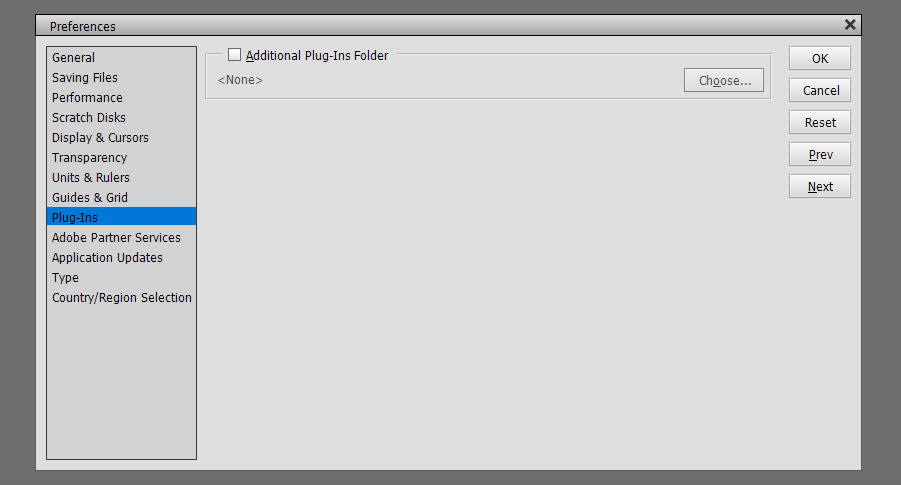
Plug-ins aren’t something I have, so I’ve never had occasion to do anything with this setting.
Adobe Partner Services are for developers and people who are smarter than me.
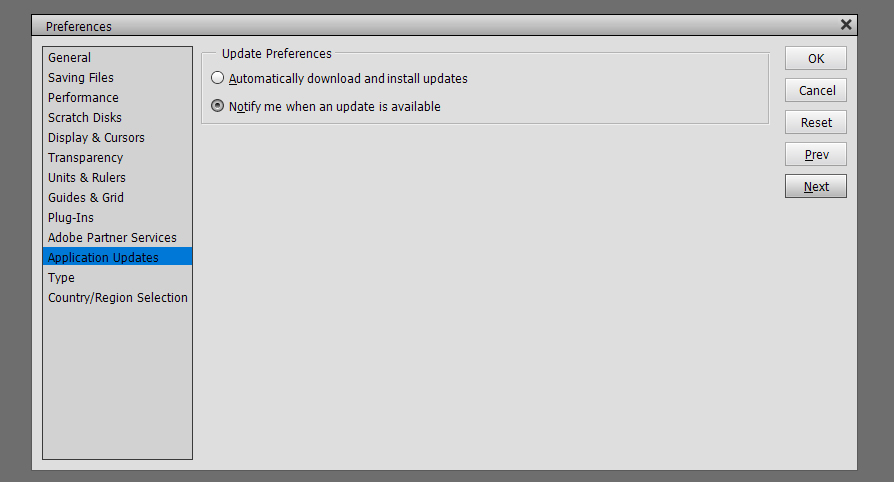
Here you have the option to make Elements tell you when there’s an update to the software, or to give it permission to just update whenever.
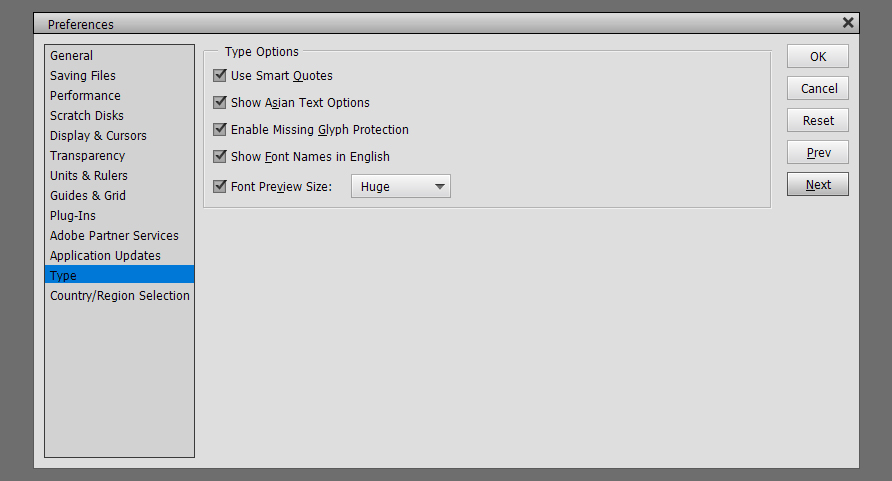
Type… these settings are important for title work and journaling. Smart Quotes means all the quotation marks, apostrophes and commas in your text will be curvy, which is a high-quality typography feature. Show Asian Text Options allows the use of Asian fonts and dingbat style fonts. Missing Glyph Protection is a setting that gives Elements permission to substitute another character for one not present in a font family. Font Preview is something I insist on having as large as possible for my old eyes.

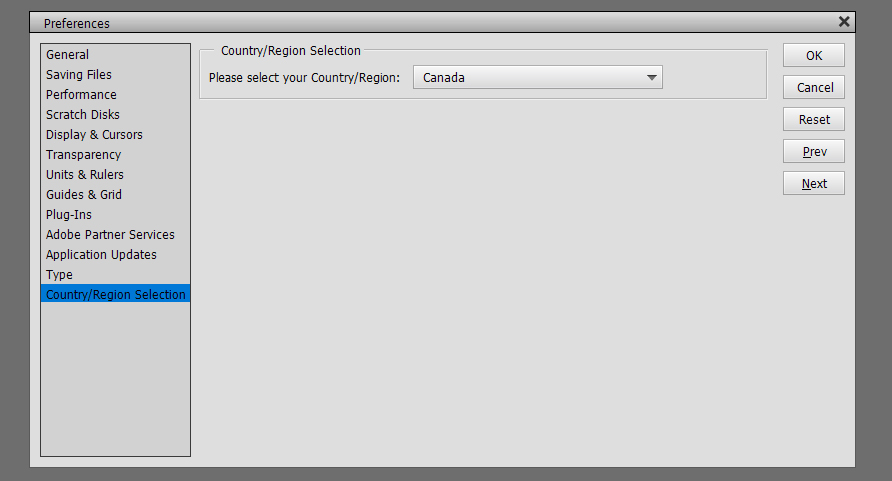
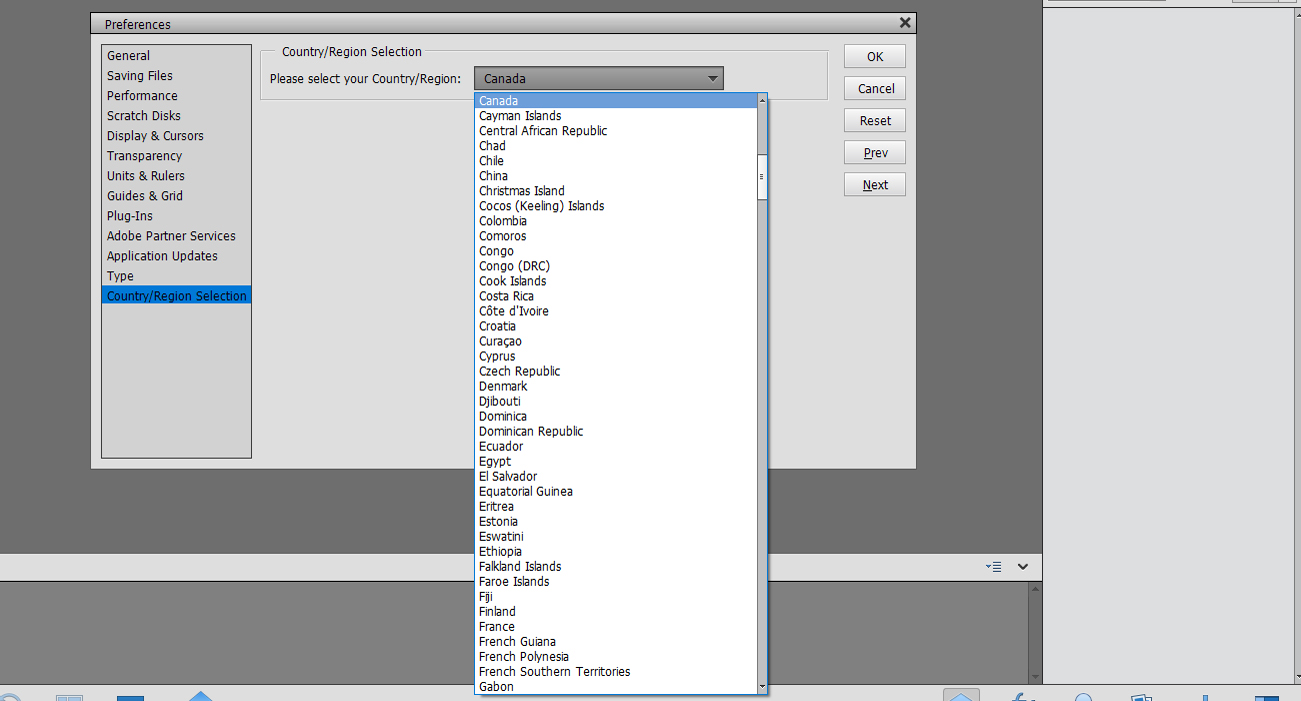
Country/Region Selection is self-explanatory.
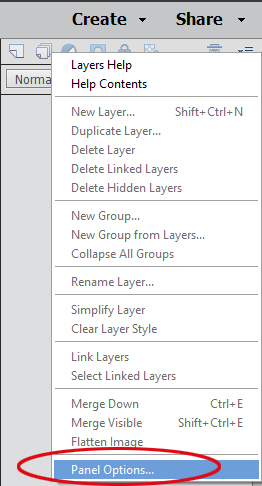
Now, on to Ellen’s question. When you look at the Layers Panel, in the upper right corner of the screen there is an icon that looks like 4 horizontal lines with a tiny blue triangle just to the left of it. When you click on that, the dropdown menu has an item at the very bottom called Panel Options. Click on that and you can set the size of your Layer Thumbnails.
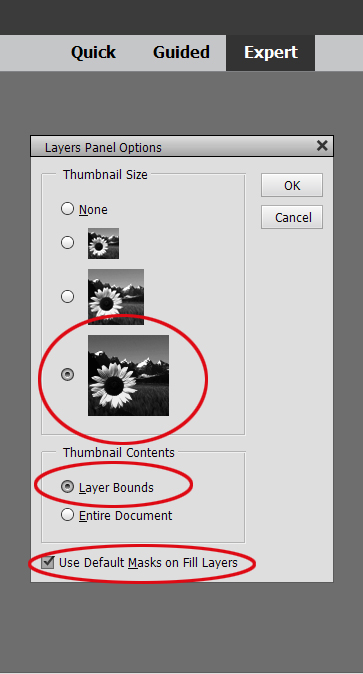
You’ll notice I’ve selected Layer Bounds in the Thumbnail Contents section. That means that ONLY what’s on THAT layer is shown in the thumbnail. If Entire Document is selected… well… the thumbnail will basically be a microscopic version of your entire layout. By selecting Use Default Masks on Fill Layers, I can see what part of the contents of the layer has been filled.
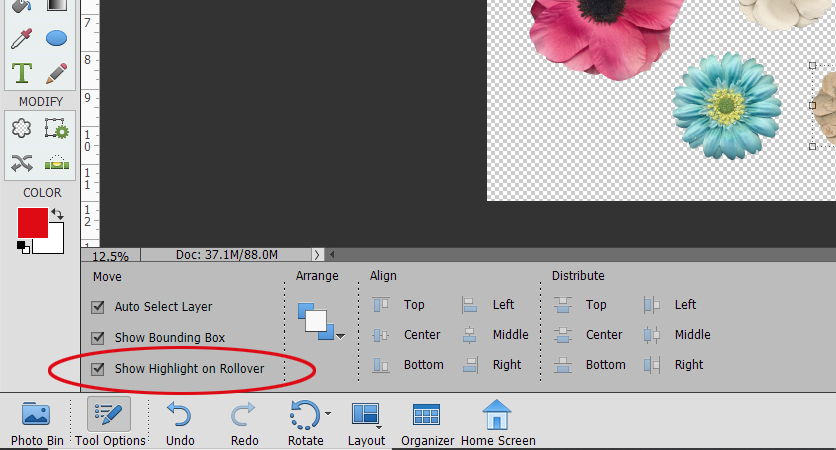
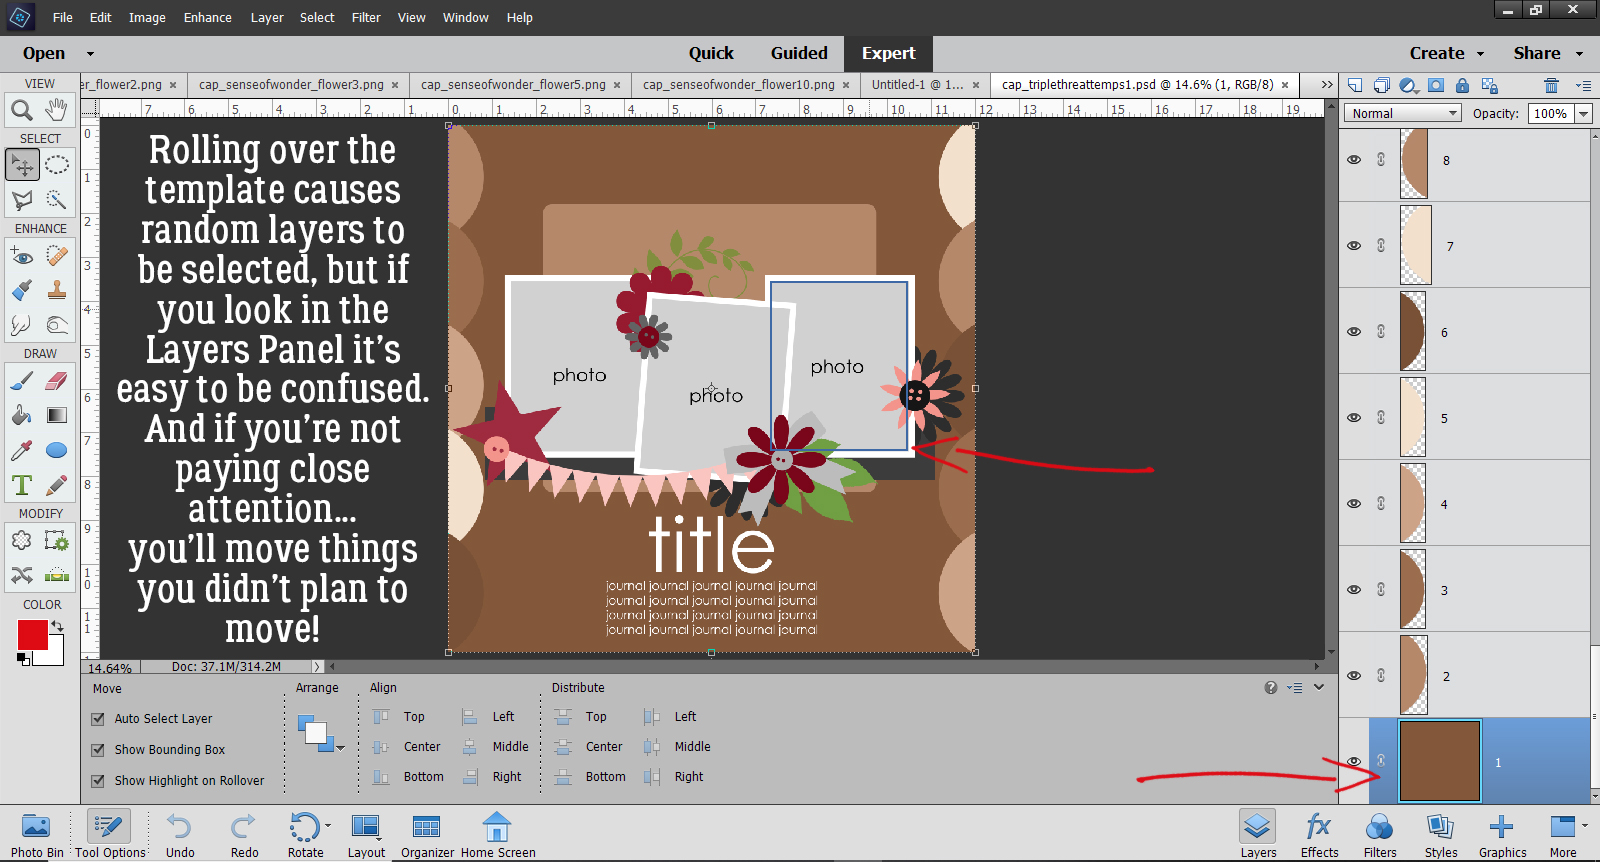
The last thing I want to talk about is Move tool options. You’ll notice I’ve ticked Show Bounding Box but haven’t ticked the box for Auto Select Layer. I want to show you why.

When Auto Select Layer is ticked, Show Highlight on Rollover is automatically selected too.
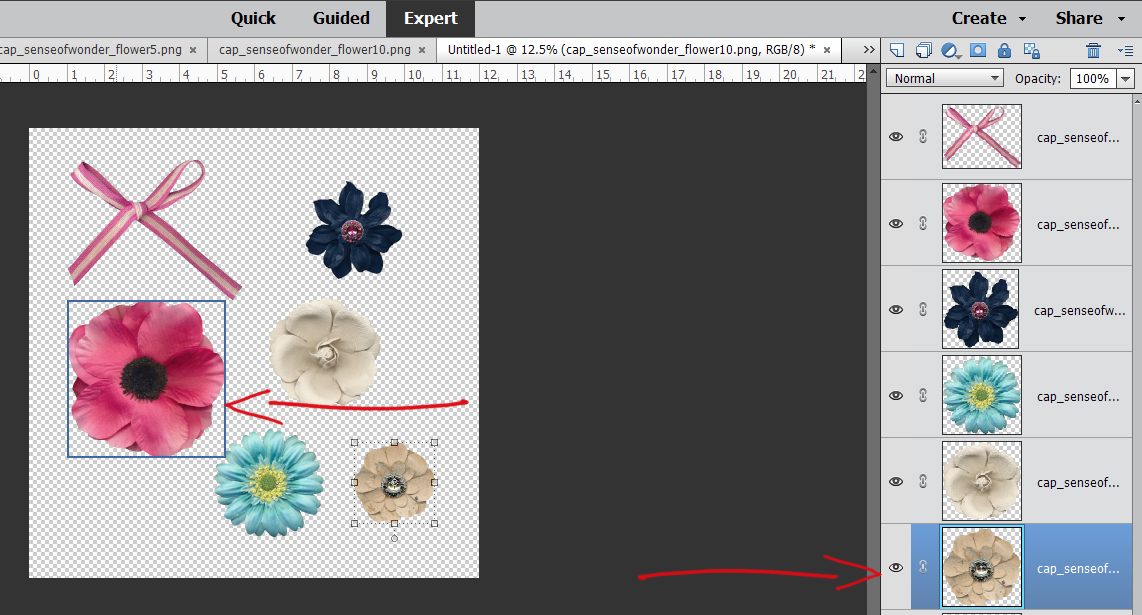
When there are just a bunch of random items sitting on a transparent background, this option isn’t a big problem. When the mouse rolls over any of the flowers or the bow on my workspace, a blue box appears around the outside of the object.
But when there are things positioned on top of other things, it’s very possible to move things you didn’t intend to move just because you had too much pressure on the mouse when it rolled over them. You might not even realize it’s happening until all of a sudden that flower is hanging off the page, or the paper you thought you put under your photo is now halfway across the page. And when you look at the Layers Panel the object’s layer isn’t even active! So I turn that off and just have the Bounding Box on so I can see the outer limits of the object as I move it around.
I hope you’ve learned some useful things today. I did, even though all I did was show you how I’ve selected my preferences. (I had to be able to explain them, right?)
Next week’s tutorial is going to be a very special one, thanks to Ginger (Dandelion Dust Designs), her creative team and her Facebook fan group. It’s a doozy so I’ll have to start work on it right away! See you next Tuesday.
![]()
Jan,
I am so glad to hear your dad came through surgery well and is doing so much better! May he continue to heal quickly! Now if we could all quickly get through the rest of this miserable year and start of fresh in 2021!
Thanks for the great tutorial. Your help has always been tremendous. (I don’t do the short cuts but that doesn’t bother me lol) I appreciate the help you gave me earlier with the layers panel, it has been awesome seeing what is actually on each layer and this tutorial is great. I knew a lot of the preferences already but still have a few things to consider for future reference! Thanks again for all your tutorials and I am soo happy to hear about your dad.
Ellen
Thank goodness your dad is doing well! – – This was a great tutorial. I have had to experiment my way through preference settings. I am still using a great desktop with multiple drives but with Windows 7, so I believe I am limited as to what versions of PhotoShop Elements I can install and use. I believe the version for the current year requires Windows 10 to work correctly. Think I will skip buying that one since this has been such a crappy year and I have not upgraded my Windows to accommodate it. I keep reverting back to using version 11, so I compared my preference setting to yours and only found one to change. That last item you talking about isn’t in my version. Thanks for all the information. Always helpful, no matter what.