Making Use of the Circular “Stencil”
![]()
There are so many creative ways of using our digital scrapbooking supplies. Some are obvious, others aren’t. Today I’m going to show you some of the ways I used the paw print circular stencil we created in our last tutorial. These are only a few of the ideas and each of them can be improved upon with a little ingenuity.
This first one is a simple stencil effect using a brush. I thought this coloured pencil effect was interesting. There’s a similar demo set of brushes at Brusheezy.com. My background is a subtle gray chevron paper from Aimee Harrison‘s kit Bring Happiness (retired). I covered the stencil with the brush, stamping with it until the prints were completely covered, then cut away the overlap. To give it a bit more substance, I applied a stroke around the outside.

For this look, I reduced the size of the stencil so it filled one quarter of the paper. Then I filled it with a slightly darker shade of gray and changed the Blend Mode to Multiply and decreased the Opacity to 35%. I Copied (CTRL/CMD>J) the layer and redistributed the Copies so they filled each of the corners of the paper. This would be so cute on a newsprint background!

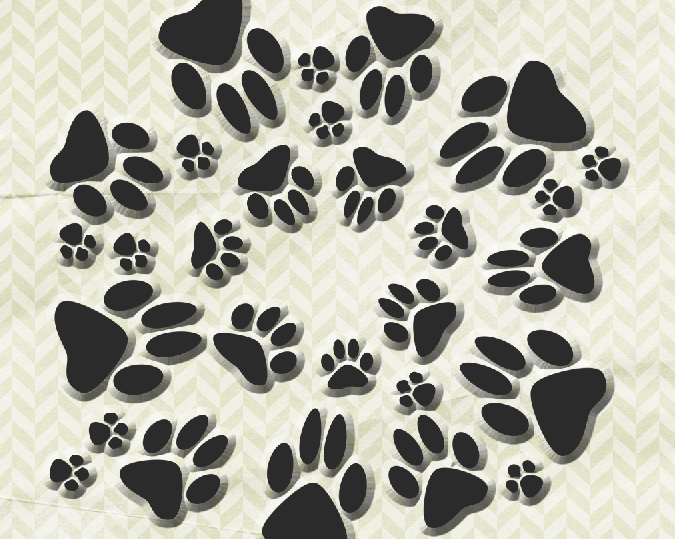
Here, all I’ve done is recolour the red print to the same dark gray as the rest of the prints then apply a Bevel style (Scalloped Edge) to the whole grouping.

This is another Bevel style, the Simple Sharp Outer. It creates a puffy-sticker look.
As you can see, I’ve applied a black Glitter Style from Just So Scrappy‘s Up on the Housetop set to this version.
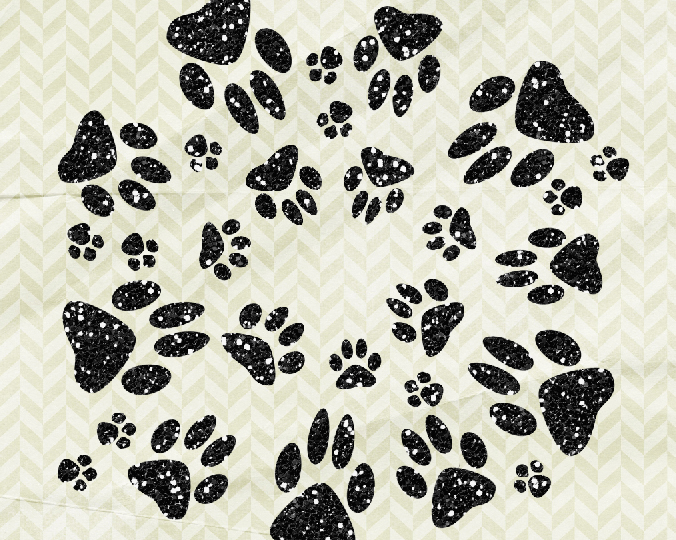
To achieve this 3D glossy, sparkly look, I used a Glitter Gloss style from the same set as the plain glitter.

And for another look, I applied a Chipboard Style from the expanded set of Up on the Housetop‘s Styles.

Next, I used the stencil to create a cut-out. The papers are from Jumpstart Designs‘ Better Together (retired). A narrow shadow gives the illusion of space between the papers.

Reversing the script, I cut the paw prints out of the foreground paper and floated them over the cardstock.

The video this tutorial was inspired by used a shimmery texture paste to add dimension to the card the demonstrator was making. I went through my stash and found some gesso splatters also created by Sheri of Jumpstart Designs. You can find some of her gesso here. Don’t know what gesso is? It’s a mixture of paint (usually white) and a binder like chalk, gypsum, pigment or a combo of them. It’s thick and dried quite hard, with a lot of surface texture. I covered the stencil as much as possible, layering the gesso splatters on top of each other for even more depth. Then I gave each of the gesso layers a faint shadow, adding dimension to each. Once all the layers were shadowed, I cut away the overlap and this is what was left. It looks so organic!

To come even closer to the card in the video, I then applied a superfine white Glitter Style and changed the Blend Mode to Multiply with an Opacity of 60%.

These were the ideas that popped to mind. I’m sure you’ll have some ideas of your own. Steph (CalGirl) used the tutorial to create this beautiful layout. Rather than using a Custom Shape, she used a shamrock element from Karen Schulz‘s This Is Me March kit as her shape and clipped a paper to the stencil.

If you’d like detailed information on any of the techniques I’ve described please drop me a note in the Comments and I’ll show you how I got there.
See you next week!
Here is a link to the PDF version of this tutorial: https://bit.ly/38NSlyV
Thanks Jan. I enjoyed seeing the variations you came up with AND the final layout!