UnMASKing the MASK
![]()
Y’all remember Karyn Concannon‘s comment a few weeks ago where she offered me some topics for discussion? Well, we’ve done some paper-making (with one more version yet in the works) and now we’ll look at making masks. There has been a mask-making tutorial some time ago, but this one will go a little further and in a bit of a different direction.
Let’s get to work! Go big… it can’t possibly hurt. I’m going 12×12 here.
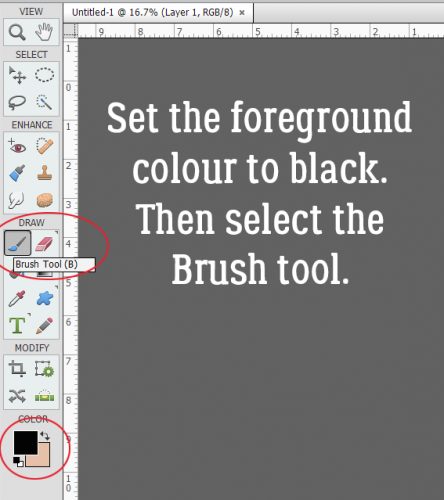
The whole process uses only brushes. If you’re low on awesome and fabulous brushes, there are TONS of free ones online, my favourite source being brusheezy.com where they have a huge assortment and literally something for everyone. Set your foreground colour to black then select your Brush tool.
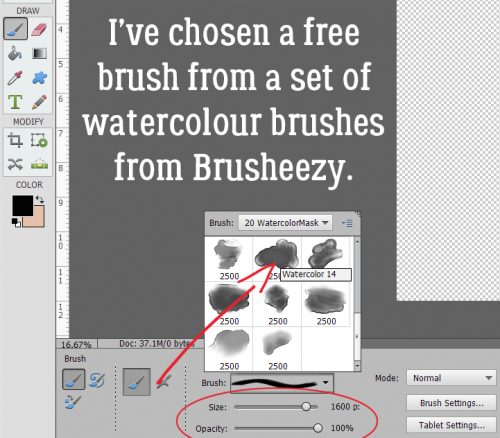
I love the look of watercolour paint so I have several brush sets of watercolour swashes. This particular set is called 20 Watercolor Masks and they’re truly fabulous. I’ve got my brush size set to 1600 pixels and the Opacity to 100%.
This is the result of a single click with the brush. Looks like a cloud, doesn’t it? And almost as um… ephemeral.

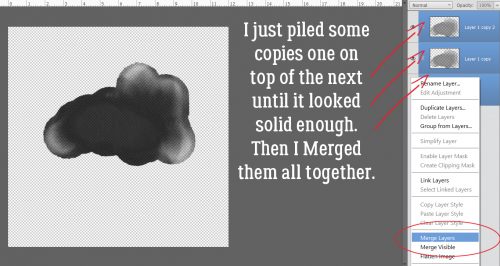
So I made some copies (CTRL/CMD>J) and stopped when I thought it had enough presence. Then I Merged all the copies into one layer.
But unless I use a very long-distance landscape photo, this isn’t going to be enough of a statement. So I added some more substance by choosing another brush from the same set.
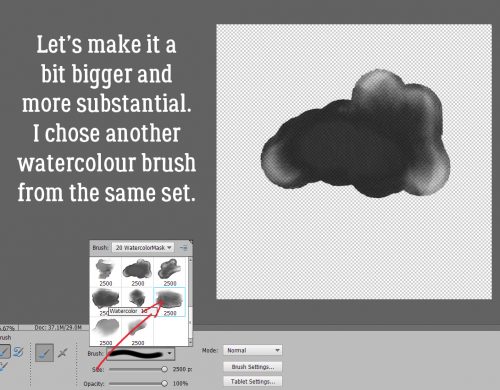
(Notice this second brush is on its own layer. If you get in the habit of doing things on their own layer you’ll have infinite control.) Single click. Interesting! But again, light on the weight.

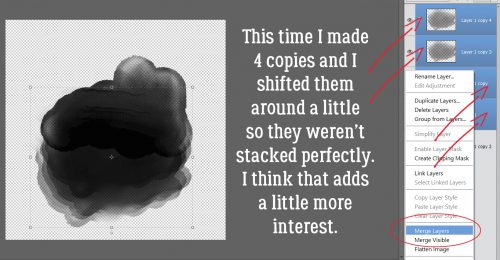
So I made some more copies. And I shifted them around a little to distribute some of the more obvious aspects. Then I Merged (CTRL/CMD>E) them.
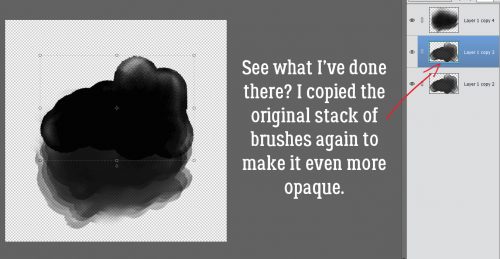
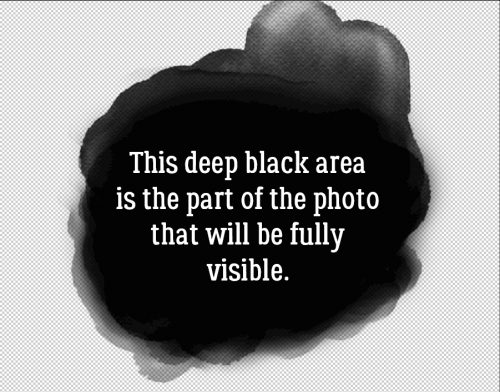
Mmmm. Still not quite the look I’m going for. So I made another copy of the FIRST layer. When you think about masks, you’ll remember that the darker (black) the area the more of the photo is revealed. So you can’t get blacker than black. You can always go back and adjust your layers until your mask pleases your eye.
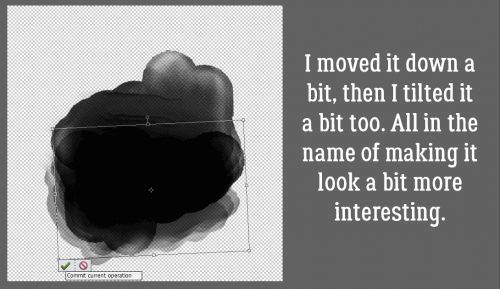
Don’t be afraid to move the brushes around! You’re the only one you have to please, so make it what you want it to be!
If you’re still not happy with the way your mask looks, you can use a big, soft, round Basic brush (from the brush set that comes with Elements) to either darken areas more, or lighten them (if you’re lightening, use the Eraser tool and a low opacity to avoid going overboard).
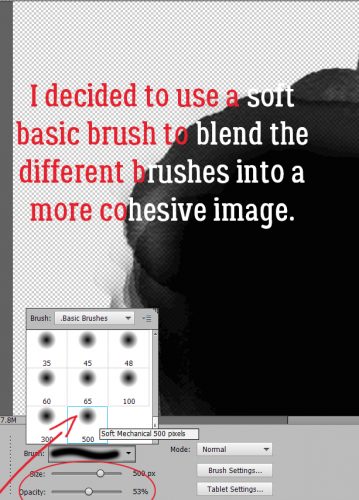
See how I’ve softened some of the edges? I only used a black brush. No erasing.
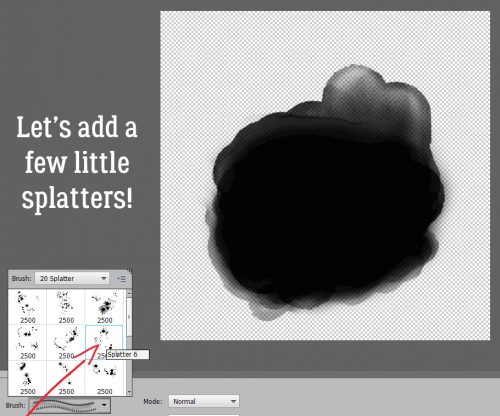
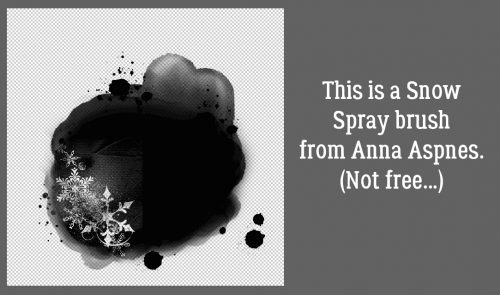
Like I’ve said, YOU’RE the boss here, so you can go as far as you want with your mask. I decided to add some paint splatters, again with a free brush.
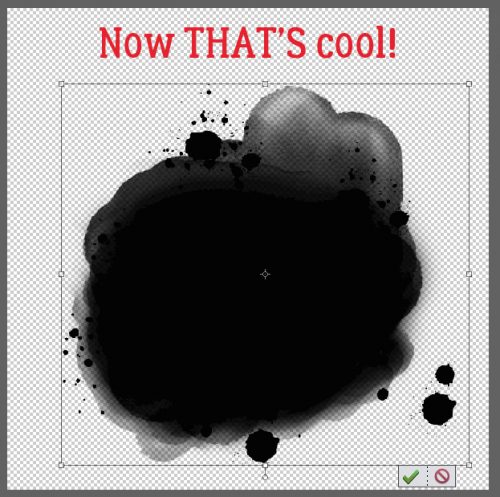
Oh my!! I LIKE it!! (If I don’t like how the more distant splatters look once I’ve clipped a photo to it, I can erase those parts OF THE MASK and still have the splatter effect in areas of the photo.)
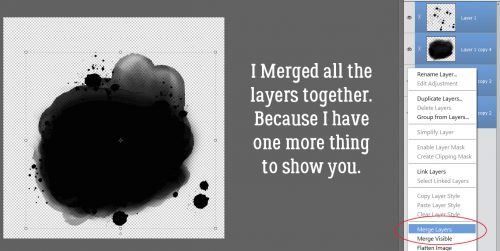
Now I’m happy with the depth and balance of my mask, I can Merge the layers all together. That’s an important step if you plan to do what I’m going to show you next.
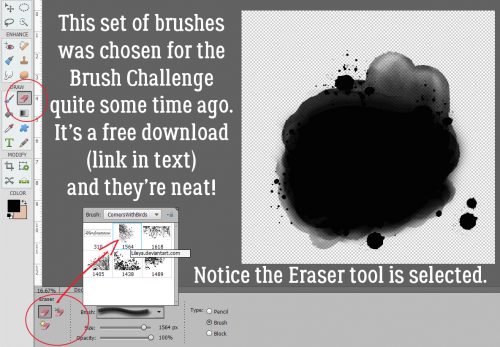
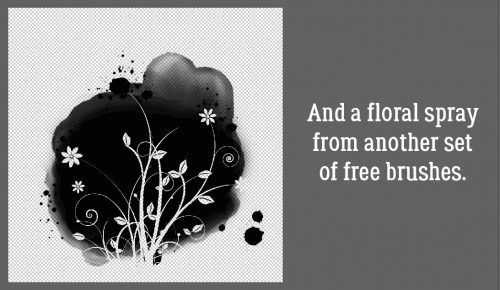
Some designers make phenomenally beautiful masks that are out of the ordinary. (Irina from PrelestnayaP is one such.) For this next step I used a brush that was part of a set chosen for the Brush Challenge back in October 2015. You can download these brushes, designed by Lileya Brogu, here. Take note that I’ve got the Eraser tool selected, NOT the Brush tool.
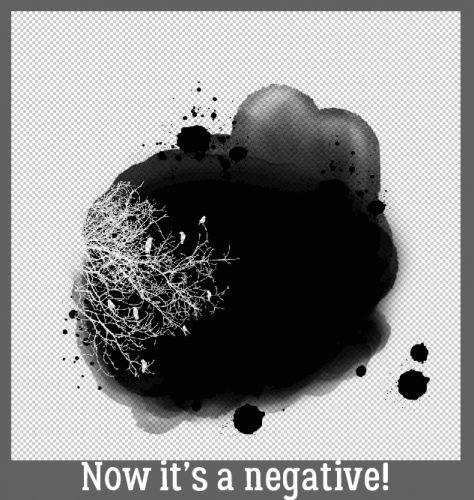
Whatdya think?
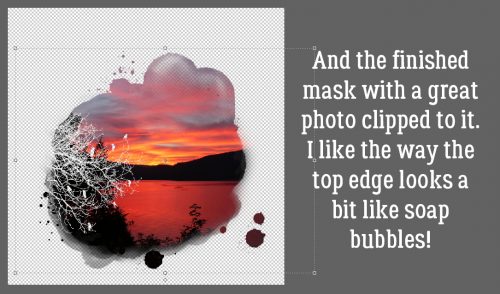
And here’s what it all looks like with a photo clipped to it. Pretty fancy!
Just for fun, and to show you haw easy it is to customize your mask, I Undid (CTRL/CMD>Z) that last step and tried a few other brushes.
This one is really creepy. I downloaded the eyeball brushes for a Hallowe’en project.
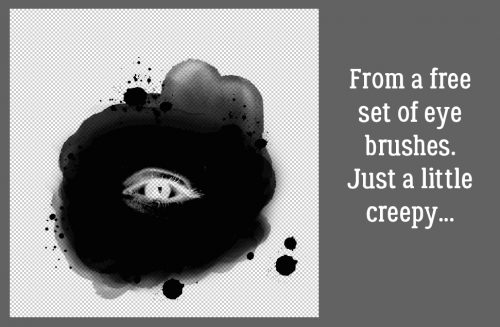
See? There’s really no limit to the possibilities – other than the limits of your brush collection!
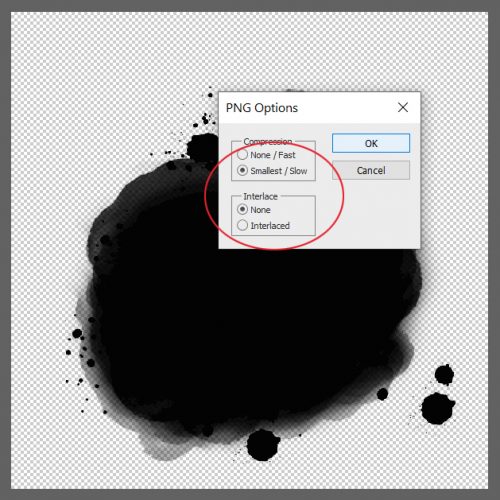
So once I was done playing with it, I decided to Save it for later. I chose Save As (CTRL/CMD>SHIFT>S) because that’s where I can decide what format to save it in. To be a good mask, it needs to be saved as a .png with a transparent background. Then I decided where to save it – into my personal Elements folder, and what to call it.
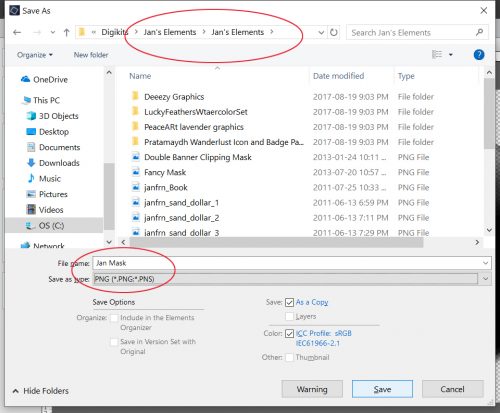
The last step is to select the .png options. To preserve the most detail, go with the settings shown below.
How much fun is that??
![]()