DIY Neutral Papers
![]()
PDF Version : https://bit.ly/3MD2JN2
As I was pulling last week’s tutorial together, I got a private message from Jen (hclappy) asking me to consider a request. She sent me a link to a thread in the Forum, and I gave it a look. The first post in the thread is from Carla:
“I have found that there are quite a few designers that do not put plain solid papers in any of their kits. If you don’t purchase the “Bundle” then you have to purchase the solid papers separately. I prefer to have a selection of plain papers in the colors that match the patterned papers included in the kit and it is just so much easier. I do not always mix and match scrapbook kits, in fact, I rarely ever combine kits unless it is a challenge requirement. I could very easily MAKE my own but I don’t and I rarely every use the ombre papers as they are just not the same as a regular cardstock/plain paper and most of the time, must also be purchased separately. Please don’t hate on me because of it but I am retired and am not made out of money. ") ” Jen commented she likes to have lots of journaling on her layouts, and that her favourite papers or cardstock are the lighter, more neutral papers.
” Jen commented she likes to have lots of journaling on her layouts, and that her favourite papers or cardstock are the lighter, more neutral papers.
Jen’s request was a tutorial on creating solid/neutral papers that coordinate with those kits that don’t have them in the basic kit. I gave it some thought (about 5 seconds’ worth) and responded in the affirmative. Before I go any further, I’ll warn you that there are about 60 screenshots in this tut, but only about 15 of them are ACTUAL STEPS. The rest are just so you can see what the options are.
Remember that I don’t assume anything when I write these lessons. I want them to be achievable by anyone with any level of experience. I also include both Windows [CTRL, ALT] and Mac [CMD, OPT] keyboard shortcuts. So if the text seems pedantic and repetitive, go ahead and skip the parts you already know. I won’t mind! I’m going to use an older kit from Wimpychompers called She’s a Gem as my basic kit. (I just discovered that Wimpychompers has left the Shop… Sorry!) It has two solid papers but a lot of people wouldn’t want to use those darker colours as the background for journaling. So let’s make some lighter/neutrals!

First things first. Let’s talk about Color Pickers and sampling. (Experienced peeps, here’s your cue to skip ahead.) I chose this paper as my source for a lighter or neutral colour. The background looks to be white, but it actually is a very pale, blue-gray.

But first, we need somewhere to put the colour we pick. So open up a New>Blank File [CTRL/CMD>N].

Make the New Blank File the desired size, and with a transparent background. I like 12×12, and have created a preset so I can just choose Scrapbooking from the menu.

Now, using the Color Picker Tool, aka the Eye Dropper, click inside the source paper on the colour you’d like to work with. Zoom in if you need to. Here you can see the background isn’t actually white.
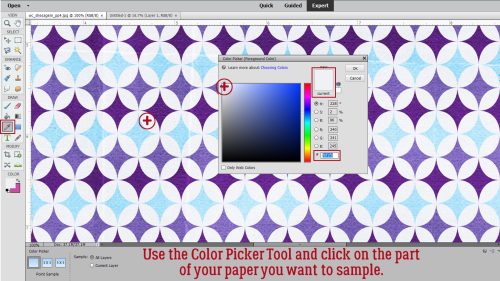
Once the swatch opens up, you can go lighter, darker, more or less saturated by clicking on the area of the swatch that you like. The colour will be within the same “family” and thus will coordinate with the rest of the kit.

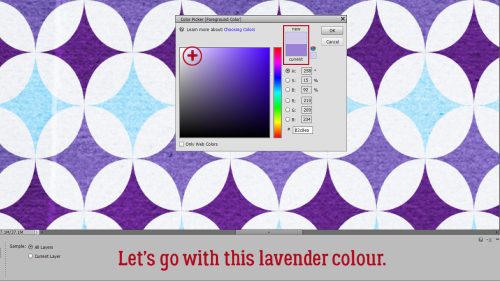
Because Jen was specific about light/neutral, I won’t go with this darker lavender.

Let’s use this one.
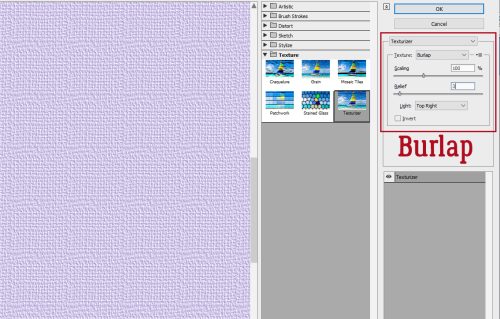
Okay… onward and upward. Since Carla specifically mentioned cost, let’s first look at some ways to take this solid square up a notch without adding any expense. Photoshop Elements Filters to the rescue! Filter>Texture>Texturizer… will have some potential.

To see what’s happening, Zoom in using the little tiny button at the lower left of this screen. Then just play around! There are four basic textures in this menu: Brick, Burlap, Canvas and Sandstone. Each one can be customized to give you something you can work with.

The sliders make all the difference. These are the same settings I used for the Brick version.
I found the Canvas Filter to be a little insipid so I increased the Scaling to 100% and the Relief to 10.

Sandstone is quite a bit smoother. Of course, there are other things that can be done, such as adding a brush border or a vignette, to make the paper more special too.

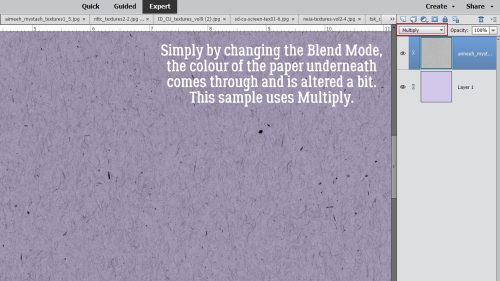
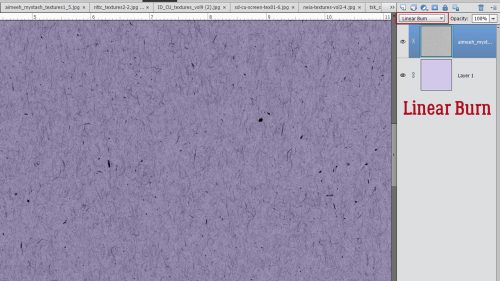
Now let’s look at what we can do with some Commercial Use textures. GingerScraps is blessed with some very talented designers who also create tools for others’ use. All of these are currently available in the Store, and are linked in the text. Just click the images and give the sets a look. The first set we’ll look at is one from Aimee Harrison.


These textures look blah until you change the Blend Mode. So it’s all just a matter of choosing the one you like best. Here’s Aimee‘s texture with Multiply.
I tried each of the textures I’ve used in my samples with each of the Blend Modes. I’m not going to show you the ones that were definitely not suitable.
Color Burn

Linear Burn
Overlay

Oh, Hard Light doesn’t really look all that different.

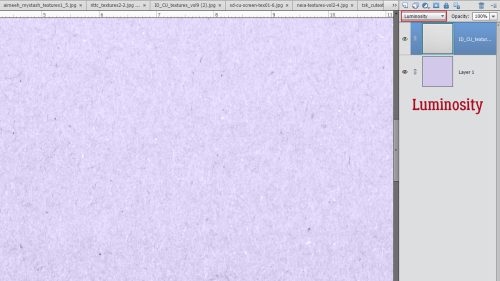
Luminosity

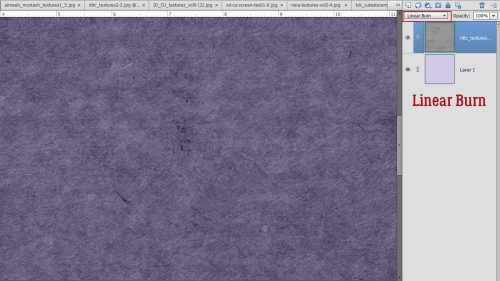
On to some textures from Cindy Ritter Designs.


Multiply

Color Burn

Linear Burn
Overlay
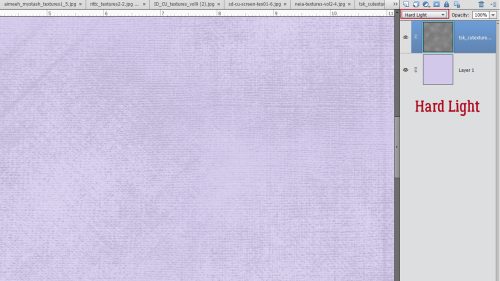
Hard Light. Again, not too different.

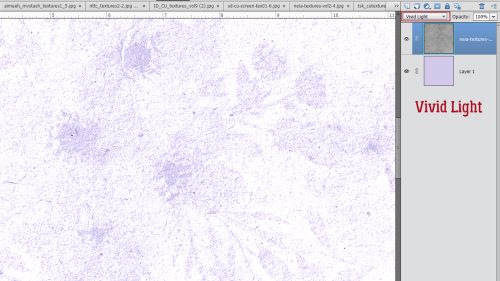
Oh my! This was a surprise!! Vivid Light

Luminosity

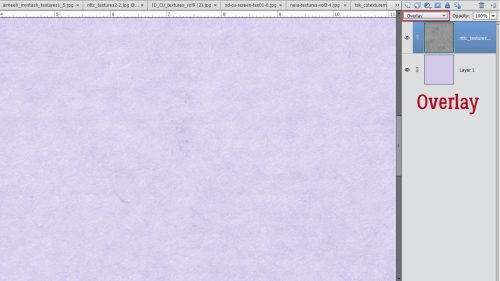
How about some textures from Ilonka’s Designs?

Multiply

Linear Burn

Luminosity
Karen Schulz gives a suggestion with her textures to use Screen Mode.

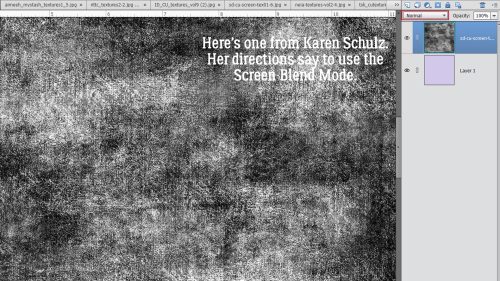
And here’s the result.

I think Overlay might work well.

Soft Light

Vivid Light might be over the top. But with an Opacity tweak, maybe…

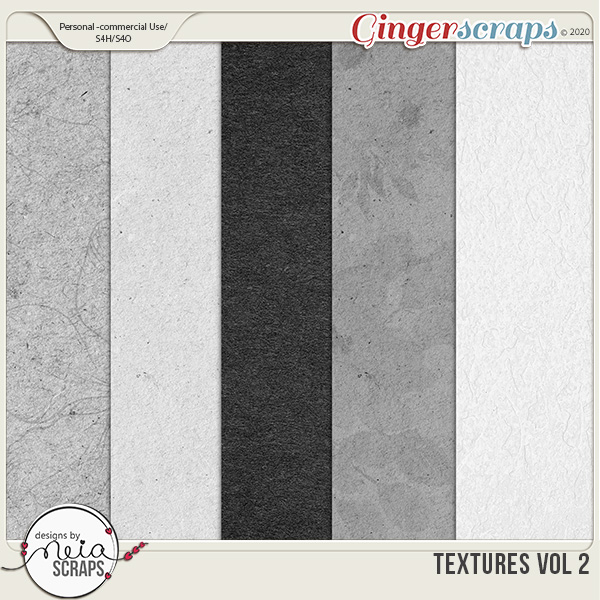
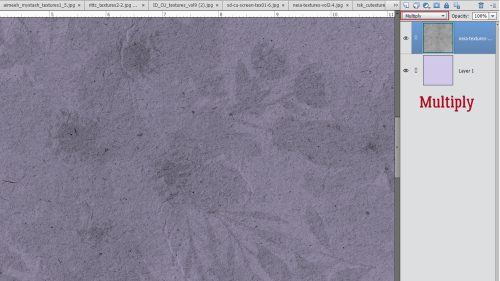
Neia Scraps has textures in her store too. This one has a pattern, but could surely be “read” as a solid/neutral.

Multiply
Color Burn

Linear Burn

Overlay

Hard Light

Vivid Light
Luminosity

And then there are these from The Scrappy Kat.

Multiply looked… wrong. Here’s Color Burn.

Linear Burn is probably too dark.

Overlay loses the plot.

Hard Light finds it again.
Vivid Light is harsh, but could work with decreased Opacity.

Linear Light same.

Bleahhh.

But… as a whole sheet it might be okay!

Full sheet, but light aqua and Aimee‘s texture.

And Karen‘s…

And with an Opacity decrease.

Now you’ve got some ideas, I hope you’ll give this a try! Don’t forget that you can add a messy edge, a brush border, a vignette and any number of other additions to these to make exactly the look you want. Have fun with it.
![]()