![]()
One Photo, More than One Photo Spot
Greetings Gingerscrappers! Are you ready for another Tutorial Tuesday?
Ruth posted the following when Stephanie asked what kinds of topics I should cover: “How do you add a single photo image across more than one photo spot… I see this all the time and can’t figure it out.” Well Ruth, let me show you!
I used a template from the GS Digital Scrapbooking Day 2014 mega blog hop kit called Family Game Night for this lesson, along with pieces of 5 designers’ September Buffet kits. Many scrappers like templates for the ease and speed of their workflow and templates are great for this simple technique. I chose this one because it has two photo spots, close together and aligned with each other, more for simplicity than for any other reason.
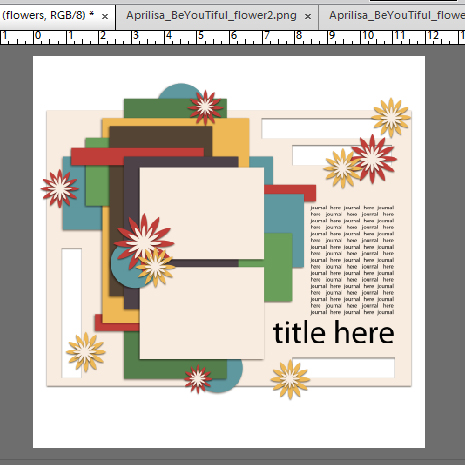
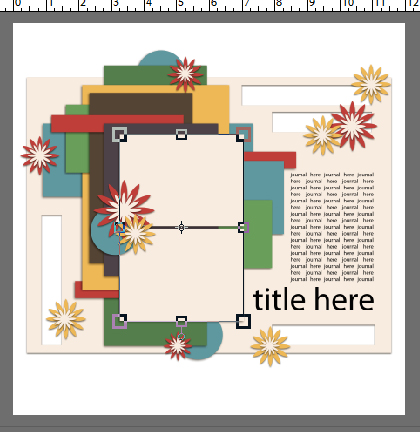
I started off by finding the two photo spots in the layers panel. I nudged them a little closer together so there was still a visible gap, but not a really obvious one.
Then I selected both photo spots in the panel and shifted them a little so they were more centered in the layout.
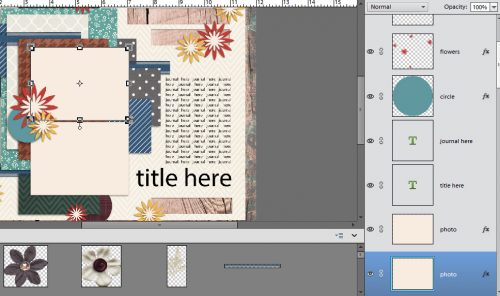
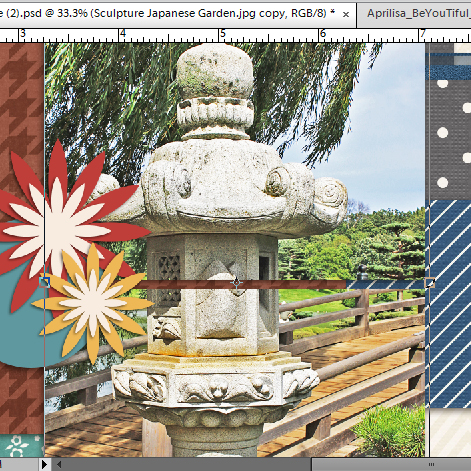
As I explained in my Basic Template tutorial, I like to work from the bottom up, so I laid down all the layers below the photos first. When I finally reached the first photo spot, I dragged my photo onto the template and resized it so it would crop nicely. Then I duplicated that layer. (Right click on the layer and select Duplicate Layer from the drop-down. Or use the keyboard shortcut CTRL/CMD+J.)
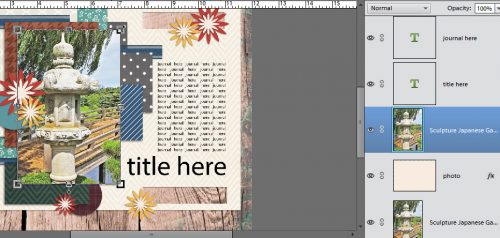
After moving the copy of my photo above the second photo spot in the layers panel, I clipped the photos to each photo layer. (Right click on the photo layer and select Create Clipping Mask from the drop-down, or use the keyboard shortcut CTRL/CMD+G.) When I was finished with that, this is what it looked like.
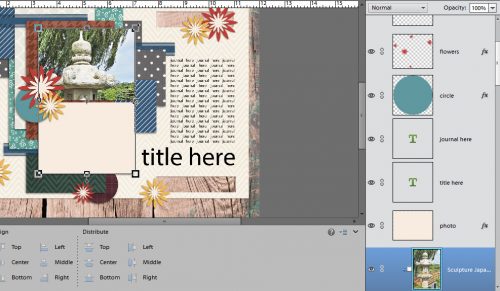
Once I had the rest of the layers filled, I didn’t like the amount of disconnect between the two sections of my photo so I nudged the bottom PHOTO SPOT layer up toward the top one a little more to close the gap. It’s still visible, but not glaringly so.
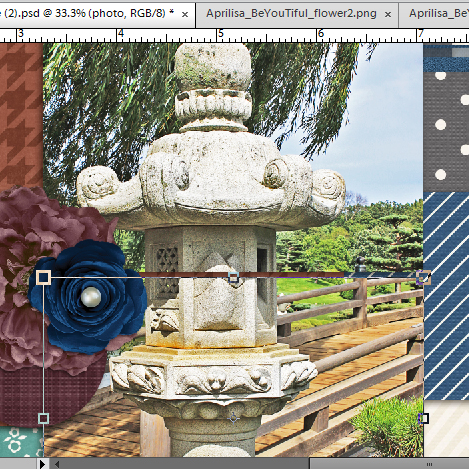
That’s all there is to it! Easy-peasy!! If you want to use a single photo to cover more spots, just keep copying the photo, moving it on top of the next photo spot and clipping it. You can do this as many times as you want… the sky’s the limit. You may need to shift some of the embellishments so they don’t cover up important parts of your photo, but you’re only limited by your imagination. The final version of my layout is here. I’ll be checking out the gallery to see if anyone has tried this over the next few days. Play with it. Have fun!
Kits used for this layout:
Aprilisa BeYouTiful elements
Connie Prince Empty Nest extra papers
Mandy King Autumn Skies wood paper
Ooh La La Scraps Autumn Chill alpha and papers
Seatrout Scraps Autumn Odyssey elements
![]()


I’m learning to work with templates, thanks for the tutorial