Brush Basics – Colour
![]()
Stephanie made a comment on the Facebook tutorial post about wanting to recolour brushes. This is a really simple technique and I’m going to show you two ways to do it, as well as give you a couple of tips from my own experience that make life simpler when using brushes. As you may know, there is a Brush Challenge each month as part of GingerScraps’ community rewards Cookie Jar; the hostess for each month provides a free brush or links to a website that provides free brushes, such as Brusheezy. This challenge is hosted by the one and only Rachel Pearce – Seatrout Scraps – this month, and this tutorial will use the brush she created.
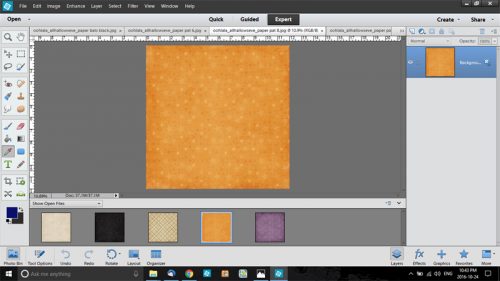
Open up your workspace and pick some papers you want to use in your layout. We’re going to pull colours from these papers. I want to do a Hallowe’en layout so I have 5 papers from Ooh La La Scraps‘ All Hallows’ Eve collection selected. I’m planning to use the neutral white stripe paper for my background, so I opened up the gold patterned paper and selected a darker area of the paper with my colour picker (the eyedropper tool).
Then I opened up the white paper on my workspace. When I use brushes I ALWAYS put them on their own layer. Why? Well, the largest dimension available within the software for brushes is 2500 pixels. If you prefer to work on 12×12 inch layouts, they’re 3600×3600 pixels. By putting the brushes on their own layers they can be resized, recoloured, altered and manipulated in many ways that they can’t be if they’re applied to the paper layer. (More about that later.) There are a couple of ways to open a new blank layer. The quickest way is to click on the icon just above your layers panel that looks like a piece of paper with one corner turned up. I’ve shown that in the screenshot below. Another quick way is to use the keyboard shortcut CTRL/CMD+SHIFT+N. Or, if you prefer, you can click on the Layers menu, select New>Layer.

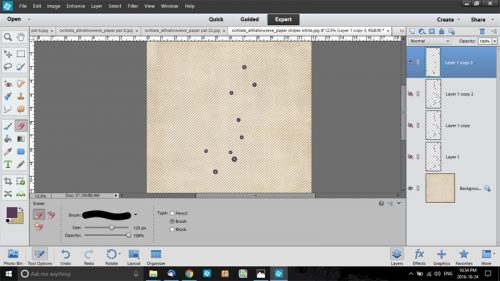
So now we’ve got a colour for the brush, a background paper to put it on and a new layer to apply the brush to so we can play with it. I selected Seatrout’s challenge brush from my Brush Tool menu.
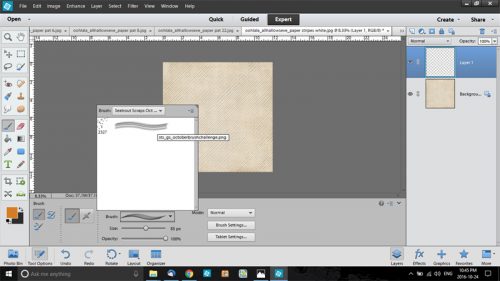
I then adjusted the sliders so the brush is as big as the software will allow and the opacity is 100%. (By putting the brush on it’s own layer, you can later adjust the opacity of the LAYER and see exactly what’s happening to it!) I moved the brush onto the paper and clicked to apply it. See it there?

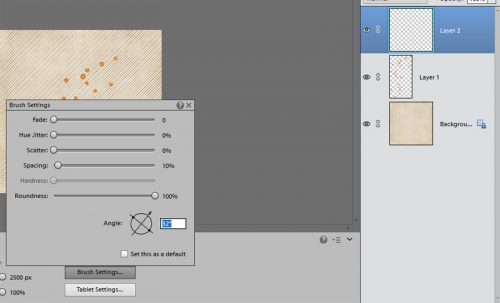
It’s easy to change the angle and the roundness of the brush by selecting Brush Settings as shown and playing with the sliders. You can check the angle by hovering the brush over the workspace – an outline will show up that let’s you see what it looks like. I changed the angle of the brush after I added another new layer for my next brush application.
What you see below is what I ended up with after I selected a new colour from my other papers, changed the angle on the brush and applied the brush onto a new layer. I have four brush layers and four different coloured sequin sets.

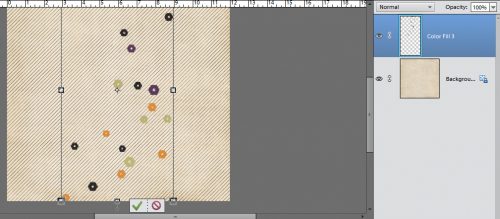
That’s the most basic way of using brushes. Now let me show you how to change the colour of your brush by using a layer mask. With the layer you want to change colour on selected in your Layers panel, click on the Layer menu as shown.
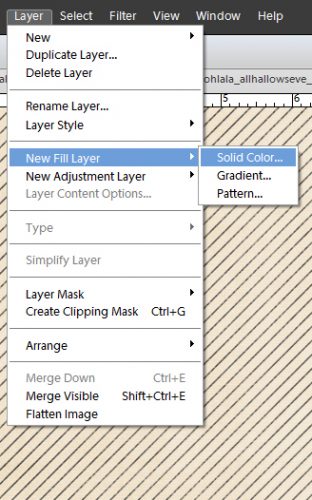
The pop-up menu looks like the screenshot below. You want to check the Use Previous Layer to Create Clipping Mask box, then click OK.

Another pop-up menu opens with the Colour Picker. You can put your cursor anywhere on the colour swatch, or click on the rainbow column to change the colour family shown, then select the colour you like.

To make your new colour fill layer “stick” to your brush and make the brush layer adaptable, merge the two layers together by selecting them both in the Layers panel, right-click and select Merge Layers or quick-key CTRL/CMD+E.

After I recoloured all four brush layers, I started randomly erasing sequins from each layer with the Eraser tool.

By turning the visibility of the other layers off and on while erasing, I could see where I still had several different colours on the same sequin. Once I was happy with the way it looked, I turned them all on again.
Then I merged all four layers into a single brush layer.

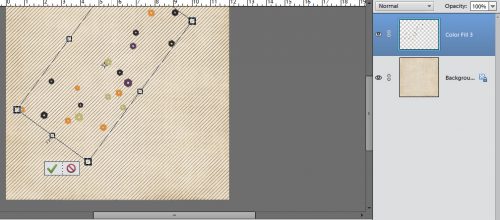
Here’s where the manipulation capacity comes into play. By putting the brush(es) on their own layer, I can now enlarge, shrink, copy and adjust opacity at will. In the screenshot below I’ve enlarged them, but decided it wasn’t going to work for me, so I clicked on the “Null” symbol instead of the check mark and it went back to its original size.

Another way the layer can be manipulated is to change the angle and move it around, just as you do with your other elements. You can’t do this if the brush is applied right to the paper. And still another way the brush can be altered on its own layer is that you could add a shadow to it so it looks three-dimensional. (I didn’t do that here.) Now that I’m happy with what I’ve done, I can to on to finish my Brush Challenge layout.
There are lots of ways you can jazz up brushes using layer styles, but that’s a lesson for another day. If you’ve read this far and have any ideas for future tuts, let me know by commenting below. Happy scrapping!
![]()