Can This Photo Be Saved?
![]()
Hey there GingerScrappers! I thought this week we’d look at something a little different. With Mother’s Day almost upon us and lots of old photos being pressed into service, I know there are some of you out there who wish your scanned pix were just a little less… blurry. So I’m going to show you a super-duper-simple trick for tightening up those images a bit.
I started with this photo taken in May, 1955; I found it in a box of my mom’s photos. (No, that isn’t me in there.) First I dealt with the dust spots and scratches using the Spot Healing brush then I was ready to sharpen it.
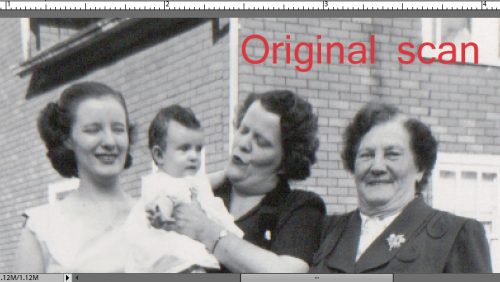
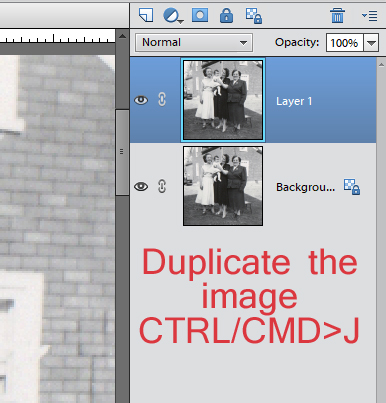
It’s not horrible, but it’s a little… um… soft. So I Duplicated the image (WSNH= CTRL/CMD>J).
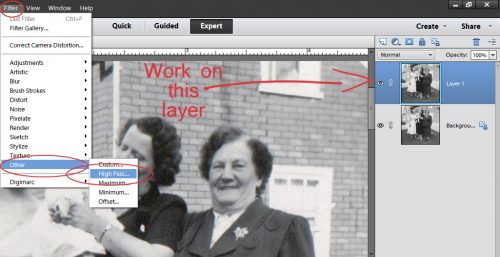
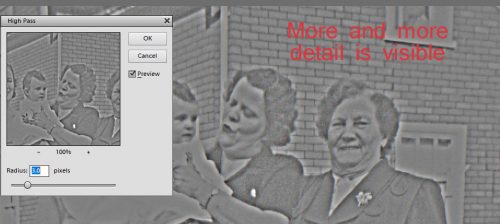
Working on the topmost layer I just created, I clicked on the Filter tab, scrolled down to Other and selected High Pass…
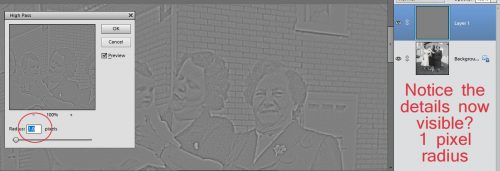
The Tool menu opens up a dialog box as shown. I selected a Radius of 1.0 pixels. There is now a gray-scale image of my photo, with some details visible.
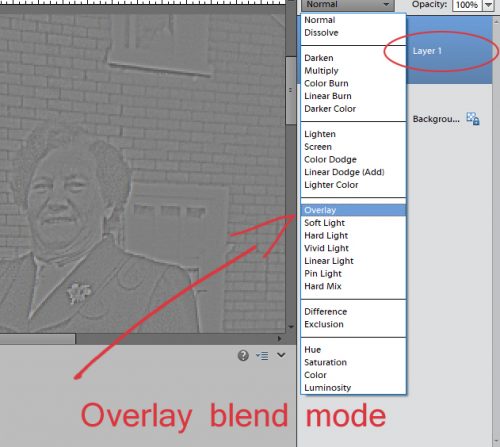
To make this filter adjust the appearance of my photo, I’m going to change the Blend Mode for the topmost layer to Overlay. If you don’t feel there’s been enough sharpening, you can Undo (CTRL/CMD>Z) and increase the Radius until you’re happy. But be careful. A word of caution: Don’t keep adding layers with High Pass filters on top of each other because you’ll end up with something quite bizarre-looking.
Can you see the difference between this image and the untouched one? Facial features are a little clearer.
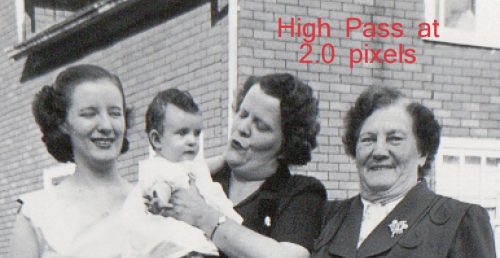
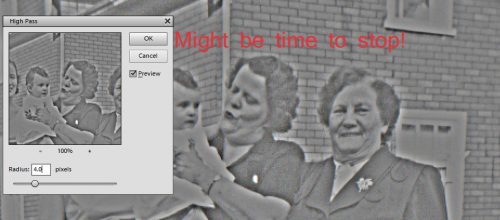
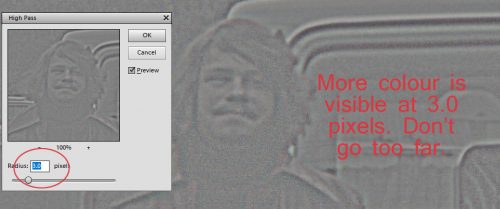
By setting the Radius to 3.0 pixels, there’s more detail visible on the filter layer.
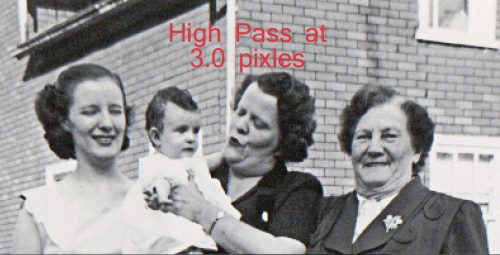
When you get to the point where the Filter layer looks a lot like the original, it might be time to stop. Too MUCH is not better. Less in this case can actually be more.

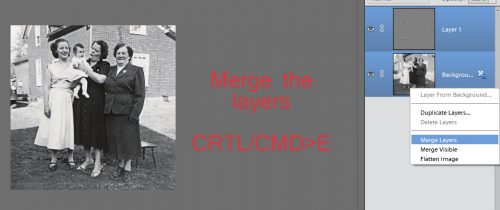
I was pleased to see that the resulting image was sharp, the contrast was good and my photo now looked a lot better. So I Merged the two layers (CTRL/CMD>E) and saved my photo as an edit.
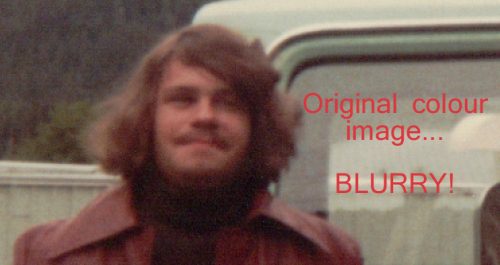
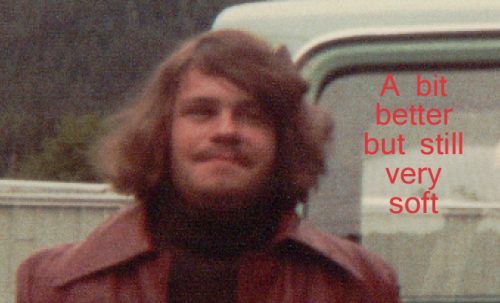
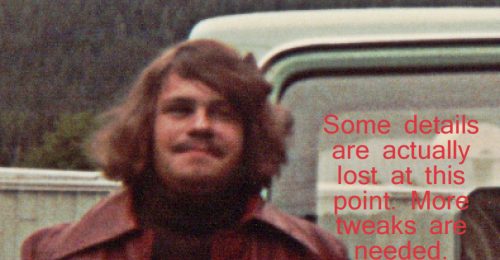
I can hear you mumbling about colour photos… so I’m ready for that too! This photo was in the same box, and was taken in 1978.
At a Radius of 1.0, there’s faint detail visible, and only gray-scale.
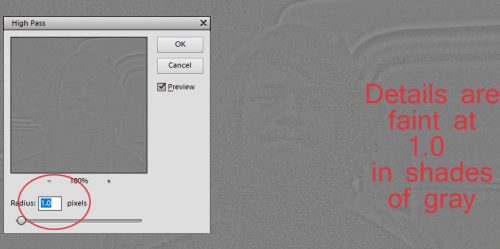
It looks a bit better, but not much!
At a Radius of 2.0, there’s a faint hint of colour showing through, and a bit more detail.
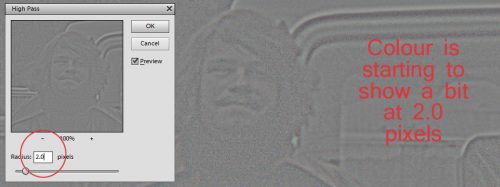
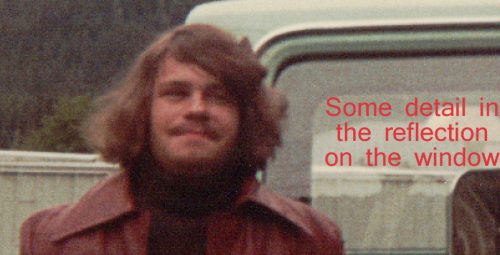
The area that seems to show the most sharpening effect is the window. Notice that the colours are darkening too.
The higher I take the Radius, the more colour shows through.

What happens if I’m tired of inching up and just make a jump to say… 7.0 pixels?
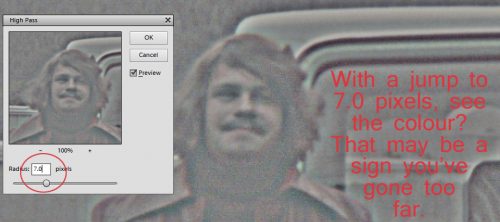
The colours have darkened a lot and some detail is actually lost. To save this one at this degree of sharpening, I’d have to make quite a few tweaks of Lighting, Brightness and Contrast and I run the risk of making the photo look really phony. So I suggest you don’t save this version over the original, but as an edited copy so if you’re sickened by how far you took the image (as I was with some of my Ireland trip photos… blech!) you still have the original and can start over with a lighter hand.
I plan to make a layout with the first image for the Inspired by a Word/Words iNSD challenge from JoCee Designs. When it’s finished I’ll add in a link so you can see it if you want to.
In April there were 4 people who linked me up to layouts where they’d used one or more of these tutorials. Ellen had several, but to be fair, she only is on the list once. Mr Random has selected Bekki Braun Fekete (aka bekfek) as this month’s winner. Bekki, put your thinking cap on!

Remember, if you’ve used a technique from these tutorials, post your finished layout in the GingerScraps Facebook Tutorial Tuesday Challenge Gallery for an opportunity to have YOUR chance to challenge me. If you’re not a Facebooker, you can post a link to the layout you’ve created with the tutorial you used in the comments section here on the Blog. I’ll get a notification and will then enter you into the draw. The first week of each month I’ll have a random draw of all entries and the winner will be announced at the end of the first tutorial of that month.
Next week’s tutorial will be for Michelle (aka Belis2mi). She needs some help with organization, so stay tuned. You might find a tip or two you can use!
![]()