Jailbird No More!
![]()
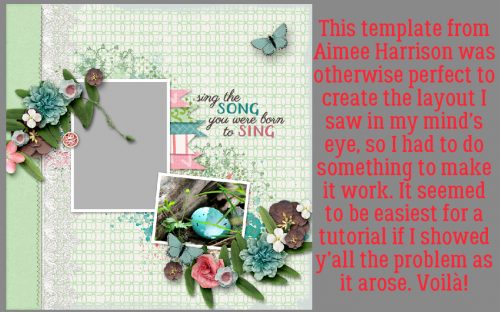
I had a crazy week between tutorials, with another hectic week now, so this week’s lesson will be a simple one. But I think you’ll be happy you’ve read it later! I’m going to show you a super-quick Guided Edit to help with those photos you have that would be GREAT if it weren’t for (fill in the photo flaw here) – you know, the ones where the subject is really off to one side, or there are people you don’t want in it but cropping is going to upset the balance, or there’s too much space between the people in the photo and you want them to look like they like each other. Below is the layout I did for this month’s GingerScraps: Created With Rewards challenge. I used the GingerBread Ladies‘ April challenge reward collab Birdsong and a template from Aimee Harrison for my layout. The photos are from Pixabay; Rochelle liked my layout enough that she nominated it for Baker’s Best! But, as you can see from the caption on my screenshot, the layout wasn’t without challenges.

The template was perfect for the layout I imagined creating, and I was on a roll until it was time to clip the photo of the bullfinch to the large photo spot… The following images show you a detailed view of what I’m talking about.
Sometimes life is easy and everything falls into place. Using a template saves a lot of time without taking away the creative part of digiscrapping. But then there’s a moment when it’s not going to save time at all!
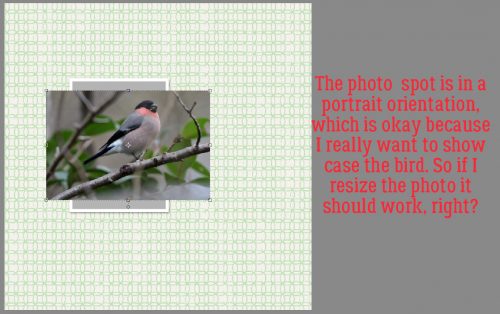
When I’m getting ready to clip a photo to a photo spot on a template, I like to be sure it’s completely covering the spot… no little hint of tattle-tale gray peeking out anywhere. If I’m stuck for how much I can resize a photo and I don’t want to change the size or shape of the photo spot, I’ll click on the photo spot layer’s thumbnail so I can see the exact dimensions and location of the spot. If you look really closely at the image below you can see the selection bounding box that action provides.

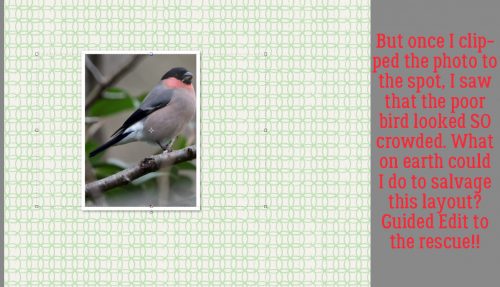
So I was positive the entire photo spot was covered by my photo and I could go ahead and clip my photo. But holy guacamole… the poor bird looks really uncomfortable! I couldn’t make the photo smaller, so I had to think about how I’d solve this problem.
There’s a Guided Edit called Recompose. It lets you manipulate your photos without messing them up. It’s going to save the day for me.
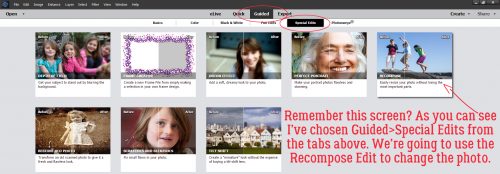
Just in case you’re wondering, the photo cannot be already on your layout when you deploy this Edit. When you hit the Recompose button on the Edit menu, it’s going to recompose your whole layout. So open up your photo and THEN open the Guided Edit tab. Guided Edit>Special Edits>Recompose

The menu has an assortment of options you can use after you’ve gotten your basic Recompose completed. I’m not going to go into them today; it’s a much more complex tutorial that we’ll save for another day. So I clicked on the Recompose button and got rolling with my super-quick, easy basic Recomposition.

I opted to make the photo a little narrower, in keeping with the orientation of the photo spot I was using. To do that I pushed the bounding box handles IN toward the centre just a bit, as you can see in the photo.

Then I pulled the top and bottom handles OUT from the centre, stretching the background a bit but not distorting the bird in the middle.
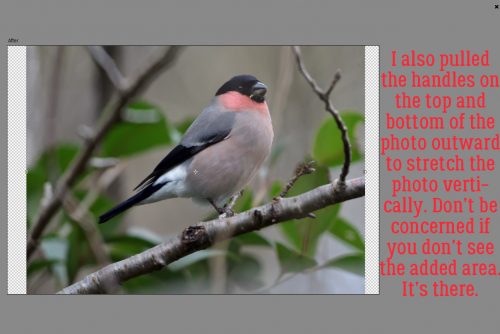
At this point, I wasn’t positive I’d made enough of an adjustment to the photo to make it work. It didn’t need a lot of tweaking so I chose to click on the Next button down at the bottom right of the screen, the clicked on Continue Editing In Expert>Done. That took me back to my layout, with the edited photo in the Photo Bin. I dragged the photo back onto the template, resized it to cover the photo spot and clipped the photo to the spot. It was JUST RIGHT!

In a future tutorial I’ll show you a more advanced Recomposition that uses some of the other options with the tool. As soon as I have the right photo….
![]()