Expanding Your Repertoire
![]()
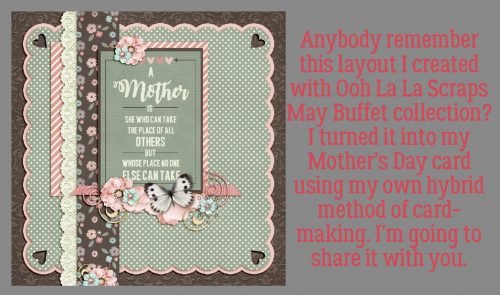
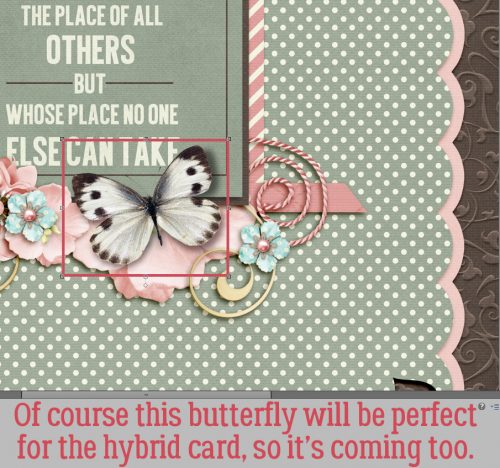
If you’re a Gallery regular, then you’ve probably seen this layout I created in May with Ooh La La Scraps‘ Buffet collection Mom and a template from Trixie Scraps‘ If the Slipper Fits. I turned this layout into a Mother’s Day card for my mom and was so pleased with how it turned out. But I went beyond just printing it and calling it good… I went hybrid!
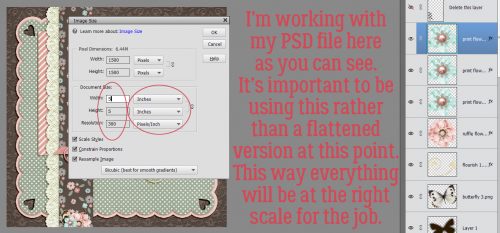
This is my own method, so if you’re doing something different and you’re happy with that, you don’t need to read on. Or if you’re not into making cards, I’ll see ya next week. But if you’re like me and started out as a paper scrapper, have a huge hoard of paper and embellishments you can’t bear to give away and like to make occasions more special with handmade cards (a win-win-win for me!) then let’s get to it. I start by Resizing my layout so that it’s slightly smaller than the card I’m planning to make. I have a stash of variously-sized cards and matching envelopes, and the 5 1/2″ square ones are perfect for this job.
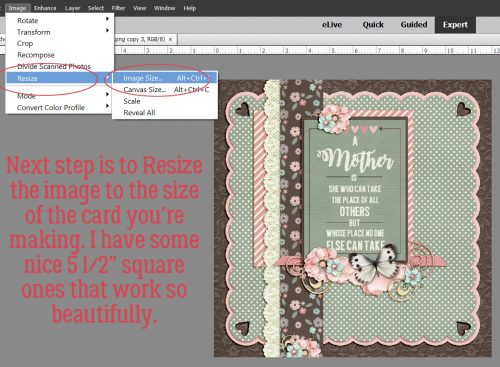
See, I’ve resized to 5×5″ square and kept the resolution at 300 pixels per inch.
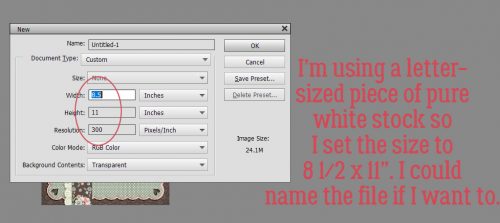
Next, while the PSD file for the now-shrunken layout is still open on the work space, I create a New File in the same size as the cardstock I plan to print my card parts on. If I was a thinking person, I could name this file something like “Card Parts”, but alas, I didn’t do that.
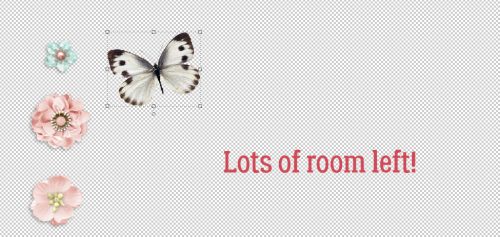
Once I’ve got that blank document with a transparent background ready, I start looking at the layout to see what parts I can print then glue to the original to make it more 3D. So any element that is sitting on top of the stack will work. Like this cluster of three little flowers…
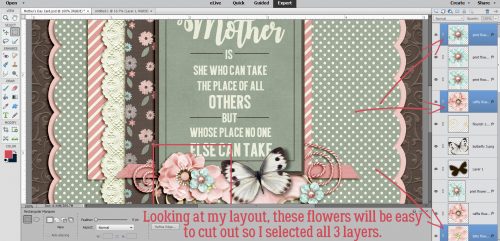
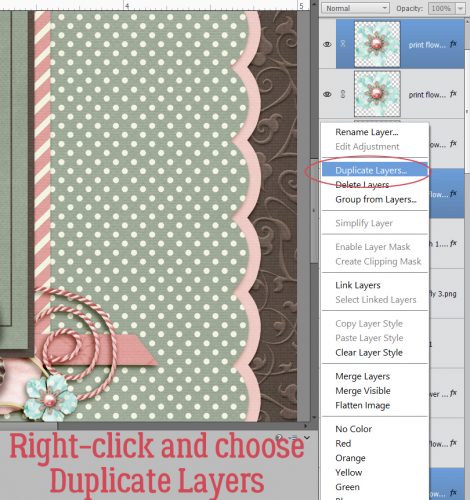
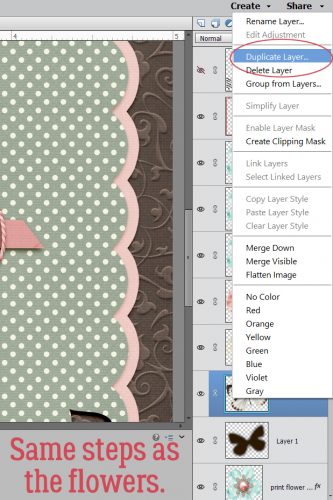
So I selected three layers from the Layers Panel that have those elements on them. (They’re not the exact 3 I’m showing in the image, but they’re all the same so it doesn’t matter. Then I right-clicked and chose Duplicate Layers from the drop-down menu.
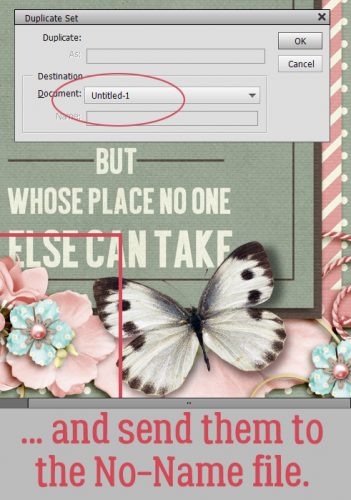
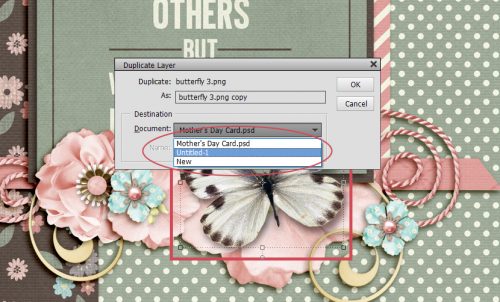
Then I copied them to the No-Name file in the Duplicate menu.
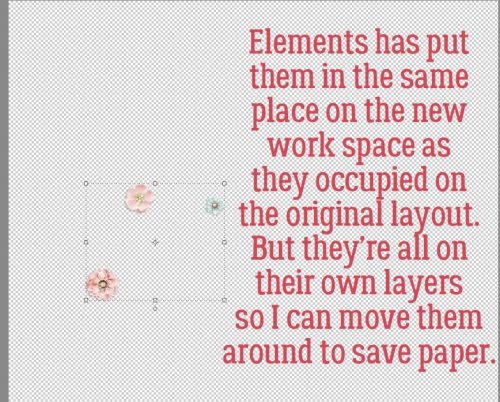
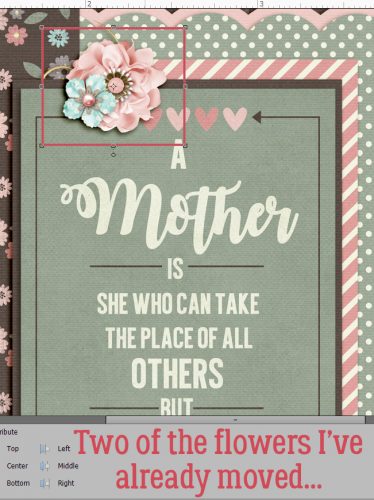
When I opened up that No-Name file, Elements had put the flowers in the exact same spots they occupy on the original. I moved them closer together so I could save some paper.
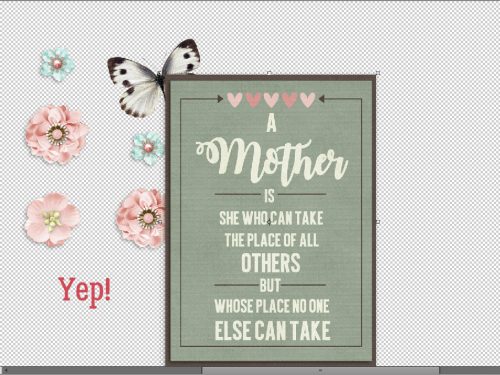
This butterfly is PERFECT as a 3D addition to my card, so over it goes.
Same exact steps as for the flower.
Voilà!
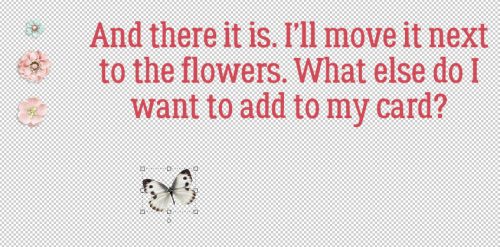
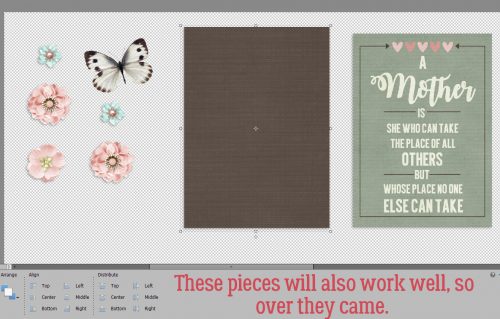
There’s still lots of white space there, which is a good thing, because I still have some things to add to this file.
Like some more of these flowers. I can just duplicate the two that are already on my No-Name card parts file.
The journal card and this dark brown mat will work too, so they’re coming over.
Last but not least, I flattened the original layout at its smaller size and added it to the card parts file. Once everything was on the page, I printed it out on my trusty Canon printer.
I used my guillotine paper cutter to separate out the larger pieces and then trimmed them right at their edges. Next I glued the mat and journal card to my layout copy right on top of their flat counterparts. Then I used my tiny sharp scissors to cut out the flowers and butterfly. To give some dimension to the flowers, I used the blunt end of a crochet hook to make a dimple in the middle where the centres are. That just curves the paper a bit. A dab of glue or a little piece of foam goes on the back at the centre of each flower then the flowers are applied to the same spots on the original. The blue flowers on the layout from Katie’s digital kit have pink pearl centres, but didn’t have any in my card-making stash, so I added some white pearls over top of them. You can see them if you look really closely at the image below… it’s a photo of the finished card. I creased the butterfly cut-out down the body and used a piece of foam to stick it on top of the layout. Again, if you look closely you can see the shadow it casts. And last, but not least, I add.d a 3D heart-shaped flair that just happened to match the pink from the kit pretty nicely.
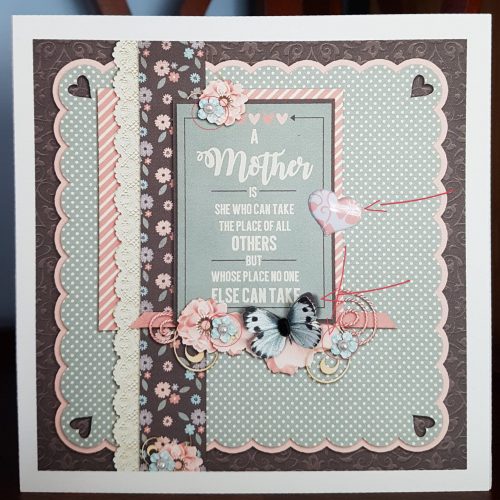
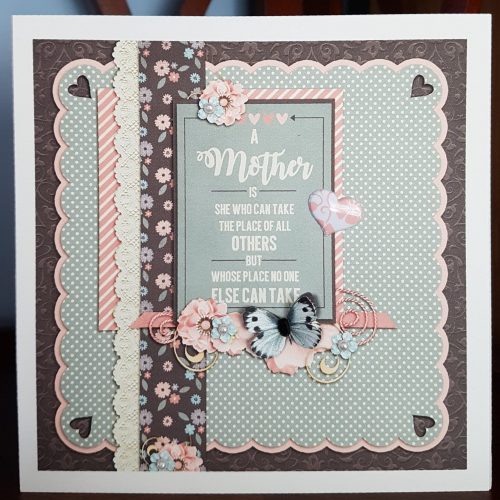
And, without the arrows and circles… My mother loved her card.
I did a similar project with the layout I made with Katie’s June Buffet collection Dad for my Father’s Day card but didn’t get a photo of the finished project. You’ll just have to trust me…
![]()