Sketchy Simplified
![]()
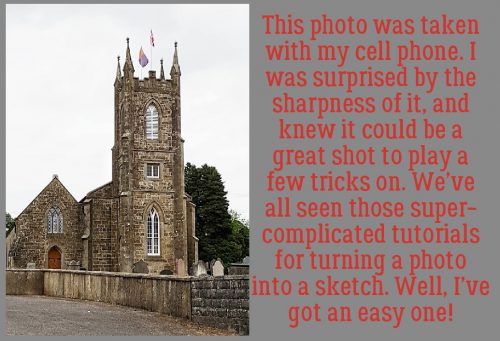
Today’s tutorial doesn’t need a lot of explantation. It’s a little goodie I stumbled on when I was playing with this photo. I took it with my cell phone camera and was pleasantly shocked at how it came out, even when blown up in PSE. The sky is very flat, but that’s how the sky looked for much of my time in Ireland, so I’m not obsessing over it.
I’ve been playing with these Guided Edits just to see what they do, and the Orton Effect is amazing!

With this one, you can click the Edit button several times to create an additive change to your photo. But I only clicked it once.
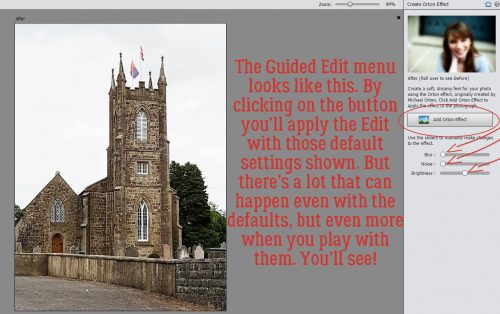
The difference isn’t obvious, but it’ll be quite apparent once I change the settings.
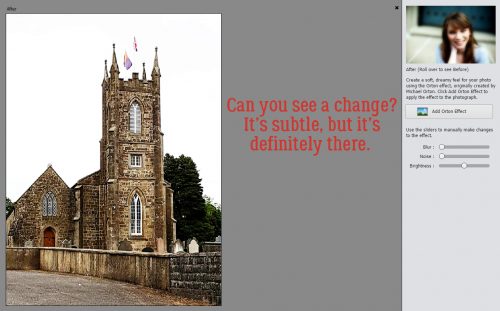
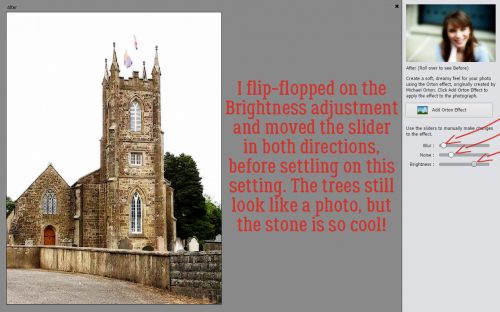
See the change now? I barely moved the Blur slider to the right, I think the numeric amount was 4. But the whole image is softer and dreamier.

I played with all the sliders; the Noise one was the one I really wasn’t sure of. But in the end, I moved it to the right about 12 and the stone is starting to look sketchier.
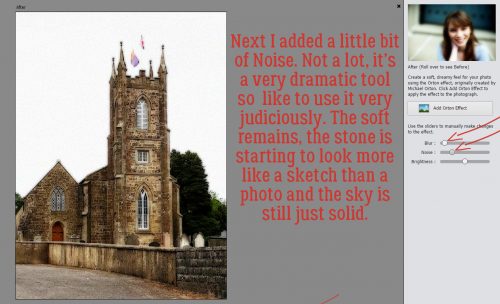
By pushing the Brightness slider over about 1/3 of the way between the default and the max, I got this nice look.
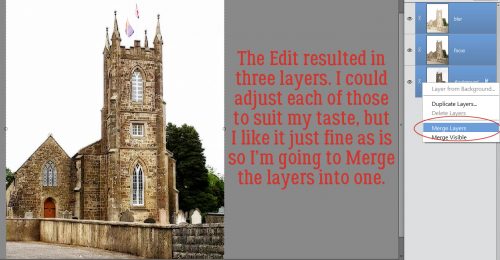
As you can see, there are now 3 layers there when I clicked through to the Expert editor. Each layer can be further adjusted, Blend Modes changed to suit your mood and Opacity lowered. But I was happy with it so I just Merged them all.
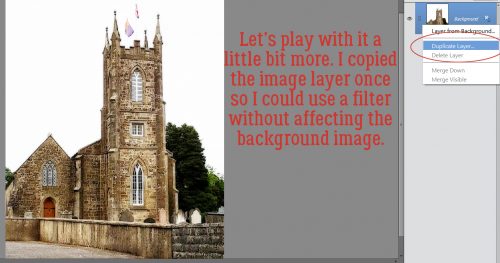
But I tried a few more things on this image. I Duplicated the image layer so it would remain unchanged before I went on the add a Filter.
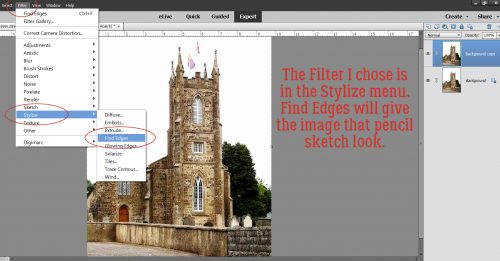
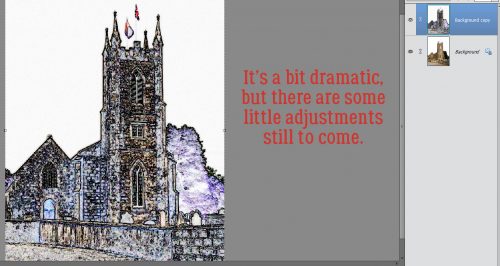
Filter>Stylize>Find Edges is the filter I used.
Don’t be alarmed! A simple tweak will make this work.
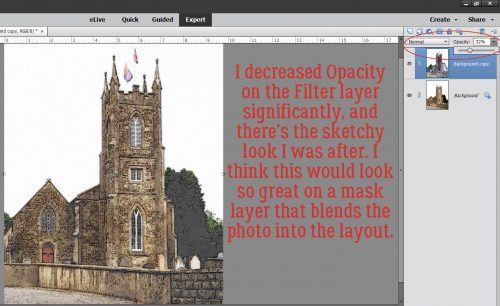
All I did was pull the Opacity of the top layer down to 32%.
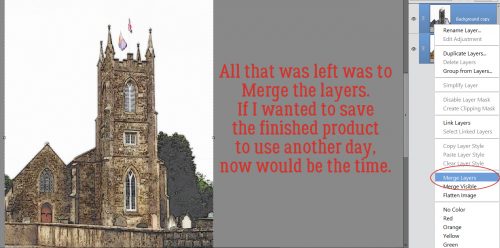
And all that was left was to Merge the layers again. Then I saved the resulting image for use in a layout later. I plan to use it with a mask (or two) to blend it into the background a bit and that’ll add some life to the sky.
This should work with just about any photo with strong detail. Give it a whirl!
![]()