Welcome to another Friday! I hope that you have all had a great week. We’ve had a heat wave. I’m so not ready for summer temperatures!
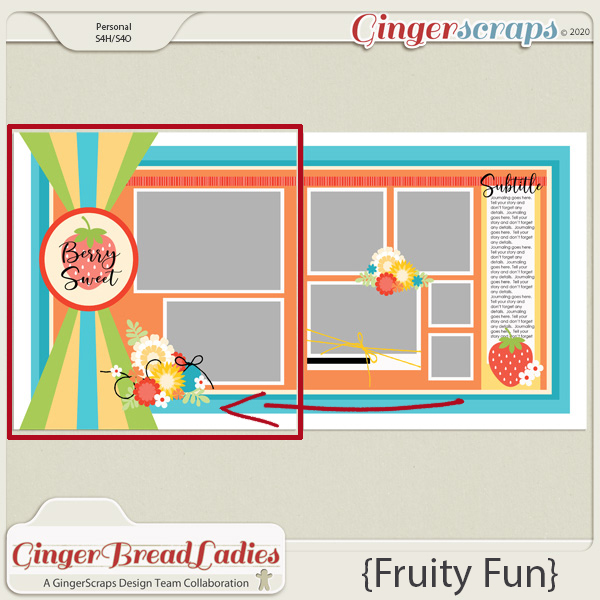
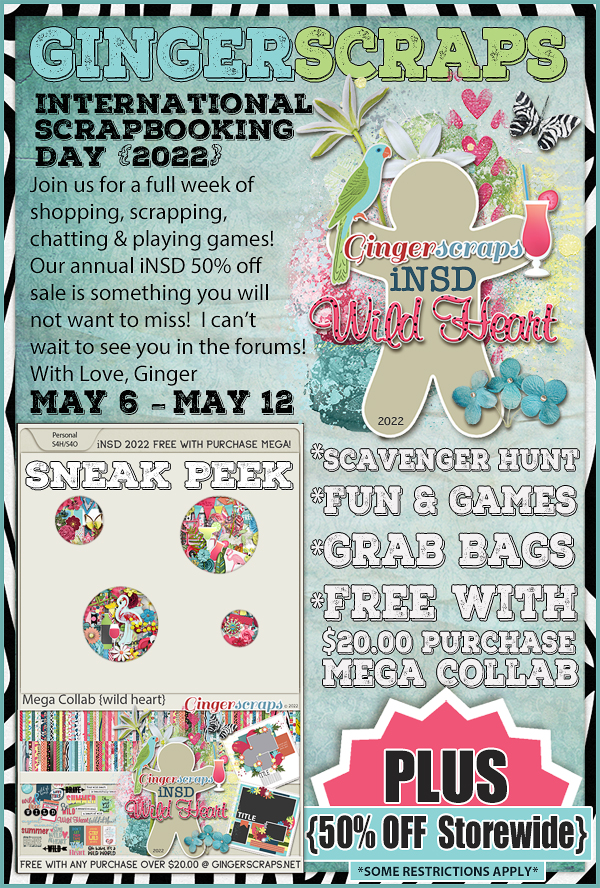
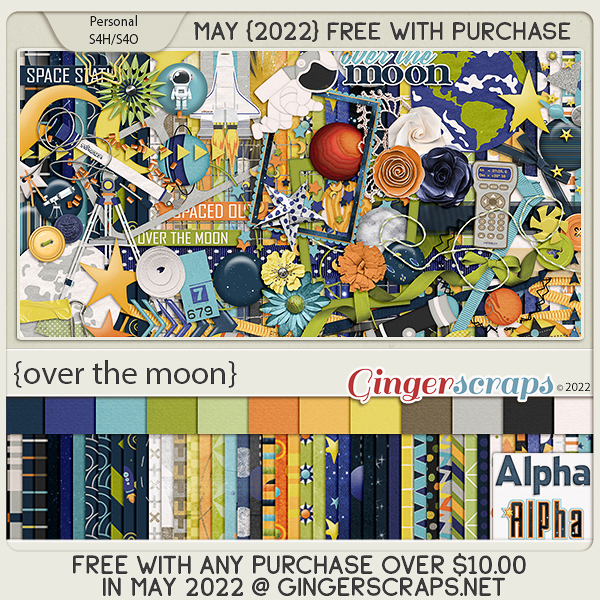
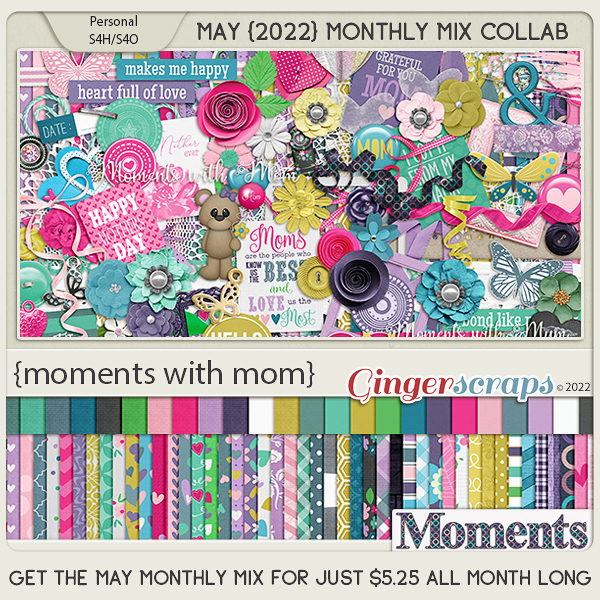
Remember any $10 spent in the store gets you this great collab.
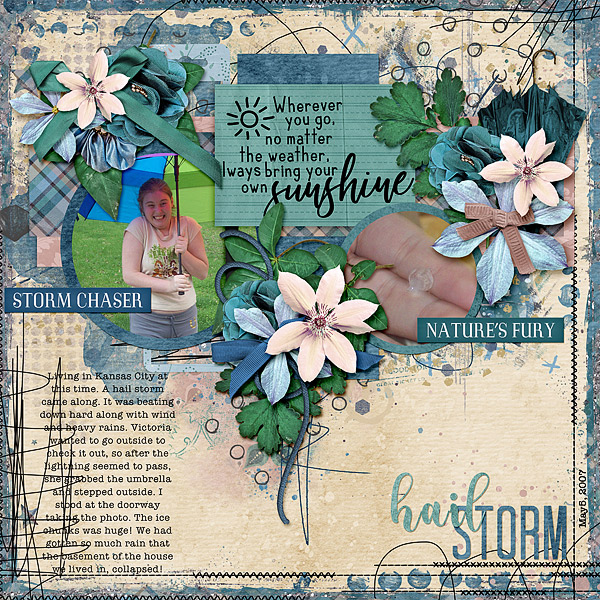
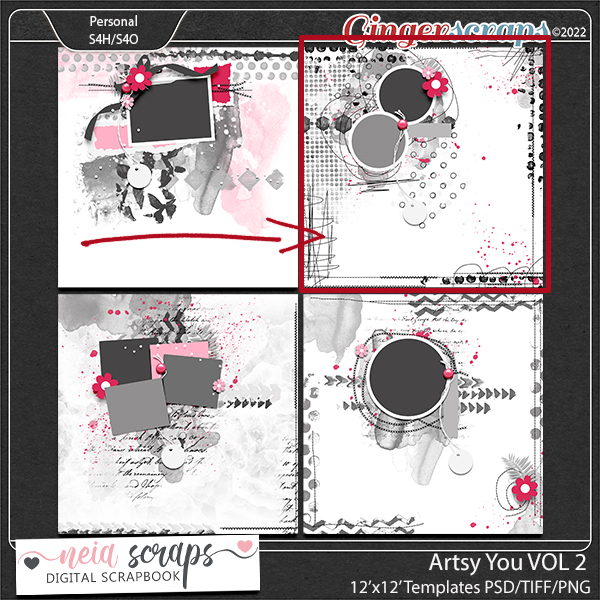
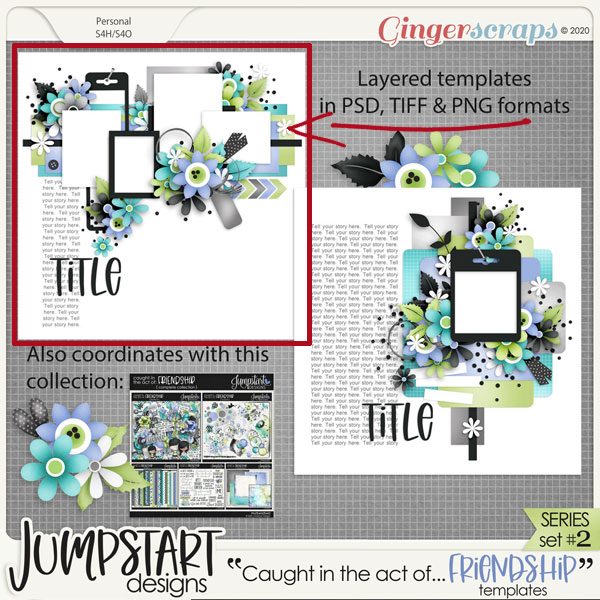
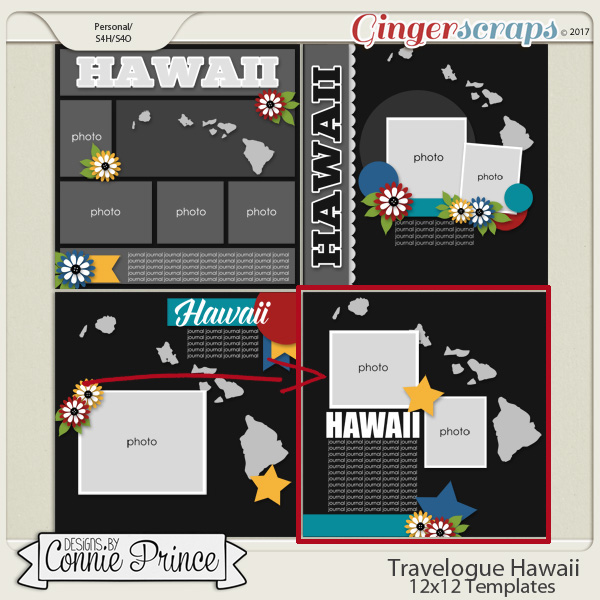
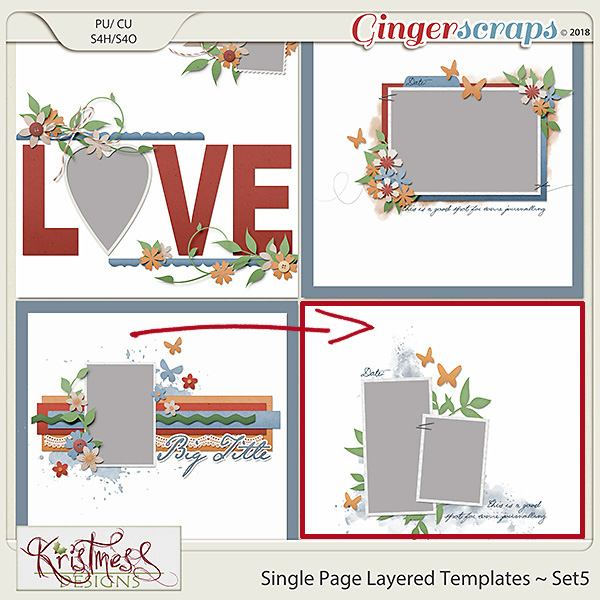
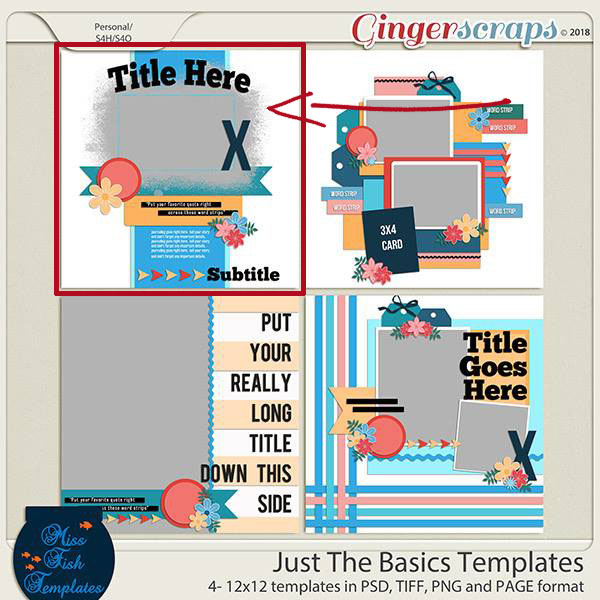
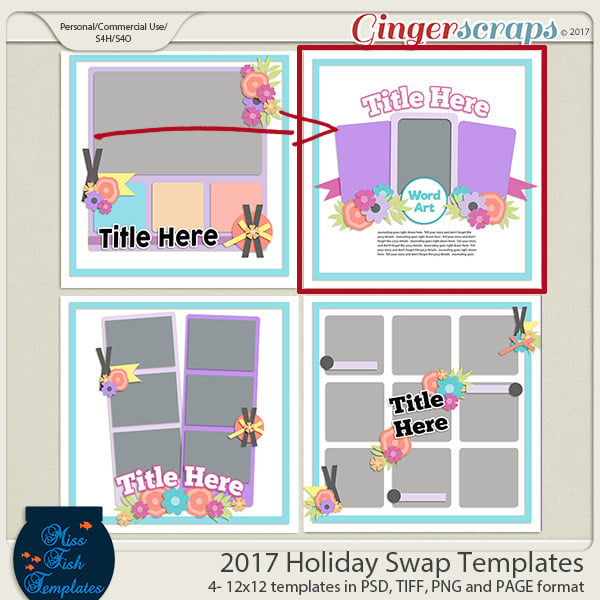
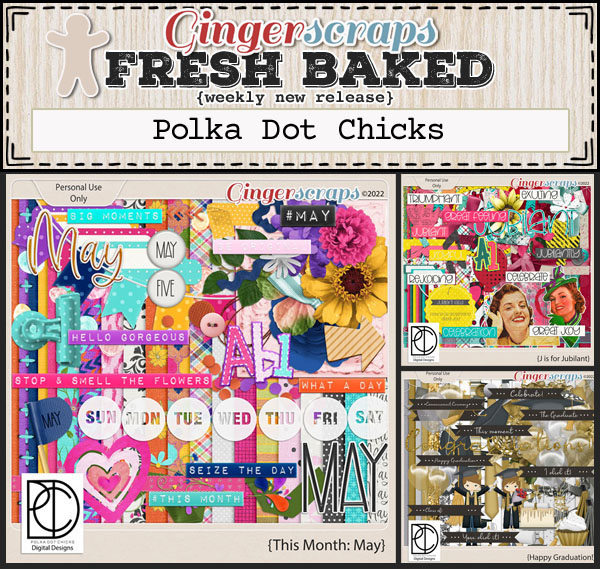
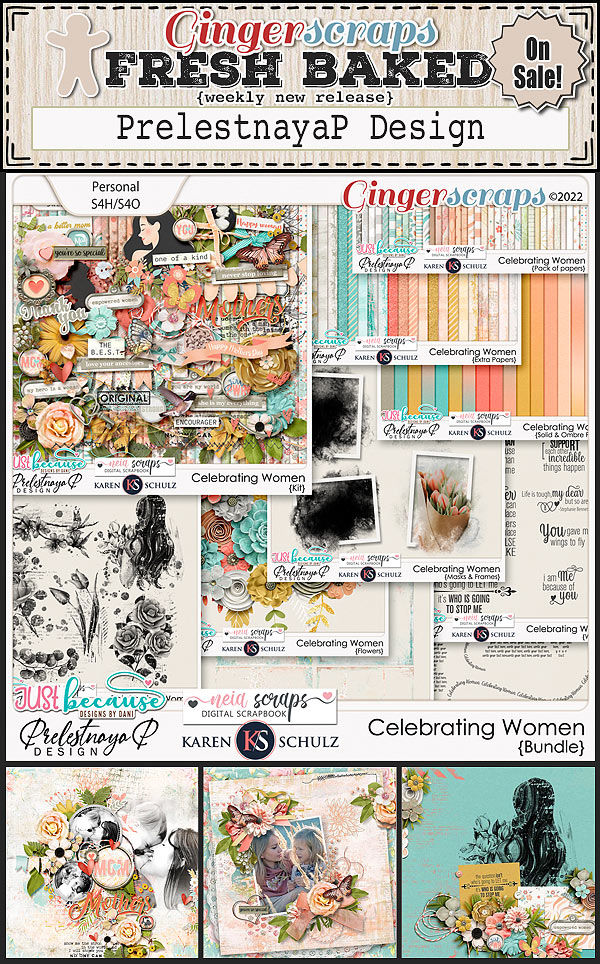
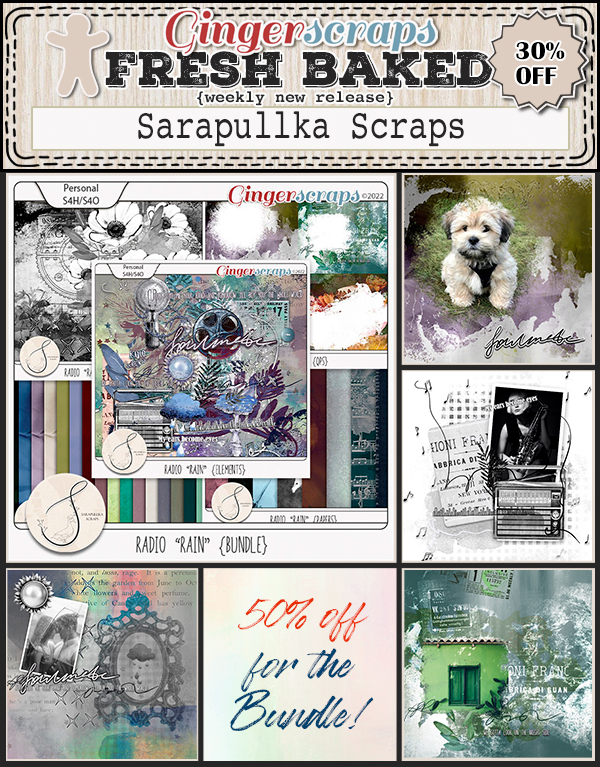
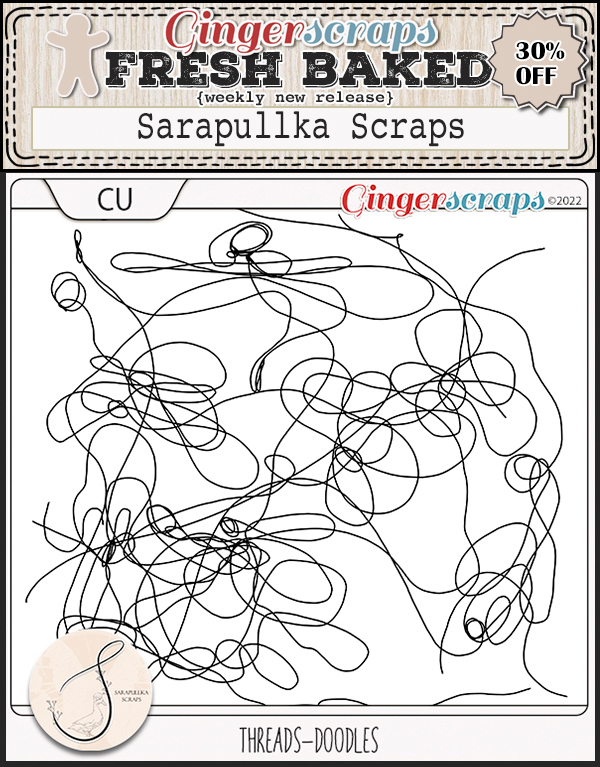
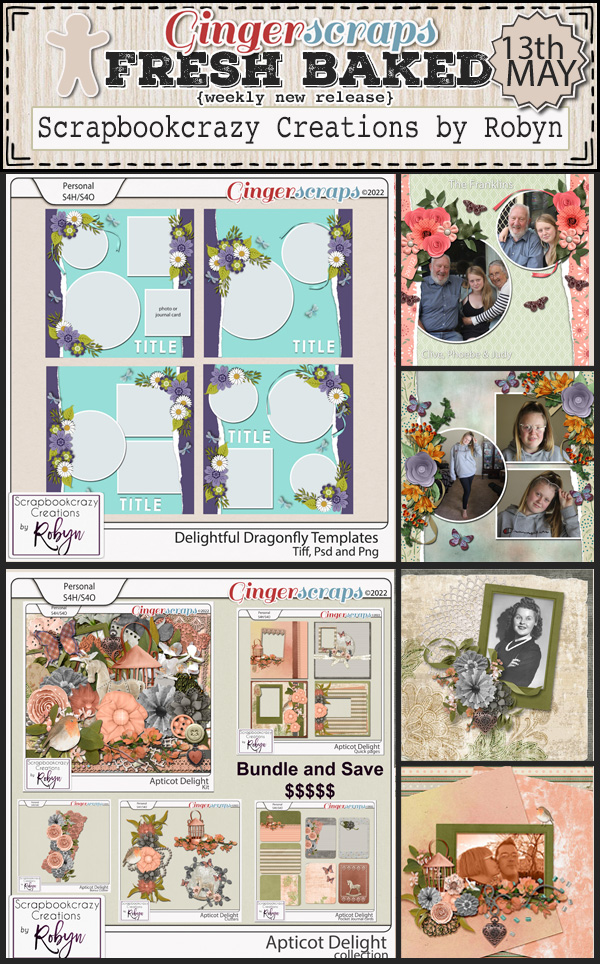
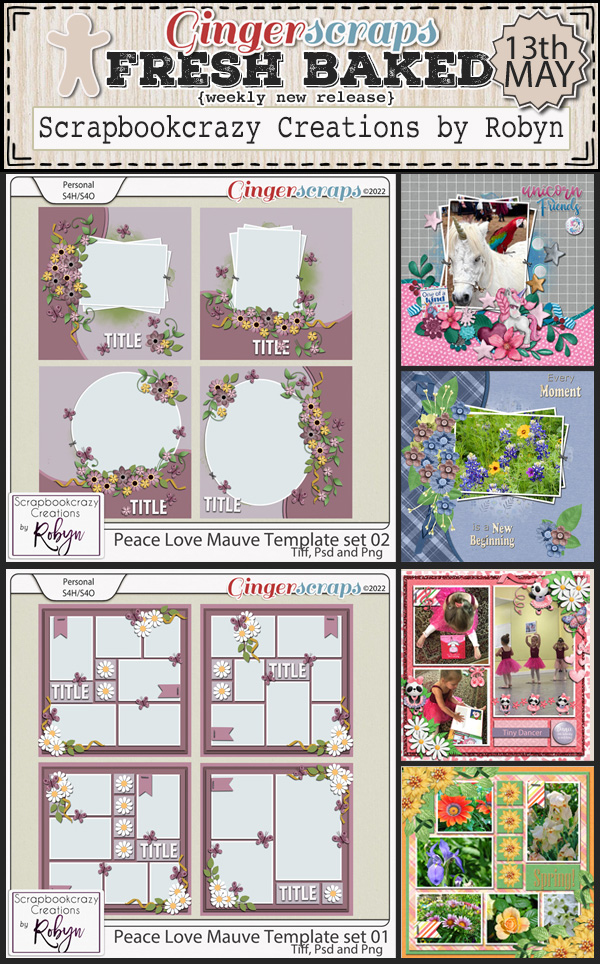
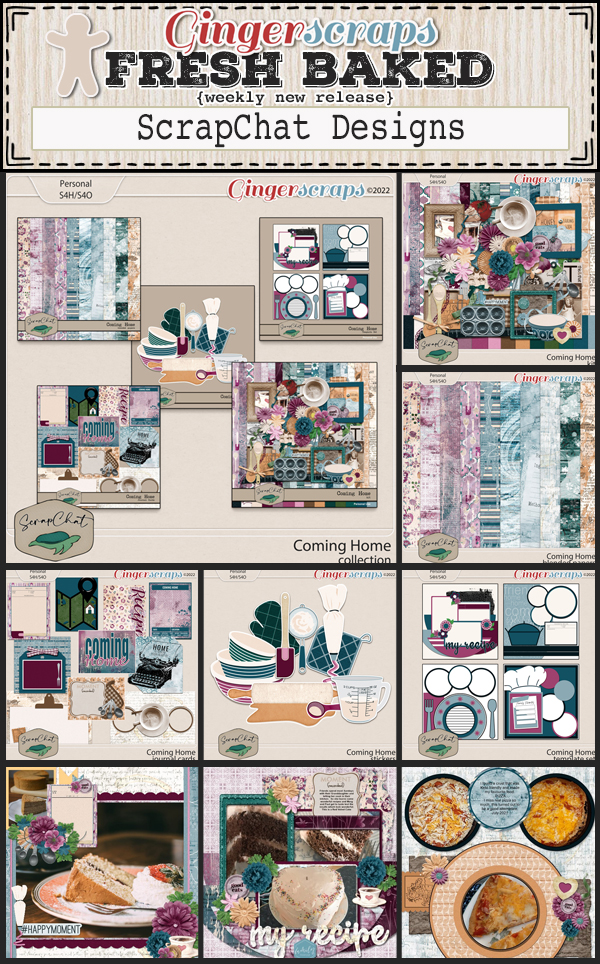
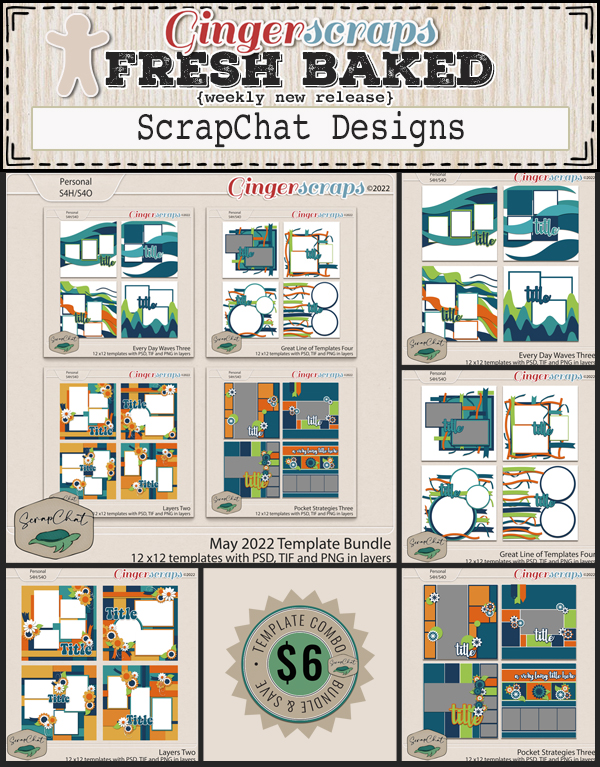
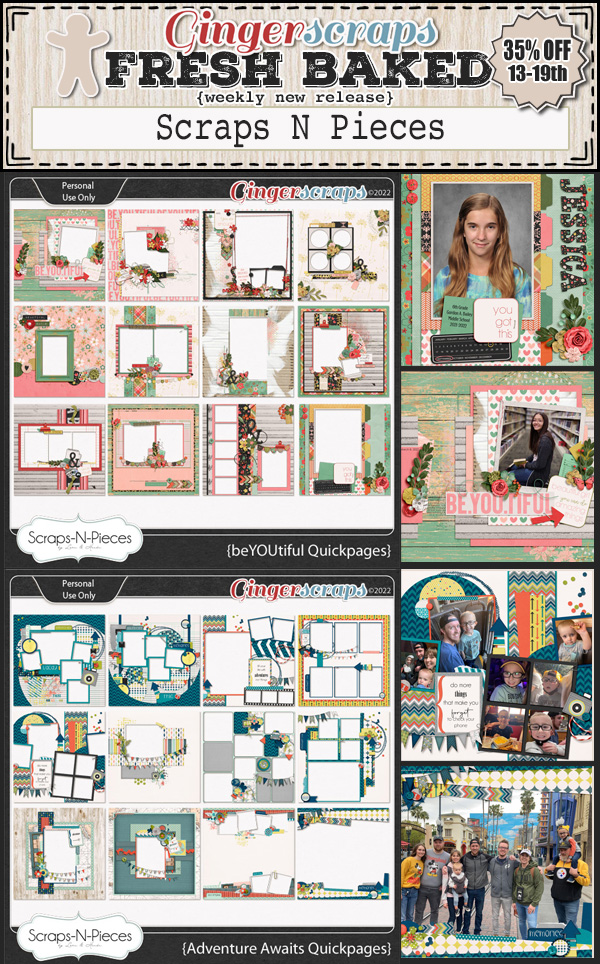
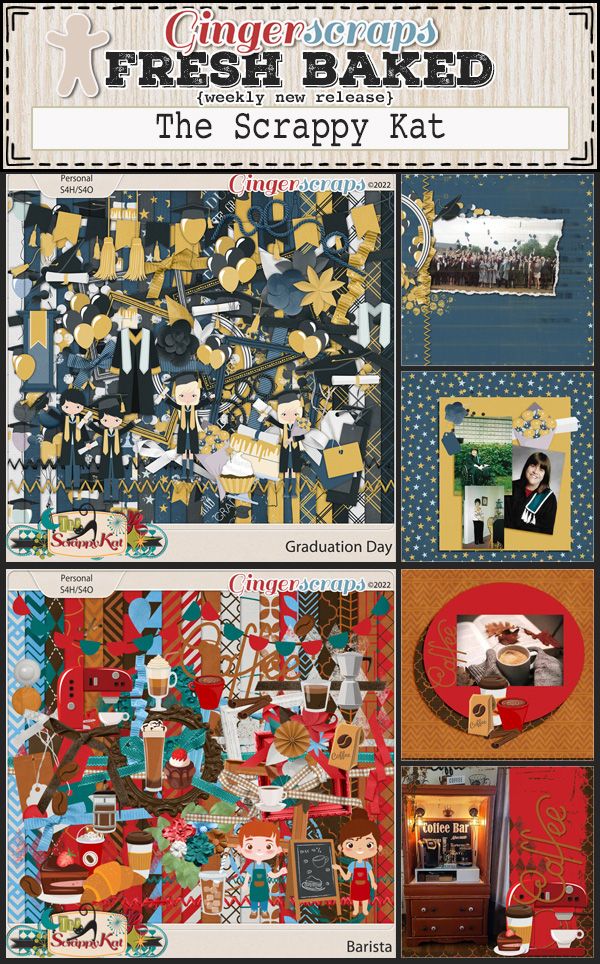
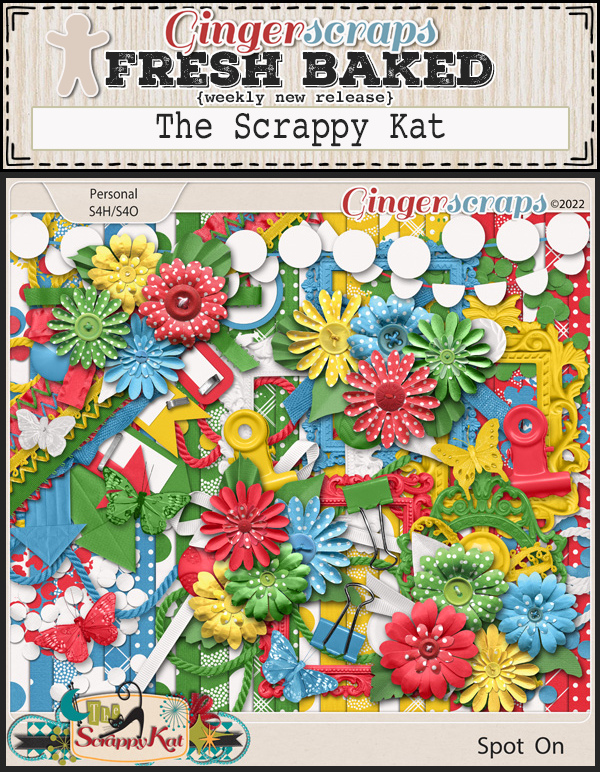
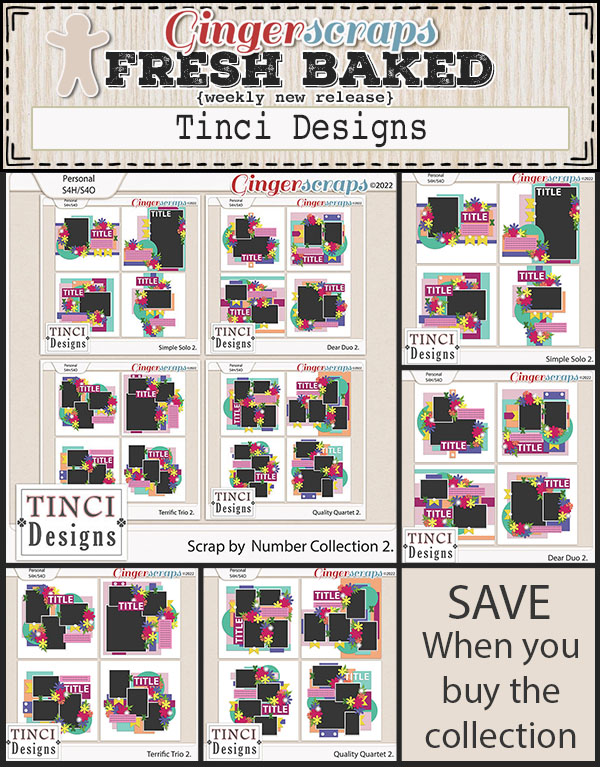
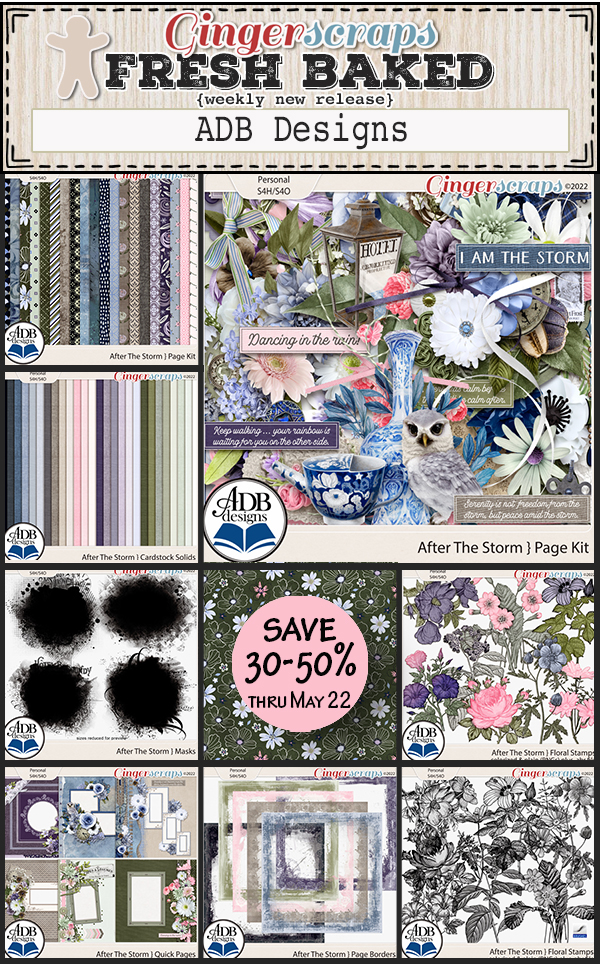
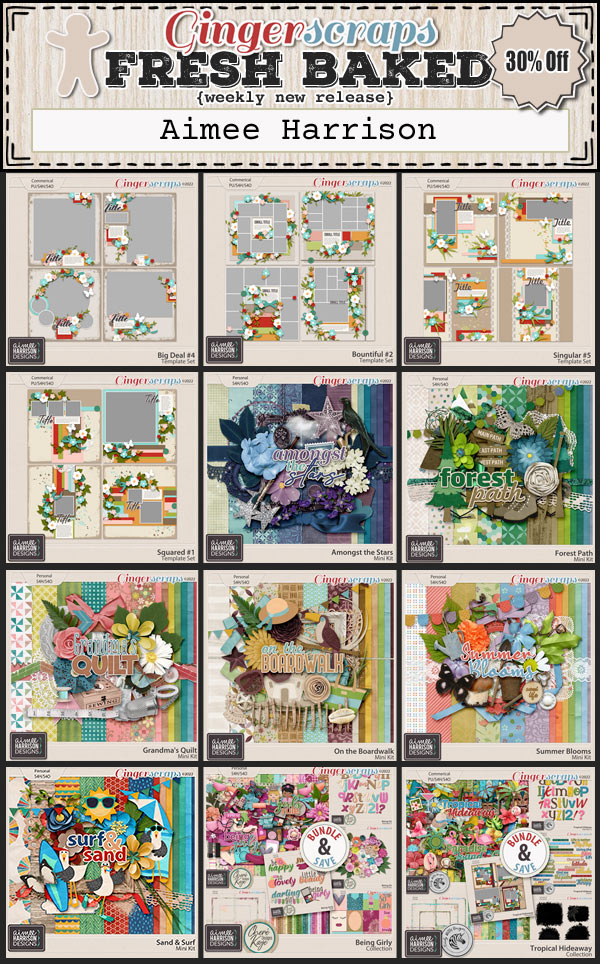
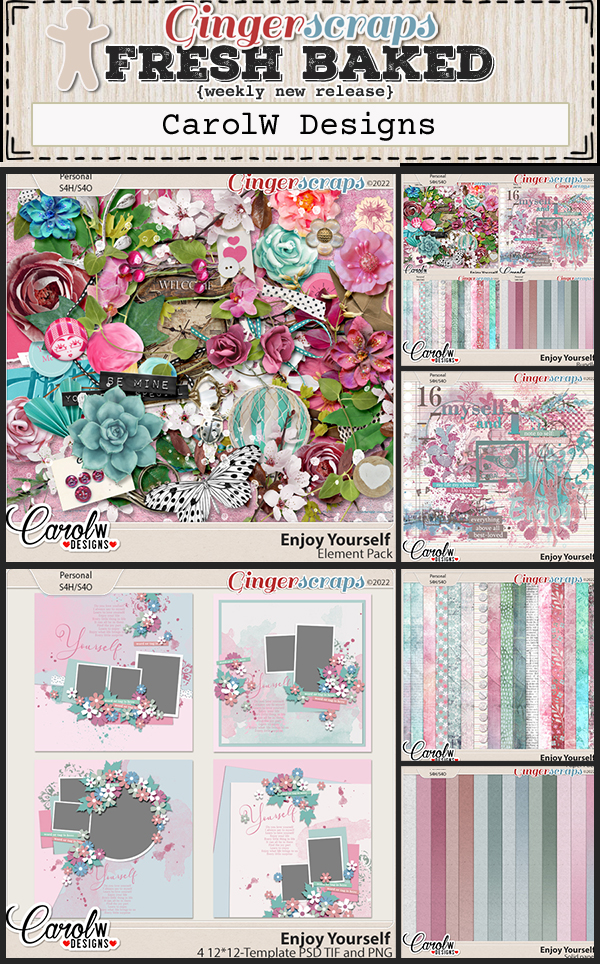
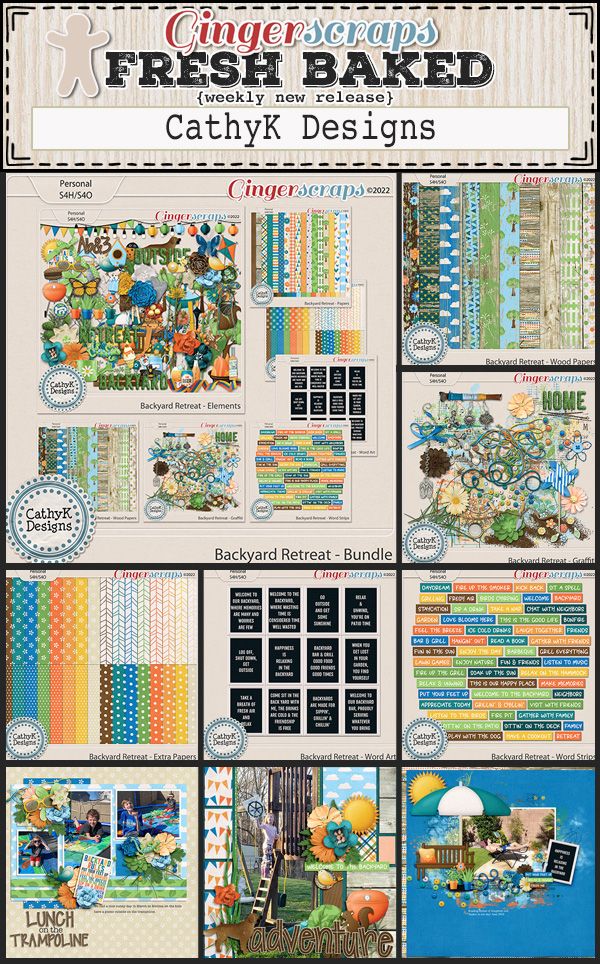
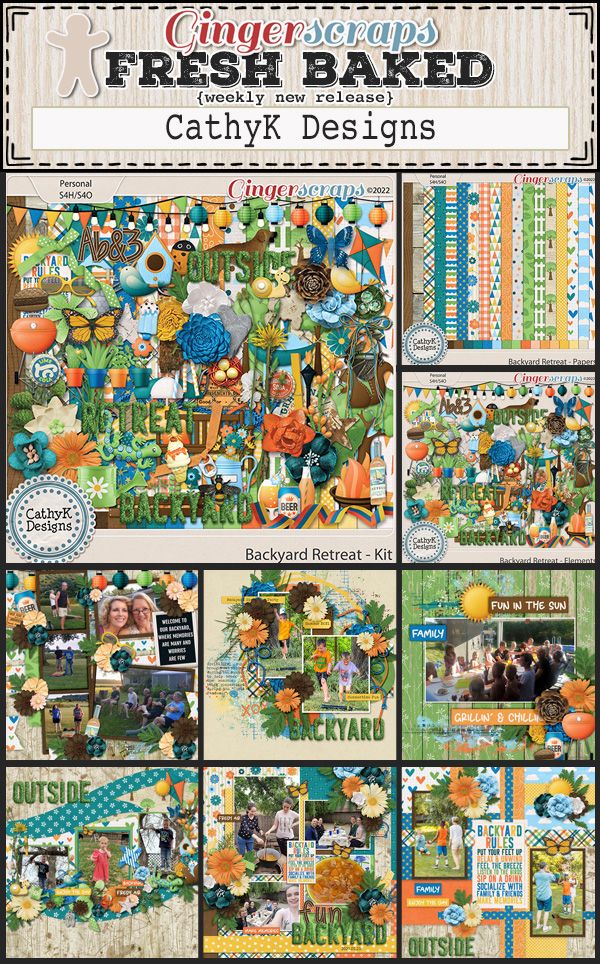
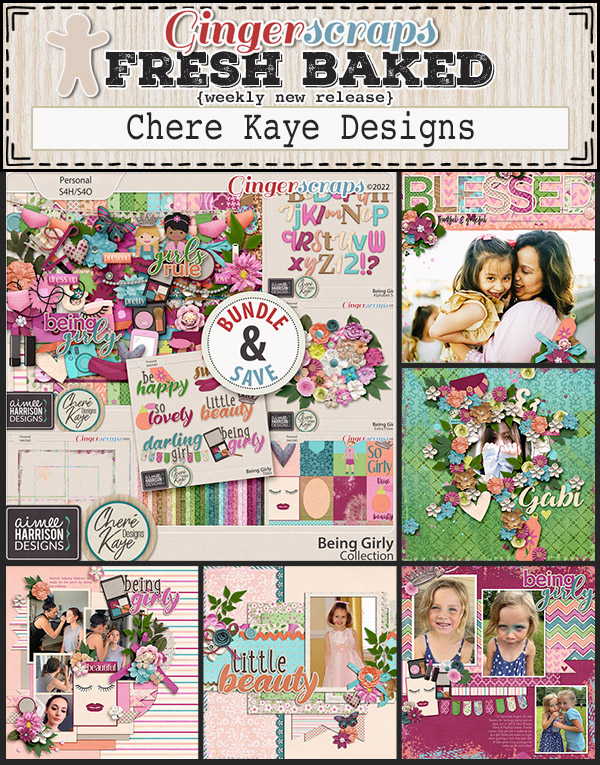
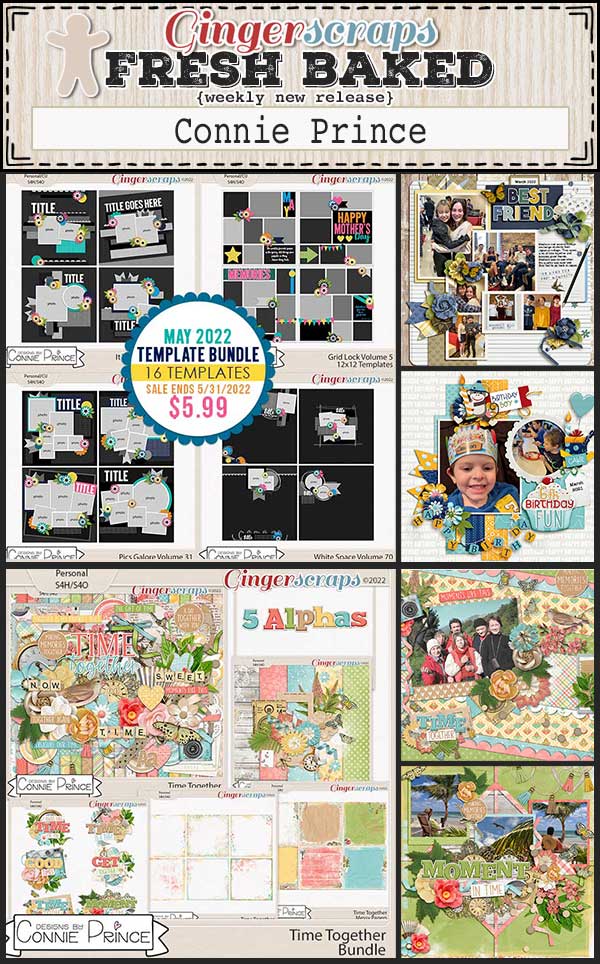
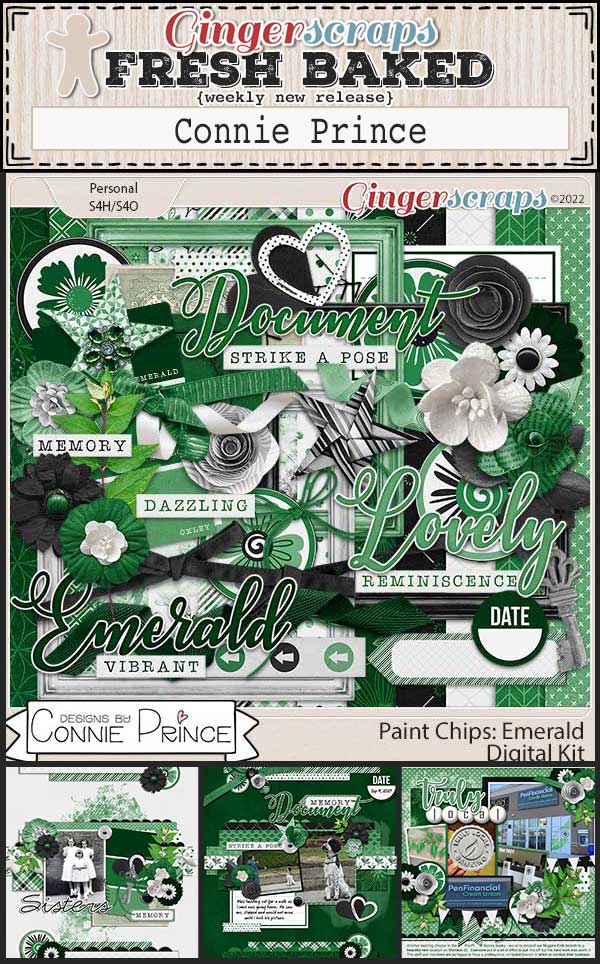
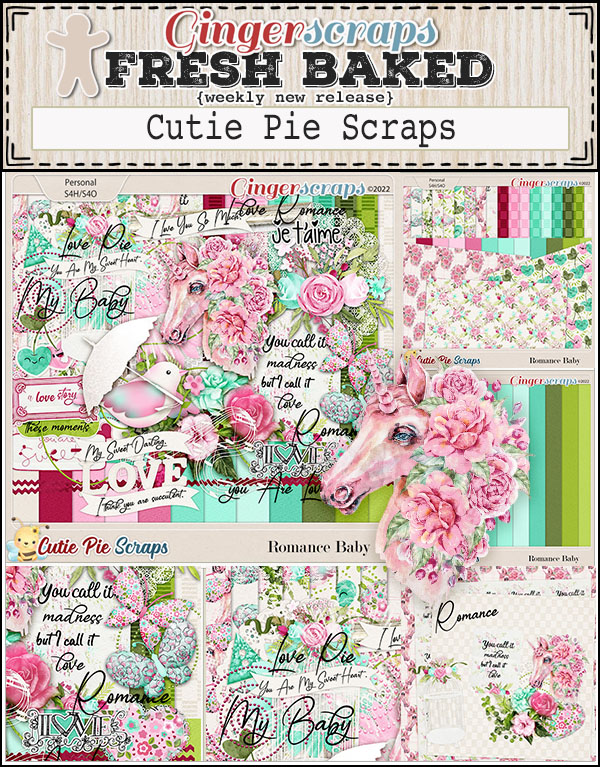
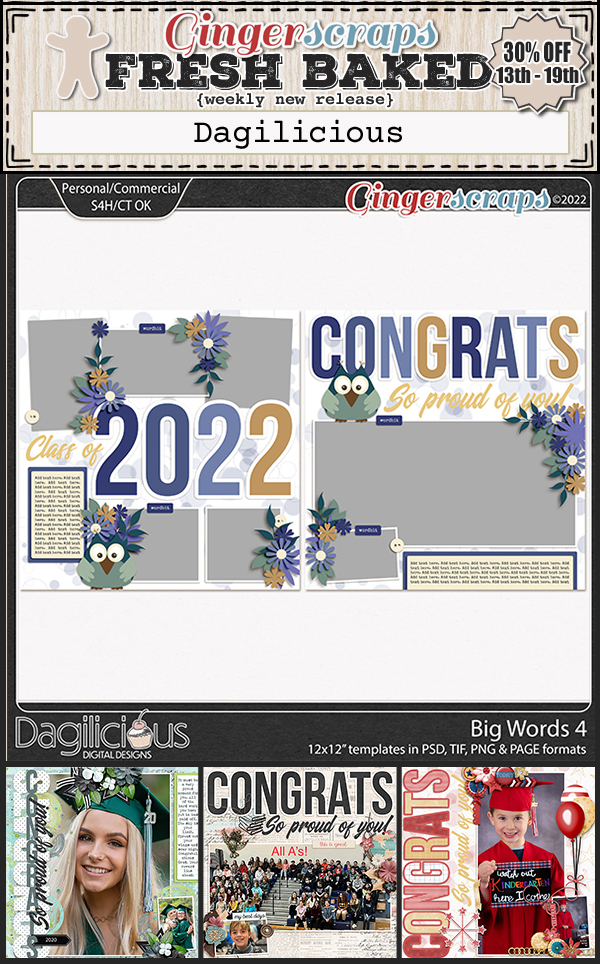
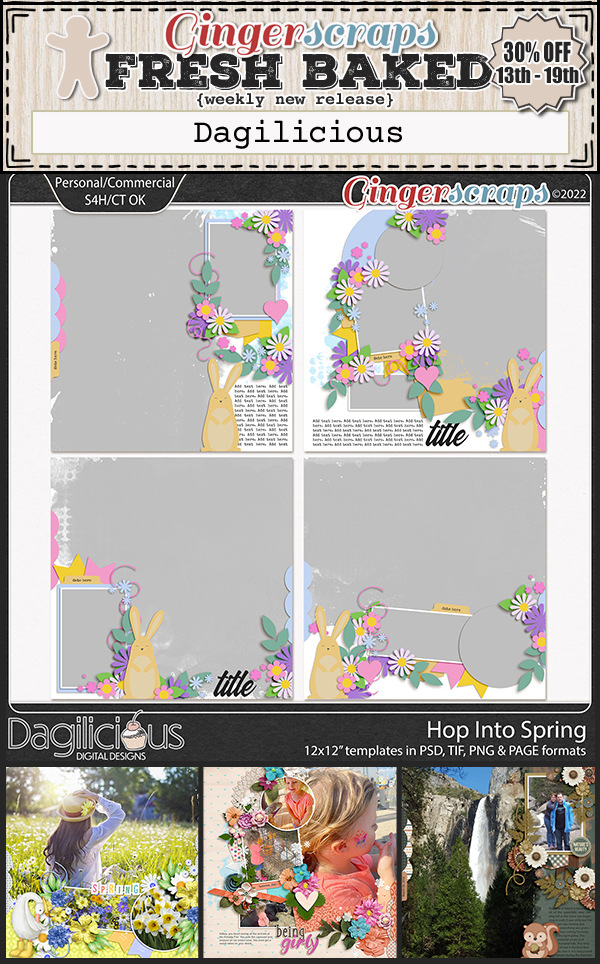
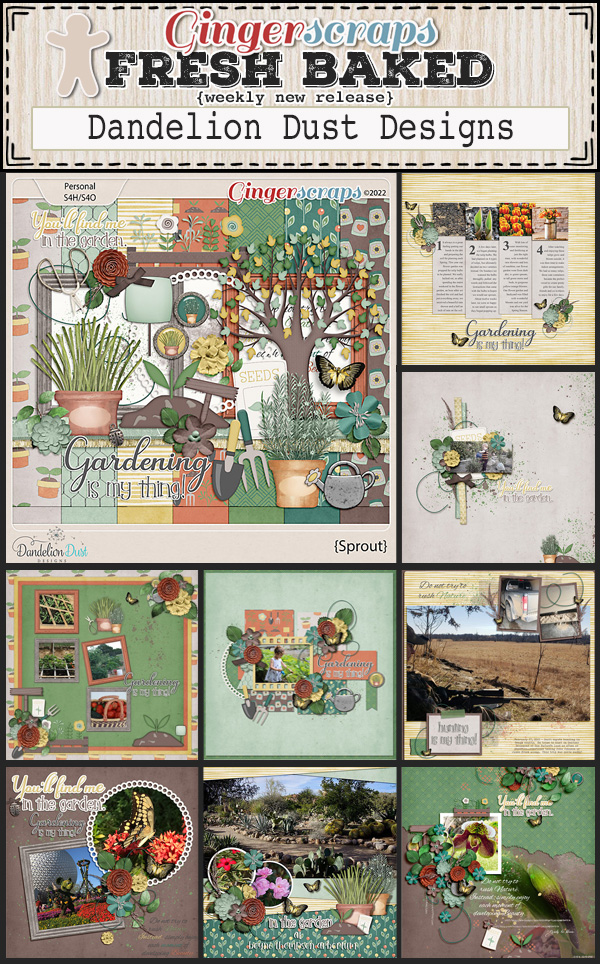
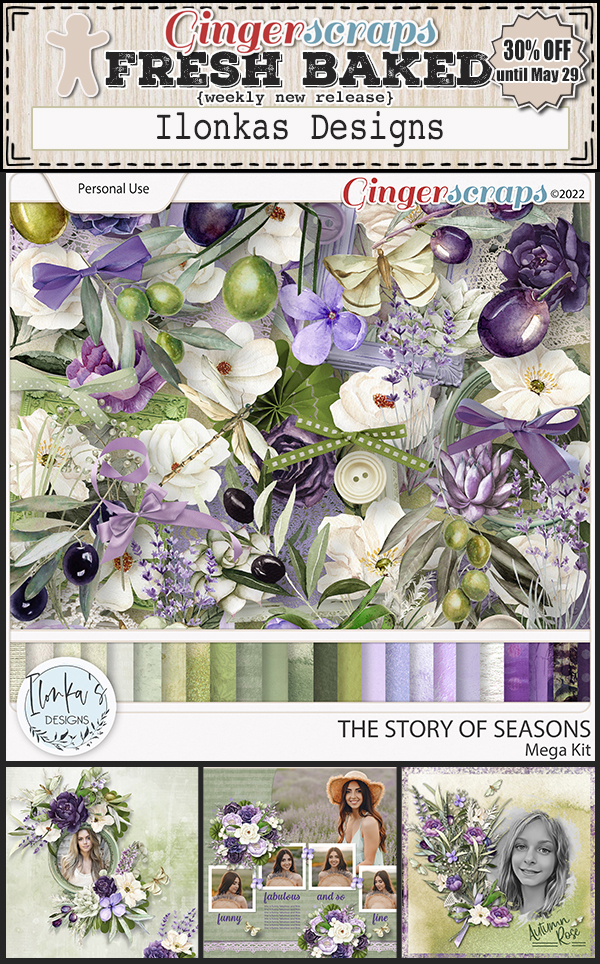
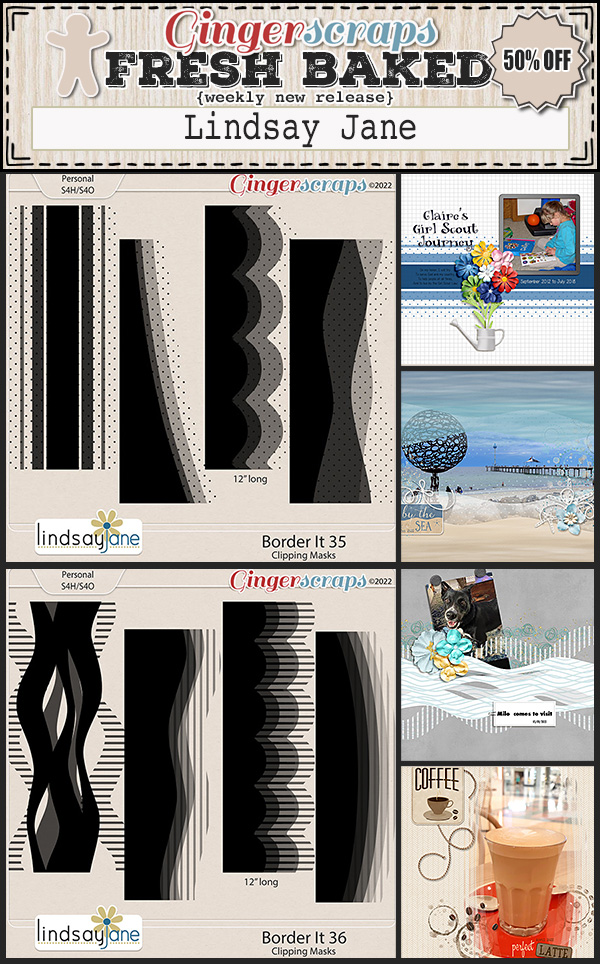
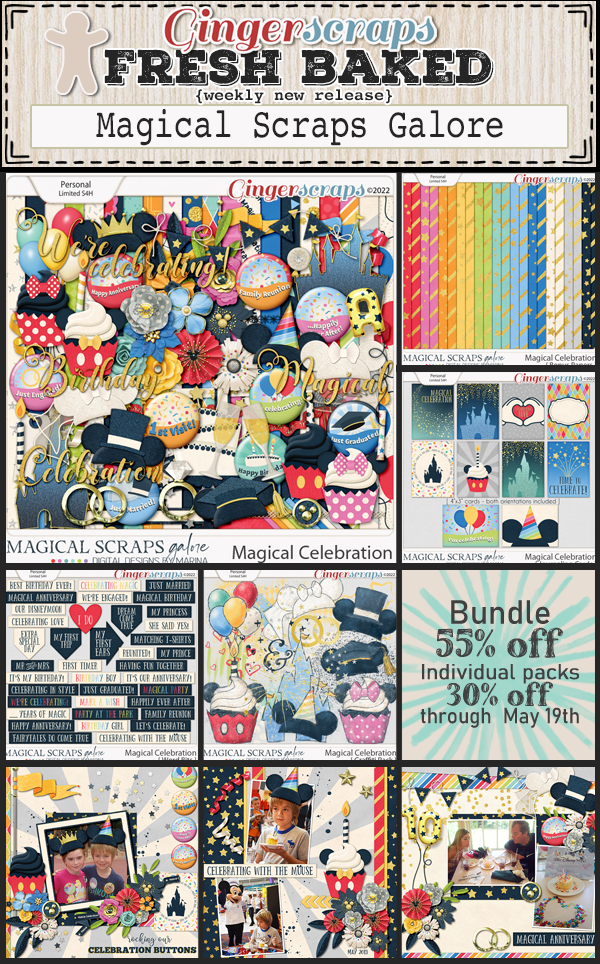
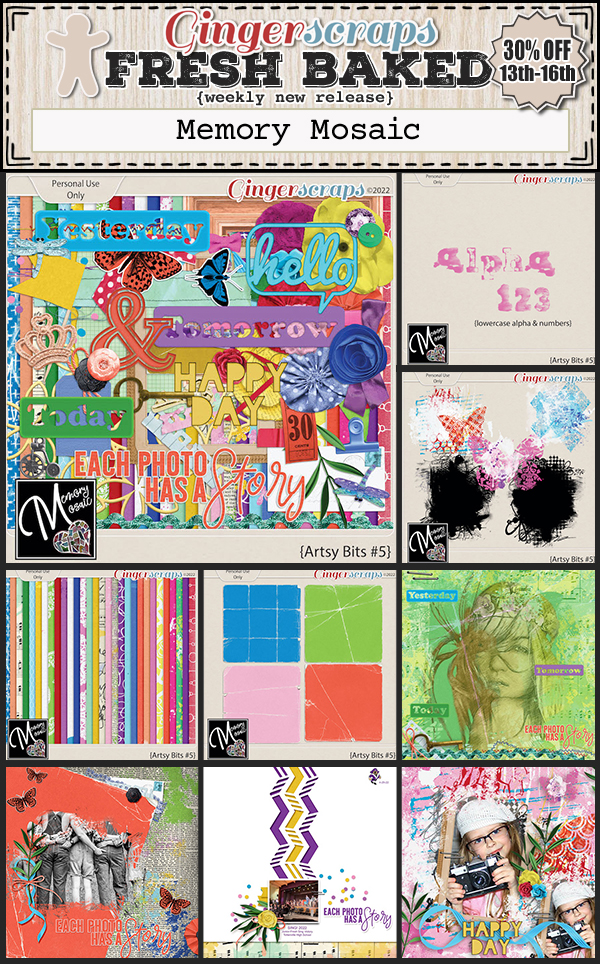
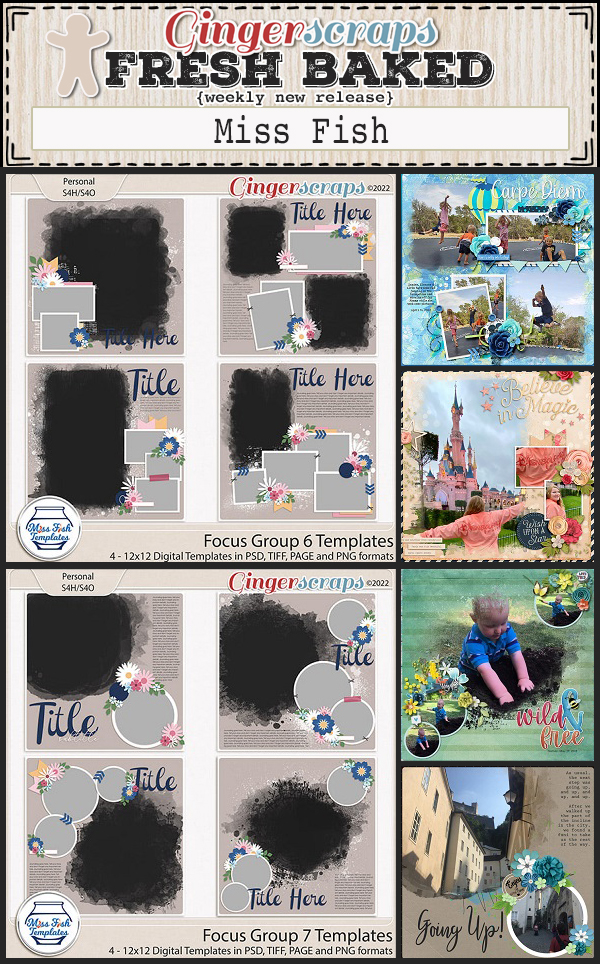
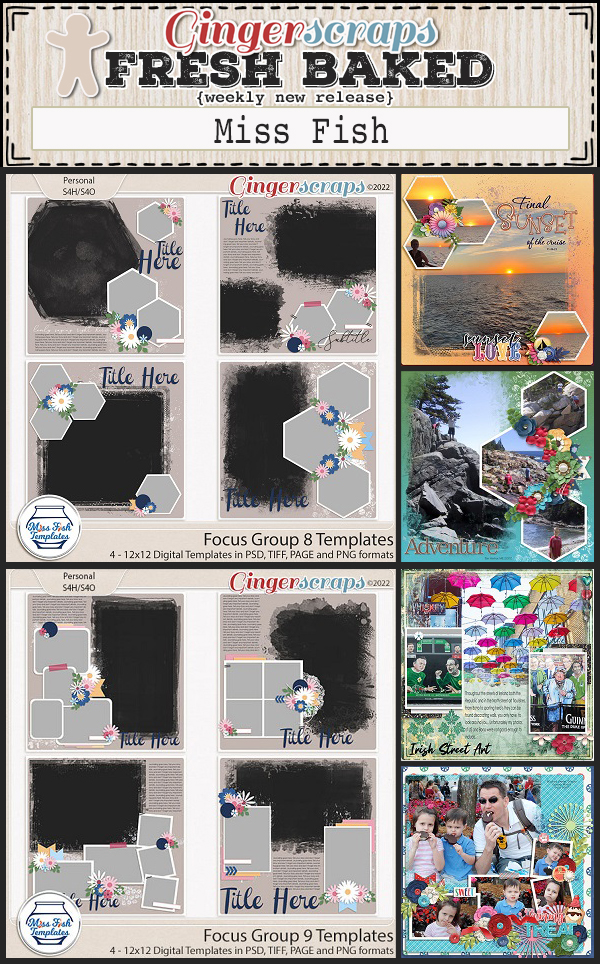
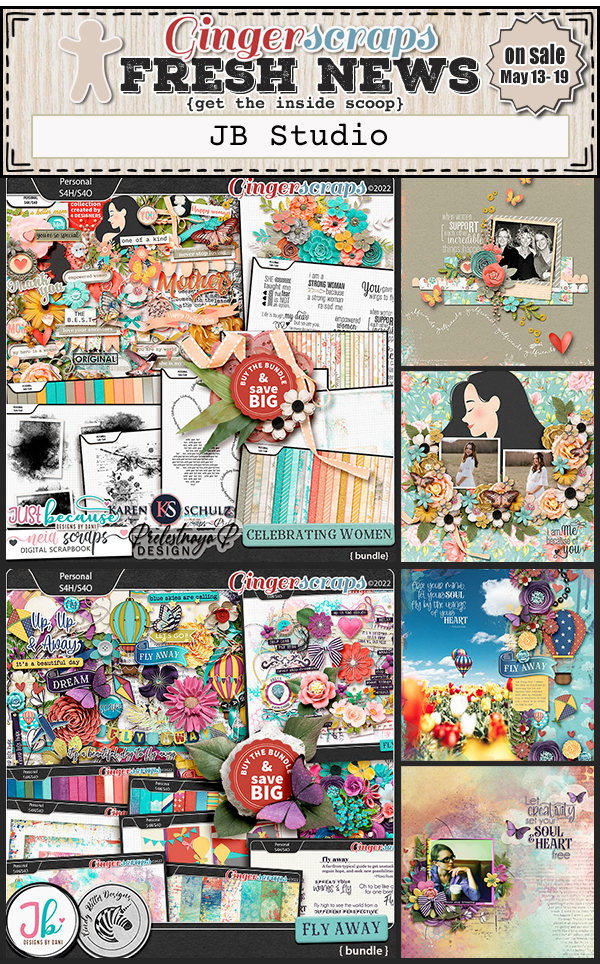
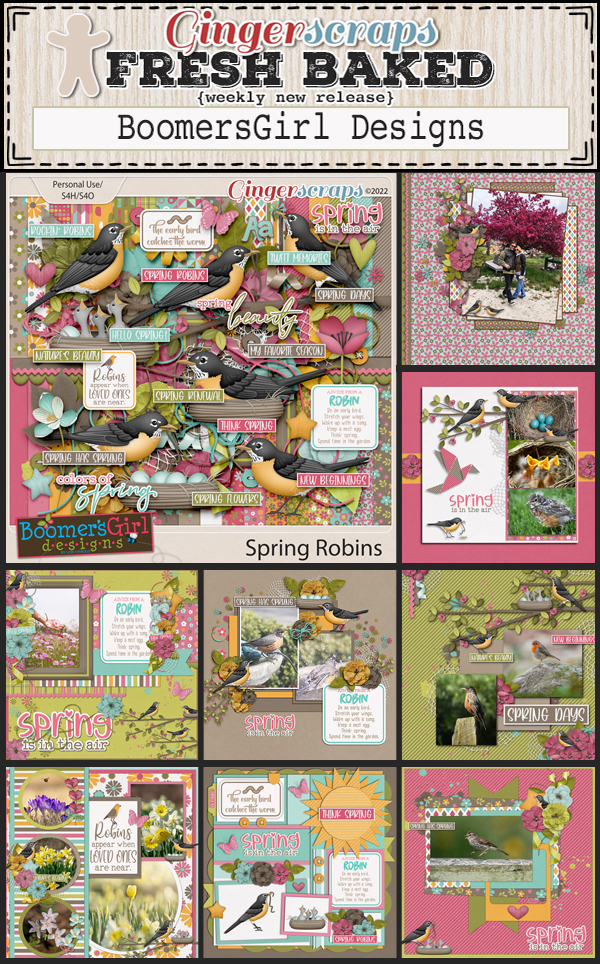
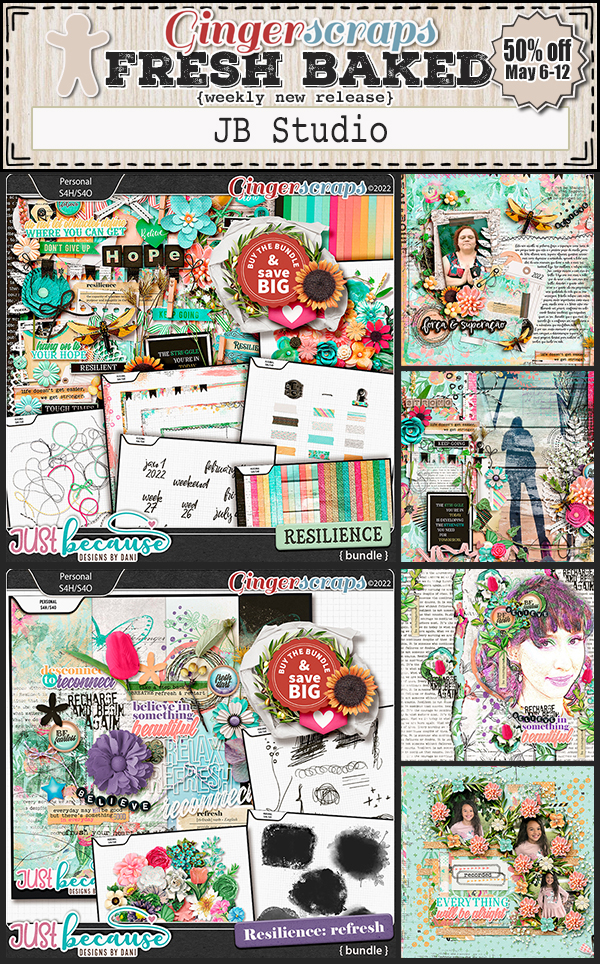
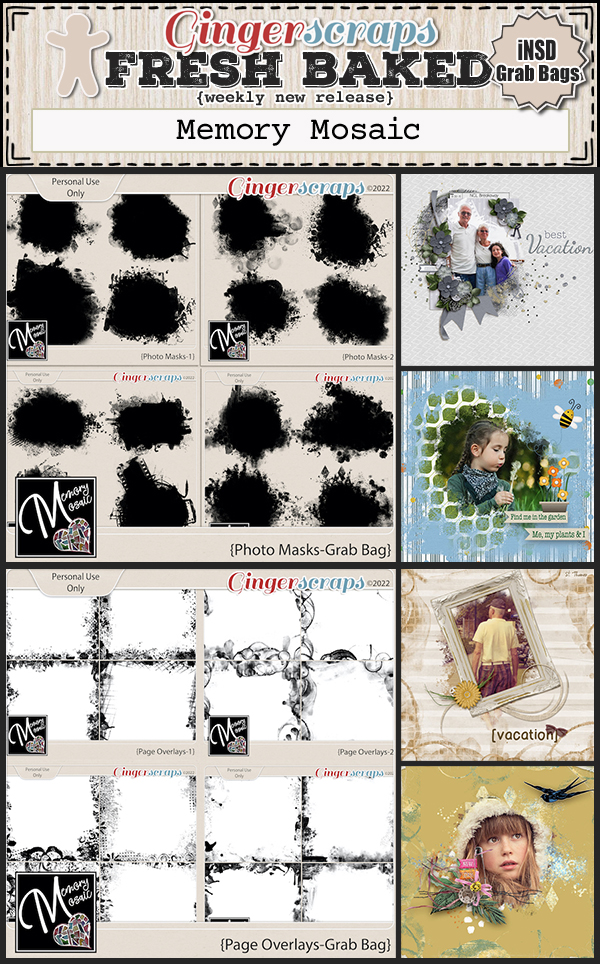
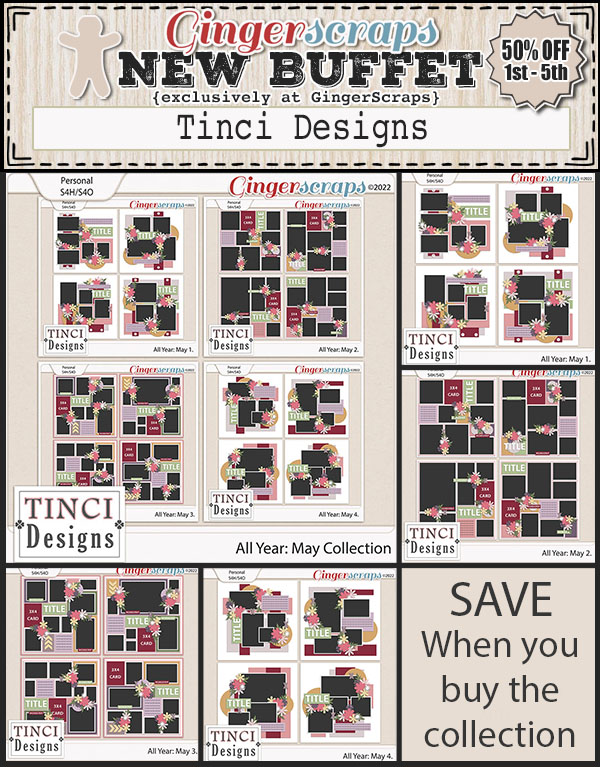
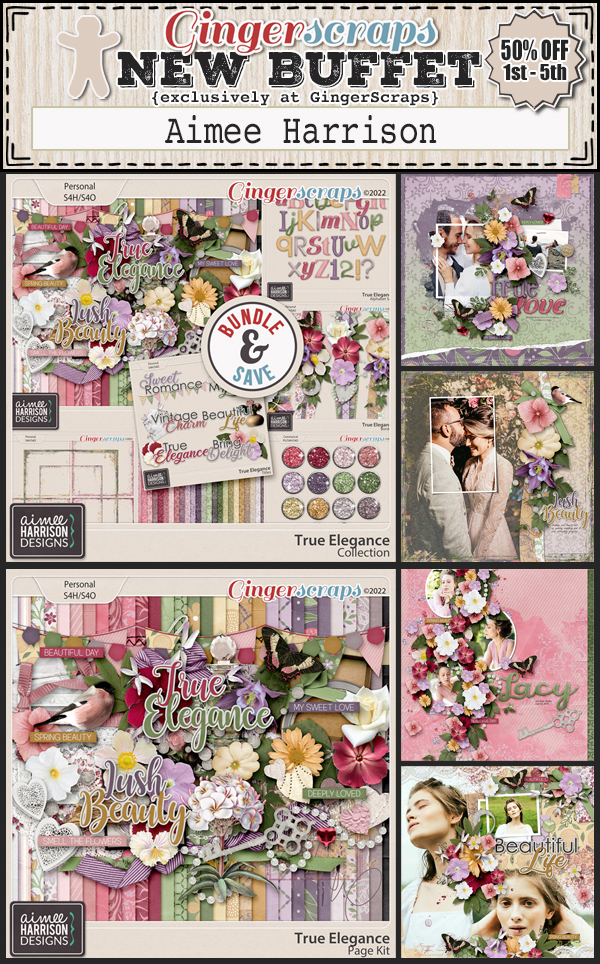
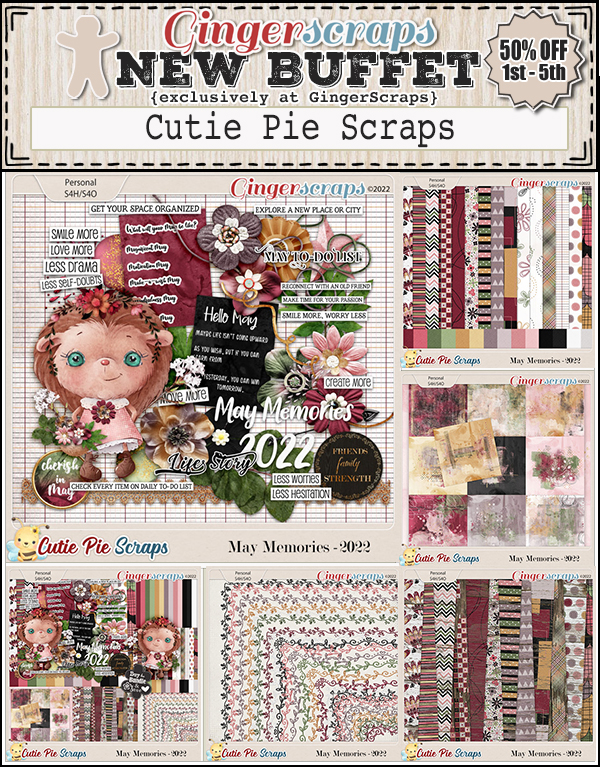
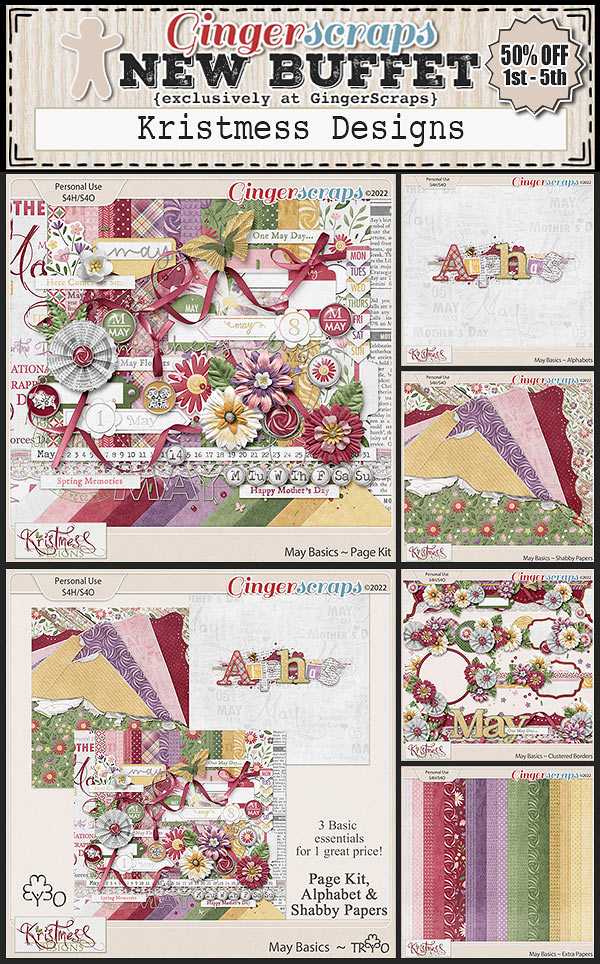
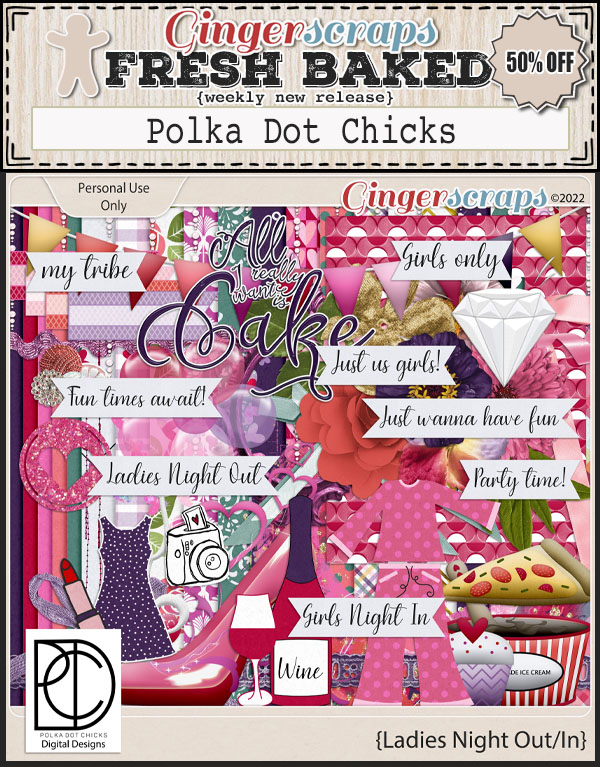
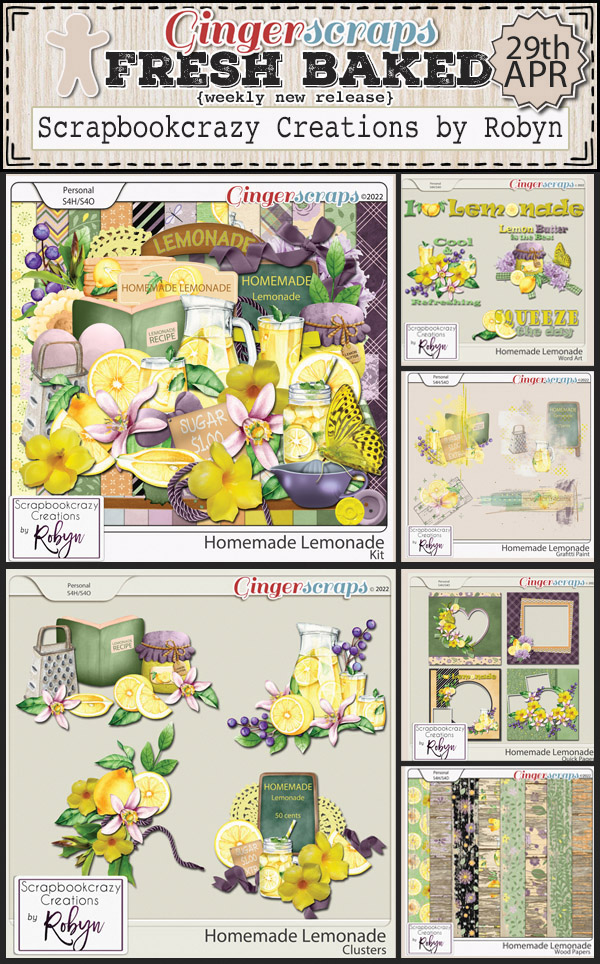
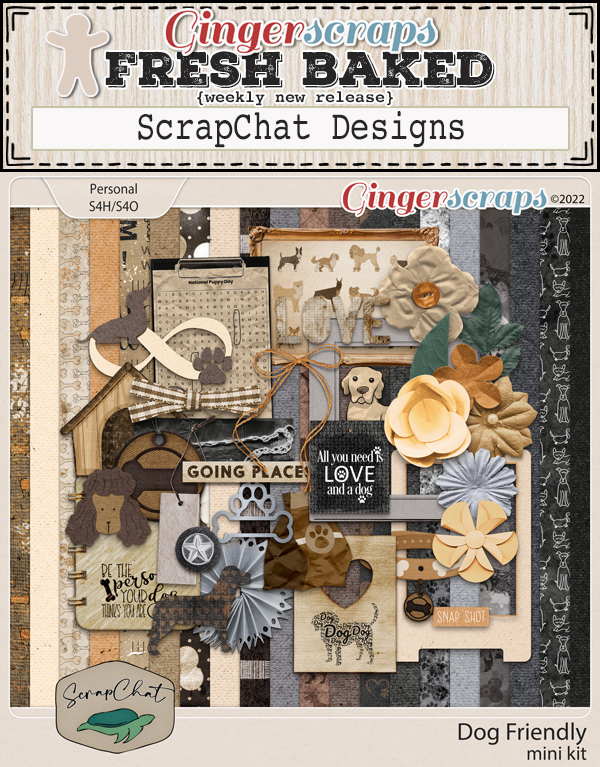
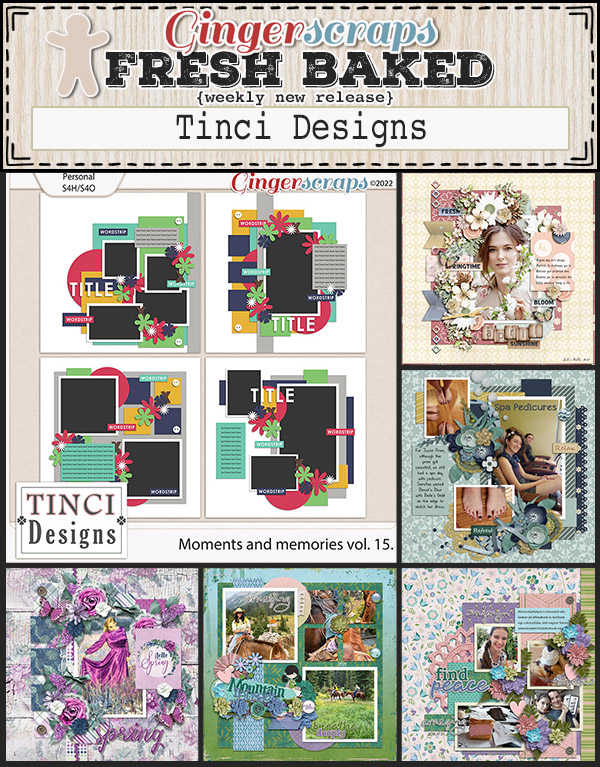
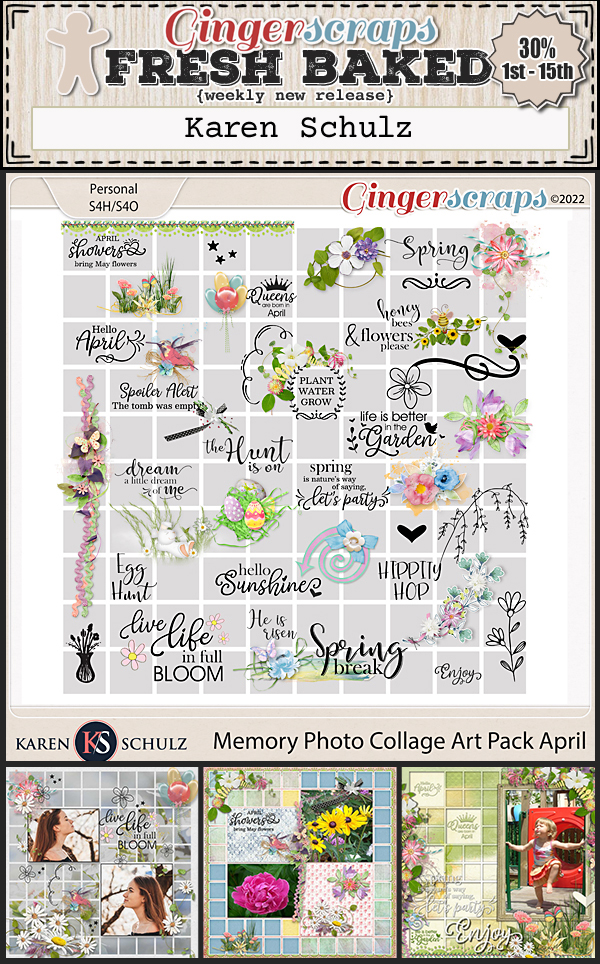
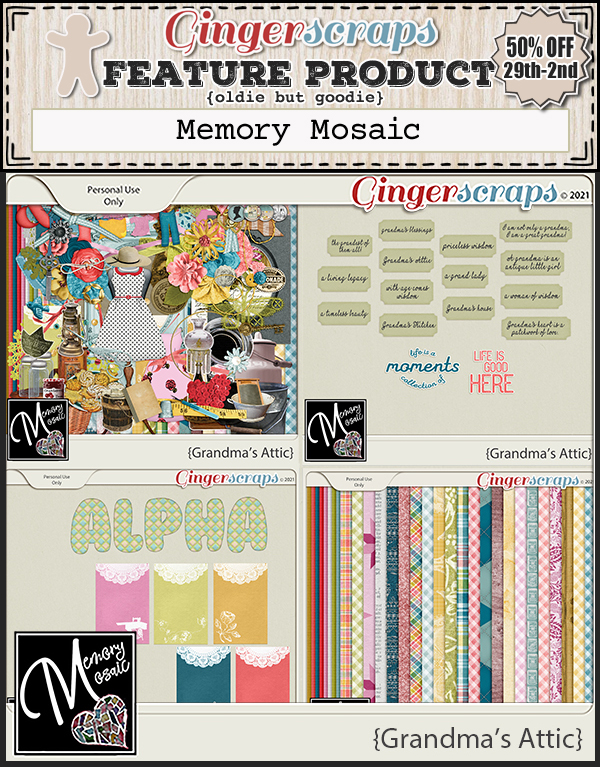
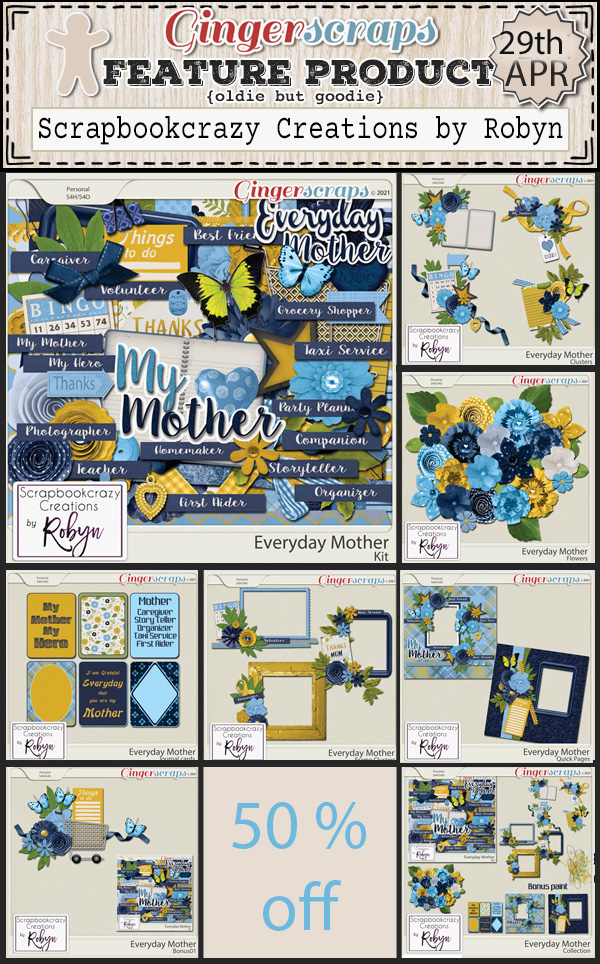
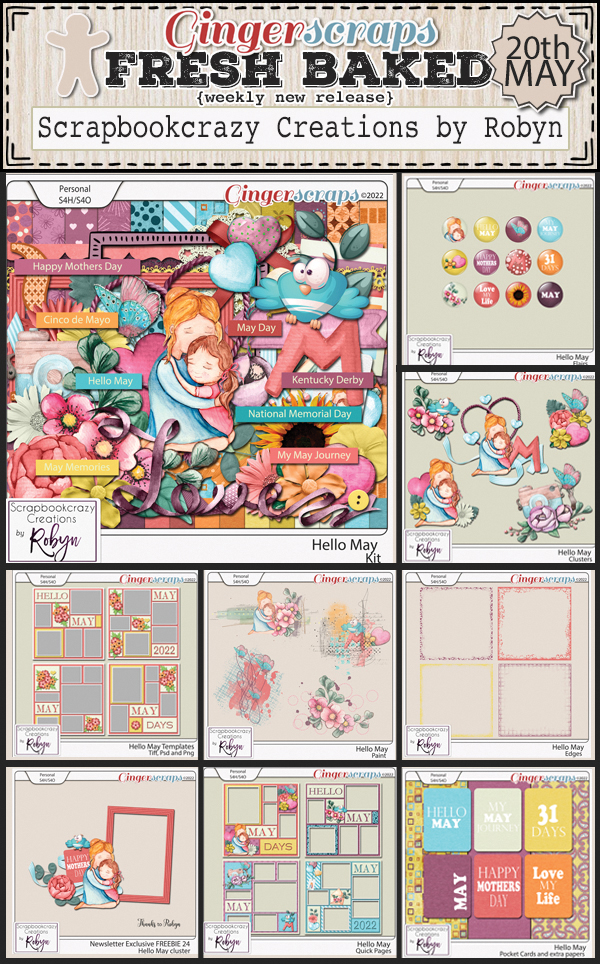
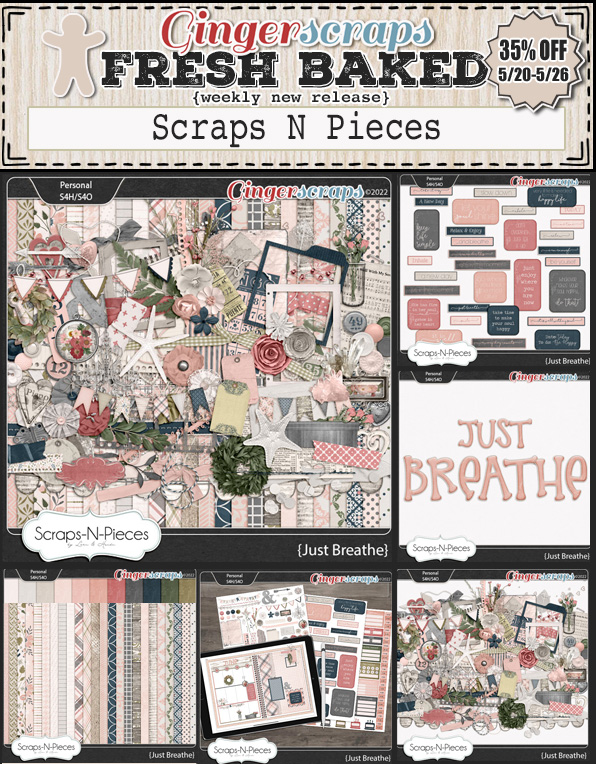
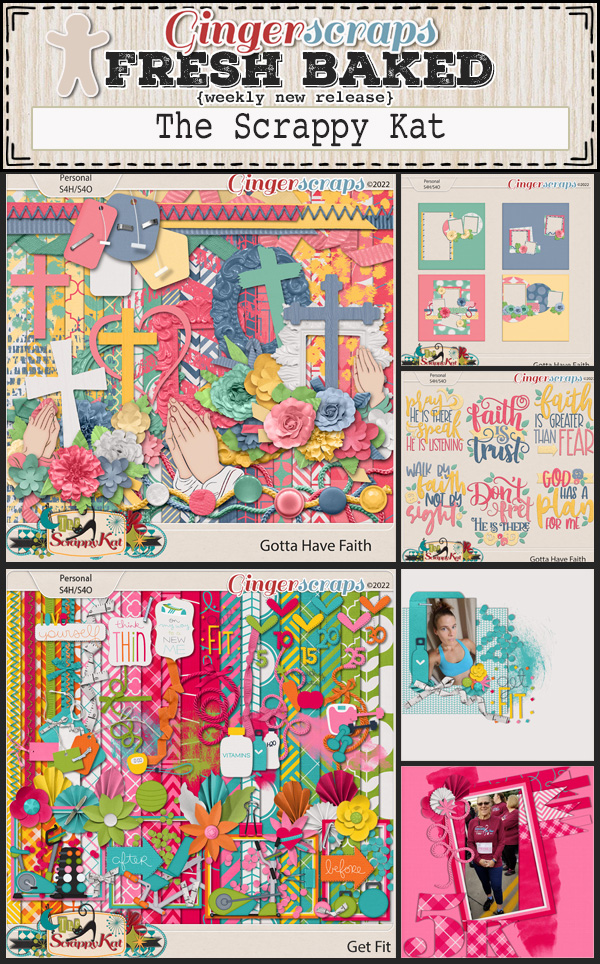
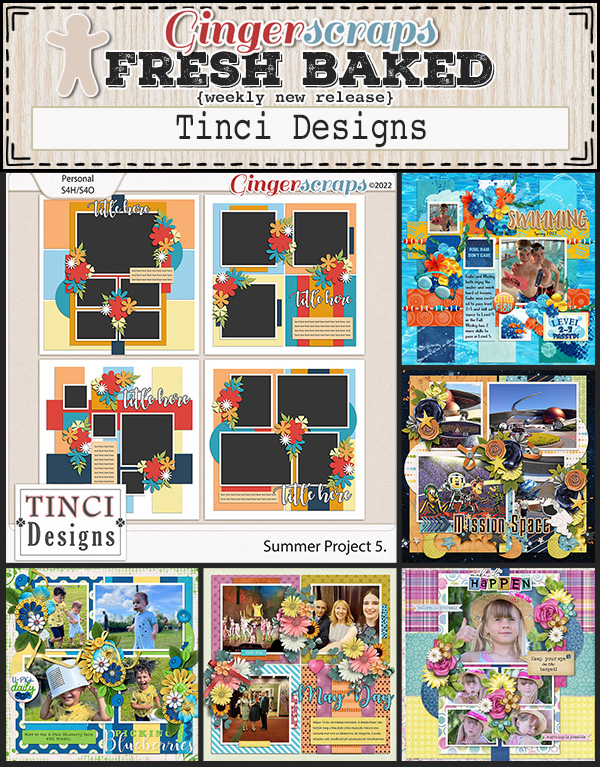
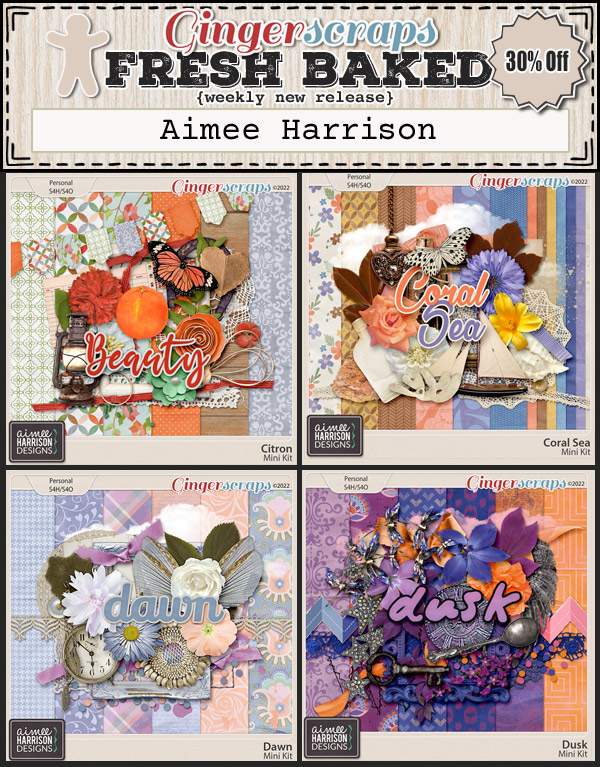
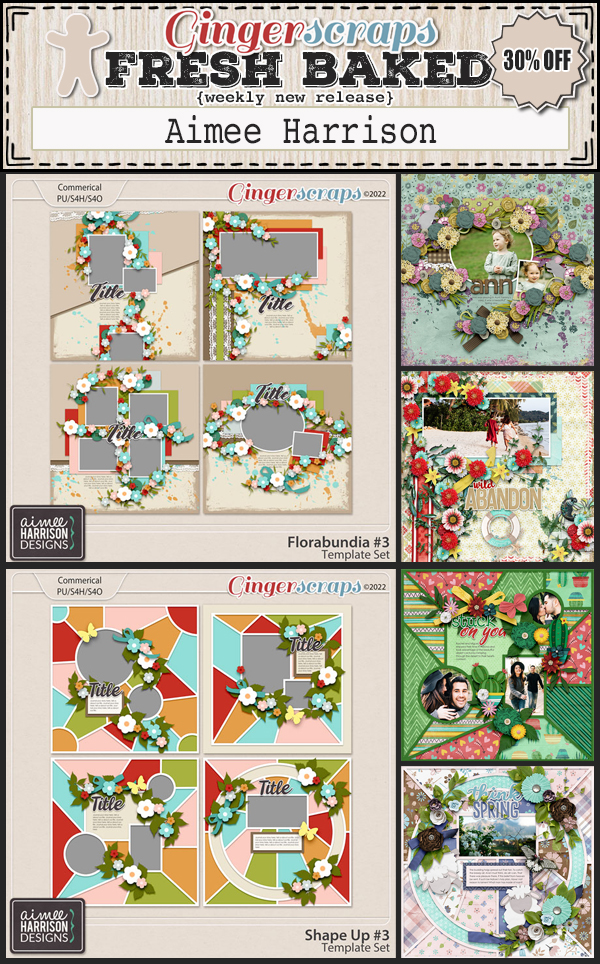
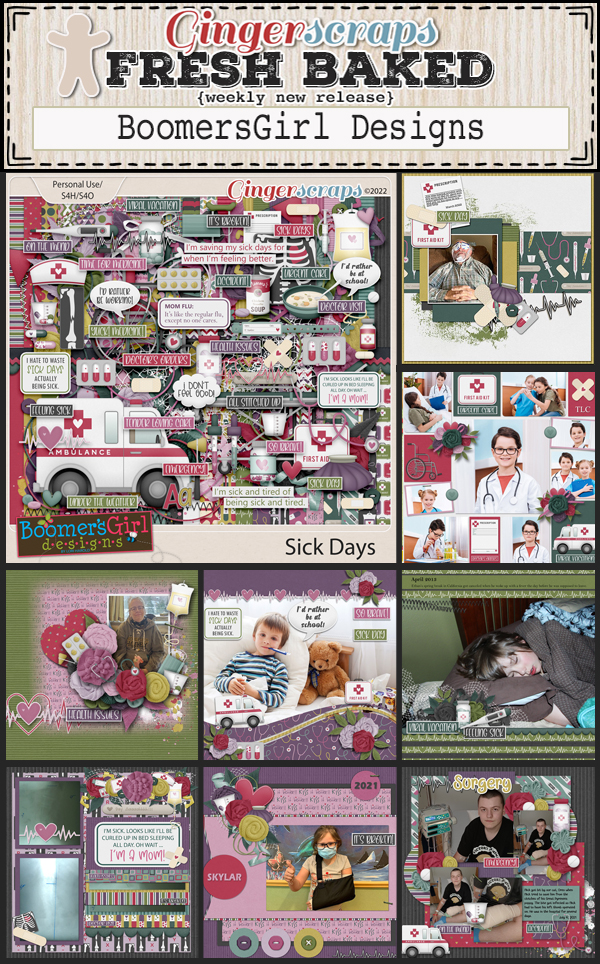
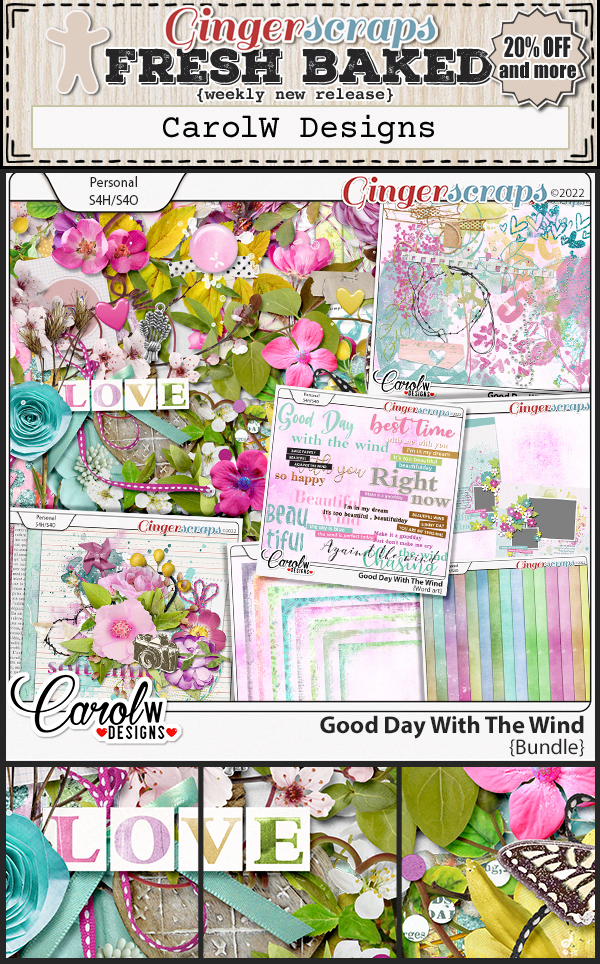
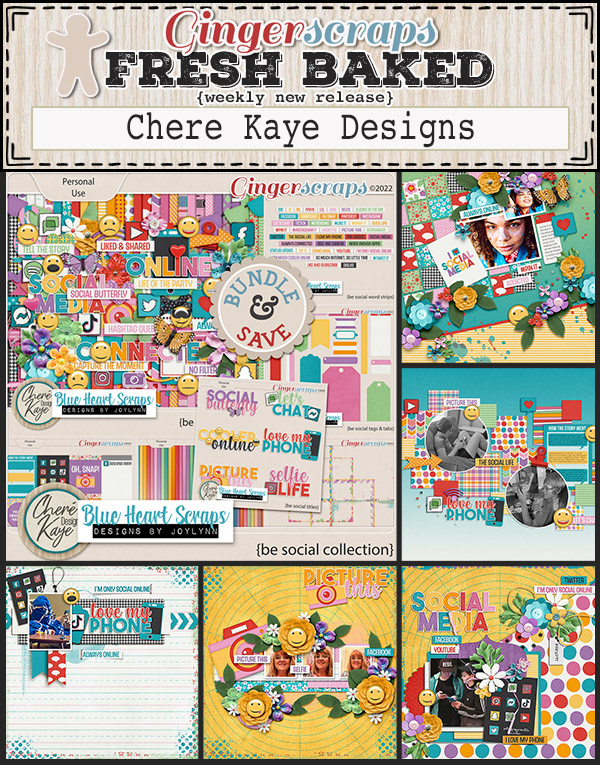
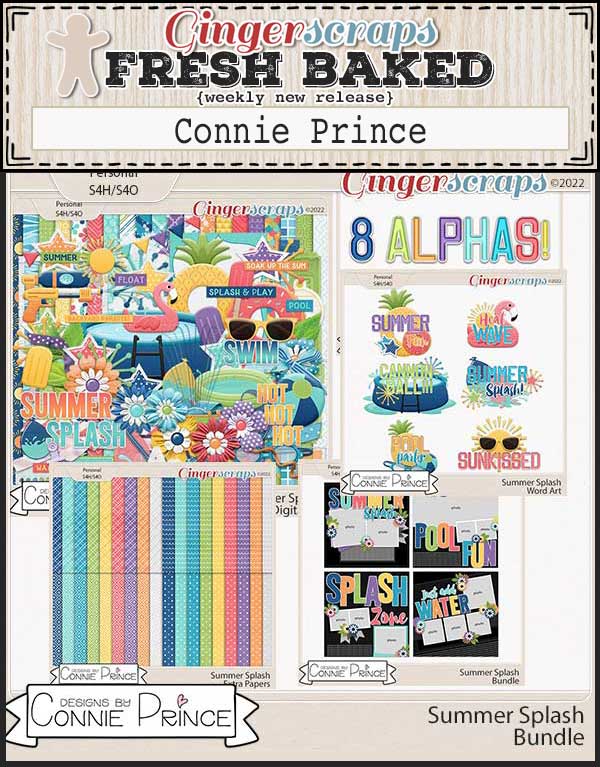
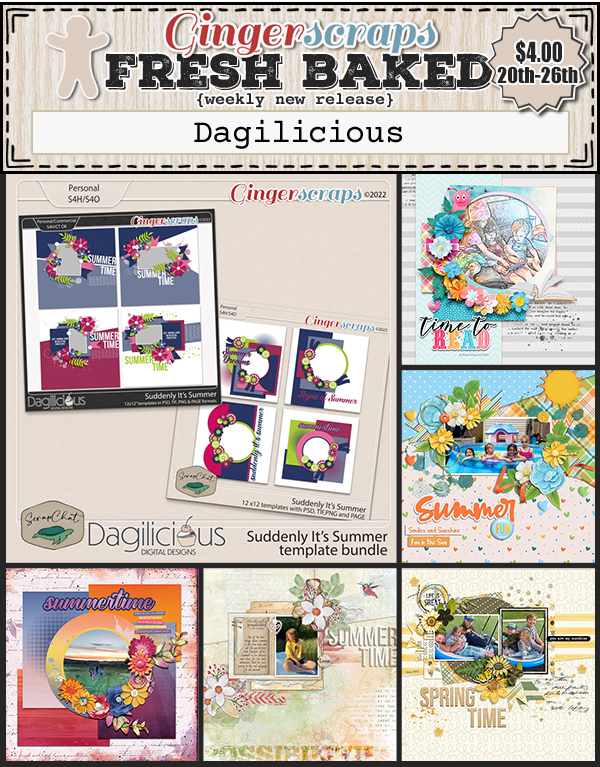
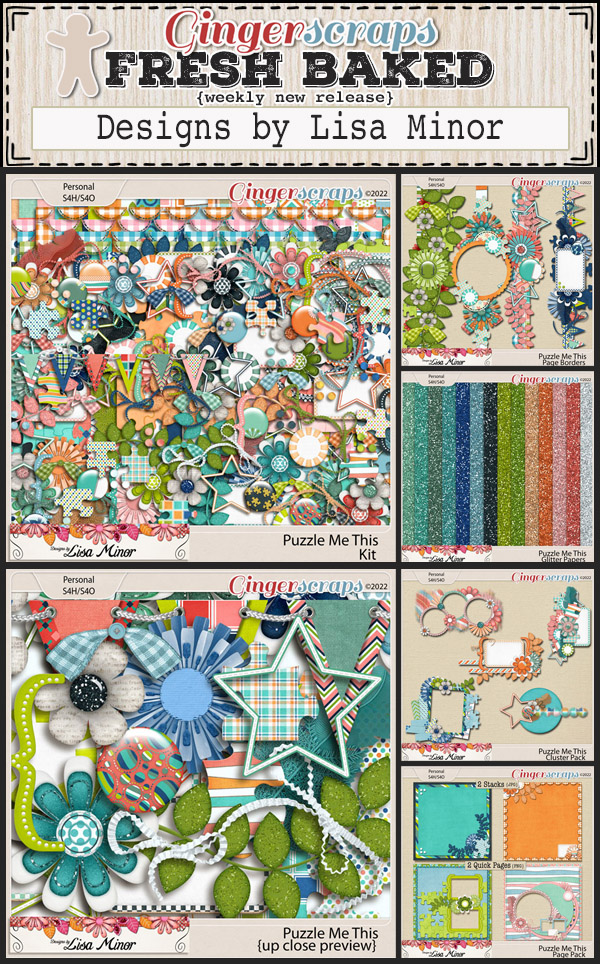
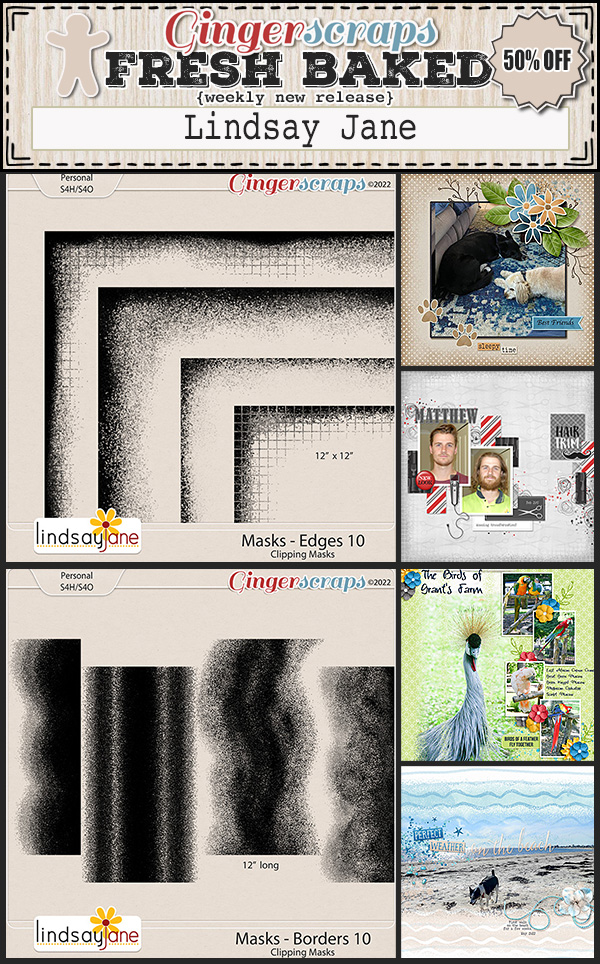
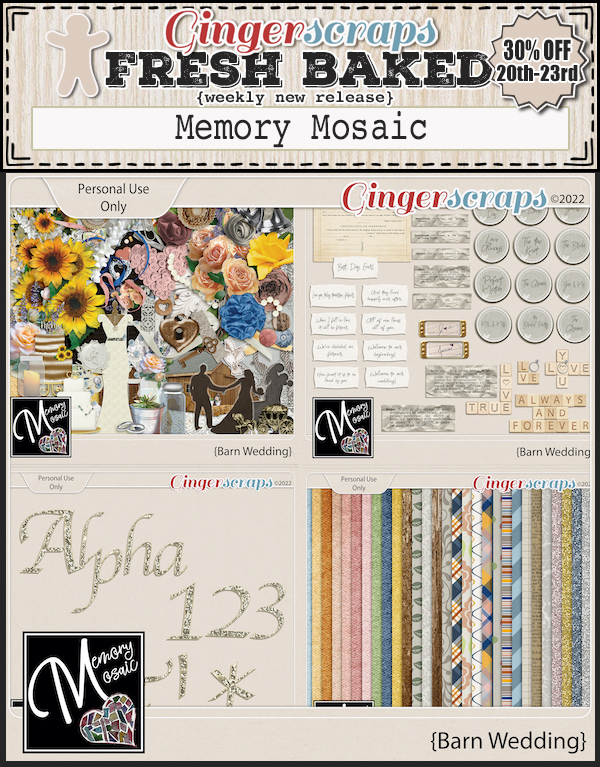
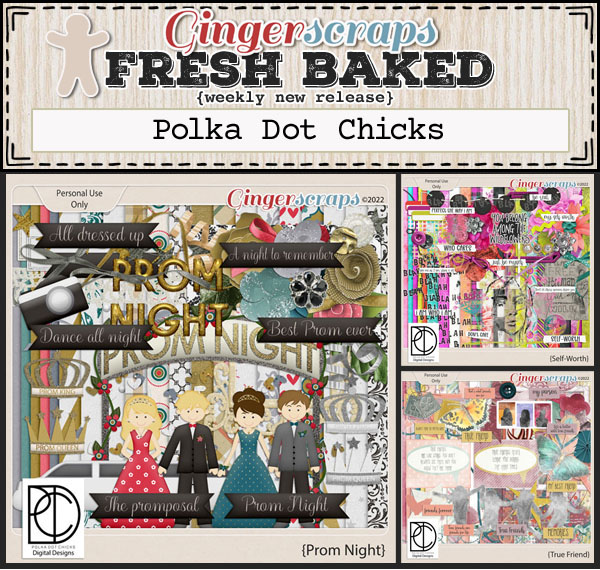
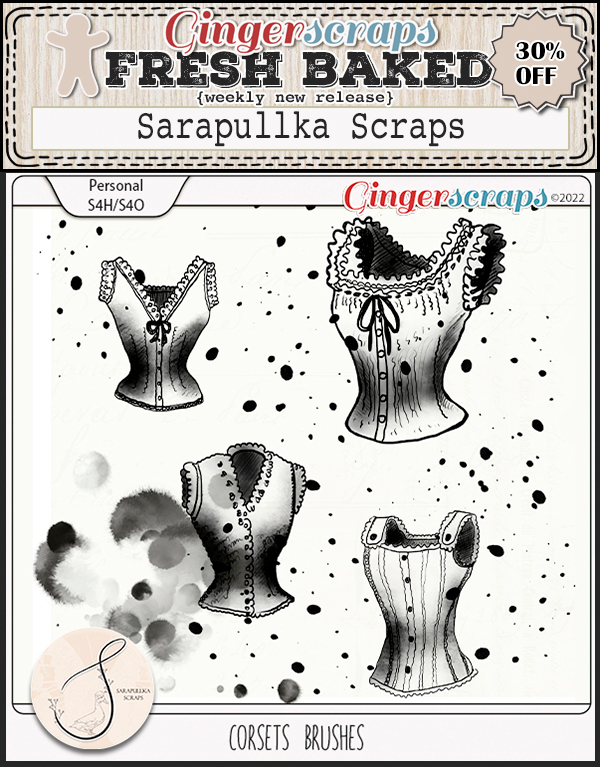
Let’s look at our new releases. There are definitely a few I want to grab!


Have you grabbed the May Monthly Mix? Make sure to grab this before the end of the month to get it at a great price.
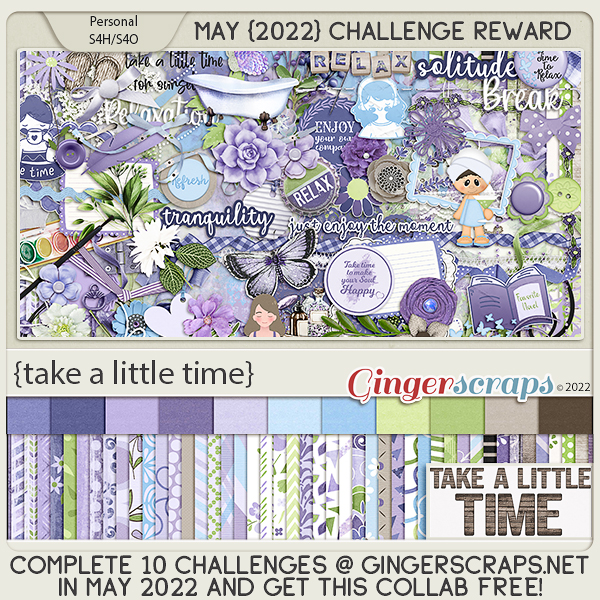
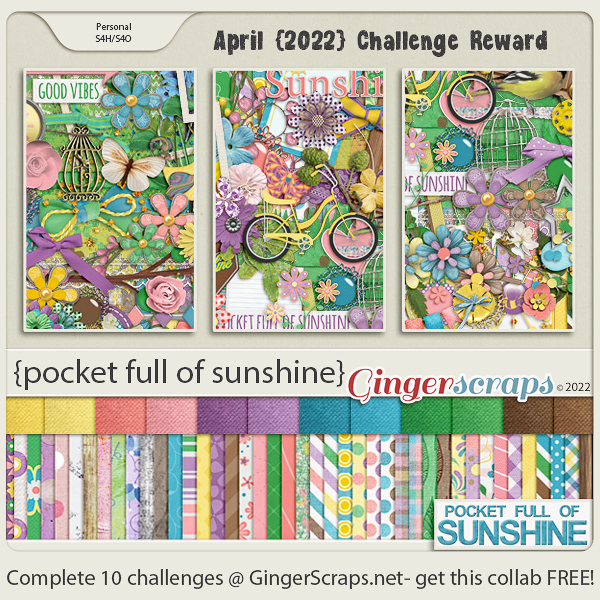
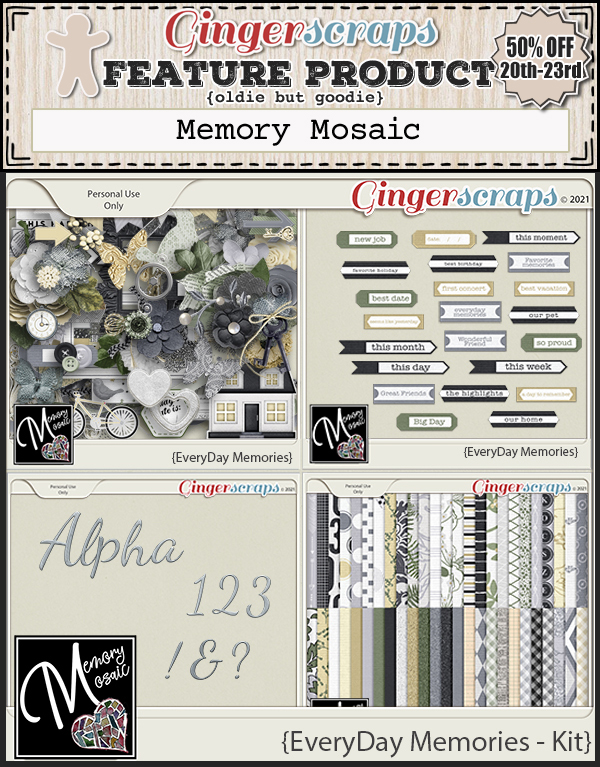
How are those challenges? Just 10 completed challenges gets you this great collab for free.