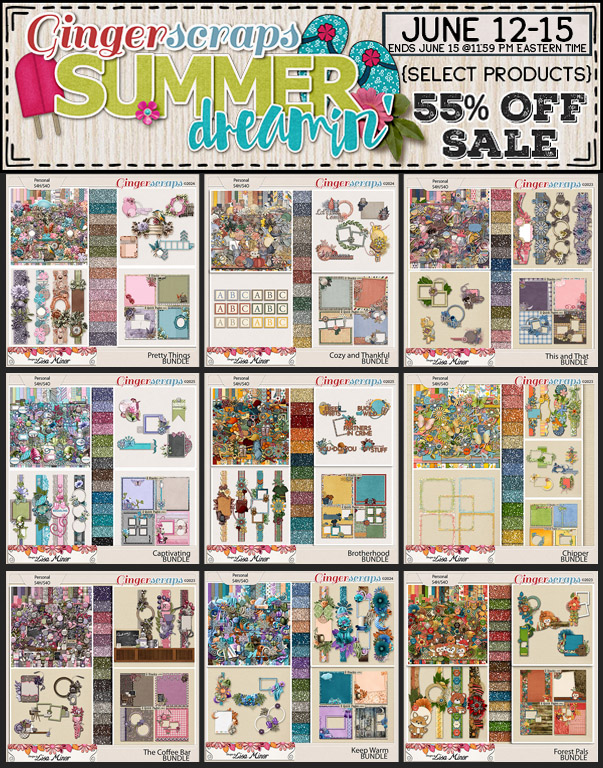
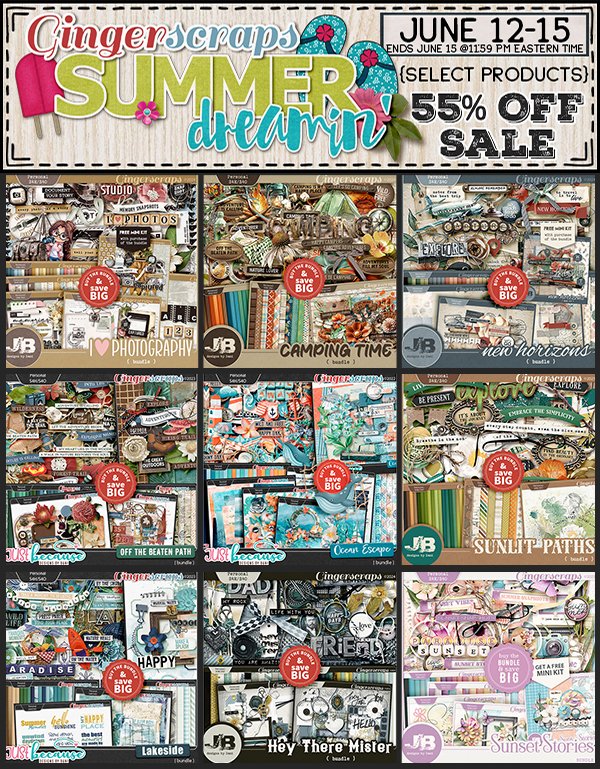
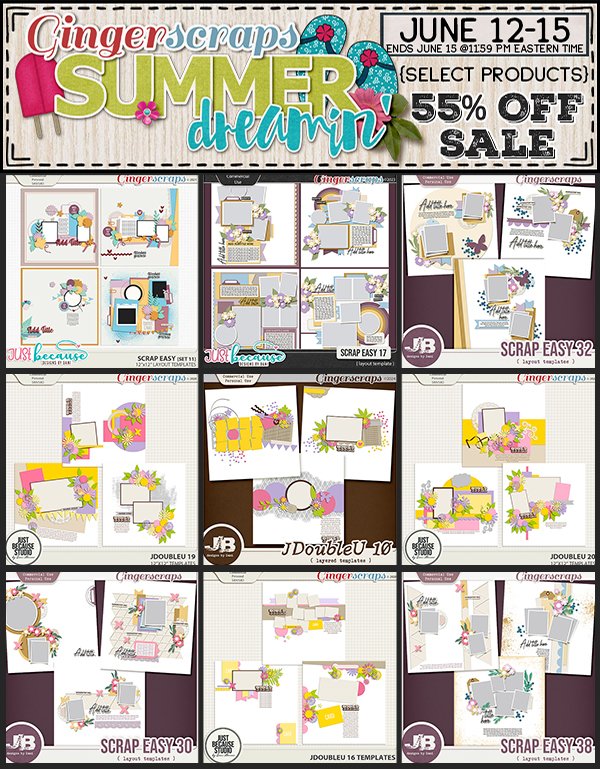
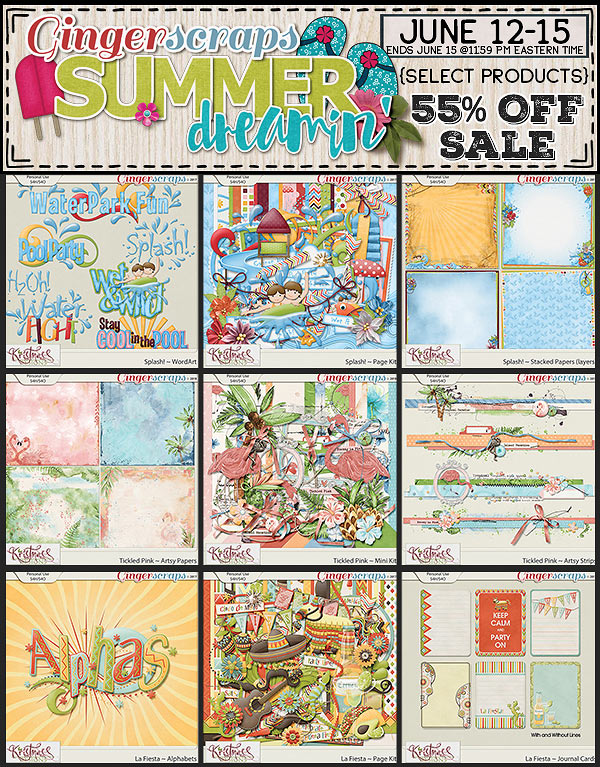
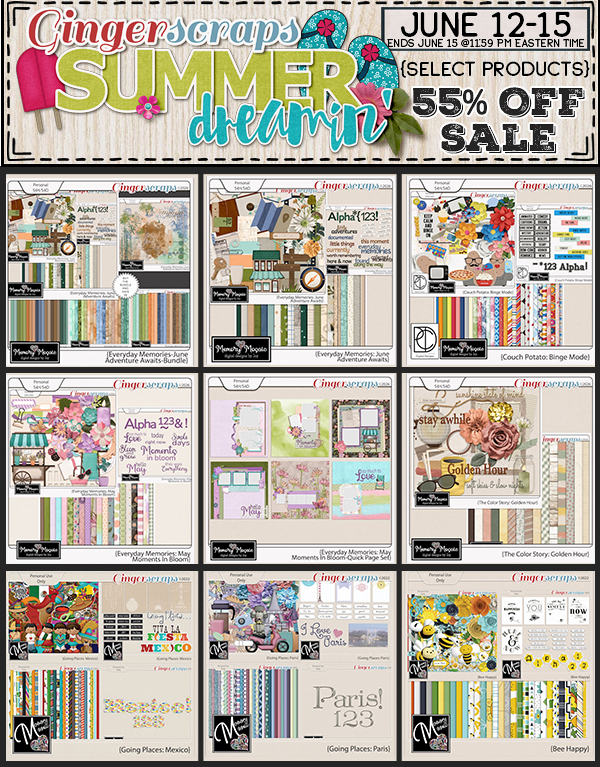
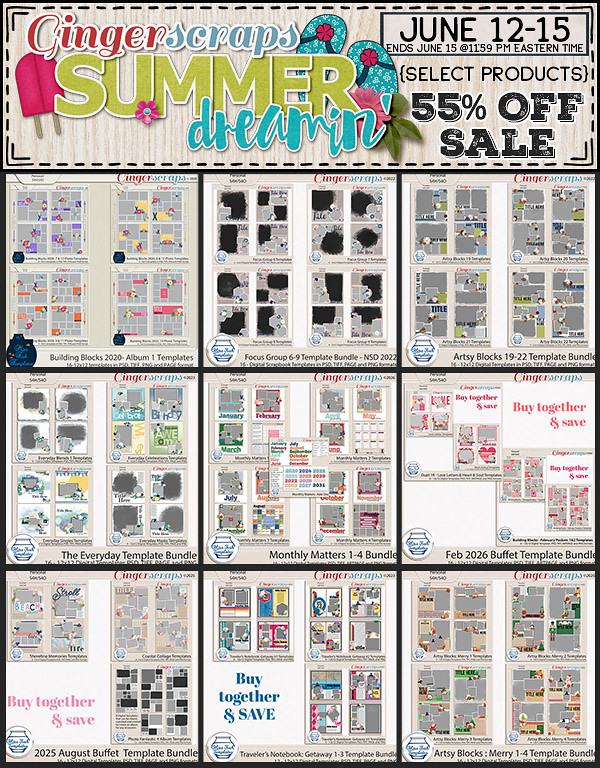
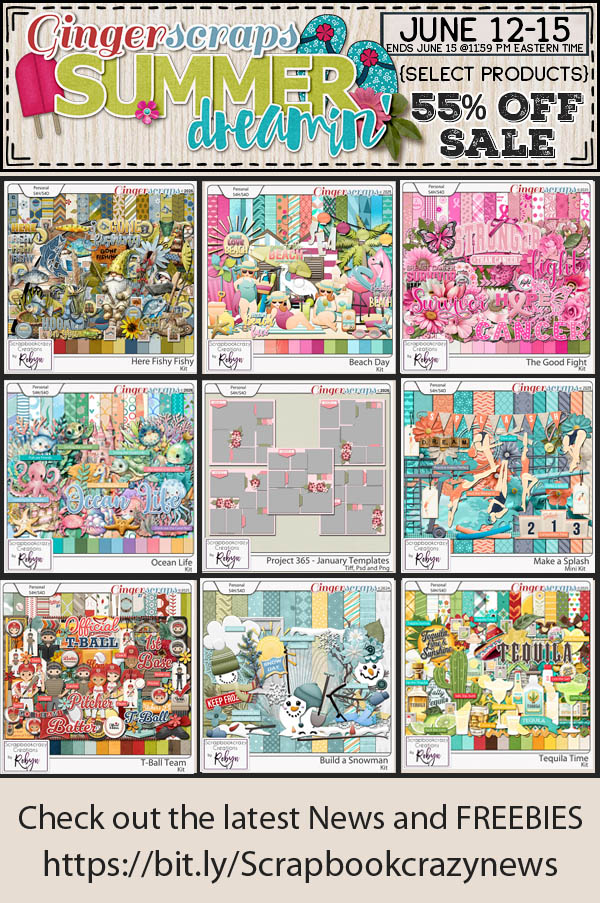
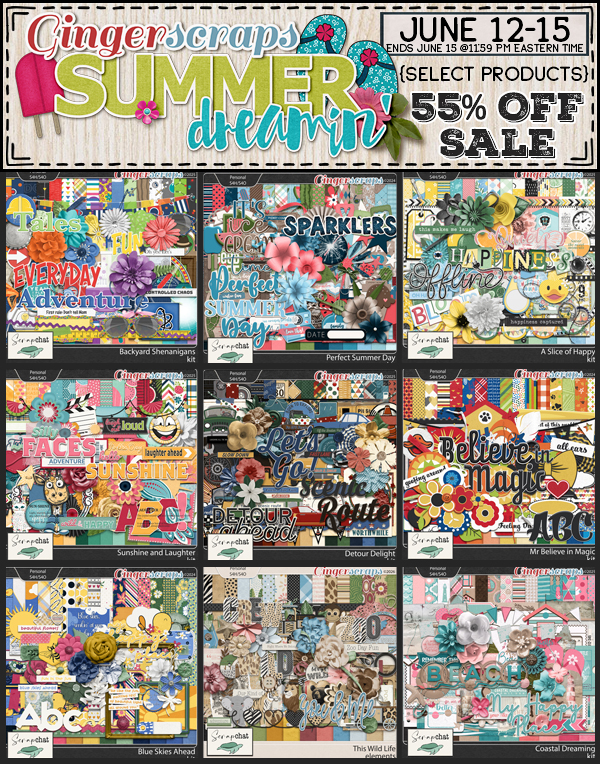
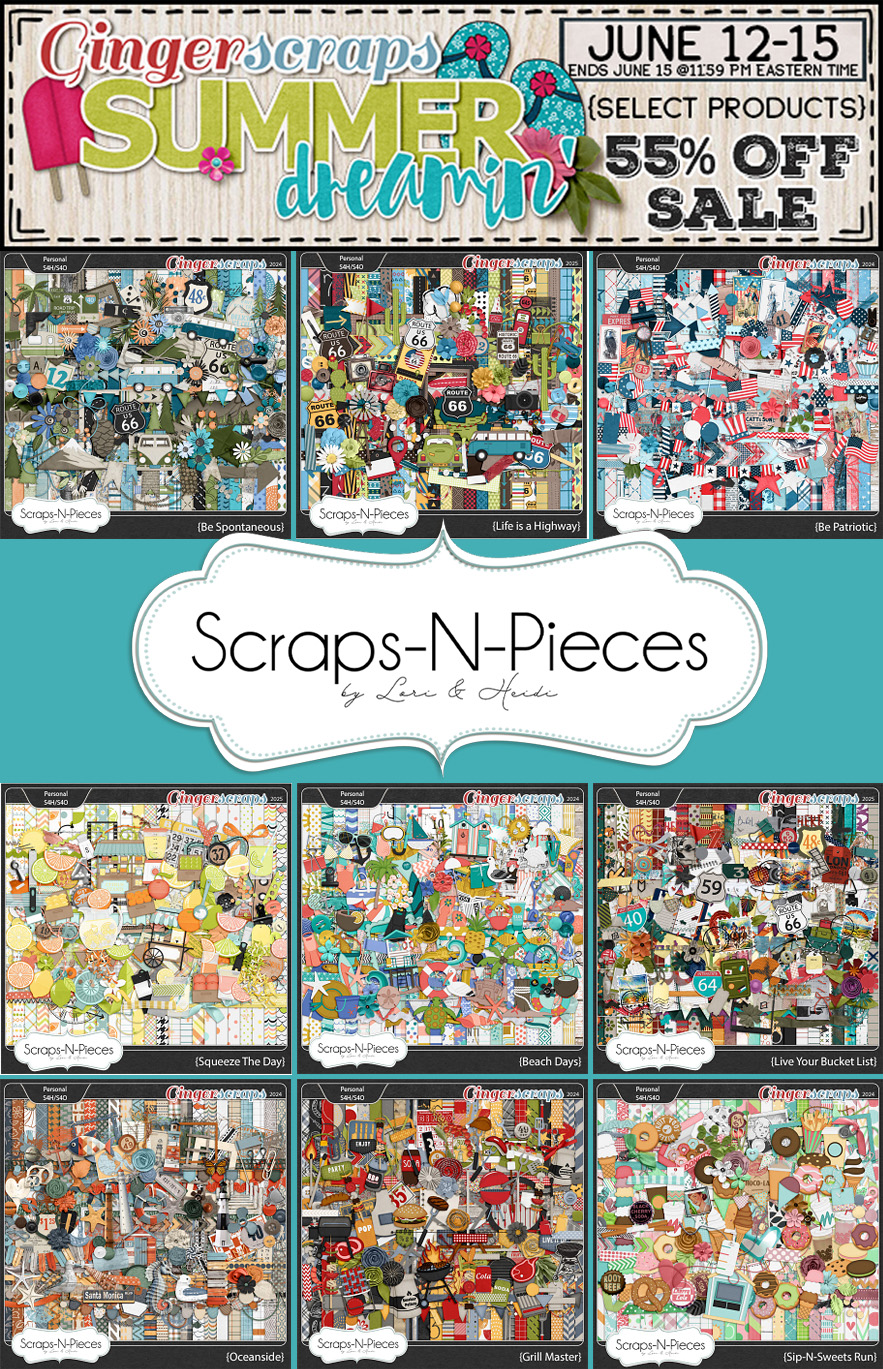
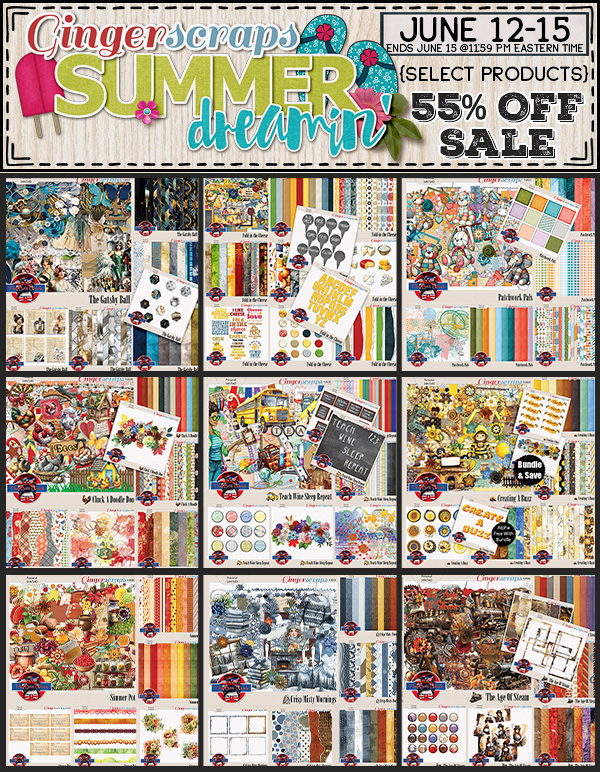
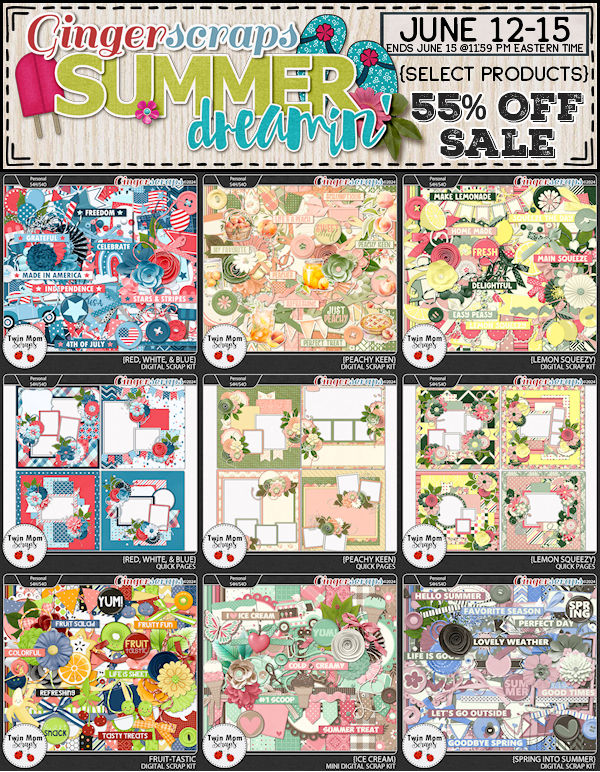
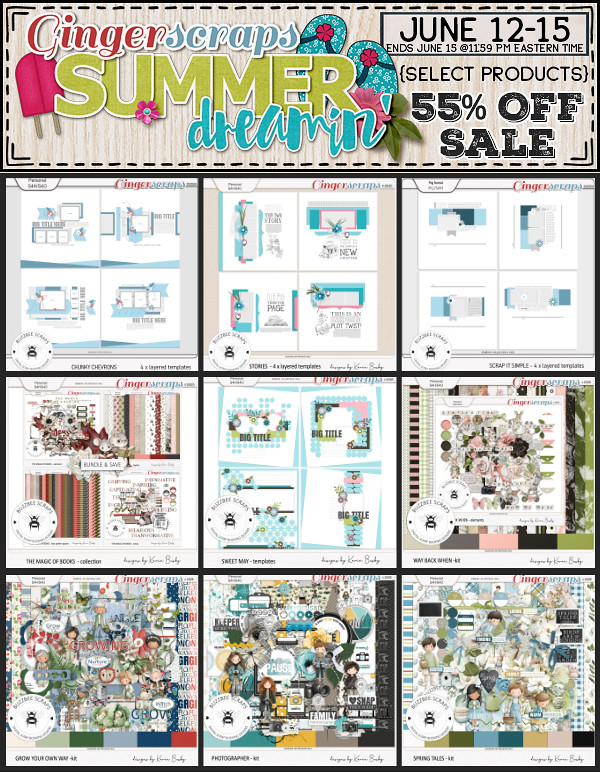
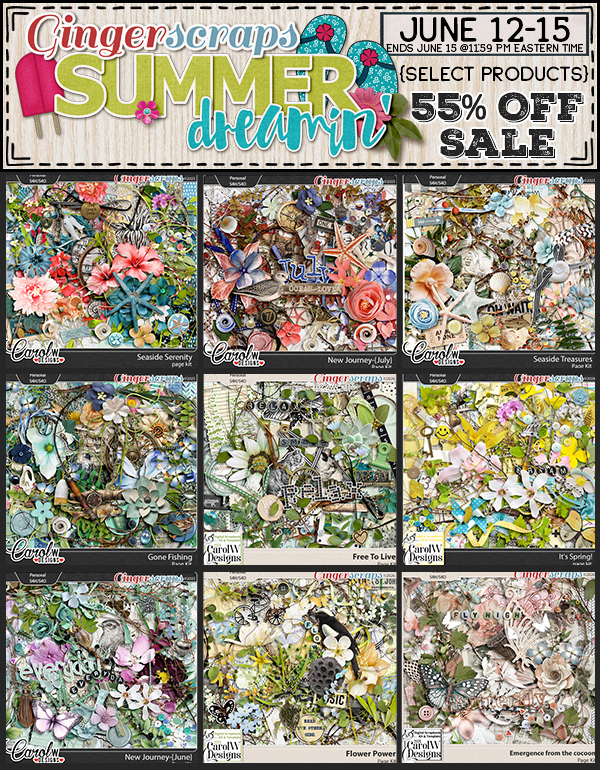
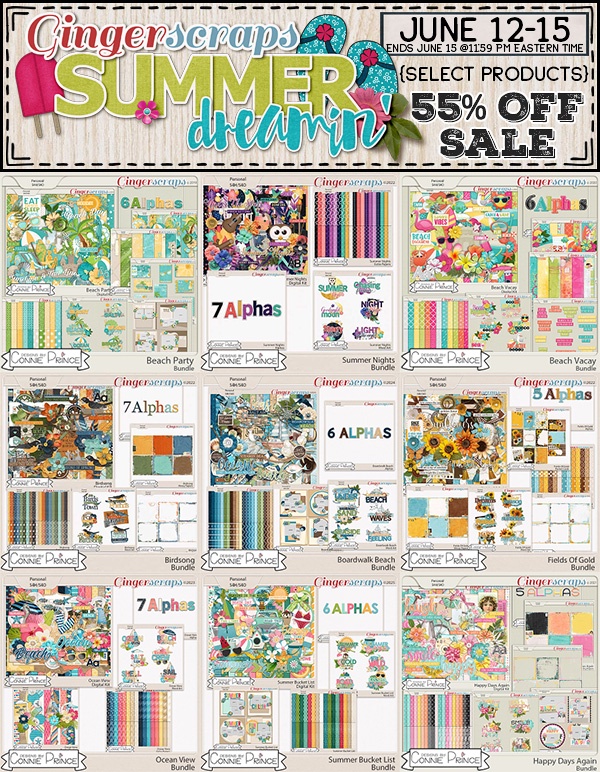
The Summer Dreamin’ Flash Sale is here at Gingerscraps! From June 12–15, enjoy 55% off select products throughout the store.
There’s even more to explore this week:
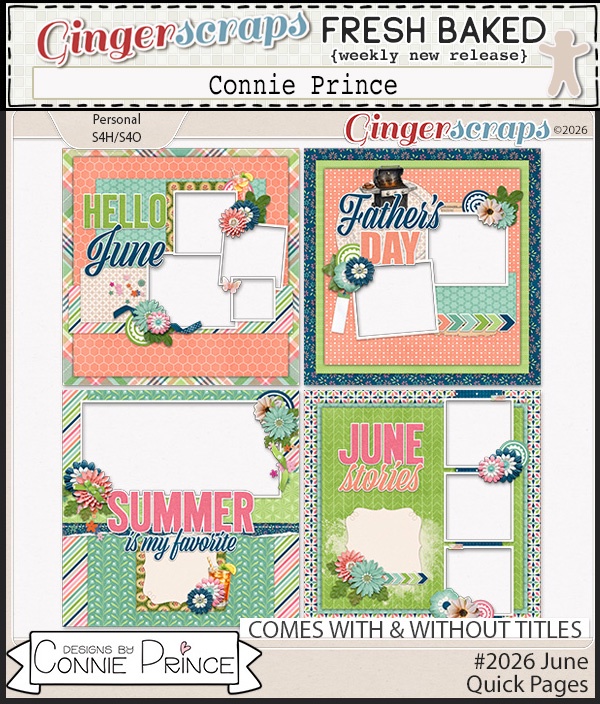
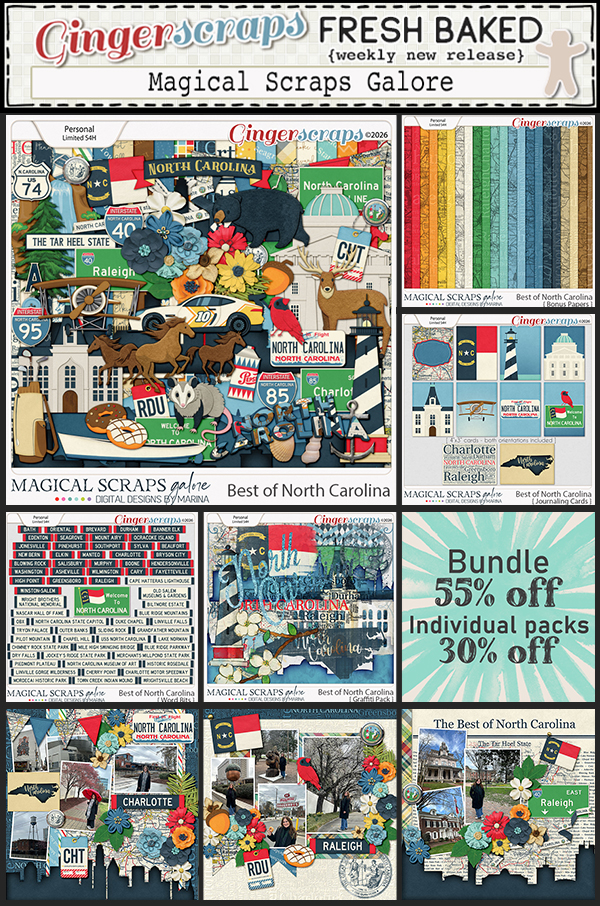
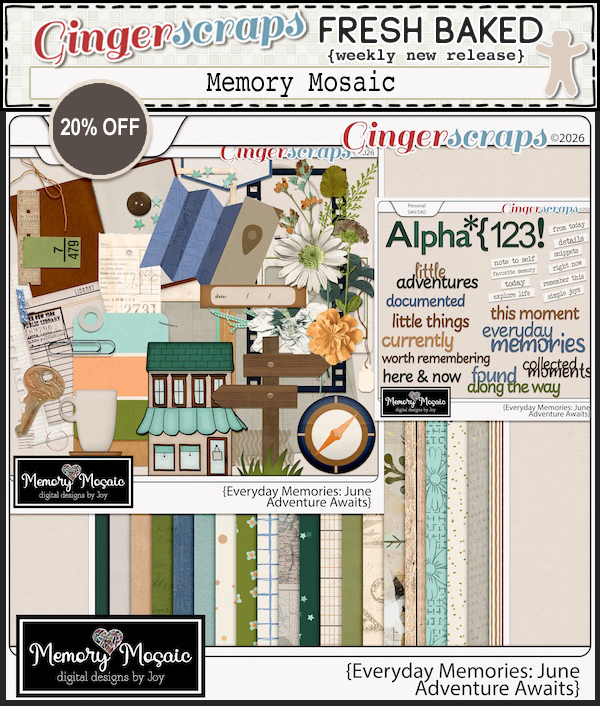
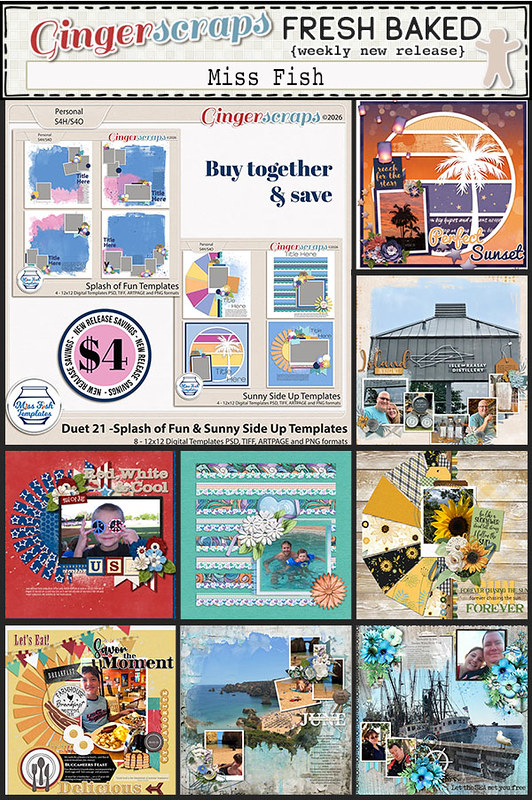
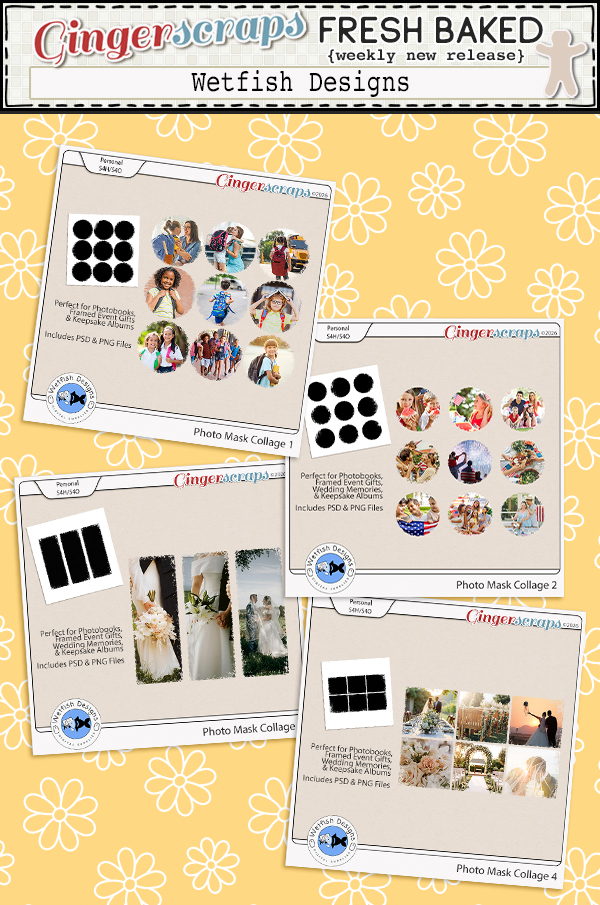
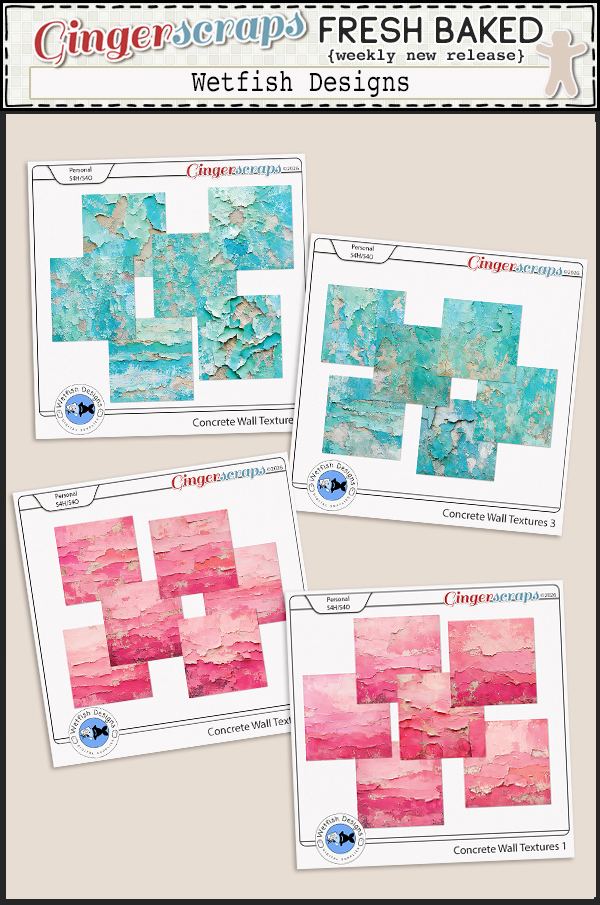
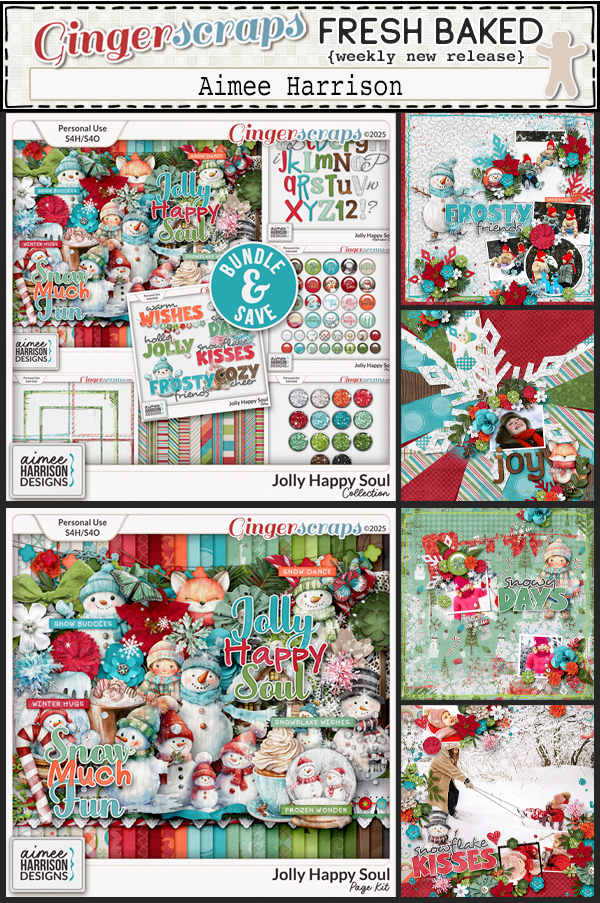
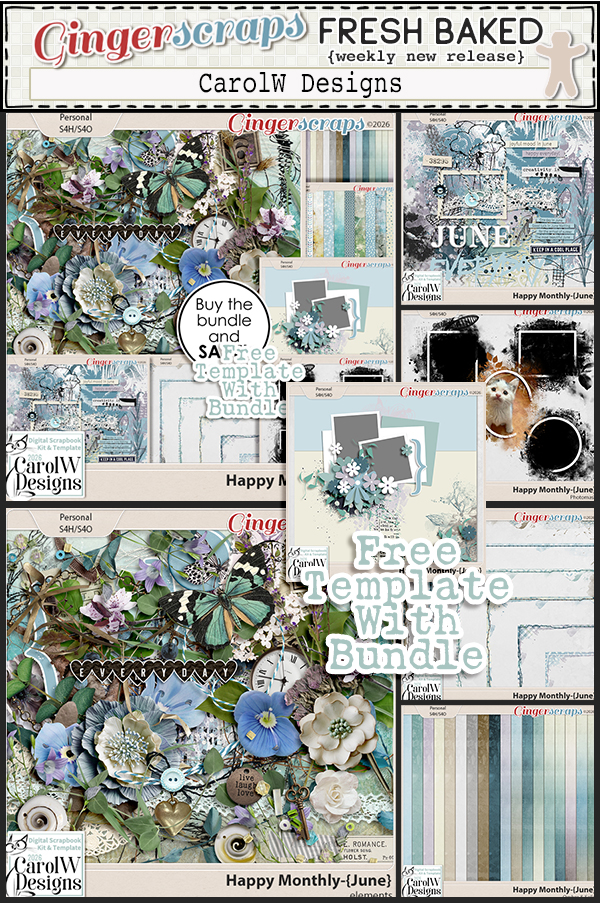
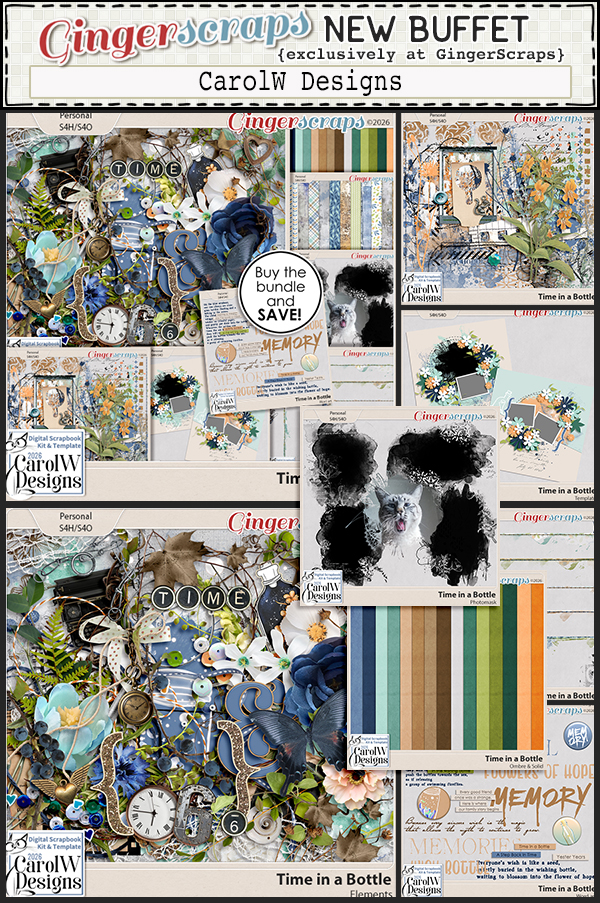
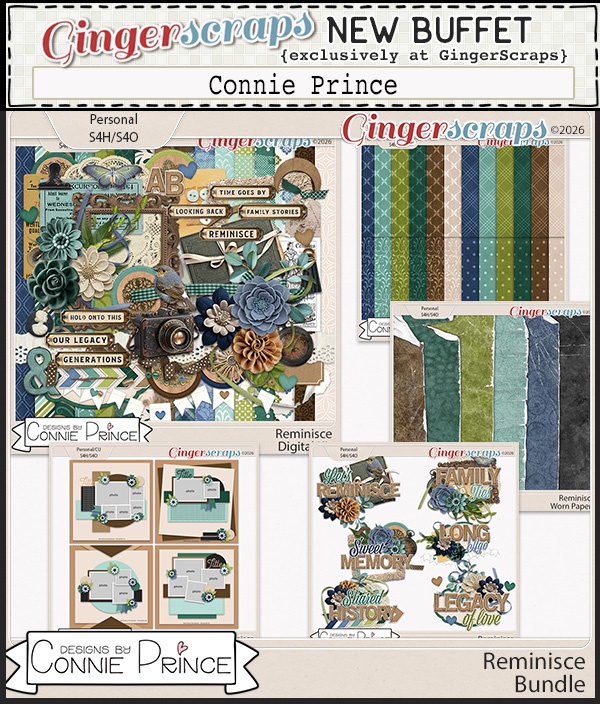
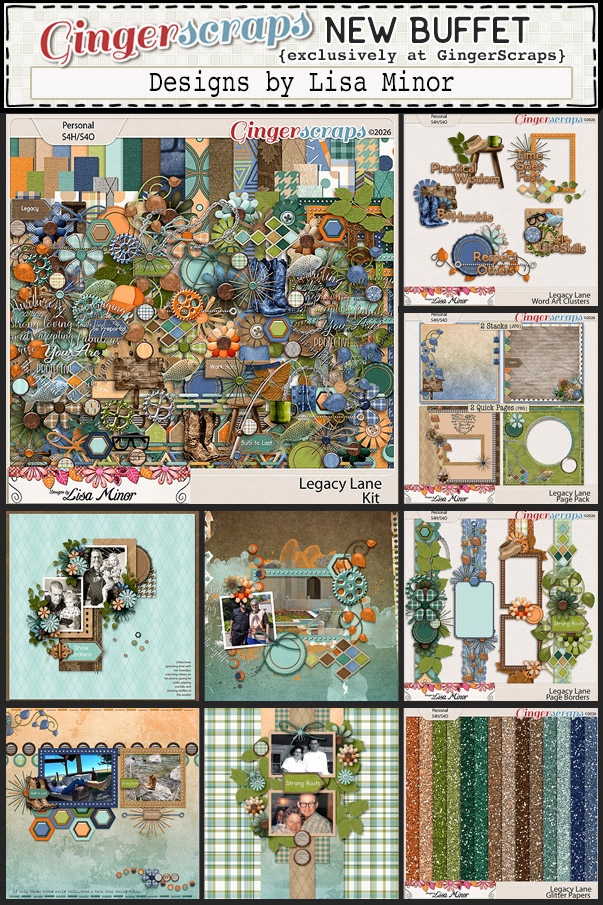
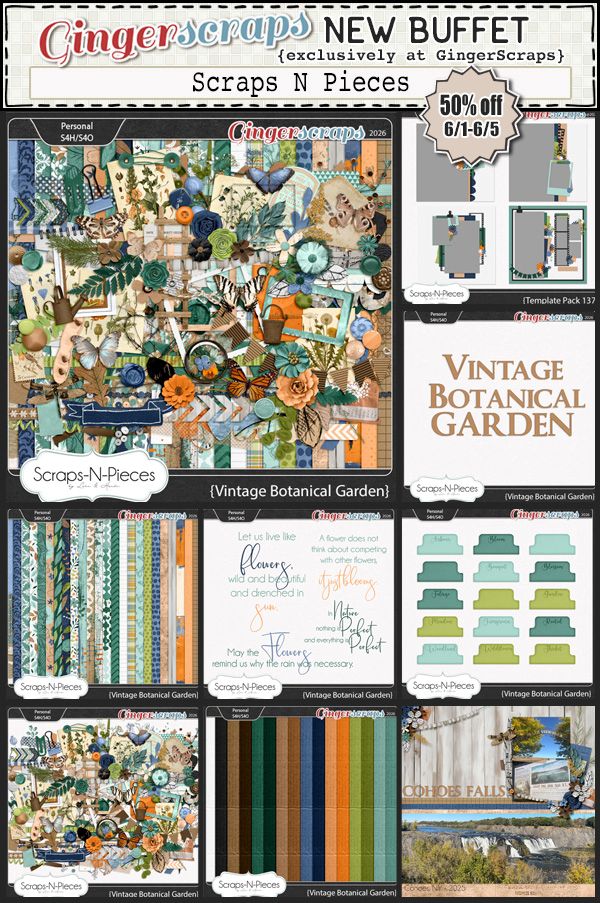
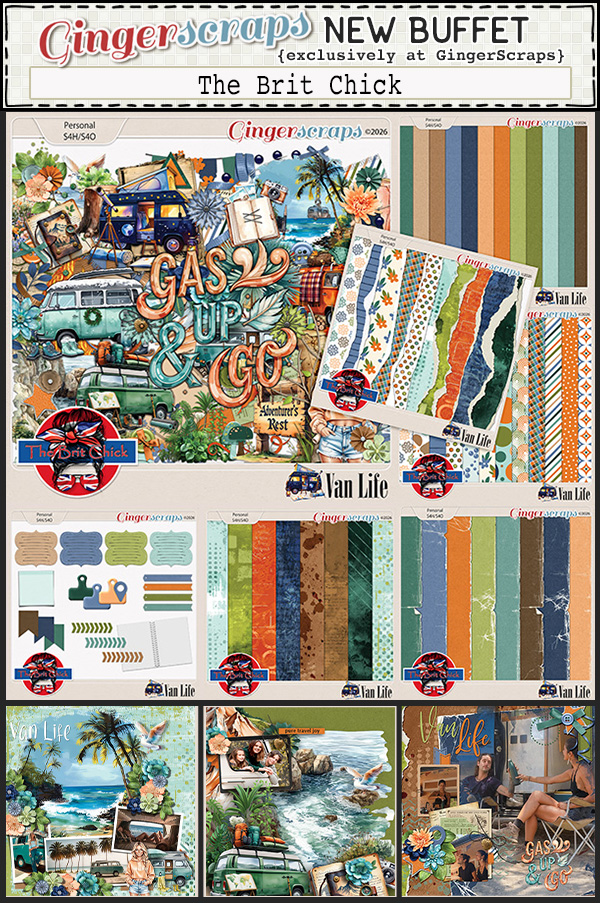
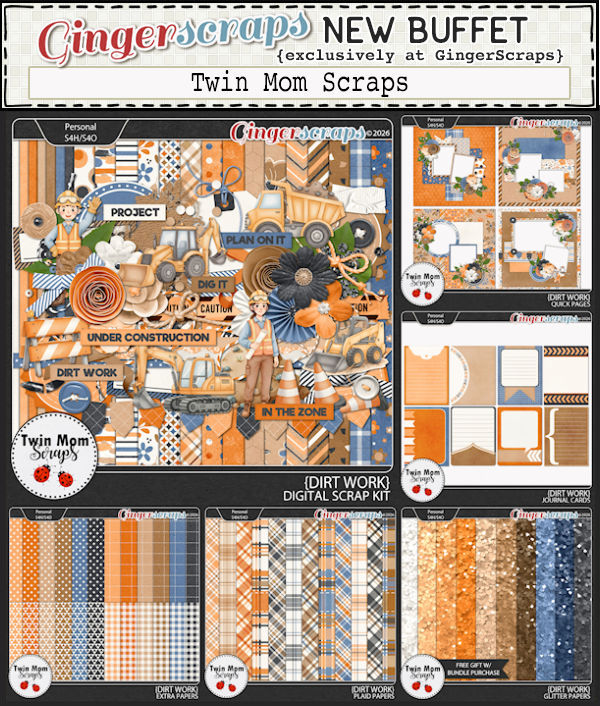
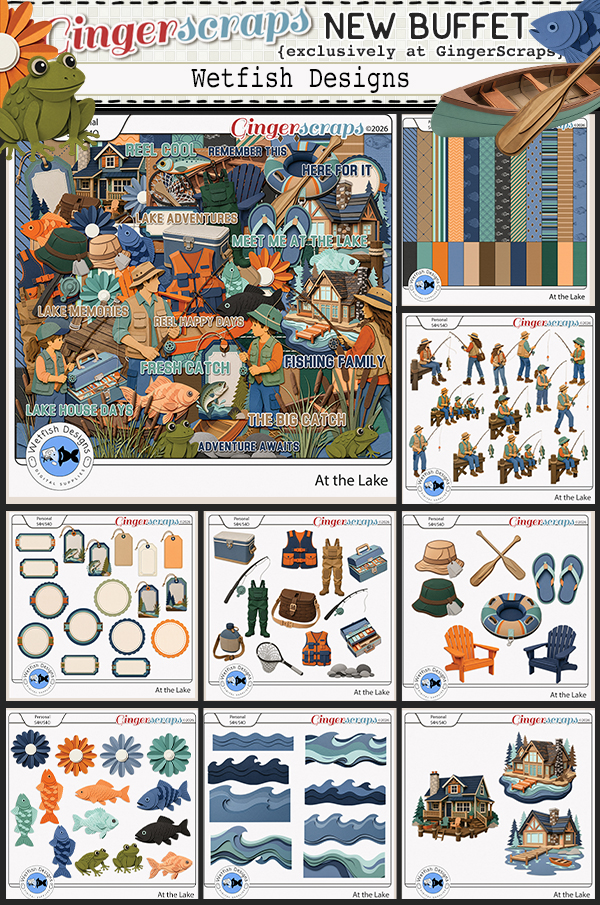
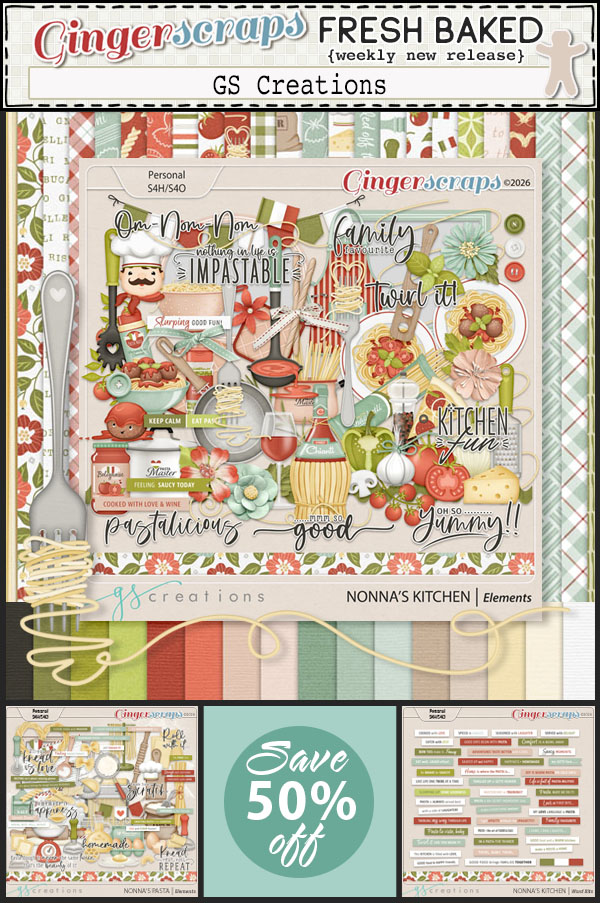
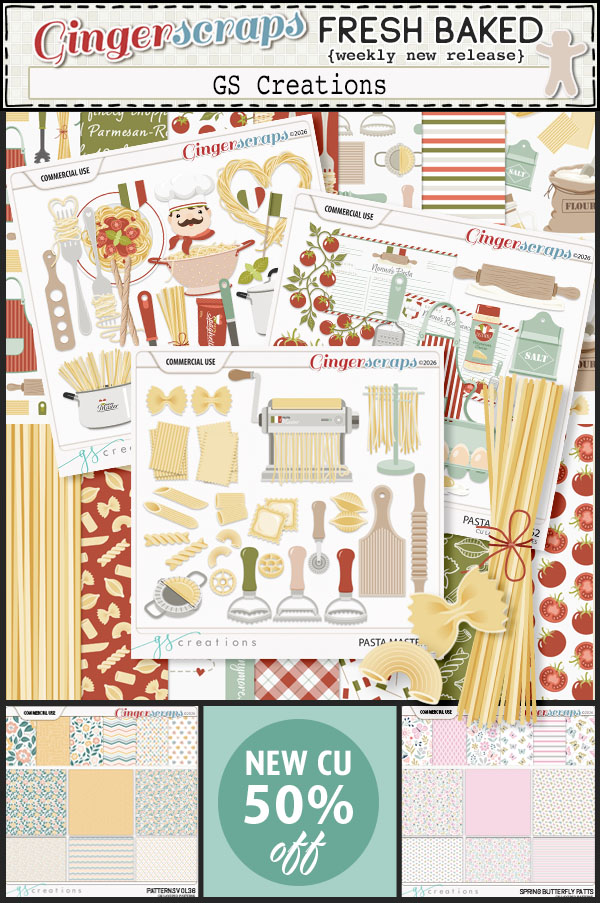
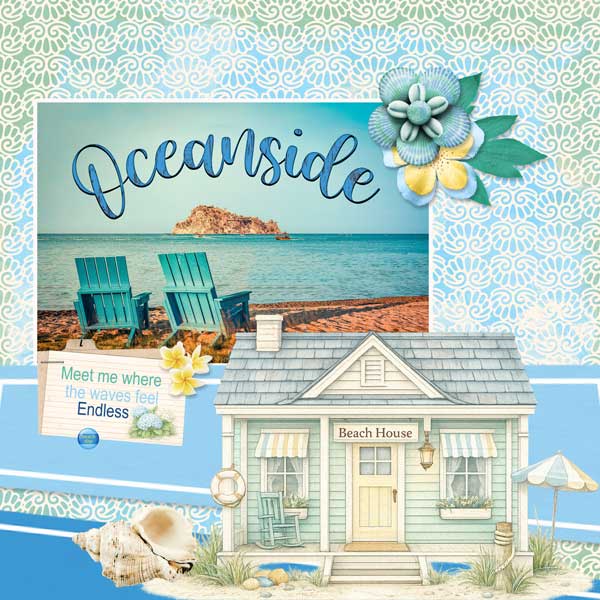
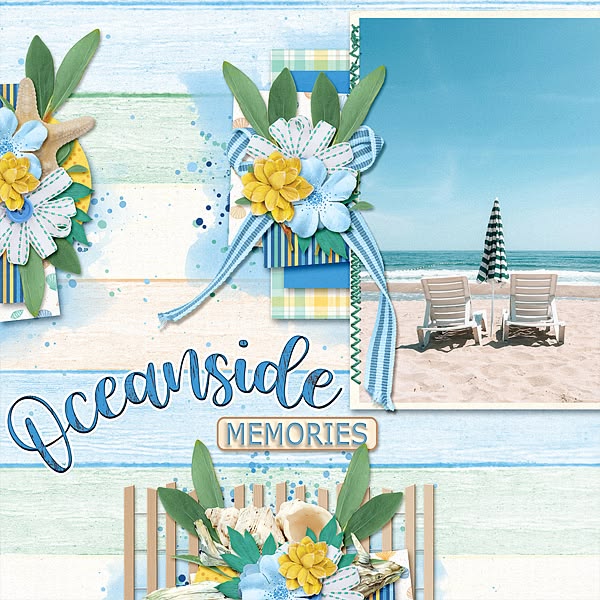
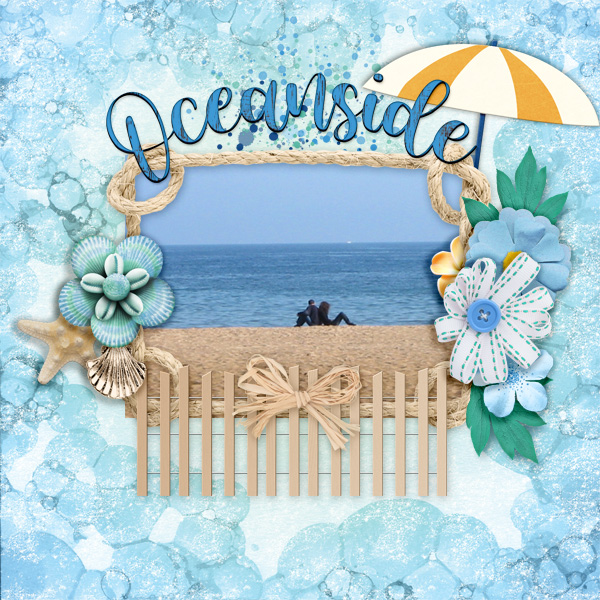
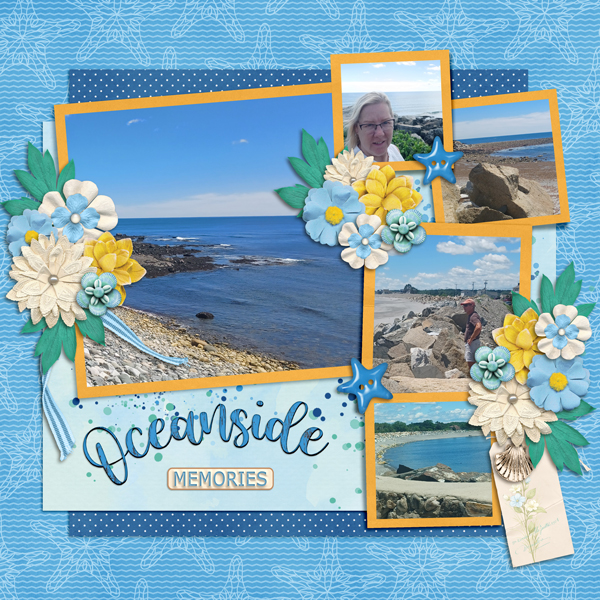
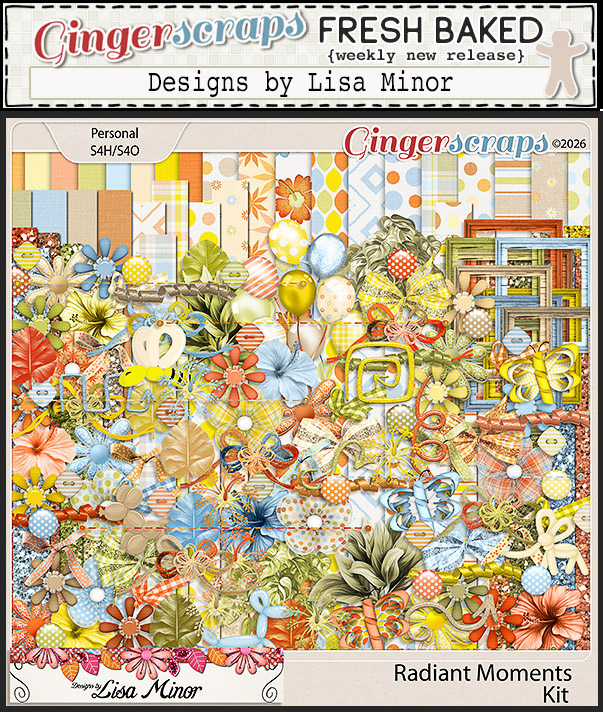
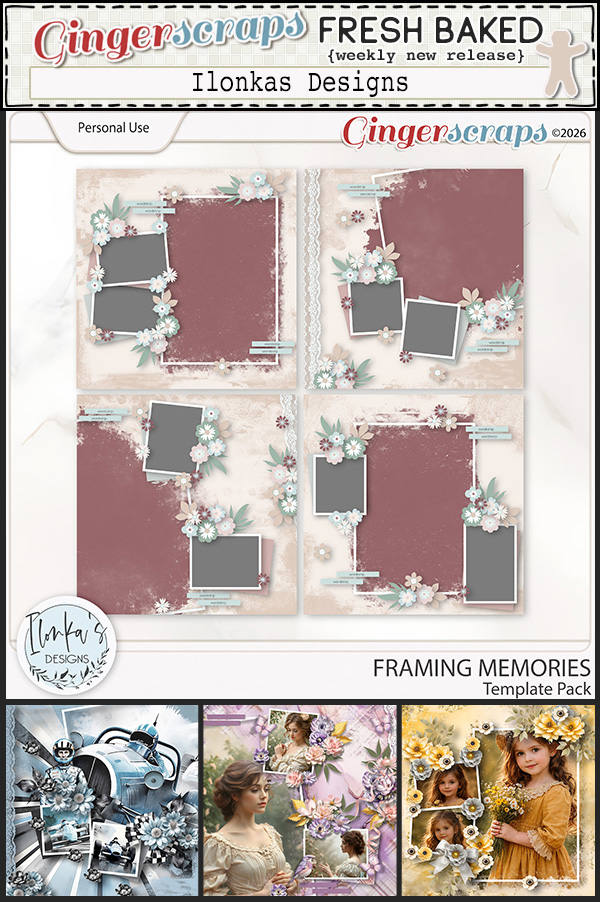
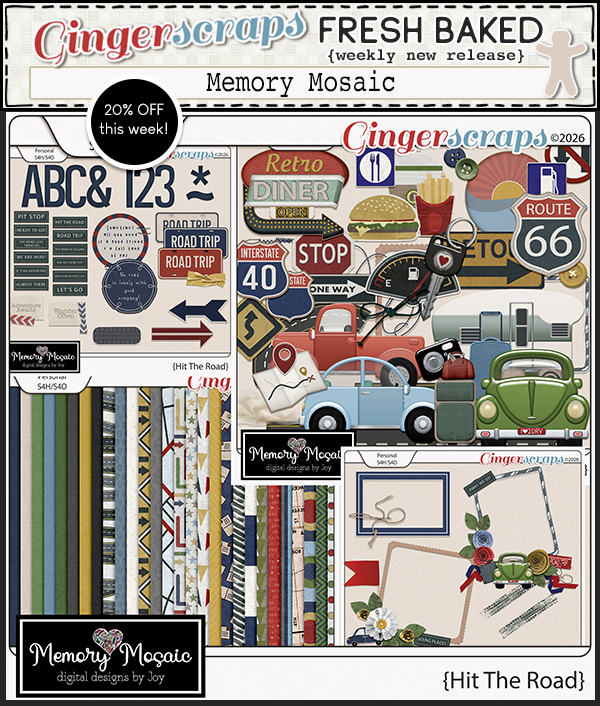
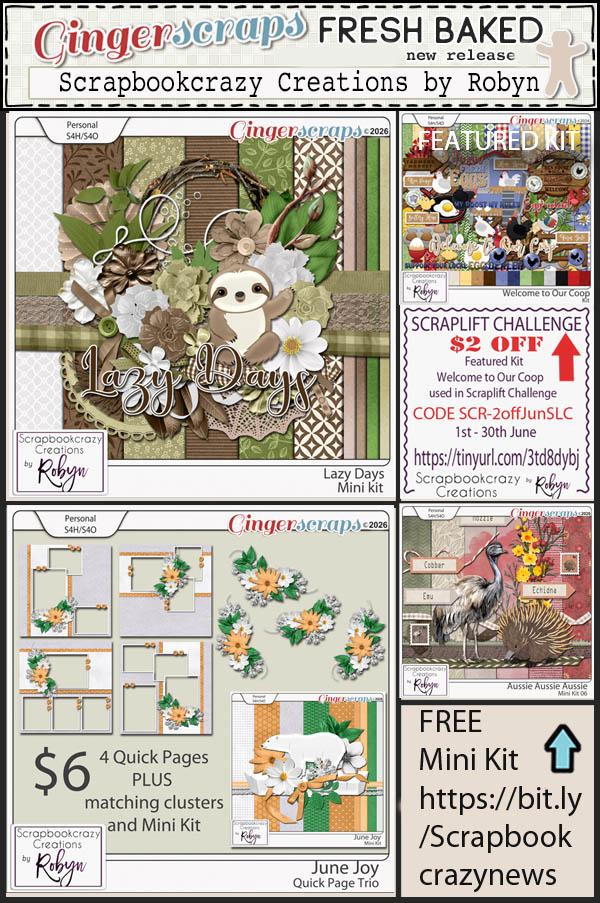
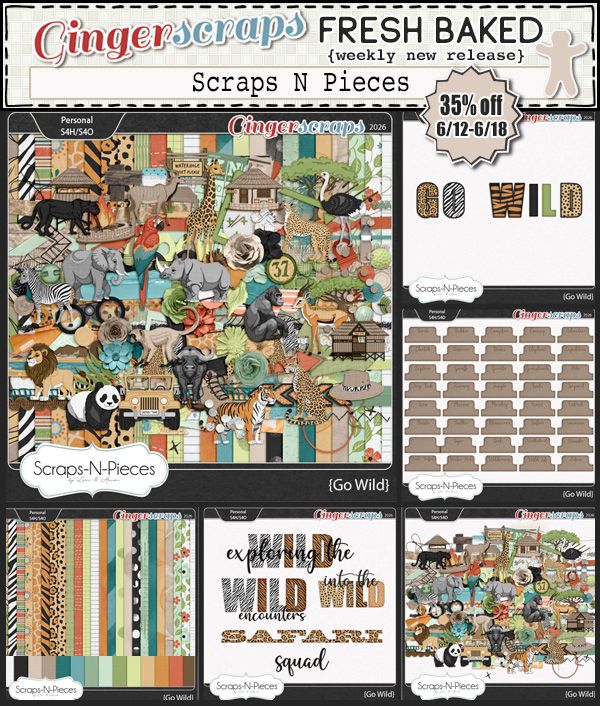
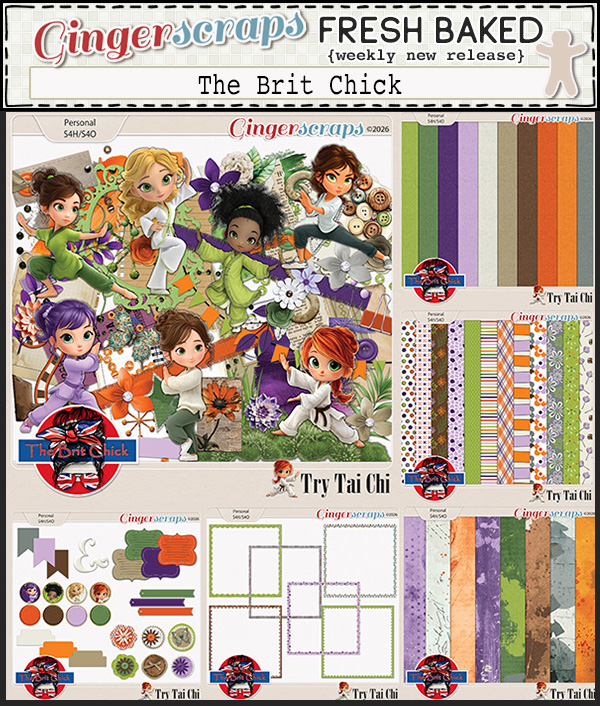
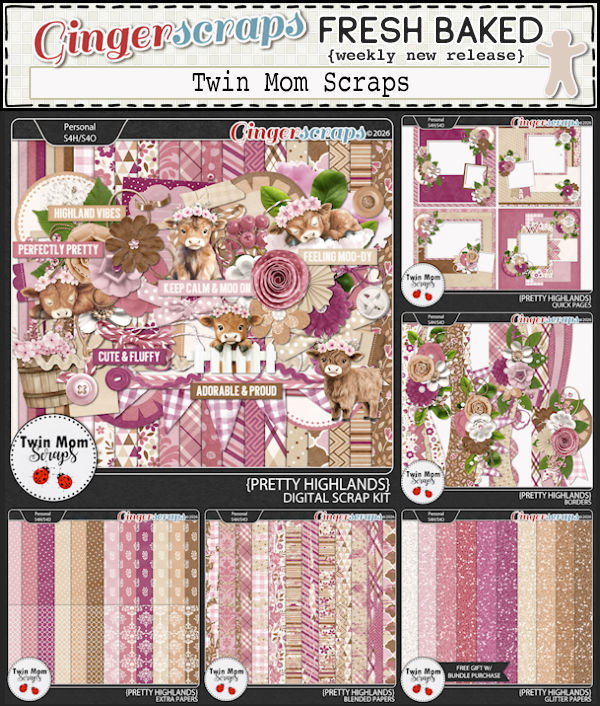
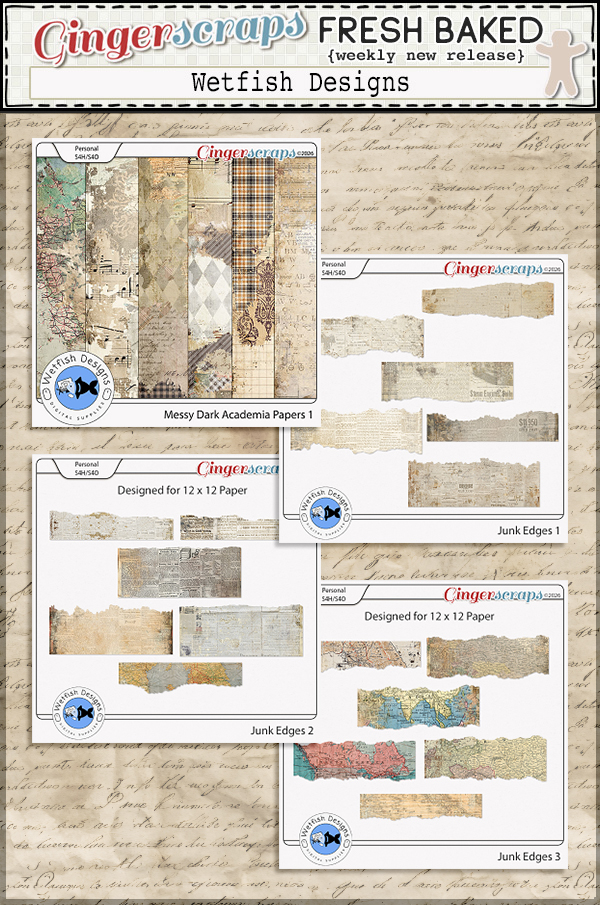
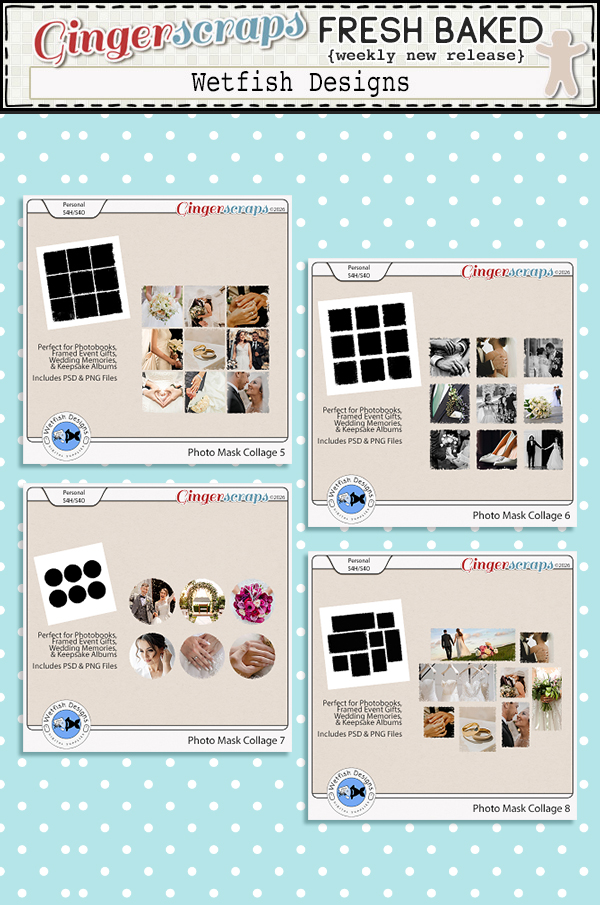
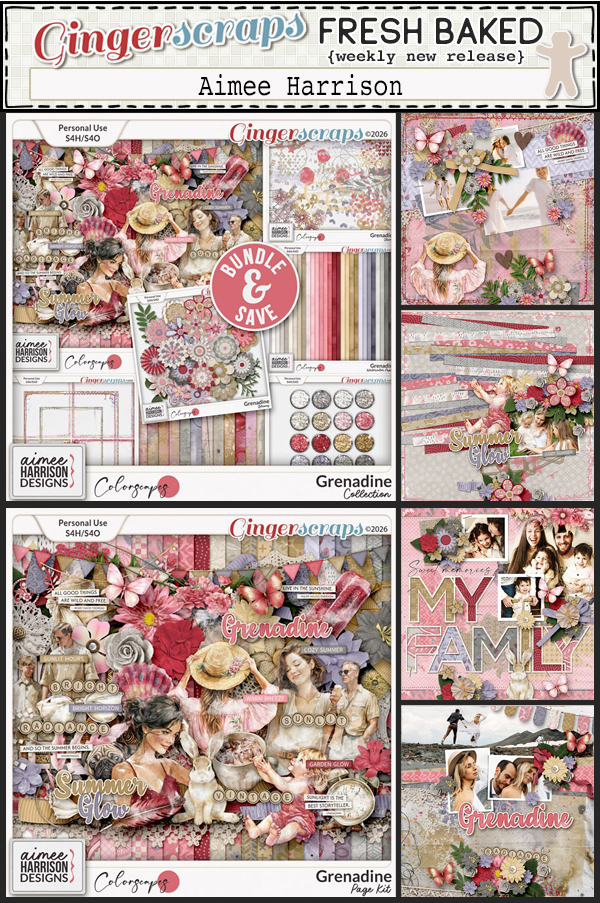
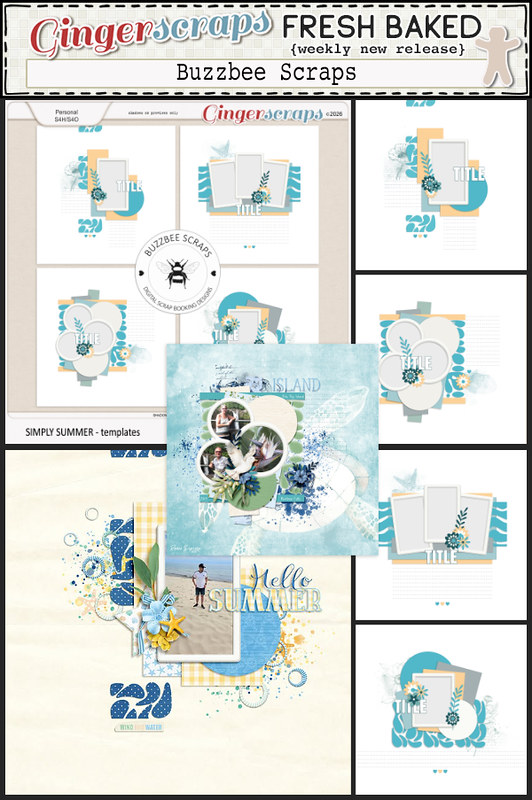
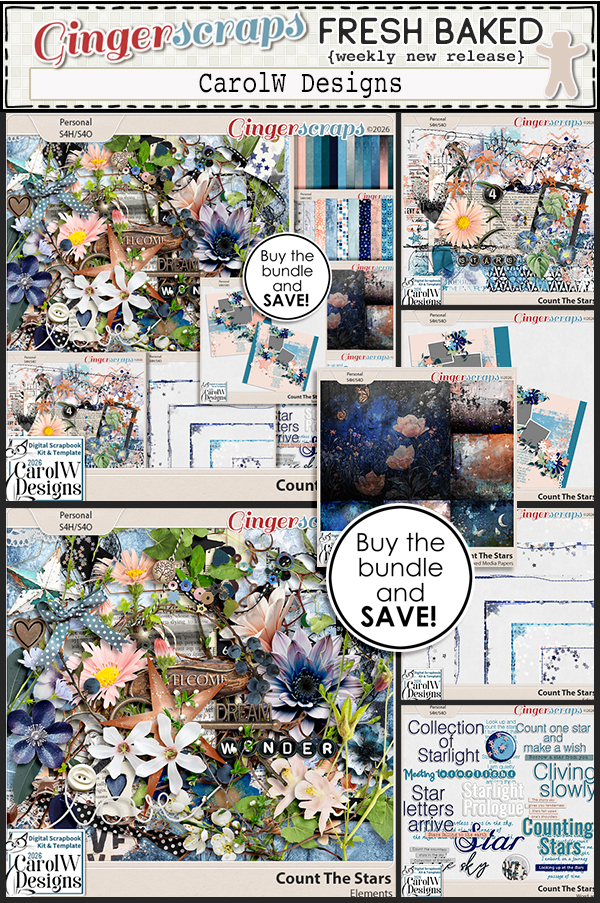
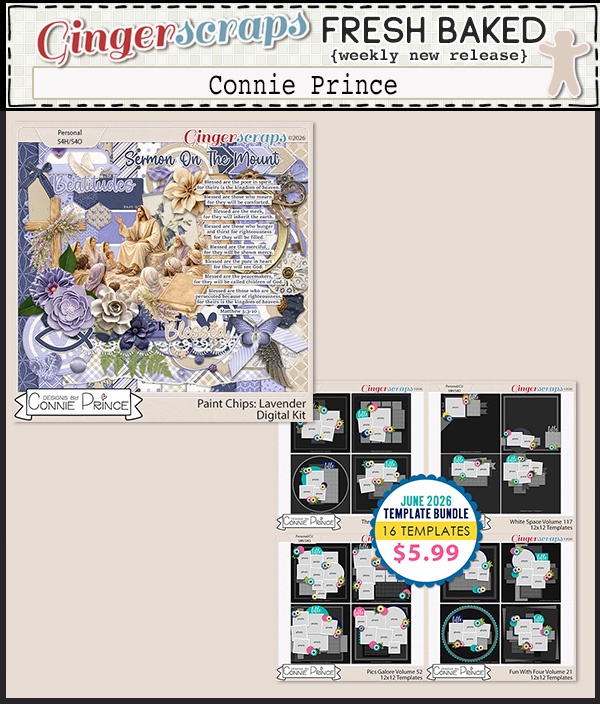
- Fresh Baked Kits – our newest releases, available now
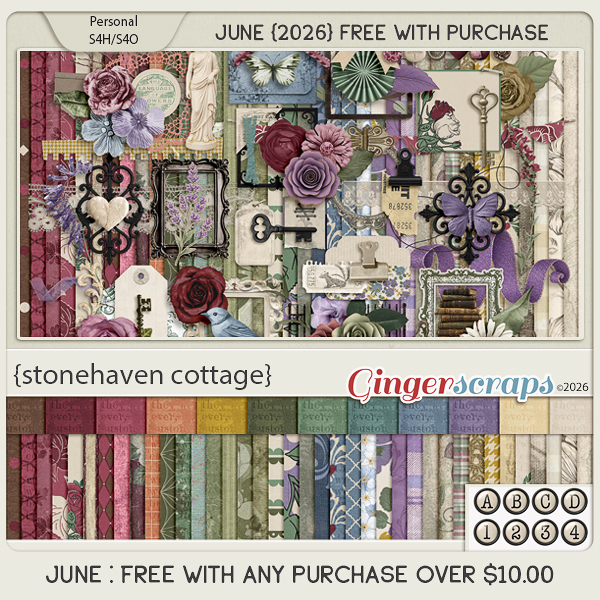
- Free with Purchase Kit – a special bonus when you shop
- Forum Challenges – join the fun, get inspired, and connect with the community
Don’t miss this chance to save big, discover new designs, and participate in all the creative activities happening at Gingerscraps!

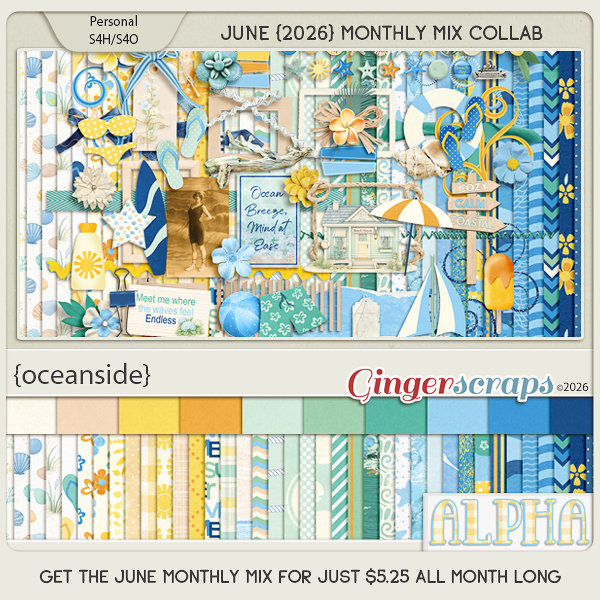
Remember that any $10 in the store gets you this wonderful collab.
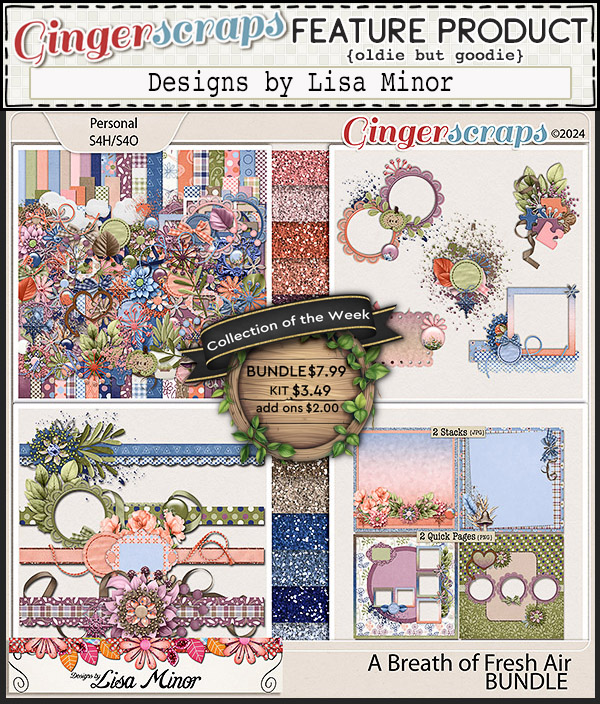
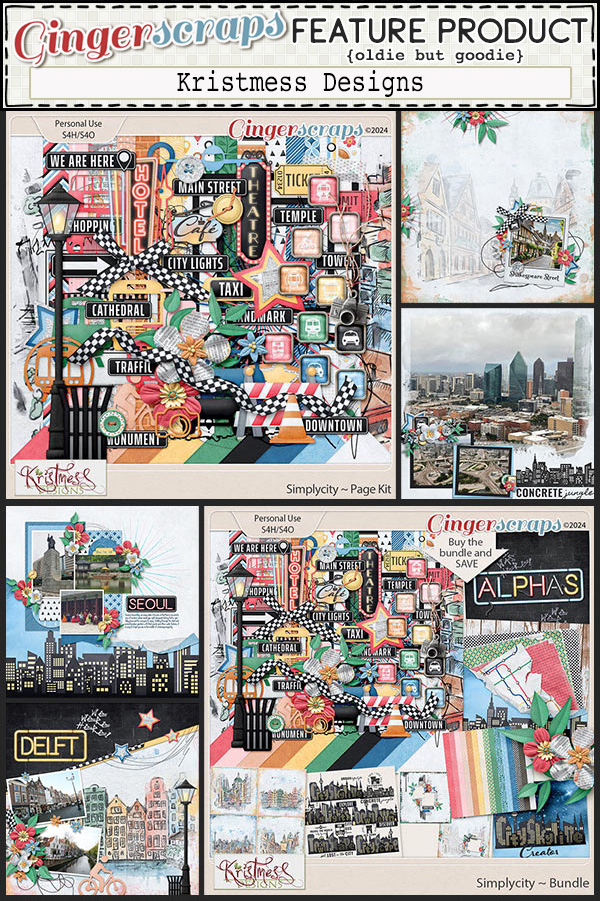
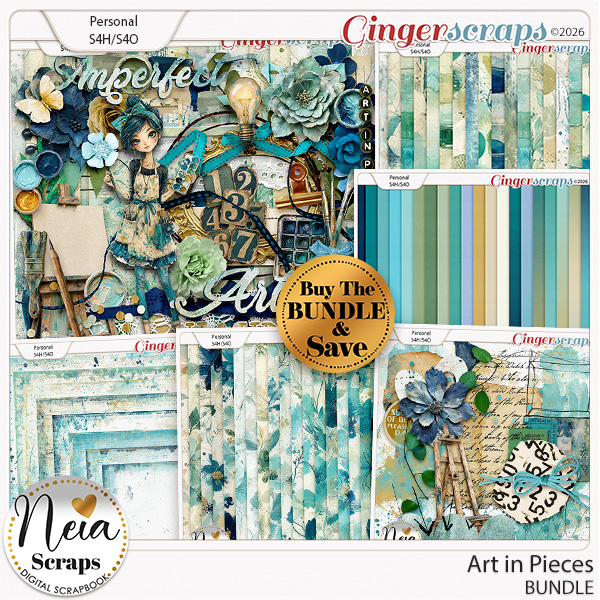
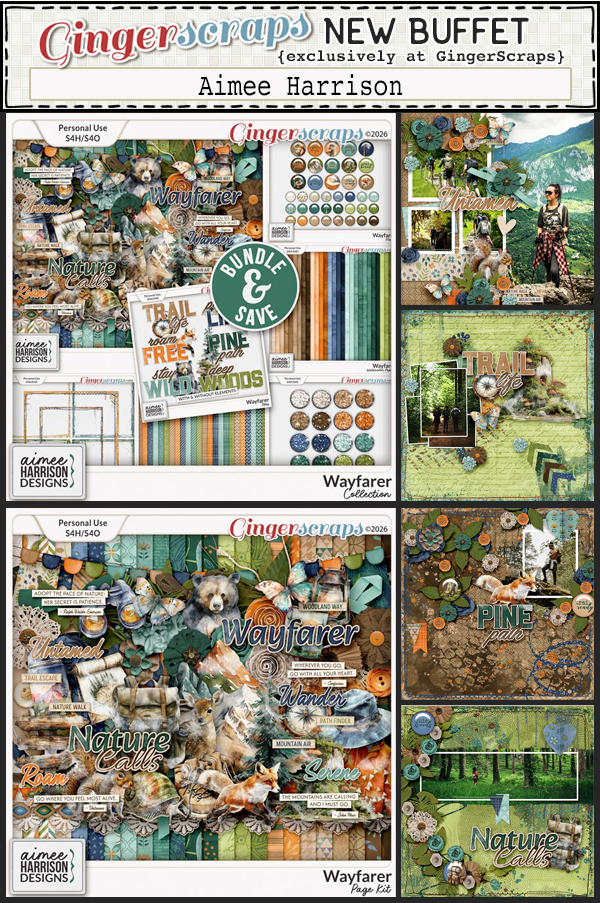
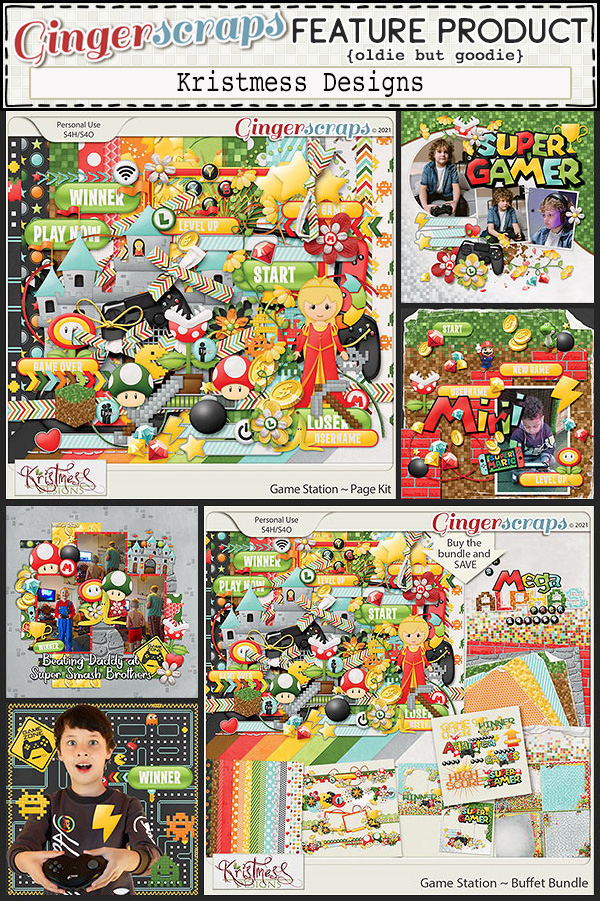
Let’s see what wonderful new kits we have from our fabulous designers.
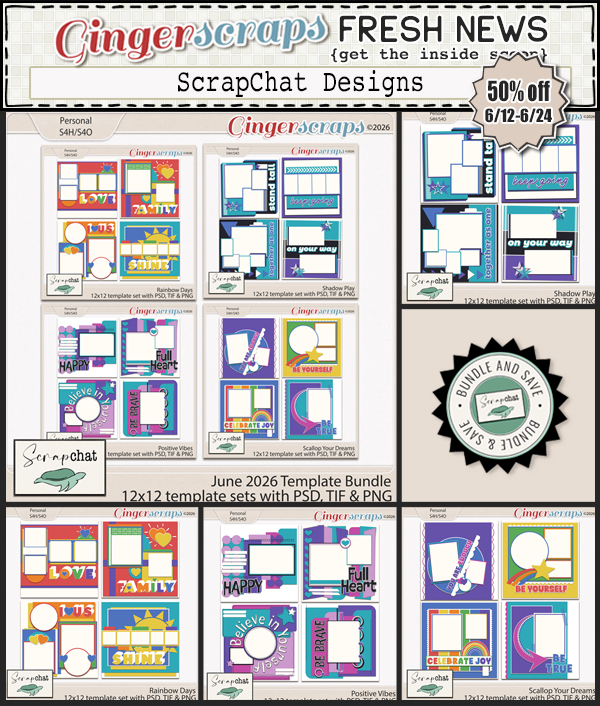
Now for a peek at what the designers are offering for the Summer Dreamin’ Flash Sale.


Have you gotten started on your challenges? If you complete any 10 challenges this month, you get this gorgeous collab (or a variety of other choices from previous challenge collabs) as a reward!