DD_July_2026_Day_11_gxetimsi.zip
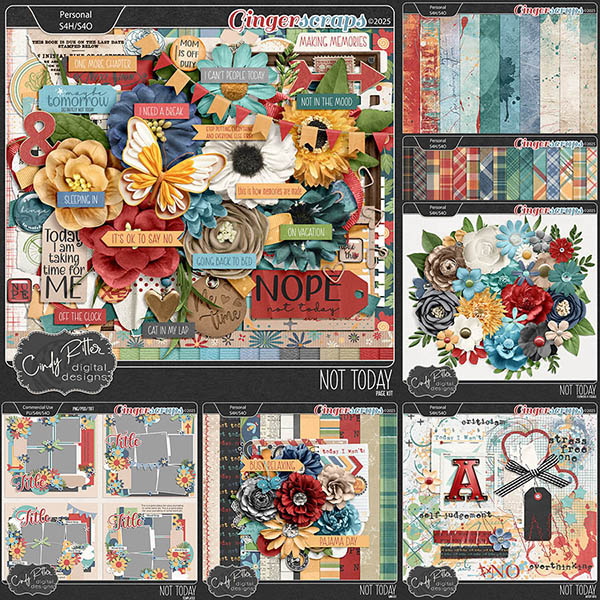
Follow Cindy on her Facebook Fan Page and her Facebook Group.
Follow Lisa on her Facebook Fan Page.
Remember, the download is kept up for 5 days, and then it is taken down. If you miss pieces, the kit will be available for purchase on the first day of the following month.

Post expires at 10:00am on Friday July 17th, 2026