DD: AUG 30

DD_Aug_2026_Day_30_einsyvie.zip

Follow Connie on her Facebook Fan Page and her Facebook Group.

Remember, the download is kept up for 5 days, and then it is taken down. If you miss pieces, the kit will be available for purchase on the first day of the following month.

Post expires at 10:00am on Saturday September 5th, 2026

DD: AUG 29

DD_Aug_2026_Day_29_lhxhsamy.zip

Follow Connie on her Facebook Fan Page and her Facebook Group.

Remember, the download is kept up for 5 days, and then it is taken down. If you miss pieces, the kit will be available for purchase on the first day of the following month.

Post expires at 10:00am on Friday September 4th, 2026

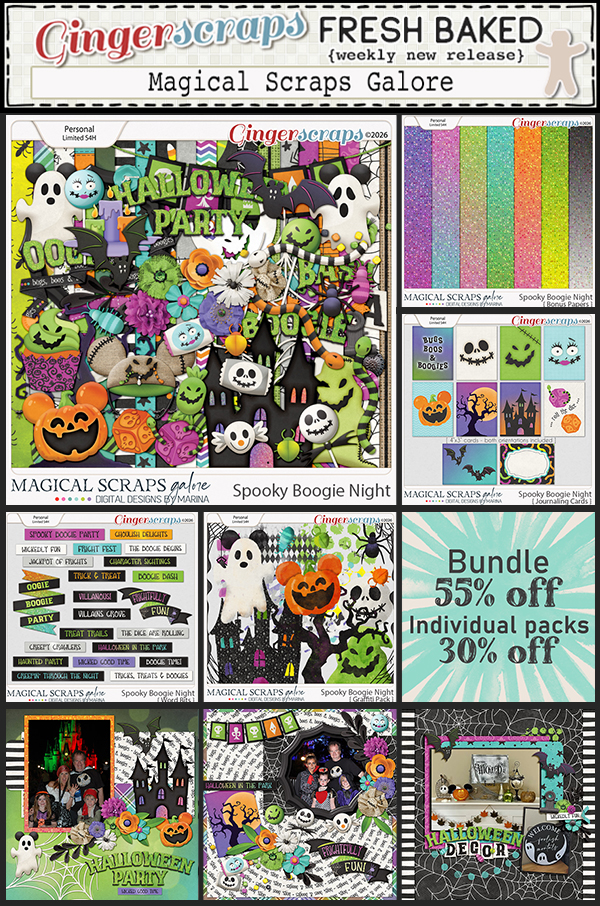
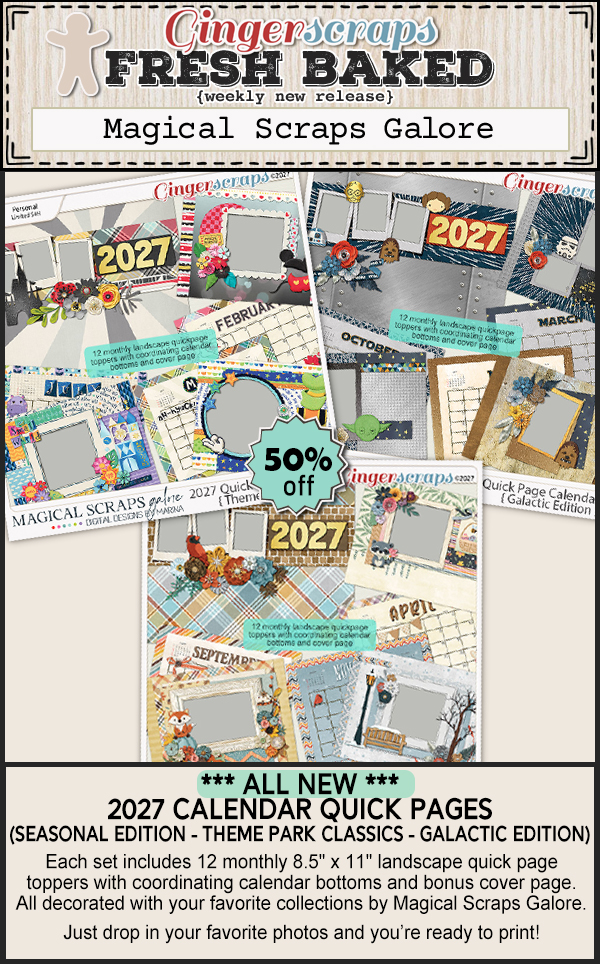
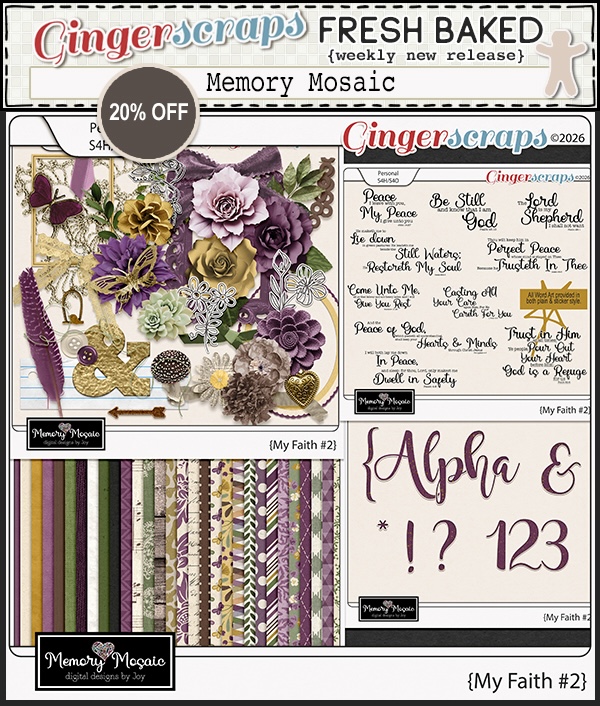
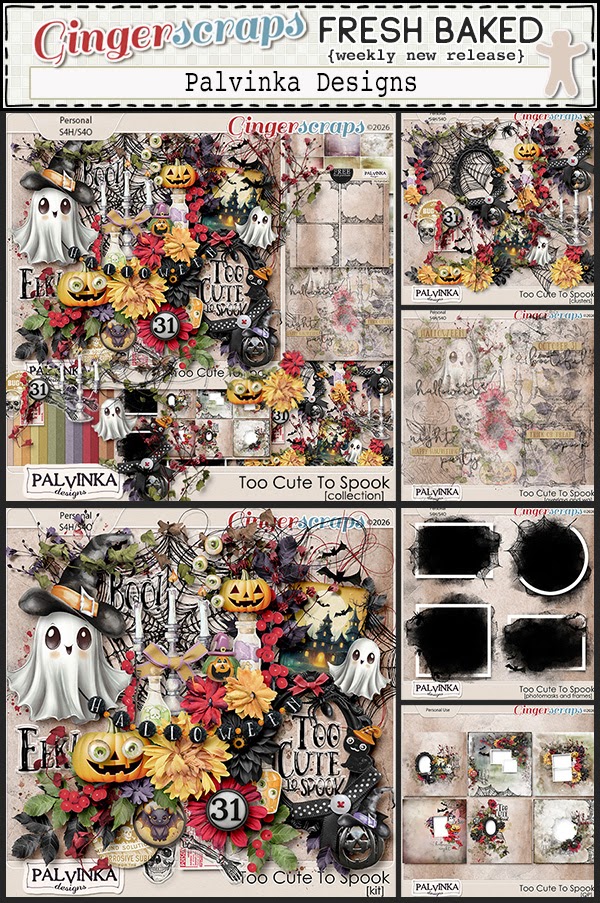
8/28/26 – Fresh Baked Friday @ GingerScraps Plus an Announcement

Hey there, scrappy friends! Can you believe we’re at the last Friday in August? I’m so excited to be starting the “ber” months next week! I’m all about fall and all things pumpkin.

We’re already starting to see those beautiful fall colors make their way into the new Fresh Baked releases, and I’m loving it!

The end of August also brings the end of our Summer Scrap-A-Thon. There are still a few days left to complete your challenges and get them recorded, so don’t miss your chance!

And we also have a very special announcement below that you’re definitely going to want to see.

Remember, spend $10 in the store and get this beautiful collab for free.

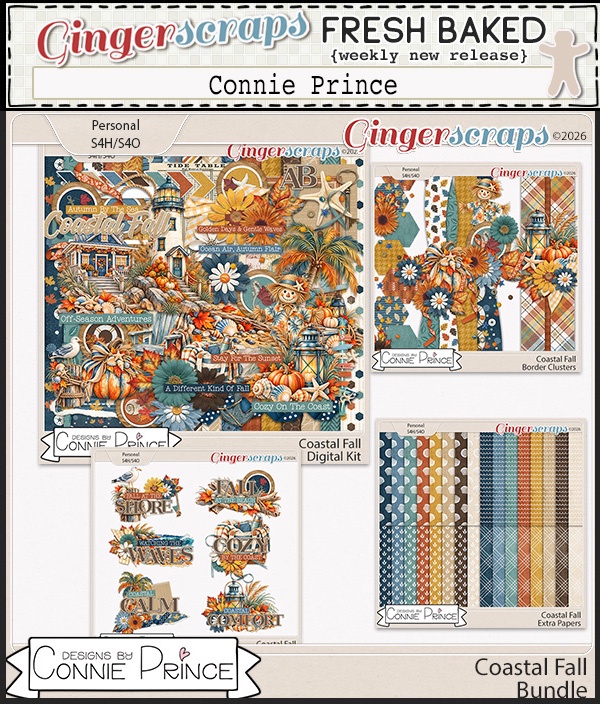
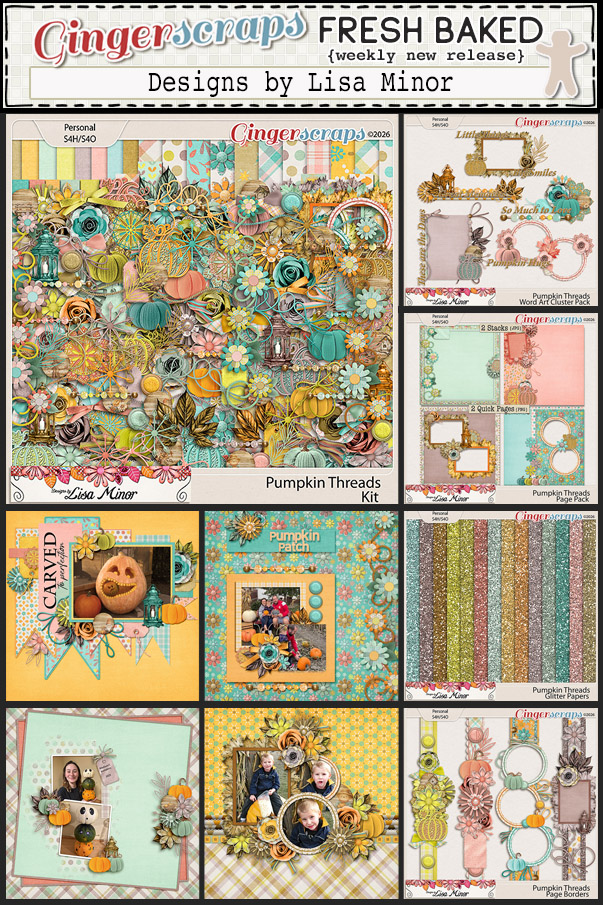
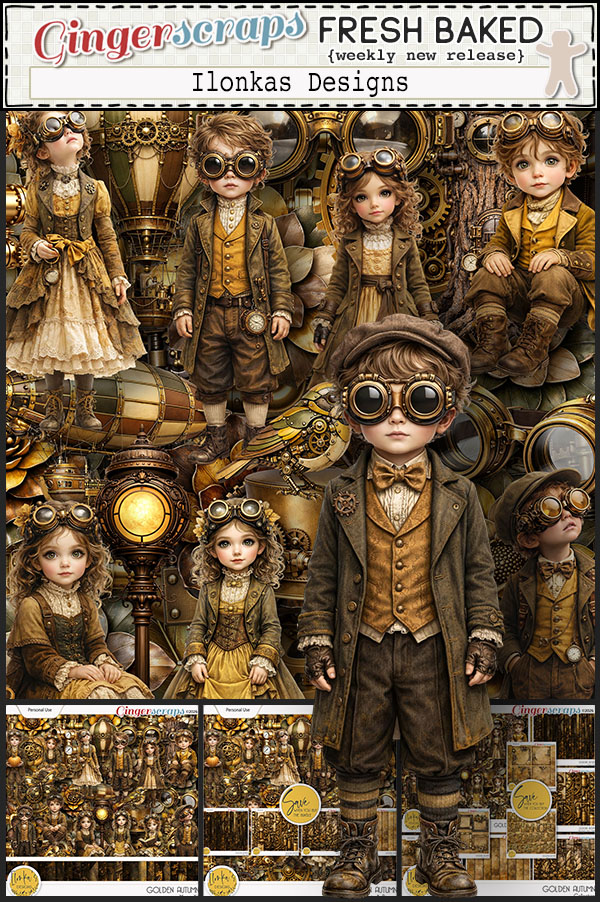
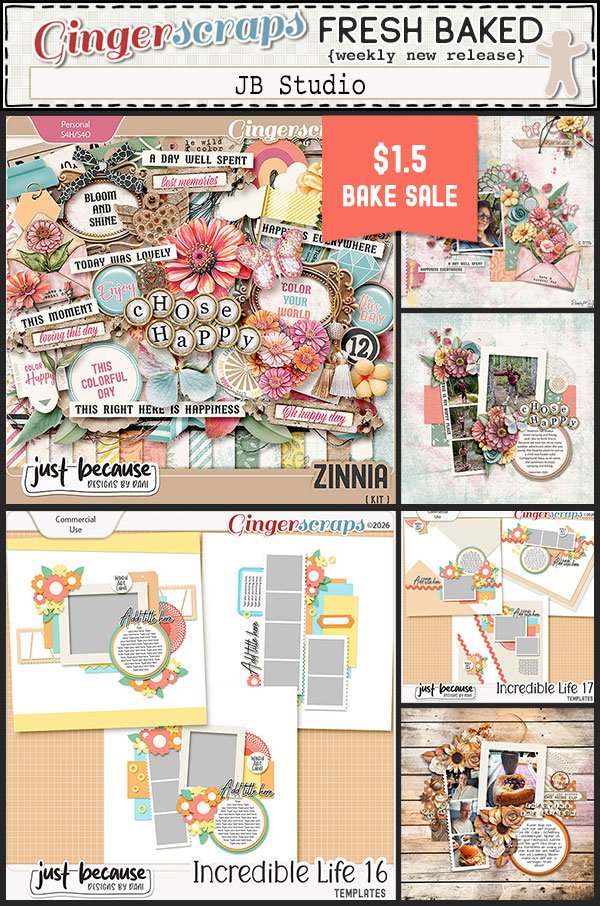
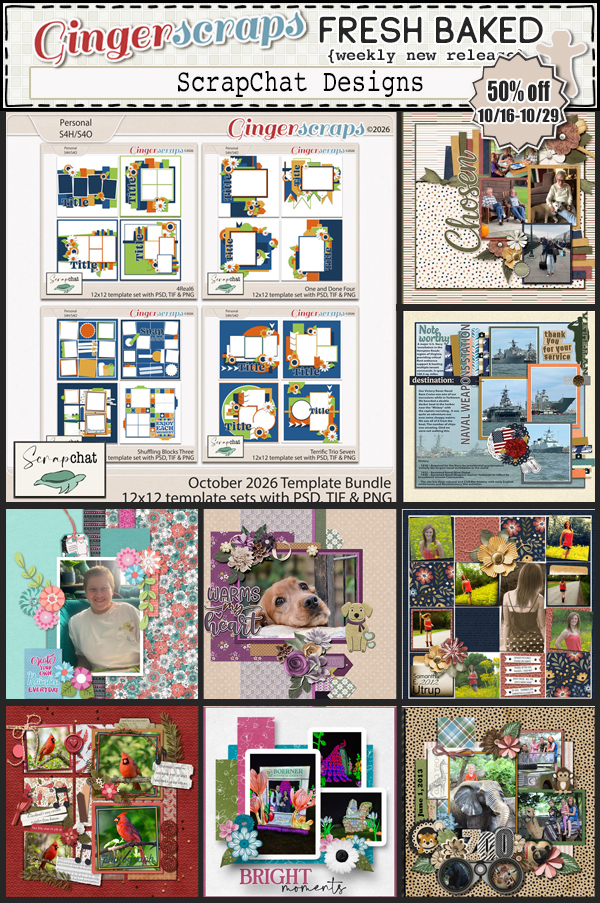
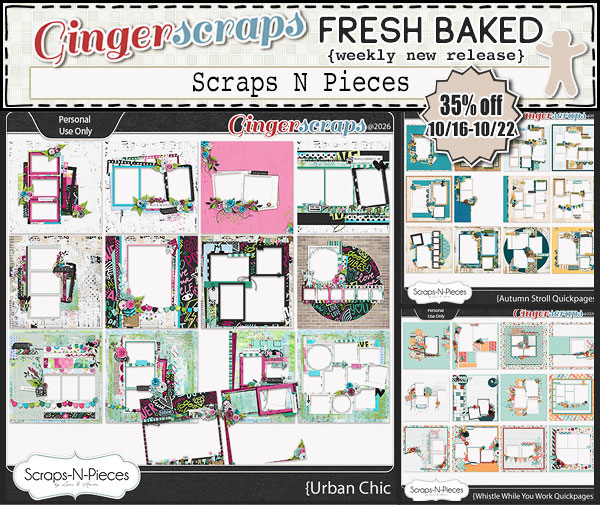
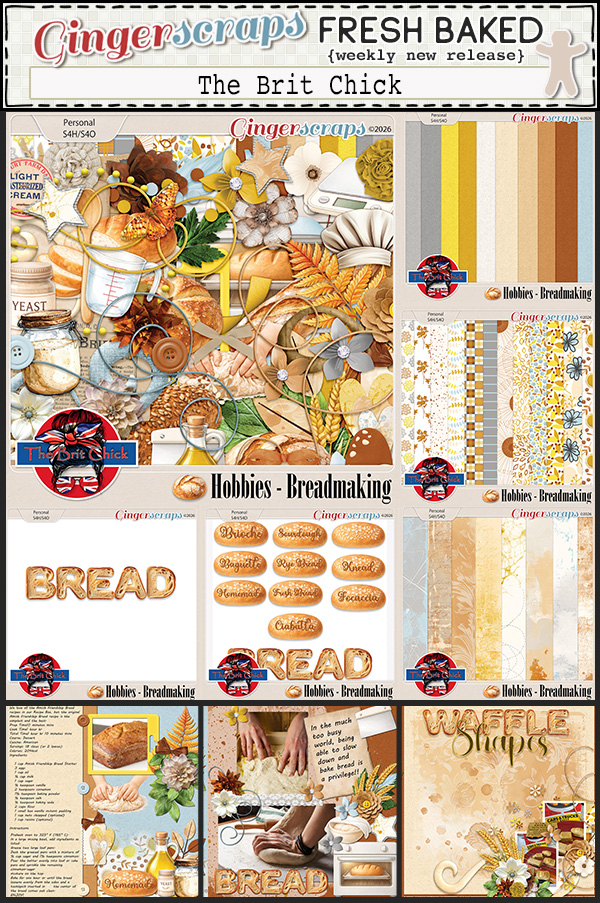
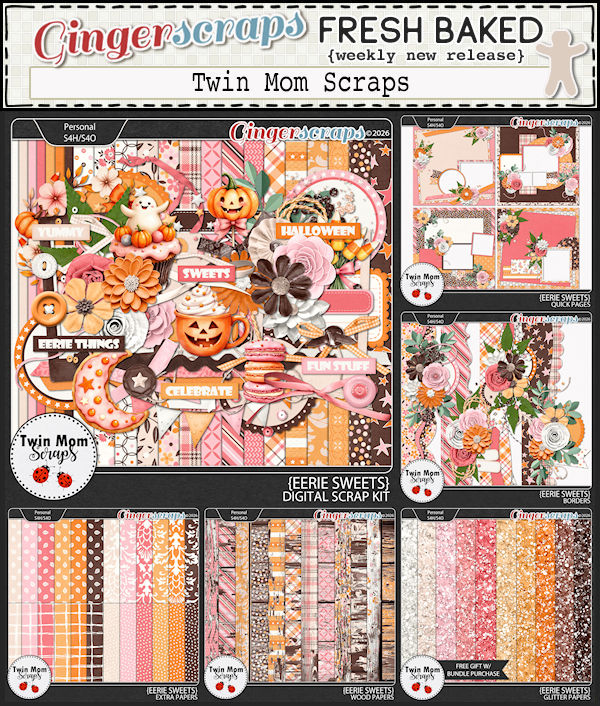
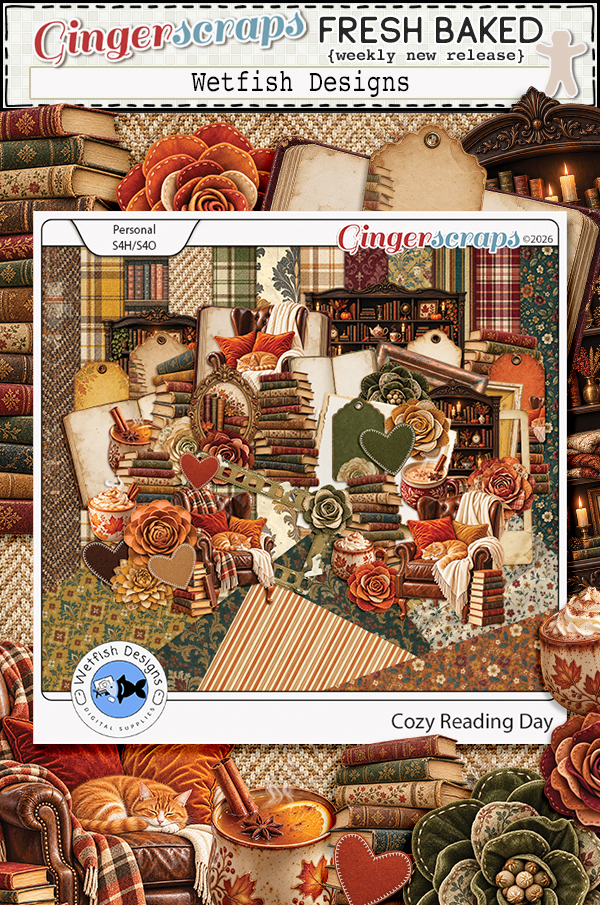
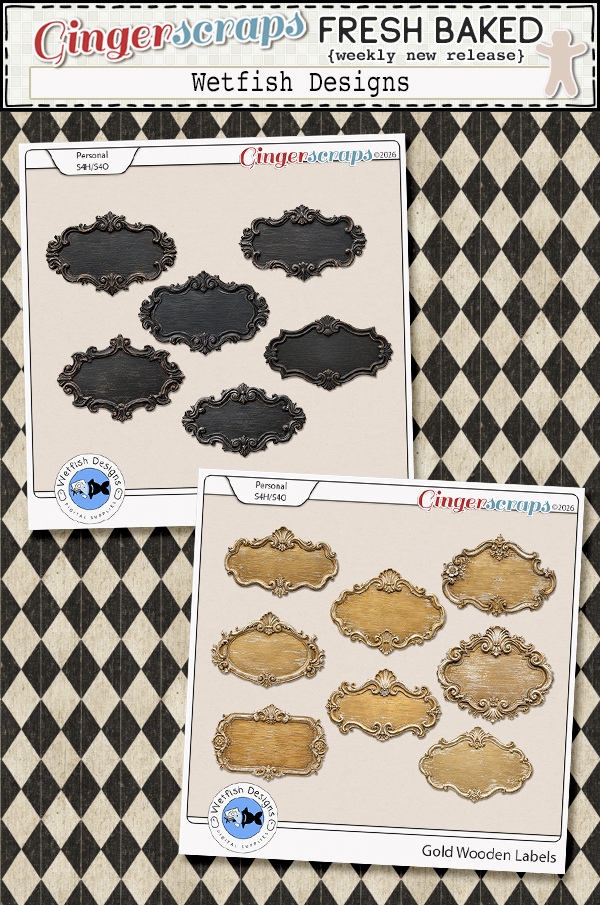
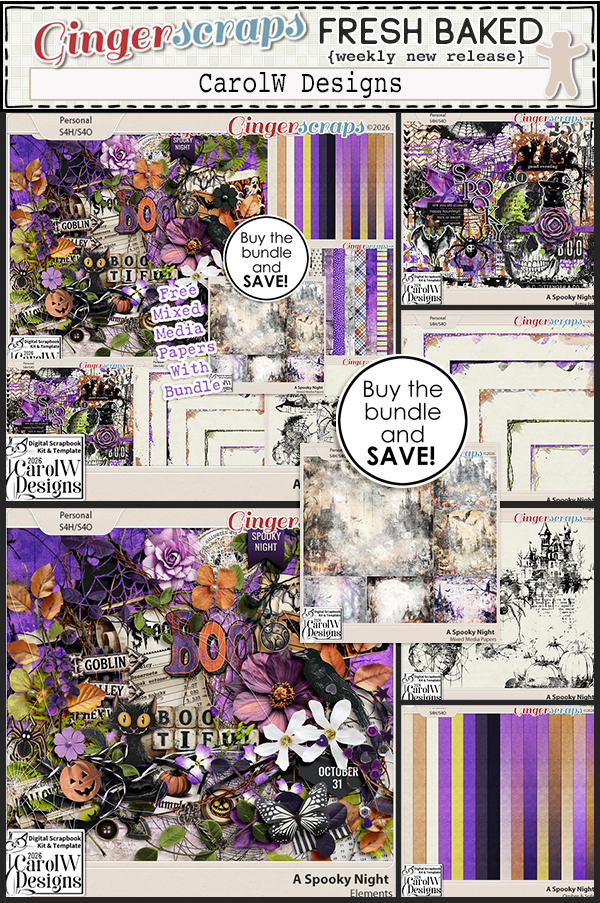
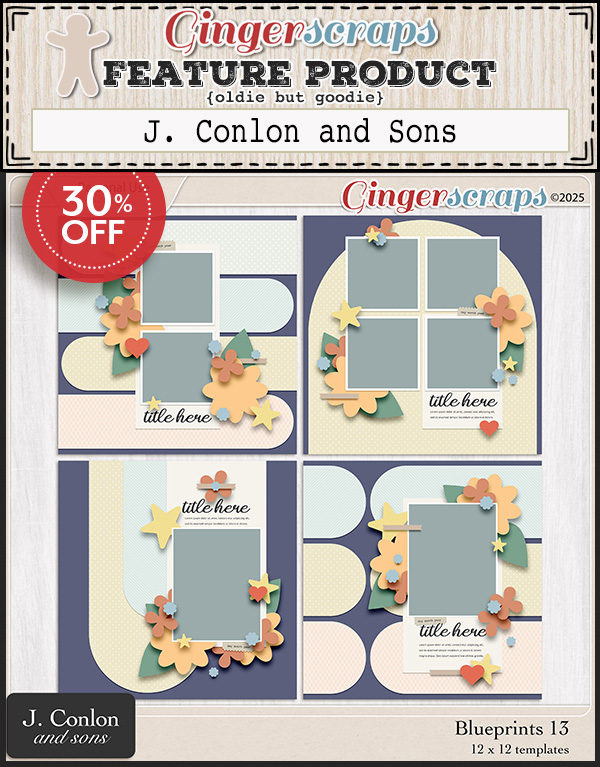
Now time for the fun new kits in our store this week.

Wonderful News About Neia!
We have a wonderful update to share about our friend and GingerScraps designer, Neia of Neia Scraps!
After 15 days in the hospital following her brain hemorrhage, Neia is finally home!
Even better, her doctors have confirmed that she did not suffer any neurological damage. Her movement, speech, and cognitive abilities are all intact, which is such wonderful news!
She still has some healing ahead of her, including headaches and pain, follow-up appointments, and additional testing. Her doctor has also asked her to take 30 days away from work and strenuous activities while she recovers.
Neia says she is already really missing creating and hopes to slowly return to some of her projects as she feels able.
She also wanted me to pass along a huge THANK YOU to everyone in our GingerScraps community who sent prayers, messages, love, and encouragement while she was in the hospital. She said your support meant more to her than she can put into words.
Let’s keep those prayers and good thoughts coming as Neia continues to heal!
And don’t forget, the 60% OFF Neia Scraps Support Sale continues through August 31, including all Personal Use and CU products.
[SHOP NEIA SCRAPS]

PU Shop Link: https://store.gingerscraps.net/Neia-Scraps/ CU Shop Link:https://store.gingerscraps.net/Neia-Scraps-CU/

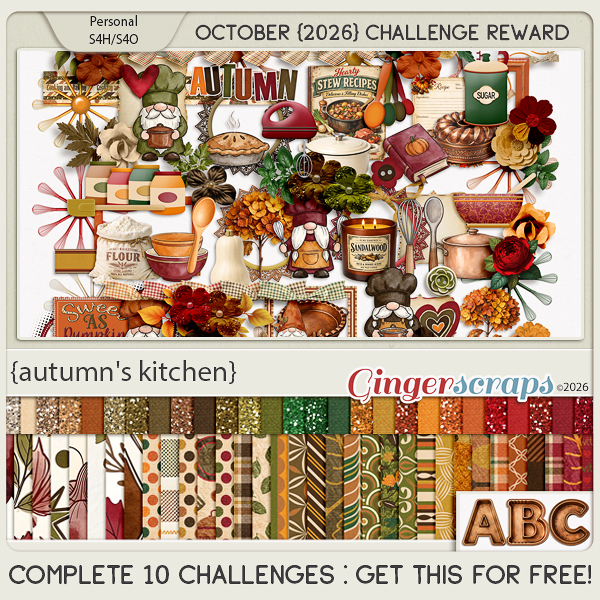
Are you working on your challenges? If you complete any 10 challenges this month, you get this gorgeous collab (or a variety of other choices from previous challenge collabs) as a reward!

The SUMMER Scrap-A-Thon! is almost over. This is a relaxed and inspiring scrapping event with no pressure, no sign-ups, and no voting. Just scrap at your own pace, encourage one another, and have fun together in the forum. The whole event is built around our beloved Monthly Challenges throughout August, making it the perfect way to stay motivated and creative all month long.

Be sure to scroll down for all the exciting details and a peek at the AMAZING Mega Collab created by our talented GingerBread Ladies that you can earn during the month of August. Trust us, it is absolutely gorgeous! There are tons of rewards and prizes, and it is a super fun event you will not want to miss. We cannot wait to scrap along with you!

DD: AUG 28

DD_Aug_2026_Day_28_kxuljoyy.zip

Follow Connie on her Facebook Fan Page and her Facebook Group.

Remember, the download is kept up for 5 days, and then it is taken down. If you miss pieces, the kit will be available for purchase on the first day of the following month.

Post expires at 10:00am on Thursday September 3rd, 2026

DD: AUG 27

DD_Aug_2026_Day_27_blvapvty.zip

Follow Connie on her Facebook Fan Page and her Facebook Group.

Remember, the download is kept up for 5 days, and then it is taken down. If you miss pieces, the kit will be available for purchase on the first day of the following month.

Post expires at 10:00am on Wednesday September 2nd, 2026

DD: AUG 26

DD_Aug_2026_Day_26_ixixtrrr.zip

Follow Connie on her Facebook Fan Page and her Facebook Group.

Remember, the download is kept up for 5 days, and then it is taken down. If you miss pieces, the kit will be available for purchase on the first day of the following month.

Post expires at 10:00am on Tuesday September 1st, 2026

Tutorial Tuesday (Photoshop Elements)

Greatest Hits: Complex Shadows – Jan’s Method

Today I want to revisit this tutorial from 2019 because the tutorial I’m working on for you right now will lean HEAVILY on complex custom shadows. Rather than reinvent the wheel, listing all the steps in great detail, I felt it would be worthwhile to post this review so you can start thinking about the process. That way the new tut will flow much nicer. 😉 Onward!

Shadows are what turns a 2-dimensional image into what looks 3-dimensional. They definitely make or break a layout. If you’ve played around with the recap tutorial from a couple of weeks ago, you’re probably ready to spread your wings and get into complex shadows. I’m not going to get into the actual 5 step-process, since that’s already been covered. Here I’ll show you how to use that Smudge tool to make your shadows even more realistic where your elements are sitting on top of other elements. For my layout, I used some of the template’s drop shadows, as you can see below. But for most of the layout I’ve customized my own shadows, starting with the ivy leaves shown here.

The trick to using the Smudge tool effectively without messing up (much) is to make use of the [ (smaller) and ] (larger) keys to grow or shrink your cursor, and to use the crosshairs inside the cursor as your reference point. Where you only want to move a very small area of your shadow, make your cursor small then position the crosshairs at the edge of the area you want to move. Using very slight movements, push or pull, depending on where you want to move the shadow – push close, pull away. Then when you’ve got what looks right to your eye, add your Gaussian Blur filter.

If you choose to change the Blend Mode to Linear Burn (or MultiplyColor Burn or whatever), make sure you do that before you decrease your Opacity. If you do it in reverse, next time you go to nudge an element with the Arrow keys, all that will happen is the software will scroll through the Blend Modes, not move your object!! (How do I know?? Lots of practice at CTRL/CMD>Z!!)

Let’s see what happens to this burlap flower. It’s overlapping the flair, some paper and a leaf.

I decided the burlap was quite stiff, so there wouldn’t be a lot of lift at the ends of the petals. It’s literally laying on top of the edge of the flair, so there isn’t much shadow cast there. But where it overlaps the leaf, I gave the petals just a hint of a curve.

The final shadow isn’t too obvious. I always look at the entire element when I’m adjusting the Opacity so I don’t lose it, but also to ensure it looks natural.

This little flower adds some new opportunities. The shadow should run under the gold flower, which is above it in the stack.

But the shadow should also be a bit closer to the petal itself where it overlays the bigger flower beneath it. Where the petals could be curved away from the paper, the shadow can be farther away.

Did you know that Elements will remember the settings you used for your Gaussian Blur filter? It’s a great step-saver when you’re shadowing a lot of similar things, like flowers and leaves, to use the keyboard shortcut CTRL/CMD>F – automatically blurring your shadow to the same amount as the previous one.

This is a tricky one. I put two flowers one on top of the other and rotated the top one to make the flower fuller. So there will also be two shadow layers. The shadow on the upper layer will be more visible, and will need a bit more pushing and pulling that the ones we’ve already looked at.

The white arrows show where I’ve used the Smudge tool to PUSH the shadow away from the centre while the red arrows show where I’ve PULLED the shadow toward the centre.

In this screenshot you can see the end result of the blur-blend-fade process for the topmost flower. And the shadow layer for the bottom is there too.

The burlap underneath could make demands, but nothing we can’t handle!

Done!

Again, the shadowing is subtle but effective.

Now for the burlap rosette. It’s a softer-looking element than the multi-petaled burlap flower. See if you can figure out what I’m going to do to customize this one.

Did you figure it out? Are you starting to see how different objects will cast a different shadow?

There will be more depth to the shadow at the lower edge where there’s a gap created by the little aqua flower.

On to the gold flower. It’s overlaying several other objects.

Take a close look at where the shadow touches the leaf on the far left. See how I’ve brought the shadow in really close where it’s touching the leaf, but let it stay farther away where there’s a gap between the flower and the paper underneath?

Ta-da!

This one was an easy one. I pushed in close to the centre of the word strip to make it look glued down there but loose at the ends. Be sure to change the size of your Smudger to BIG when you’re curving paper like this so you get a smooth arc. I created a little mock-up of what the Smudge tool‘s cursor looks like. (Of course, it won’t be red when you’re working, it’ll be black.) Remember, the [ key makes your tool smaller, the ] makes it bigger. That crosshair is SO useful!

Blurred, blended and faded. Take note, the blur isn’t quite as soft here as it is with the flowers because the edges are sharper, so the shadow should be sharper. This one is 2.5 pixels.

Ah yes, stickers! The shadow will be very tight, but there’s still room for some tweaking.

I pushed it a little closer where it’s crossing the edge of the thicker paper.

Now there’s a hint of distance where the sticker comes off the thicker paper. Subtle… When you see my finished layout in the Gallery you’ll see that I’ve also used the Burn tool to give the illusion of the edge of the thicker paper showing through onto the sticker itself.

This one is a single layer of the aqua daisy. It’s got some challenges!

The white arrows show where I’ve PUSHED the shadow away from the centre, the red arrows where I’ve PULLED it toward the centre.

But wait! Where the ripples in the bottlecap touch the petal, the shadow has to be thinner. I [[[[ my cursor down to tiny to make this look more natural. Look too at the leaf.

Blur, blend, fade.

This is another challenge where the burlap petals touch the twine.

Again, I think the burlap has been stiffened a bit, so not a lot of curving petals.

I hope these examples are giving you some insight into how shadows are cast.

Did you think I’d leave out the bottlecap? Heck no!!

Where the crimps touch the object below, the shadow is thin, where the crimps curve away from the object below, the shadow bellies out a bit.

I love how this looks!

Last but not least, this knot needs attention. It’s a heavyweight, so the shadow won’t be too far away in most places, depending on what it’s touching.

White arrows – PUSHED away, red arrows – PULLED in.

And there you have it!

Do you think you’ll be ready to start creating your own custom shadows now? I hope so!!

(Credits are in the Gallery… too many different kits to list them all here!)

Hey! At the end of the week it’ll be the TENTH anniversary of my very first tutorial here. I can’t believe it!


DD: AUG 25

DD_Aug_2026_Day_25_qhjatmqr.zip

Follow Connie on her Facebook Fan Page and her Facebook Group.

Remember, the download is kept up for 5 days, and then it is taken down. If you miss pieces, the kit will be available for purchase on the first day of the following month.

Post expires at 10:00am on Monday August 31st, 2026

DD: AUG 24

DD_Aug_2026_Day_24_fpyostbk.zip

Follow Connie on her Facebook Fan Page and her Facebook Group.

Remember, the download is kept up for 5 days, and then it is taken down. If you miss pieces, the kit will be available for purchase on the first day of the following month.

Post expires at 10:00am on Sunday August 30th, 2026

8/21/26 – Fresh Baked Friday @ Gingerscraps Plus an Announcement

Welcome to another Friday at Gingerscraps. We have so many new items in the store, featured products, the continuation of our Summer Scrap-a-Thon, and a special announcement below.

Remember, spend $10 in the store and get this beautiful collab for free.

Let’s start with the new products in the store.

We have some difficult news to share about our friend and GingerScraps designer, Neia of Neia Scraps.

Last week, Neia suffered a brain hemorrhage and has been in the hospital ever since. She is still undergoing tests and being closely monitored by her doctors, and unfortunately, she doesn’t know yet when she’ll be able to go home or return to work.
Because she is unable to work right now, we wanted to find a way for our GingerScraps community to come together and support her while she focuses on healing.

For a limited time, we’re having a special sale on Neia Scraps designs. Your purchase will give you some beautiful new goodies while also helping Neia during this difficult time. If you’ve enjoyed Neia’s designs or simply want to show one of our GingerScraps family members a little extra love, we hope you’ll join us.

Please keep Neia in your thoughts and send her lots of love and encouragement as she works toward getting better!
Thank you, as always, for being such an amazing community.

PU Shop Link: https://store.gingerscraps.net/Neia-Scraps/
CU Shop Link:https://store.gingerscraps.net/Neia-Scraps-CU/

Are you working on your challenges? If you complete any 10 challenges this month, you get this gorgeous collab (or a variety of other choices from previous challenge collabs) as a reward!

Also in August, we have our SUMMER Scrap-A-Thon! This is a relaxed and inspiring scrapping event with no pressure, no sign-ups, and no voting. Just scrap at your own pace, encourage one another, and have fun together in the forum. The whole event is built around our beloved Monthly Challenges throughout August, making it the perfect way to stay motivated and creative all month long.

Be sure to scroll down for all the exciting details and a peek at the AMAZING Mega Collab created by our talented GingerBread Ladies that you can earn during the month of August. Trust us, it is absolutely gorgeous! There are tons of rewards and prizes, and it is a super fun event you will not want to miss. We cannot wait to scrap along with you!