Welcome to the end of another week. We made it. I had my doubts this week. A rough work week. I’m ready for the weekend! Let’s start off this weekend with our Summer Dreamin’ Flash Sale.

Don’t forget, you must check out by 11:59pm on June 13.
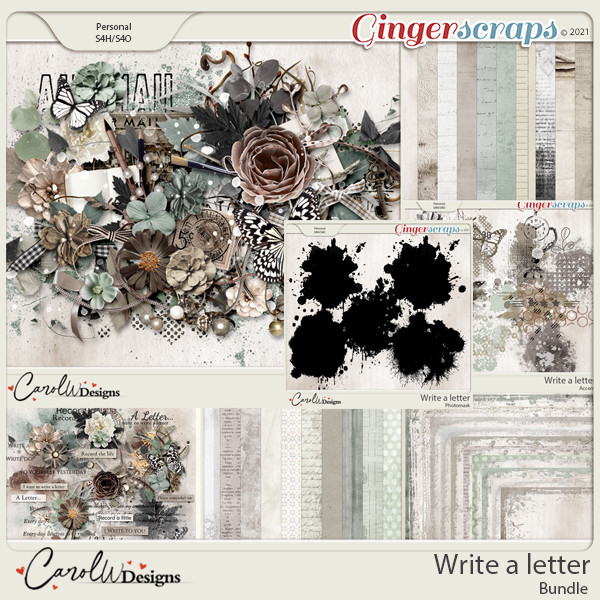
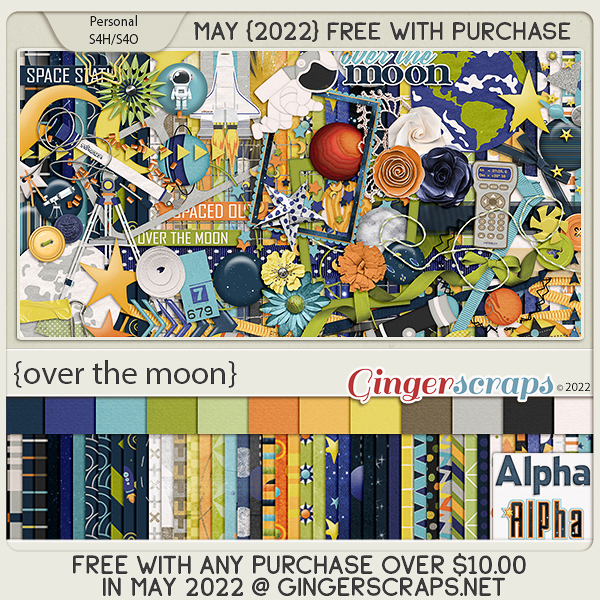
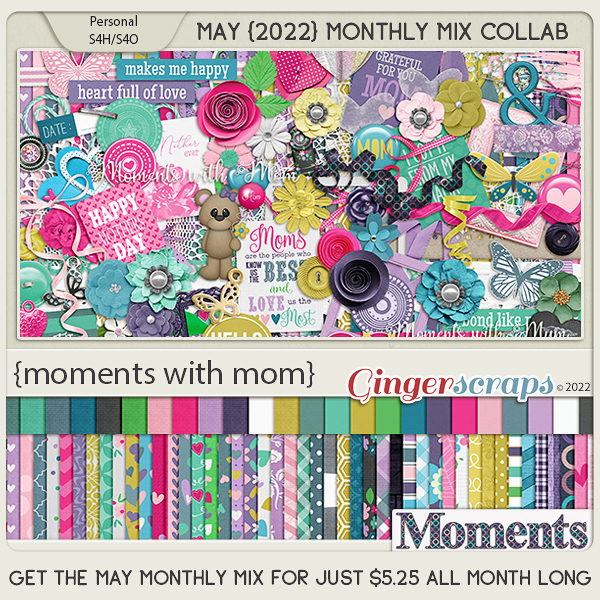
Remember, spend $10 in the store and get this wonderful collab for free!

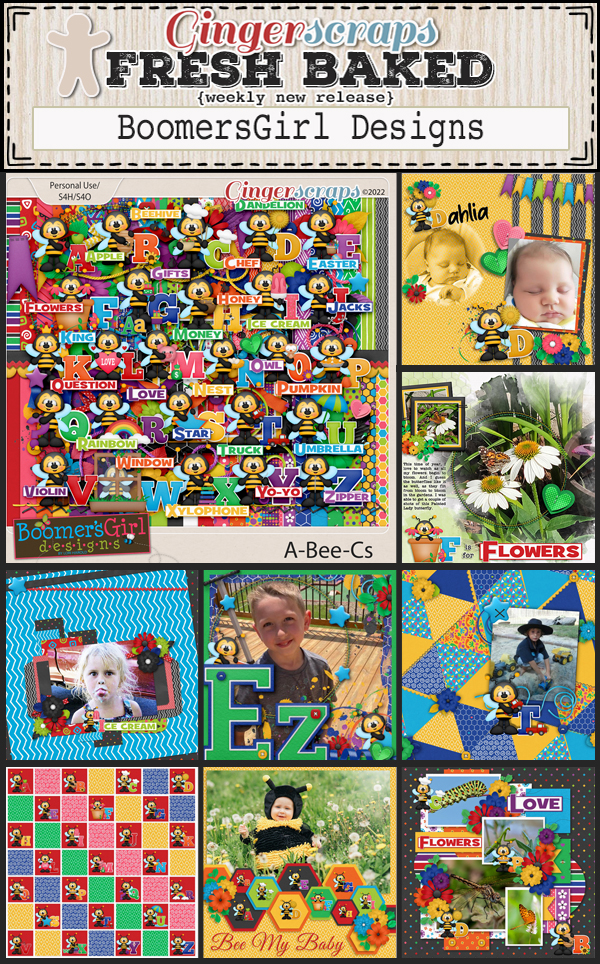
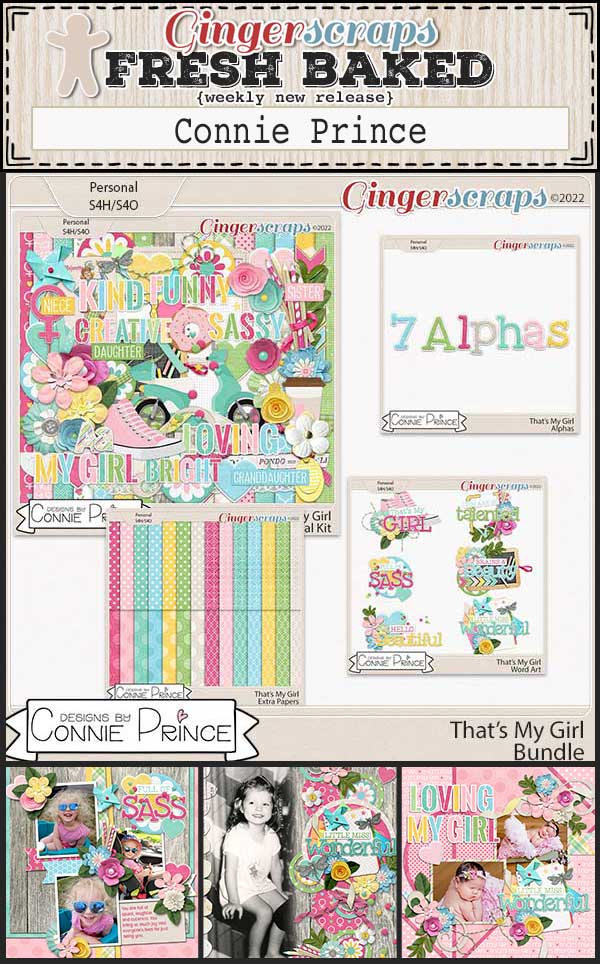
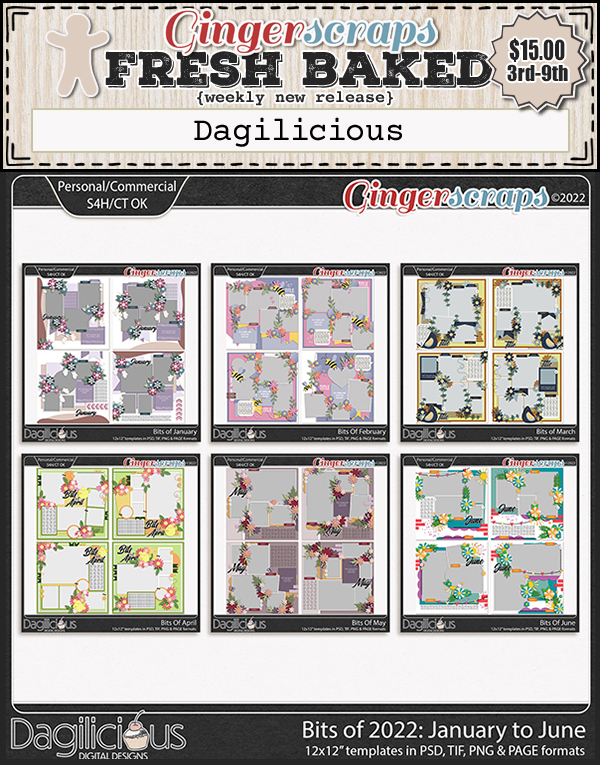
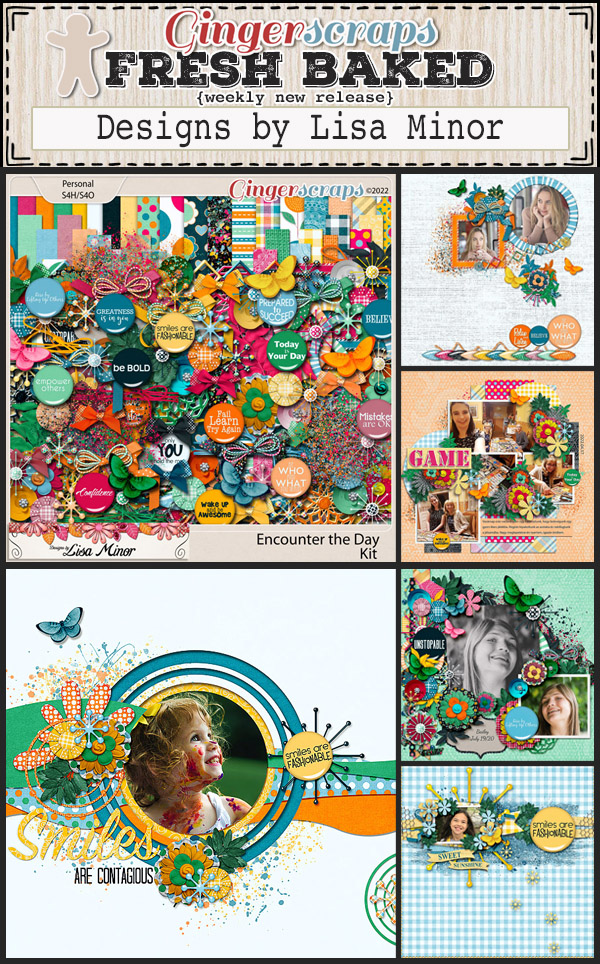
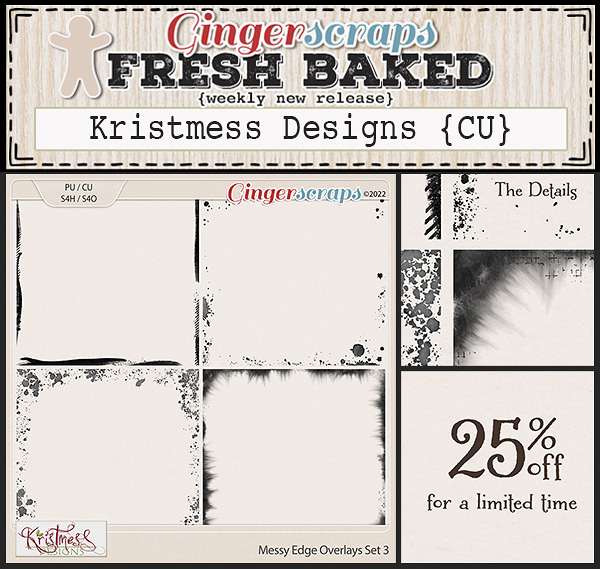
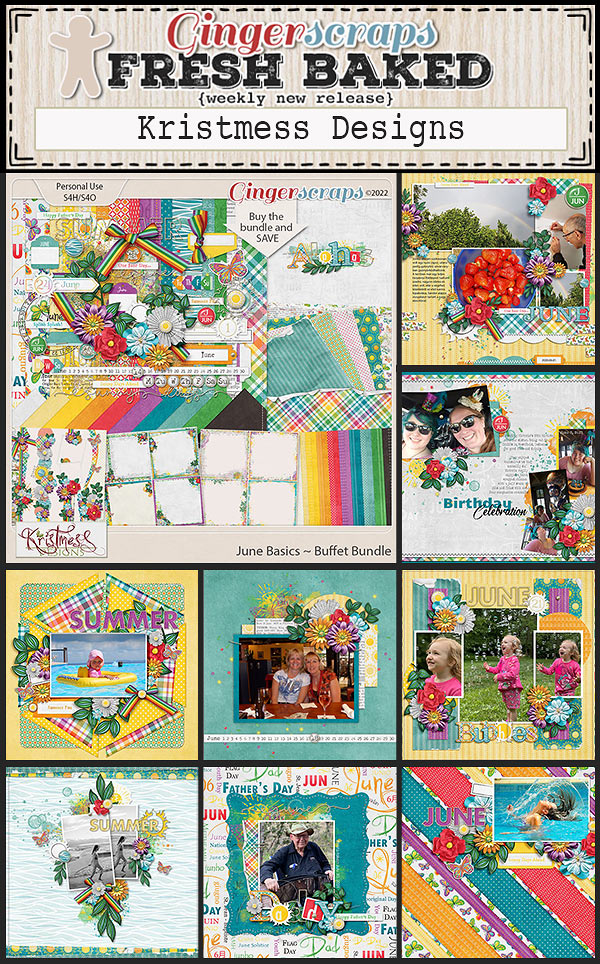
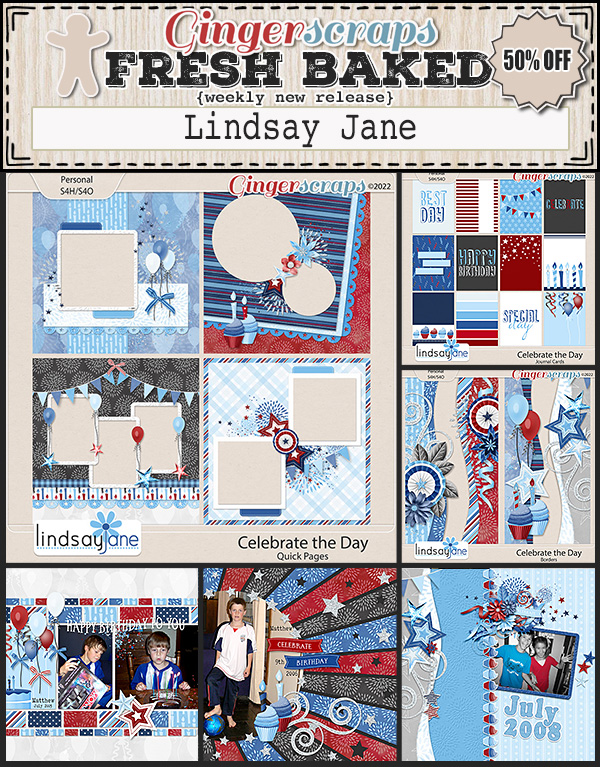
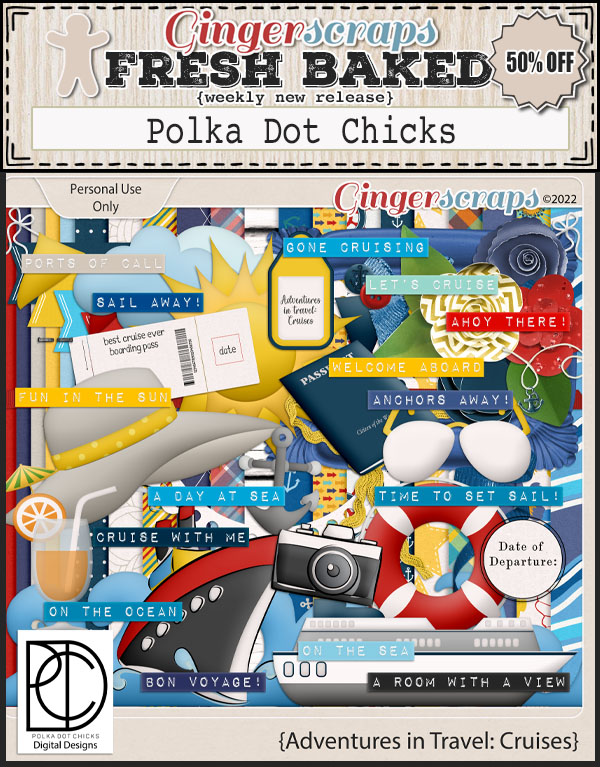
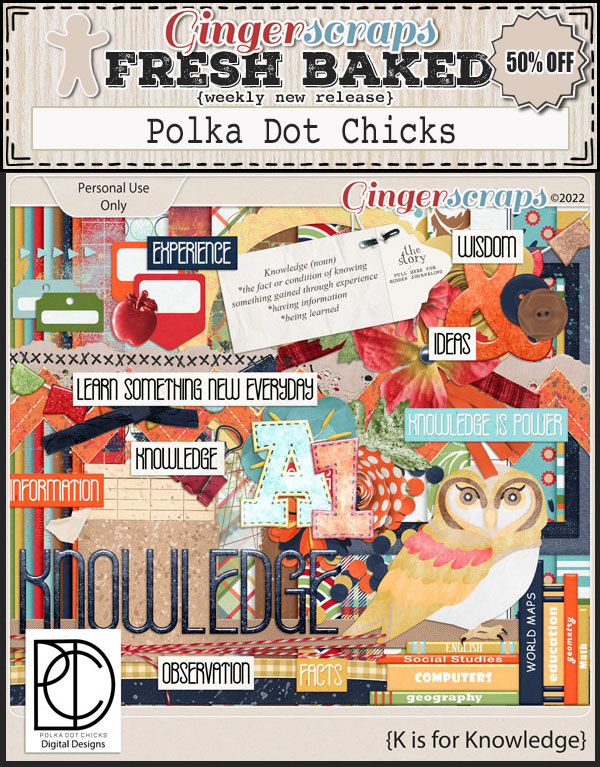
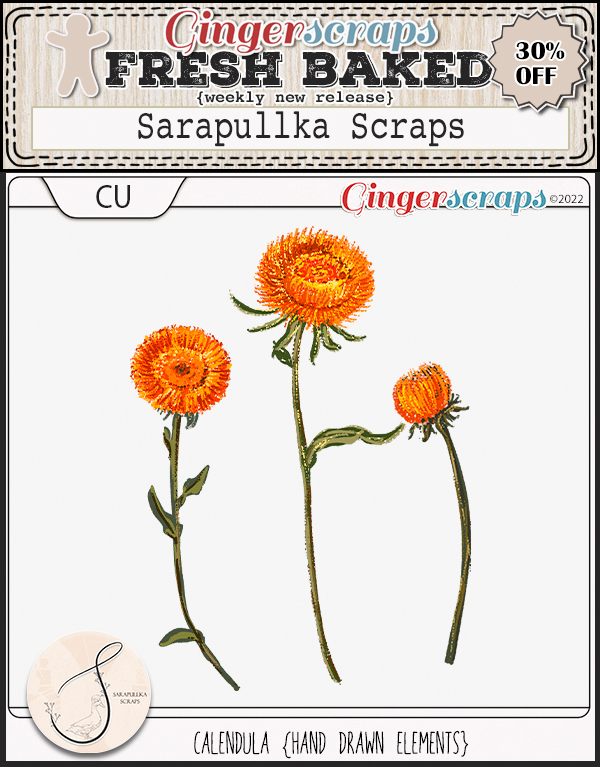
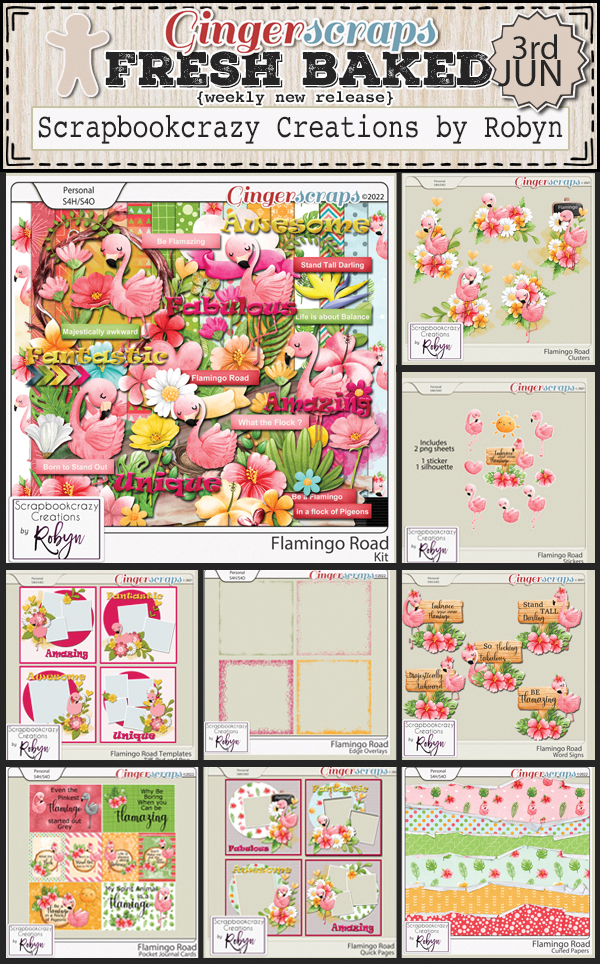
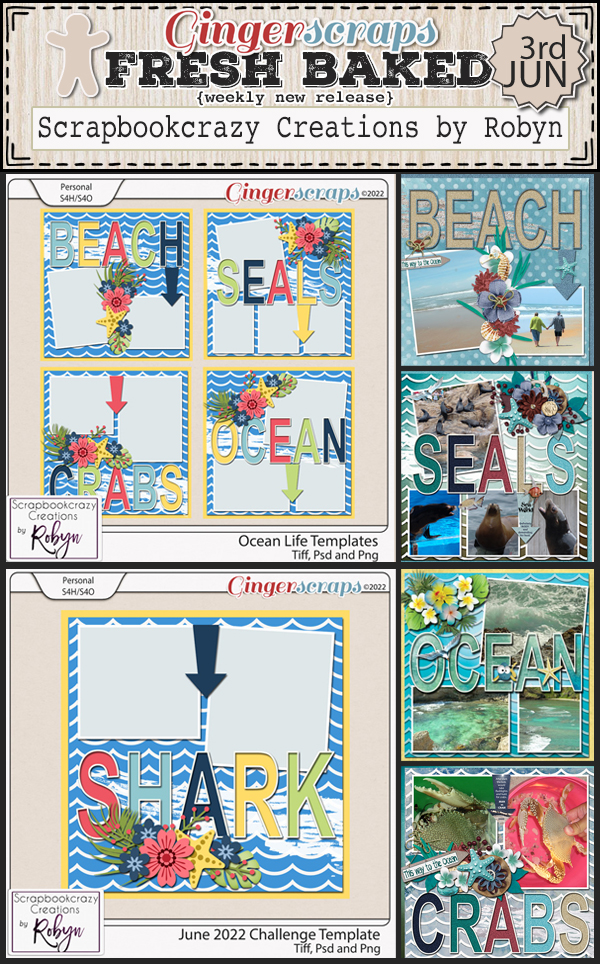
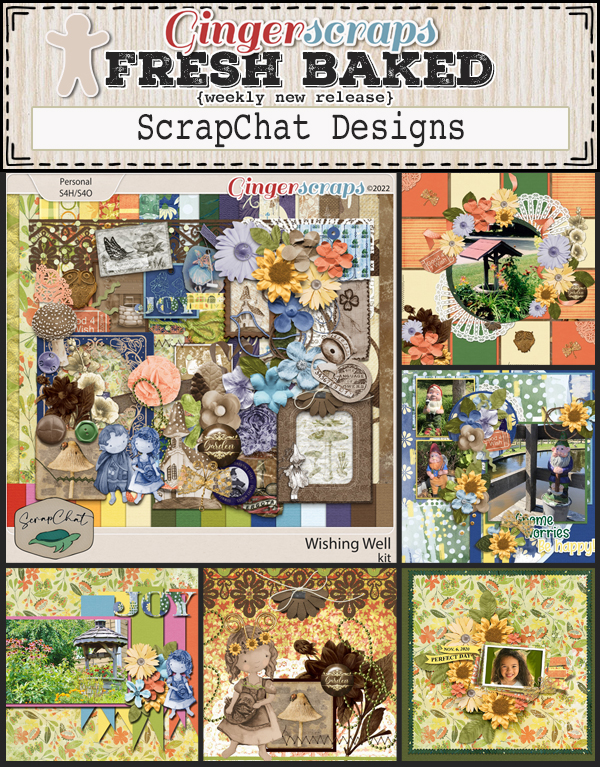
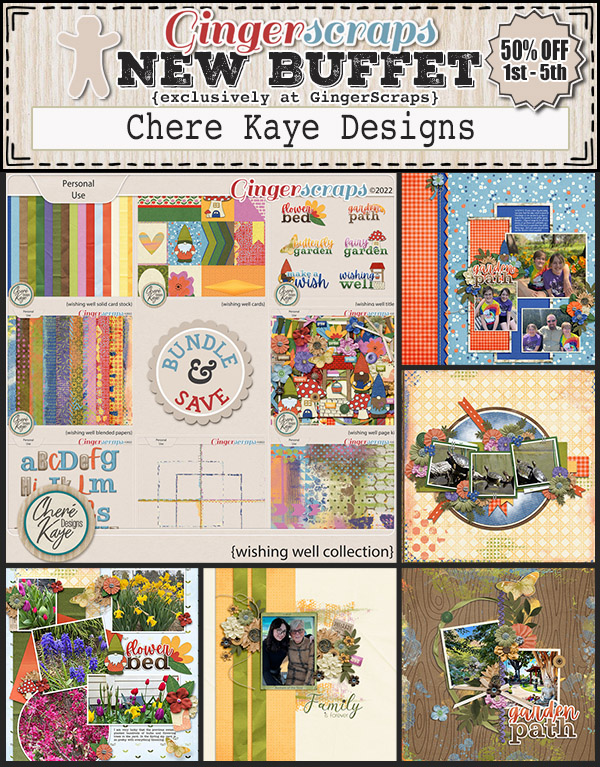
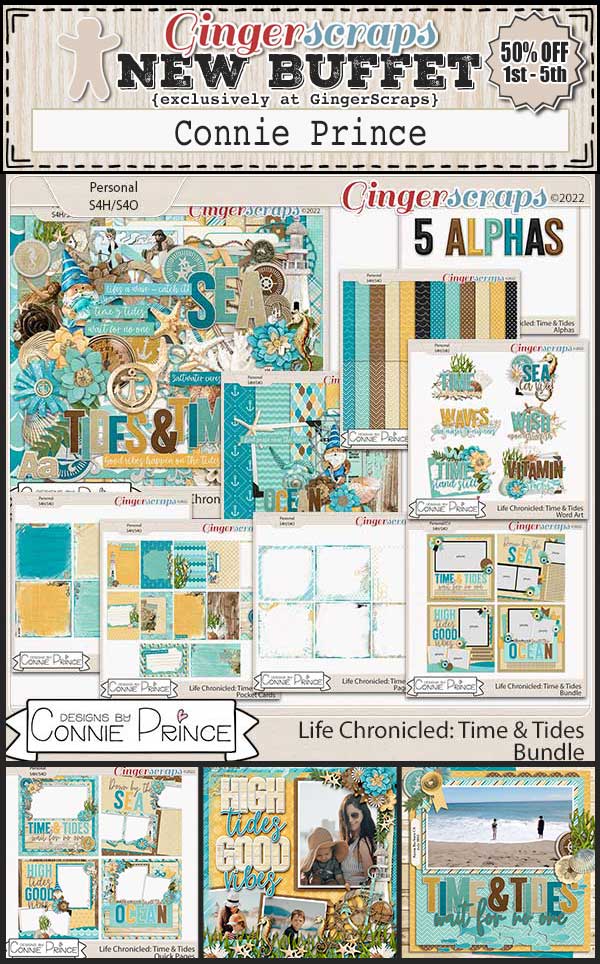
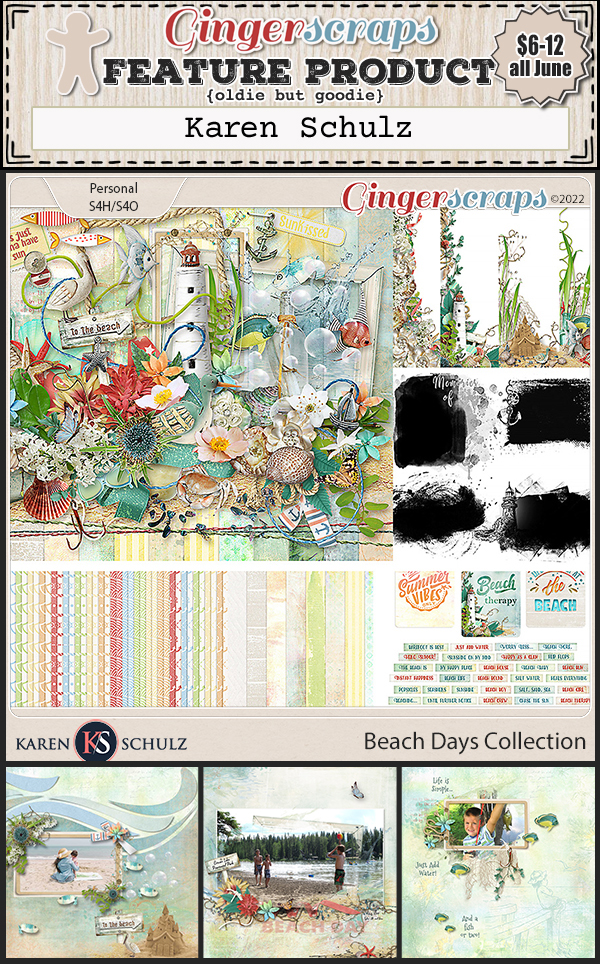
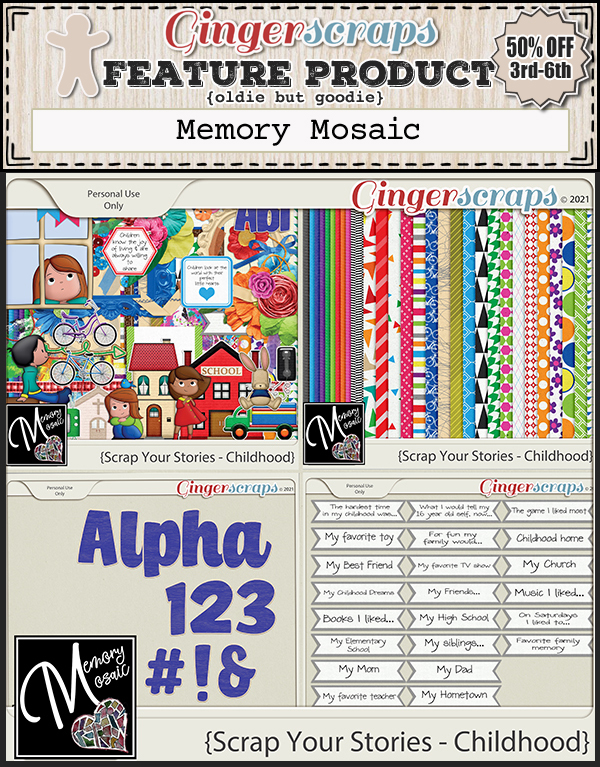
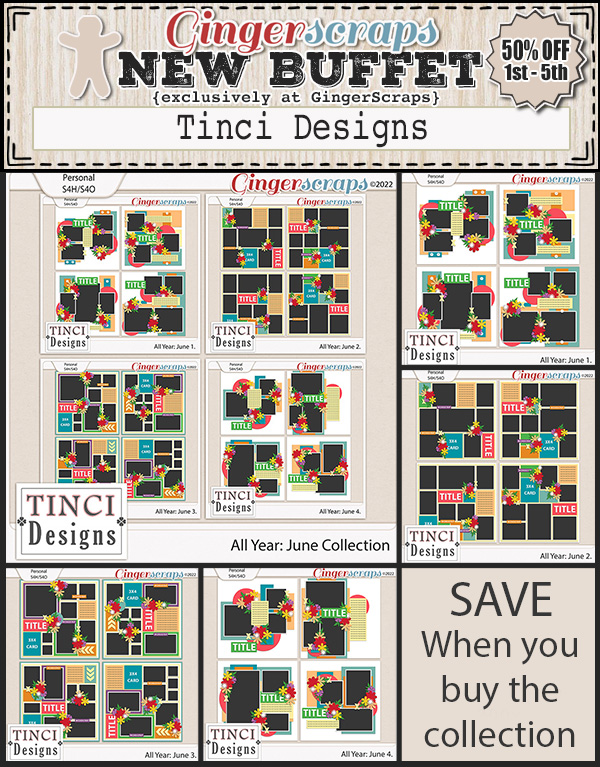
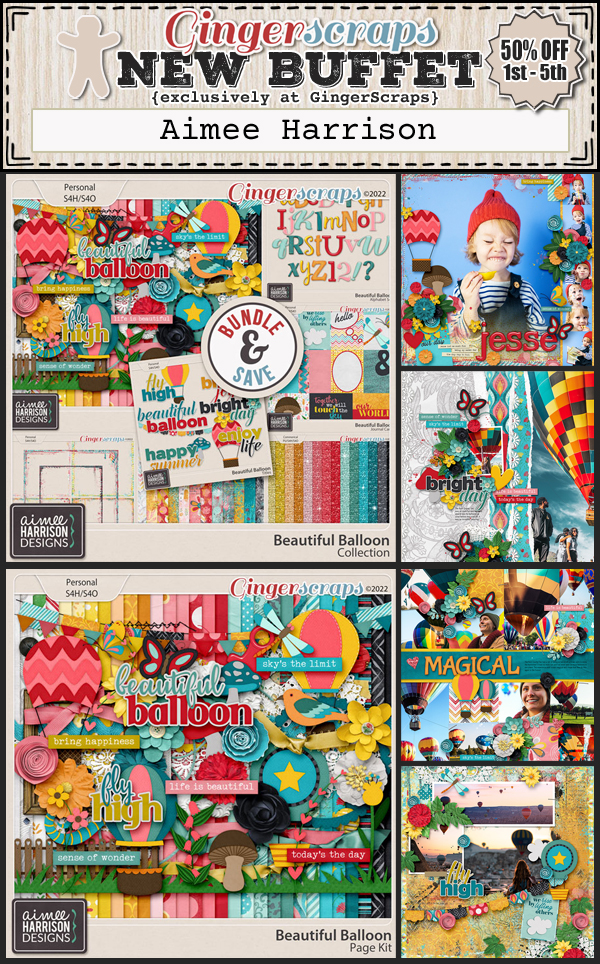
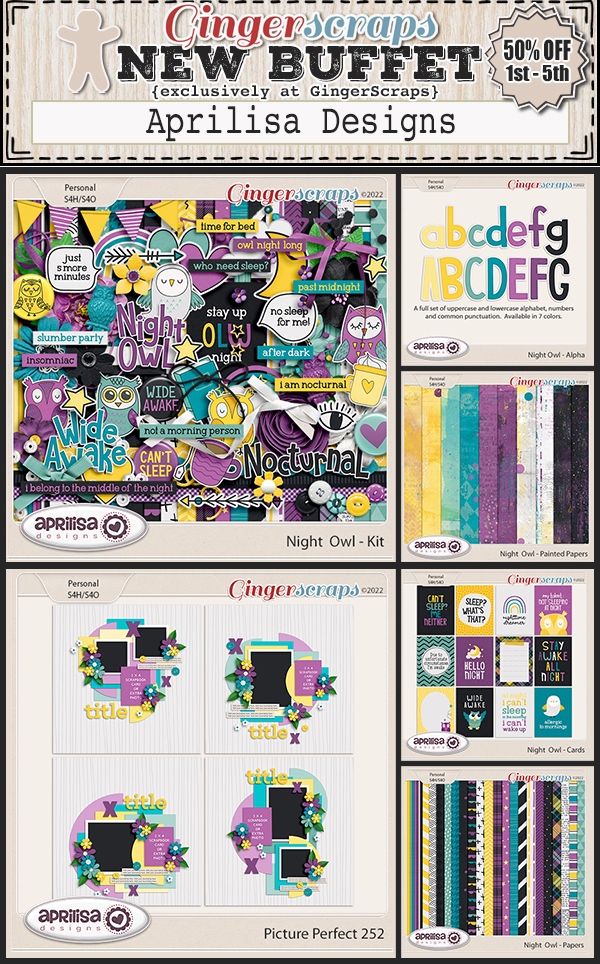
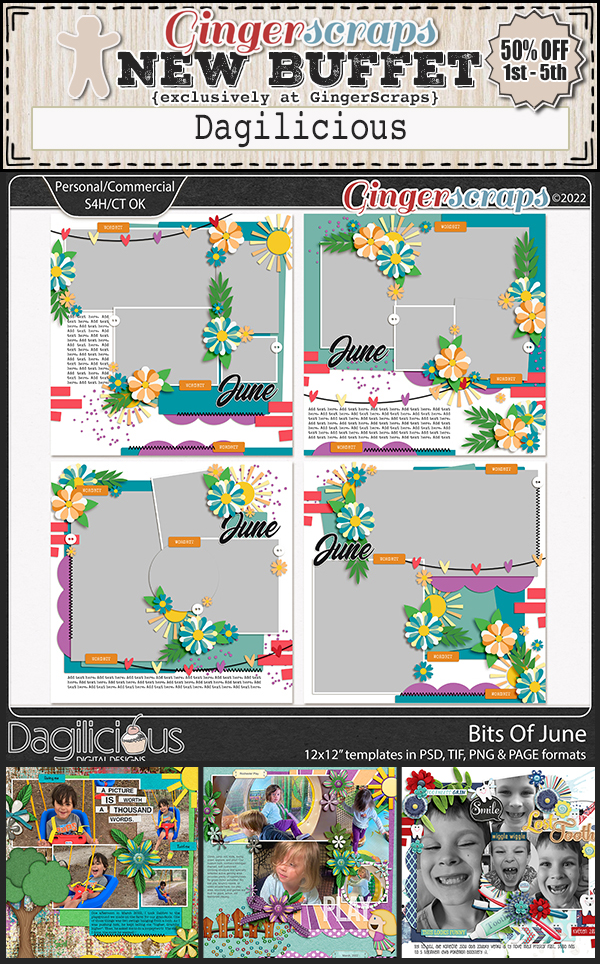
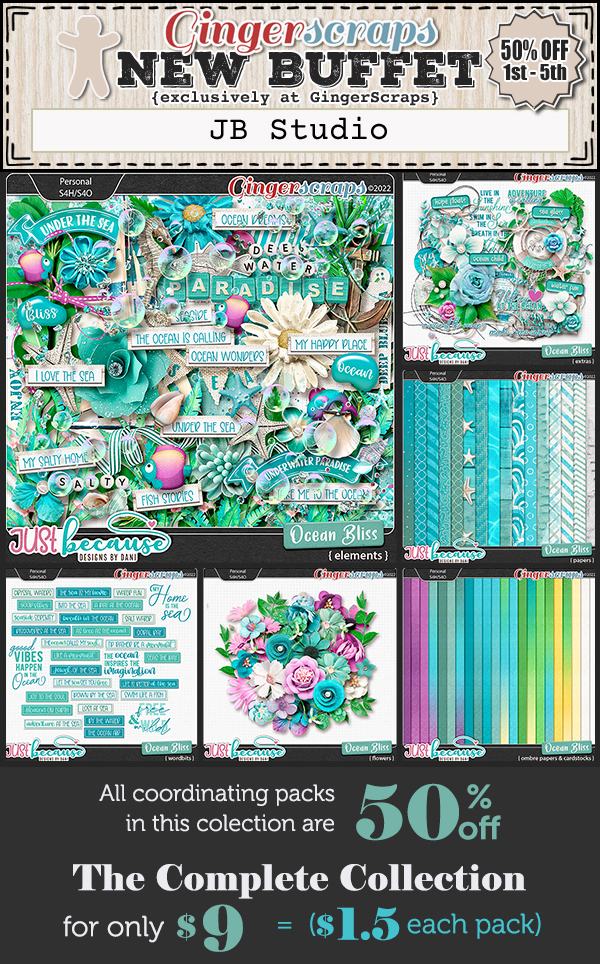
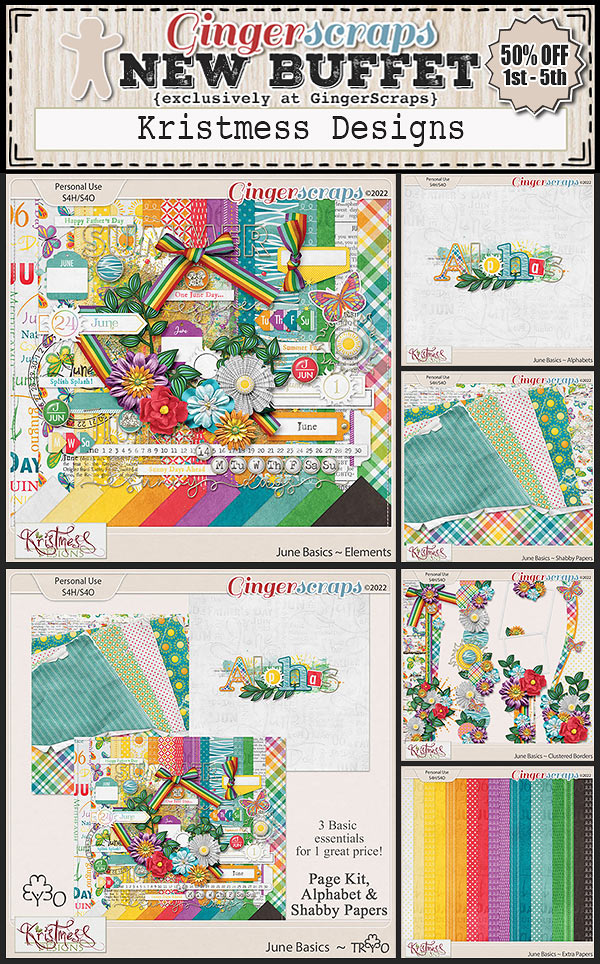
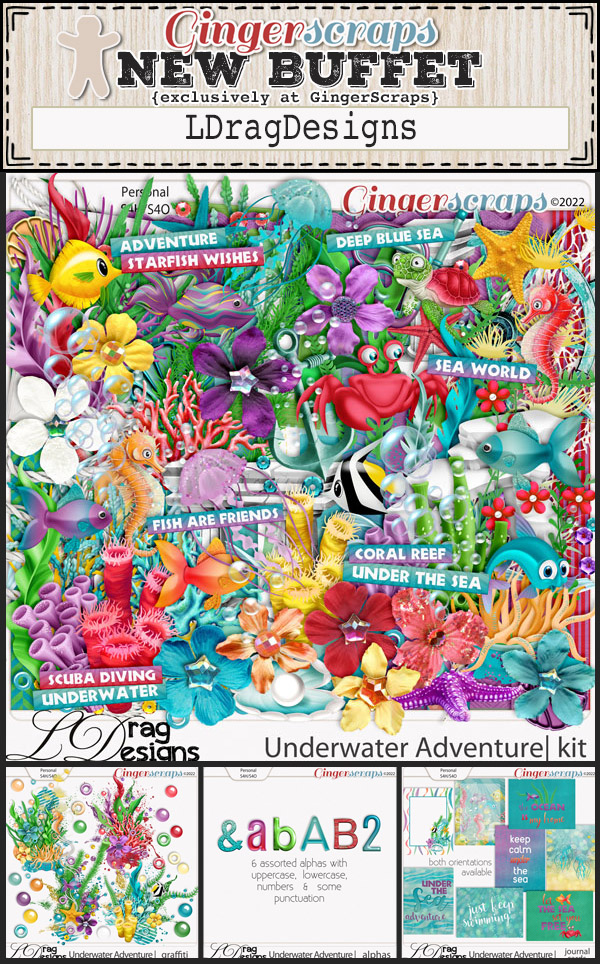
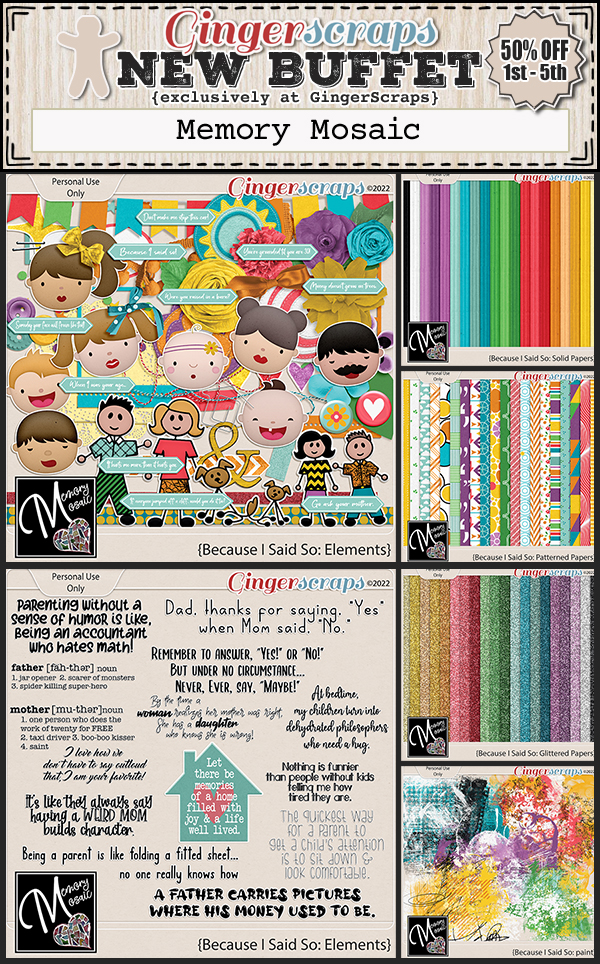
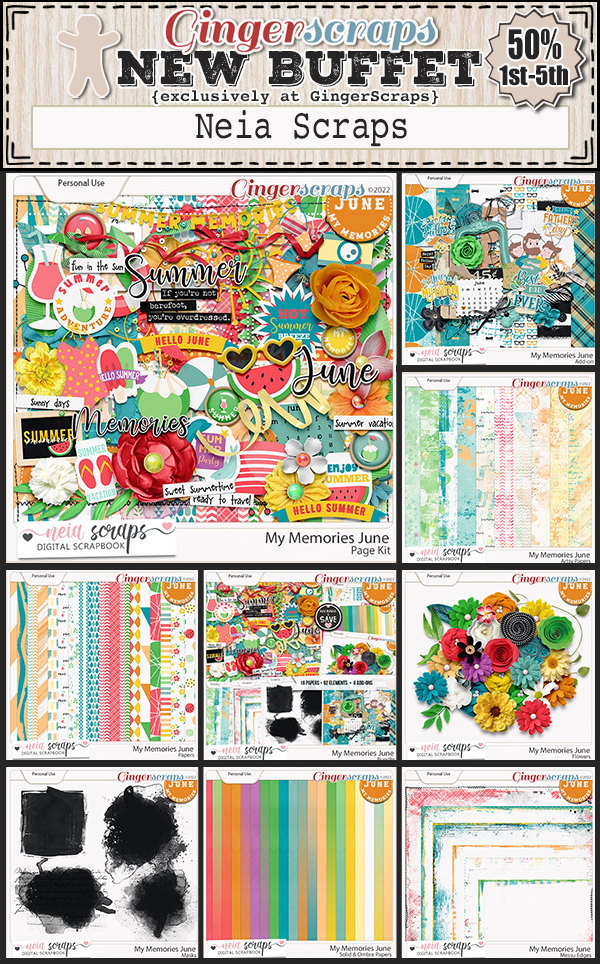
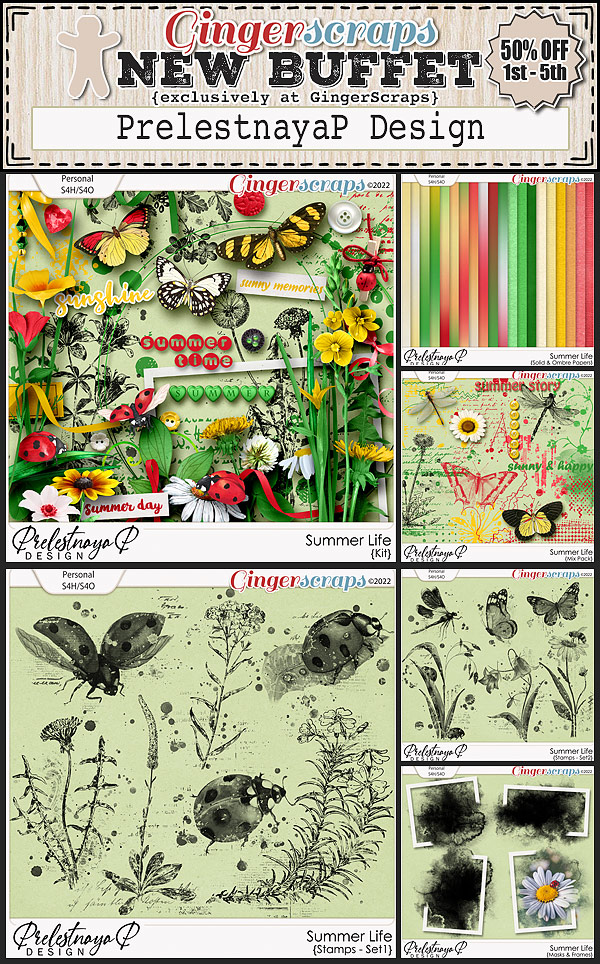
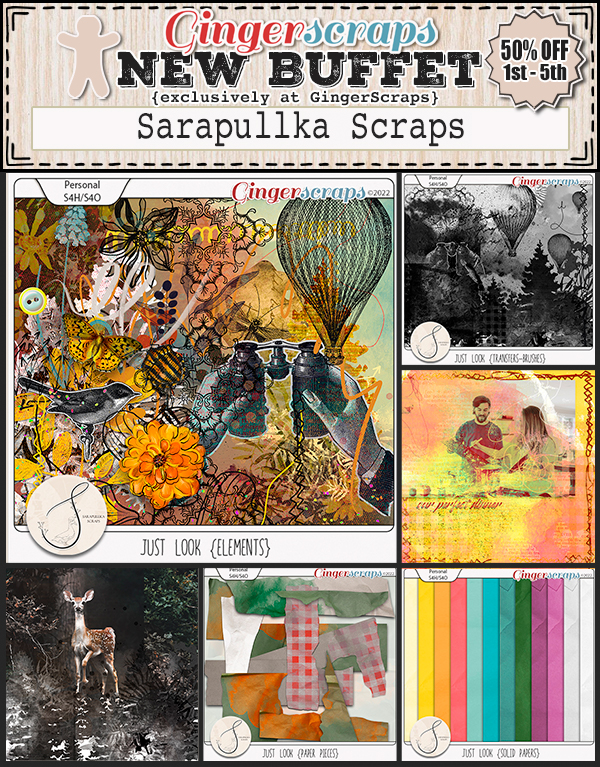
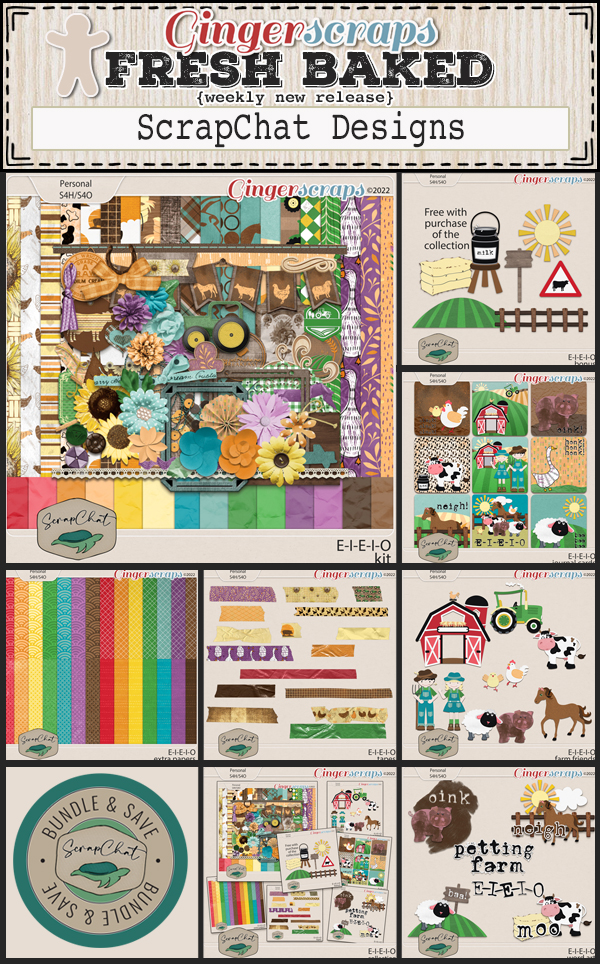
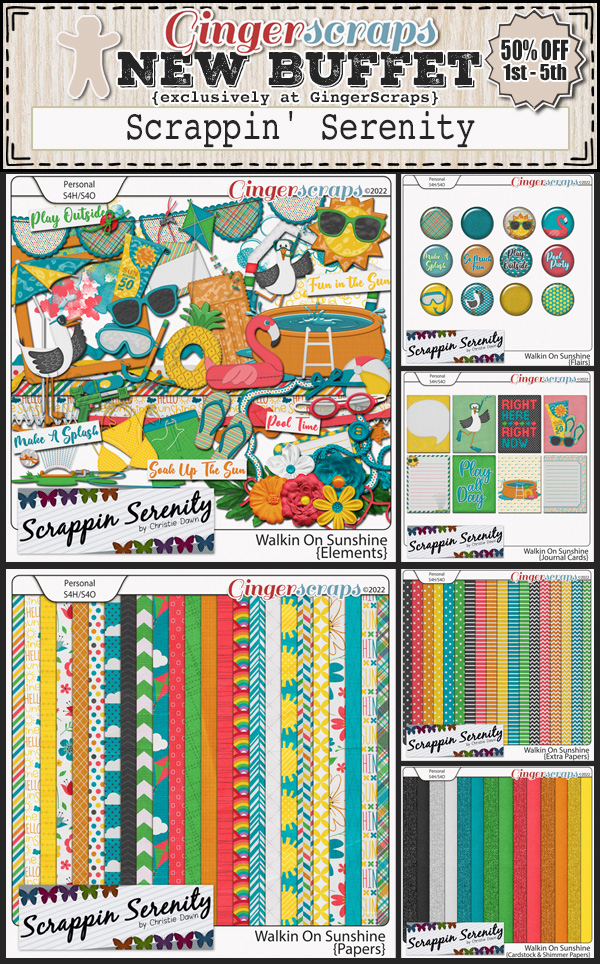
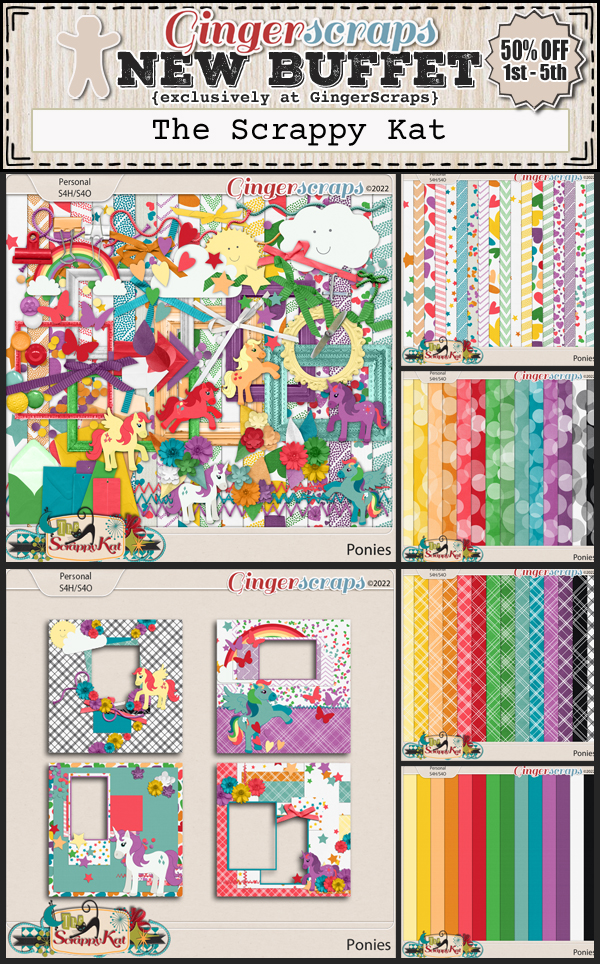
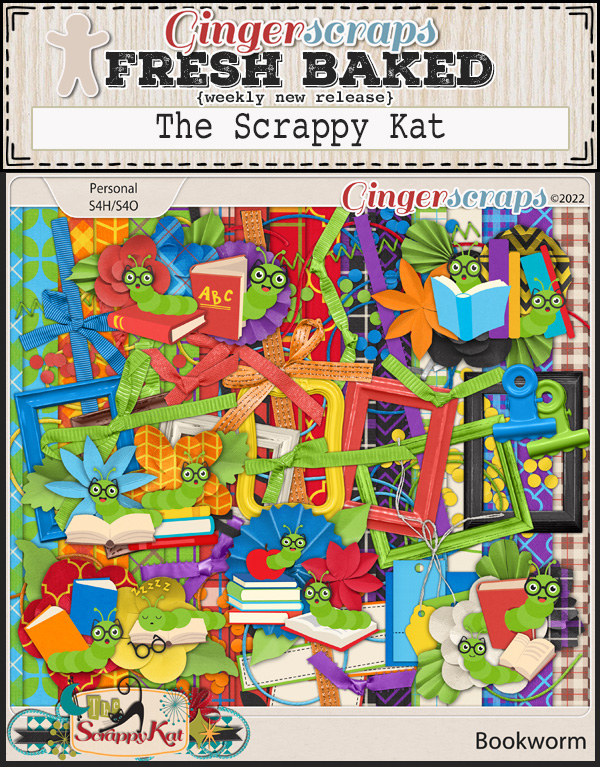
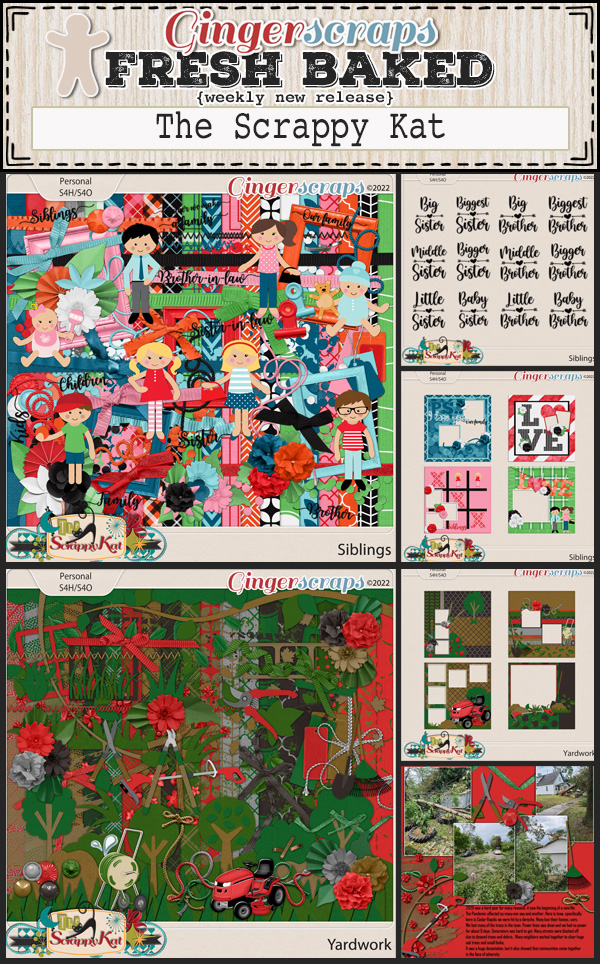
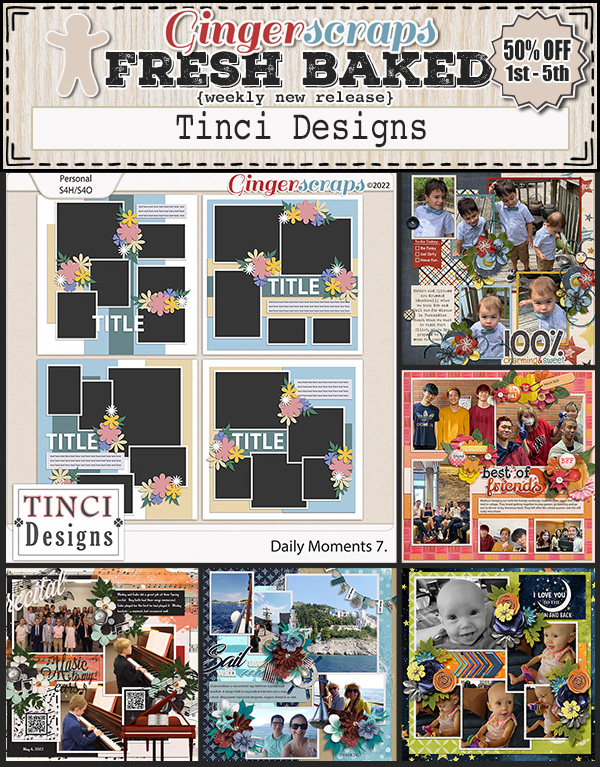
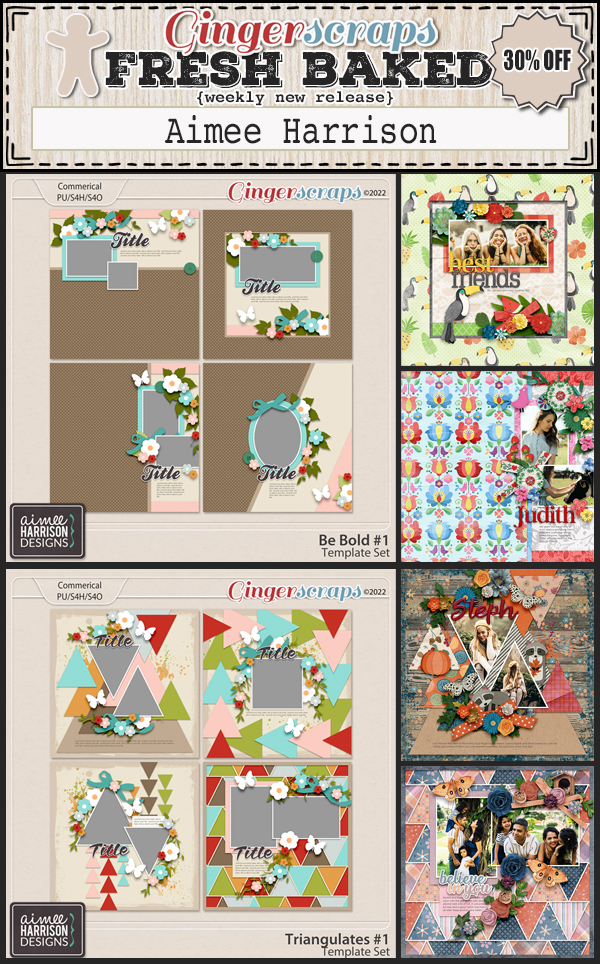
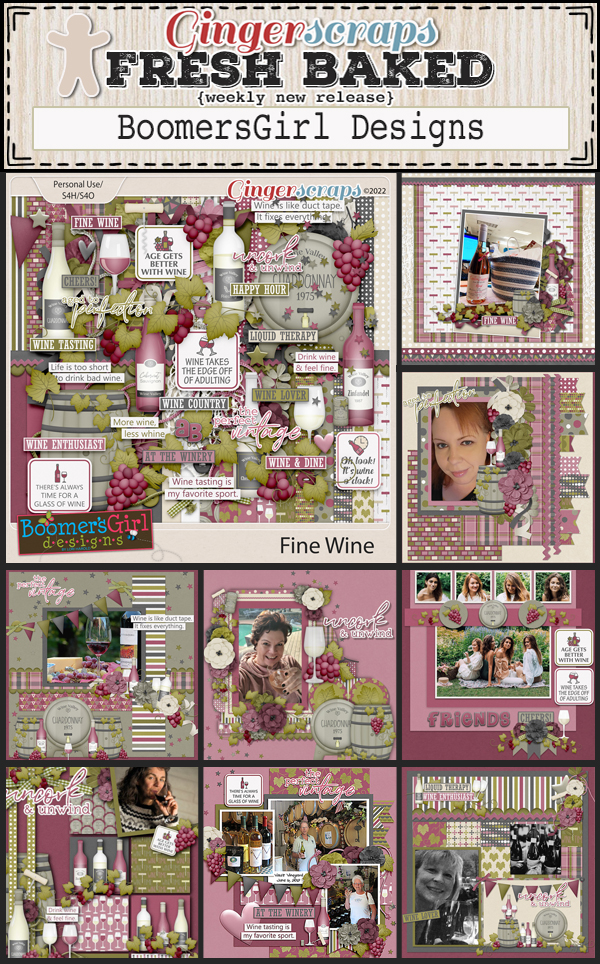
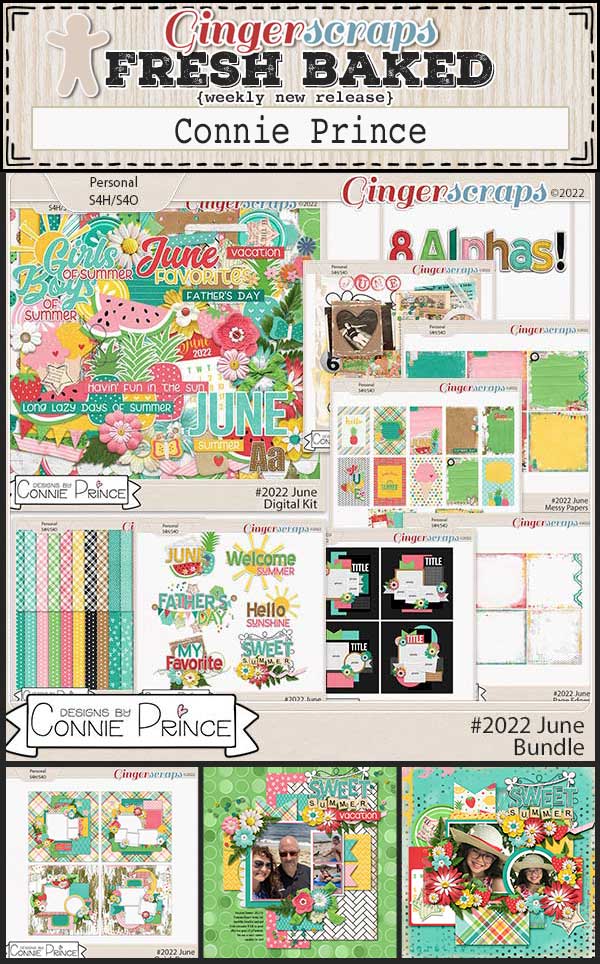
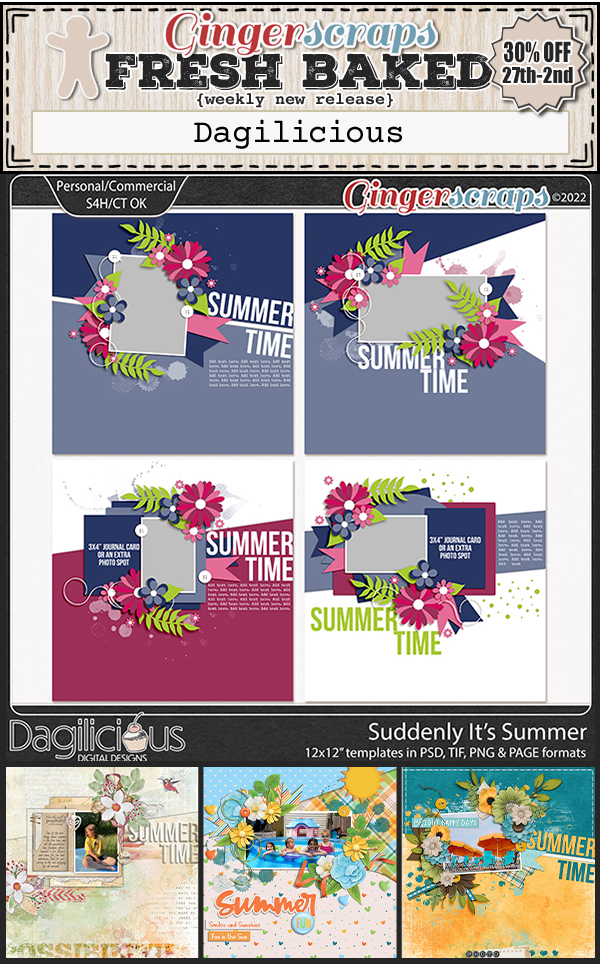
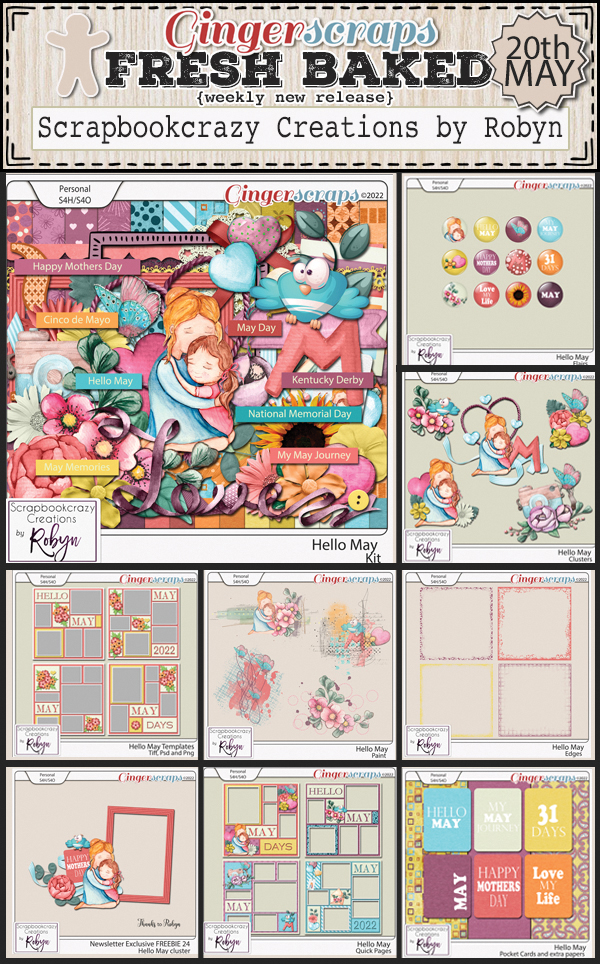
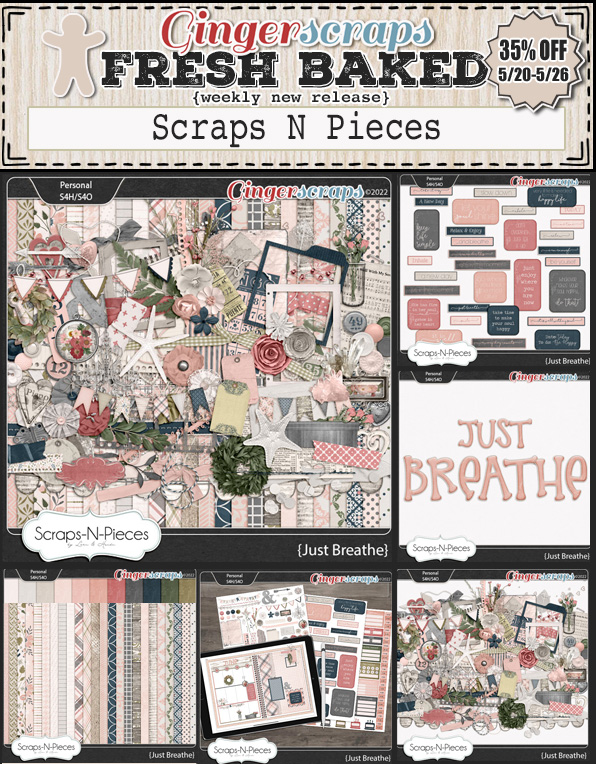
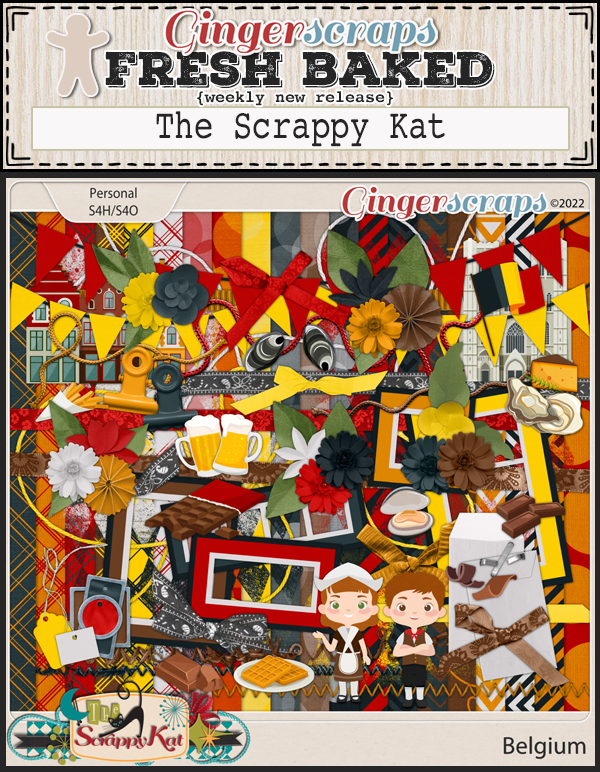
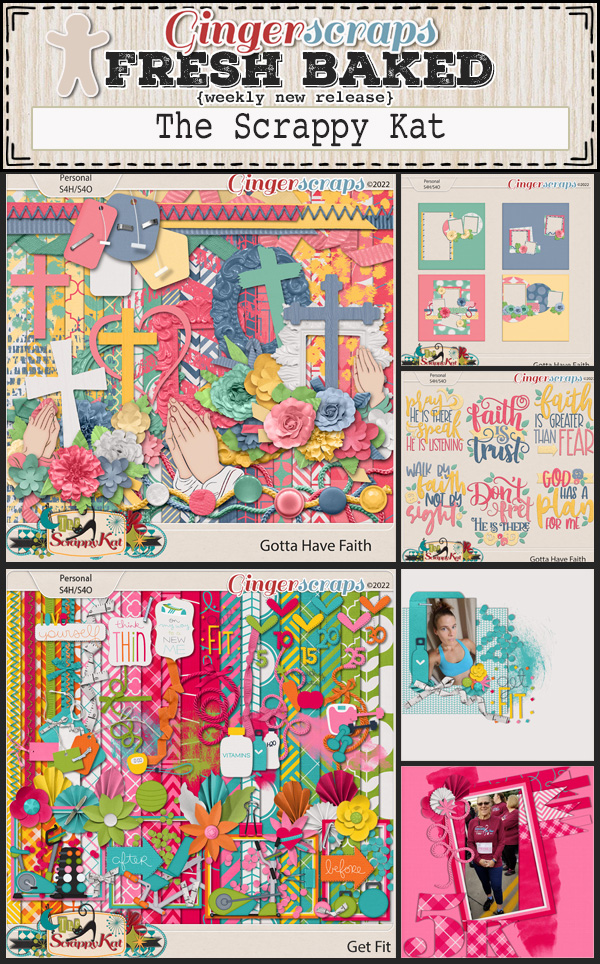
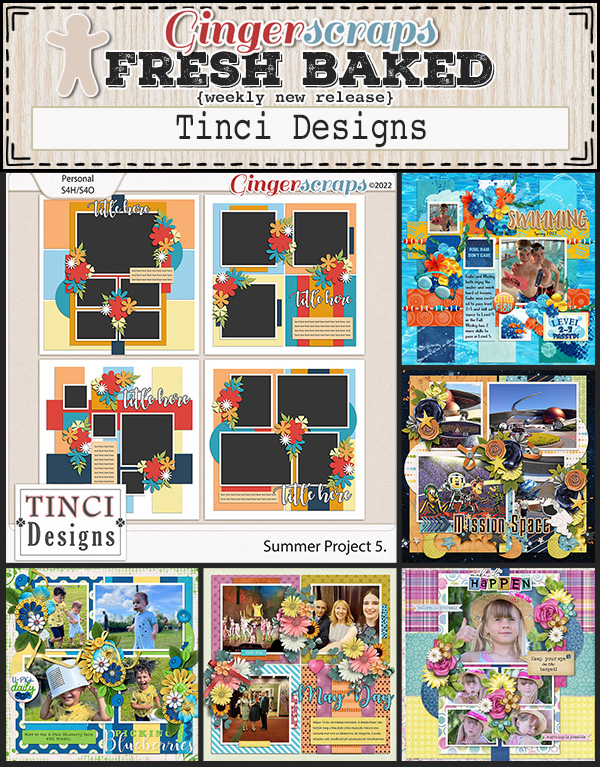
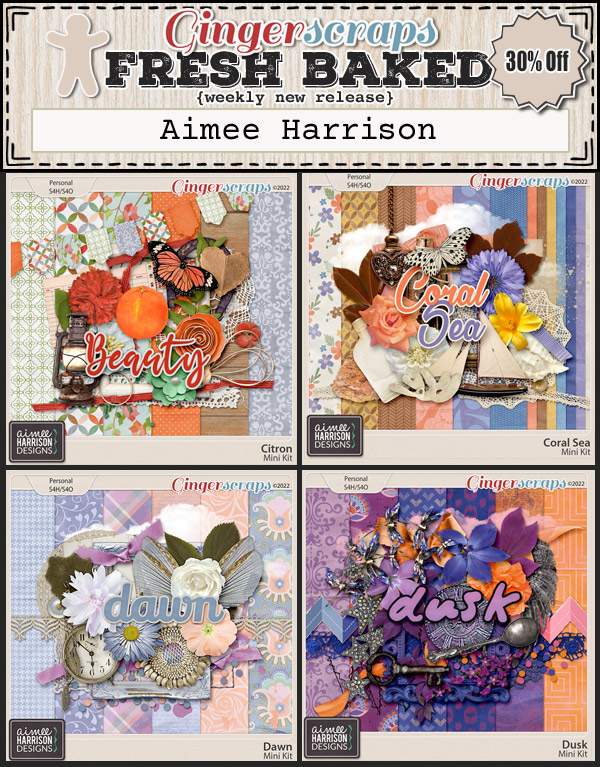
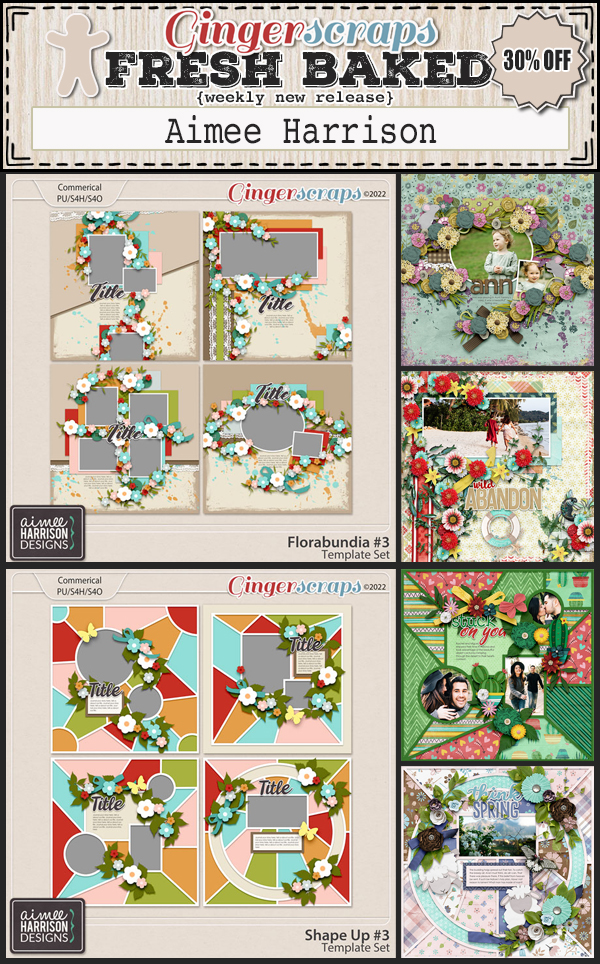
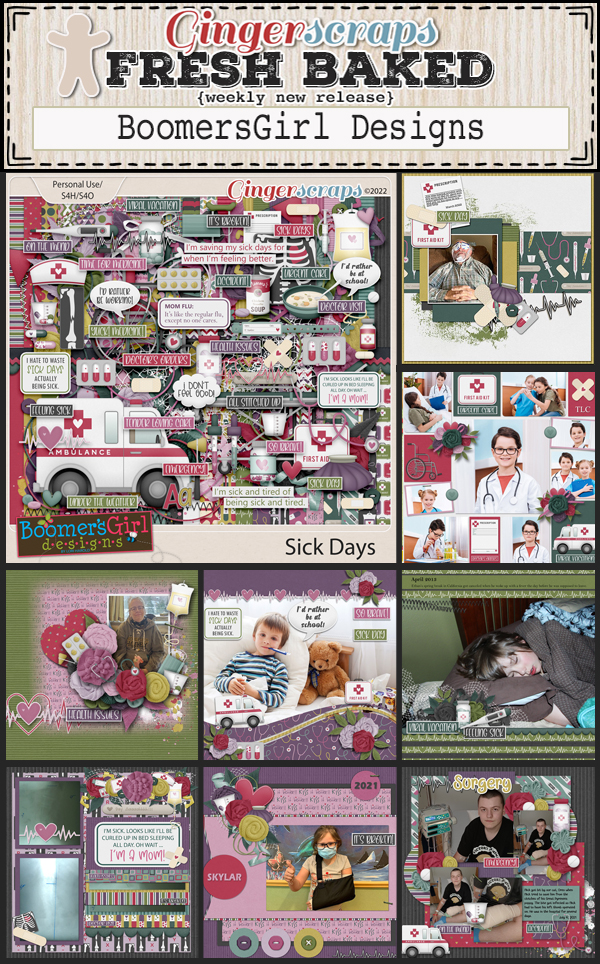
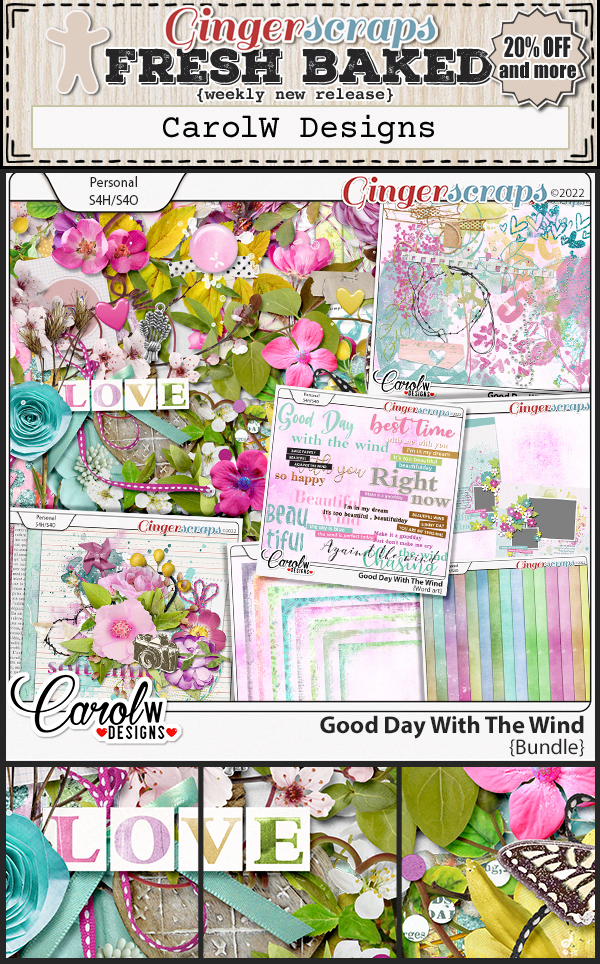
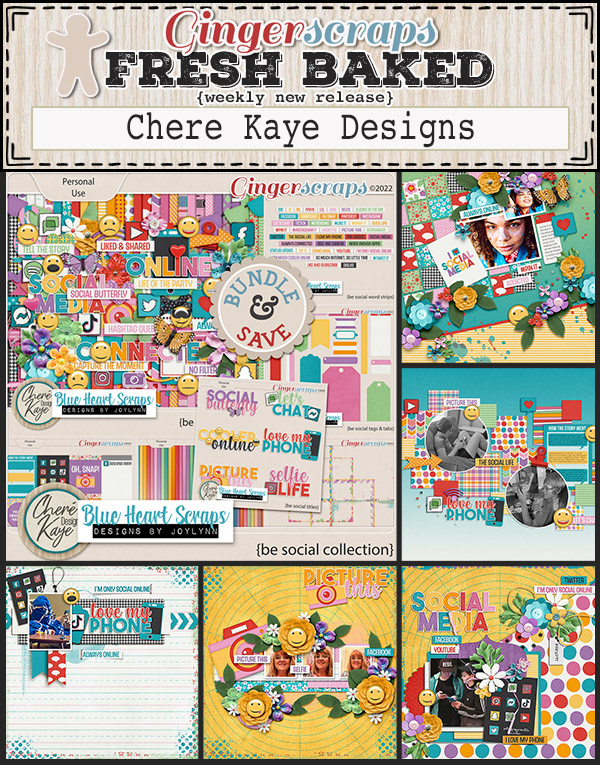
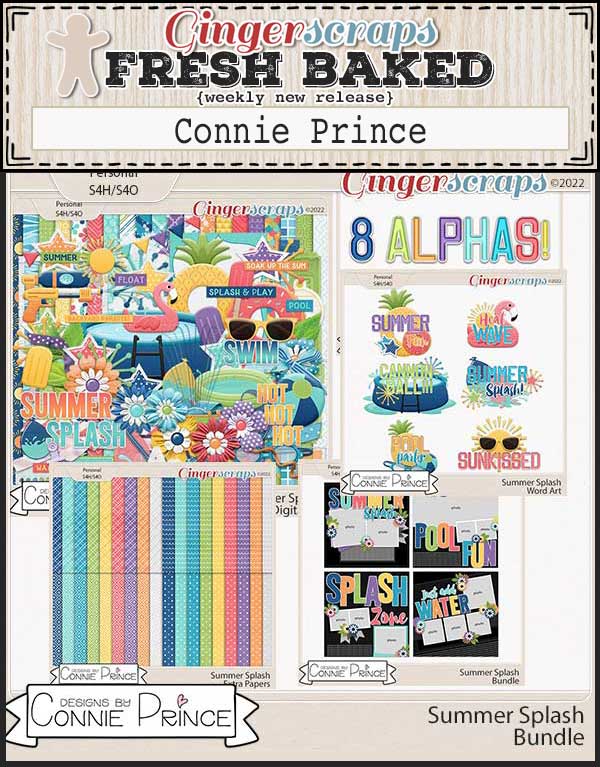
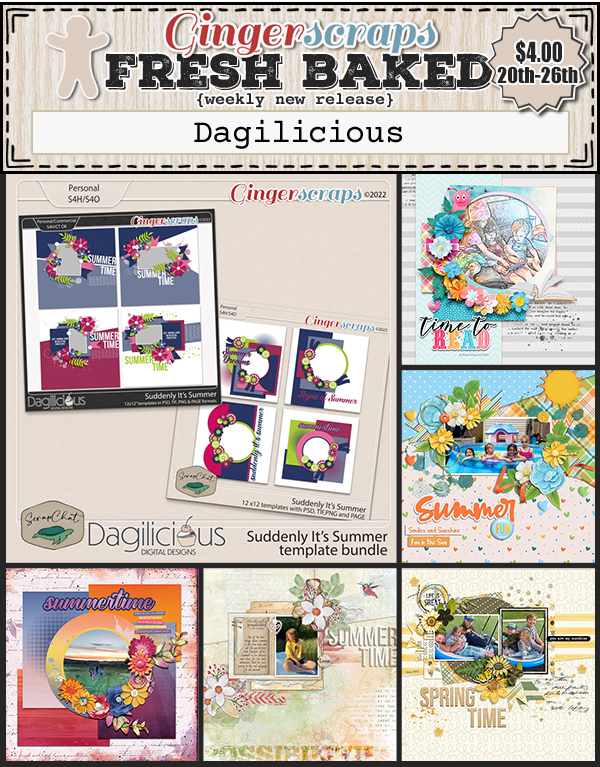
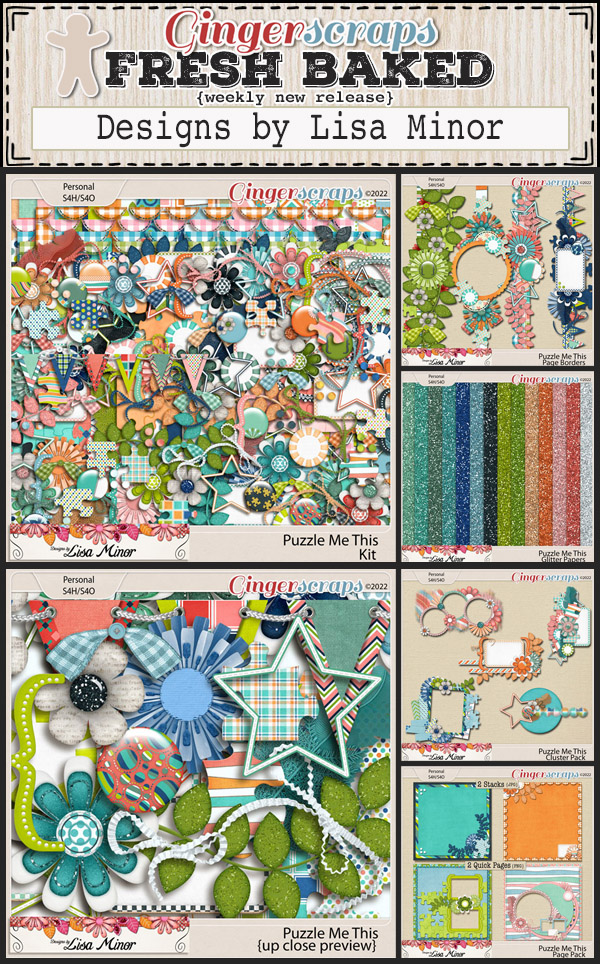
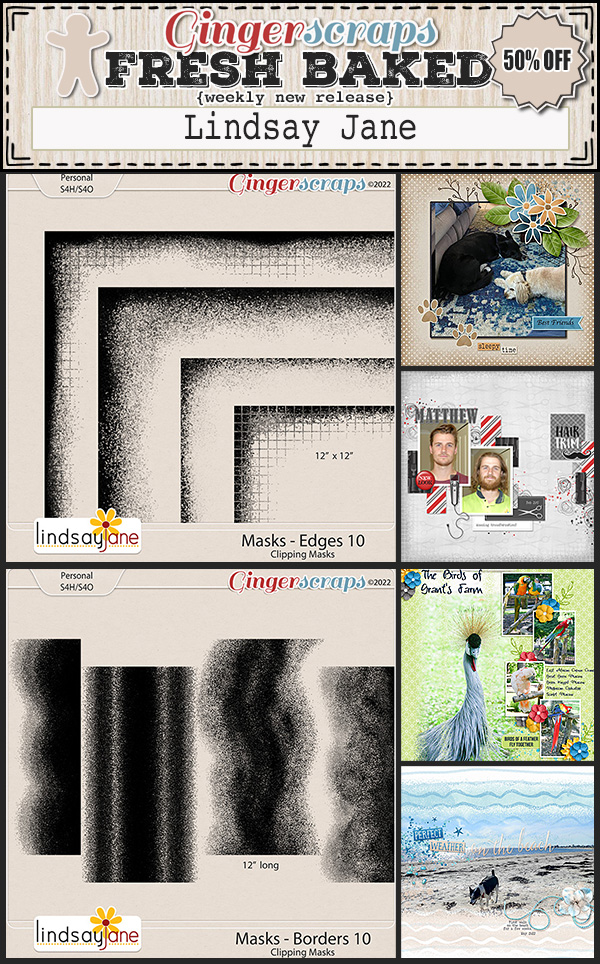
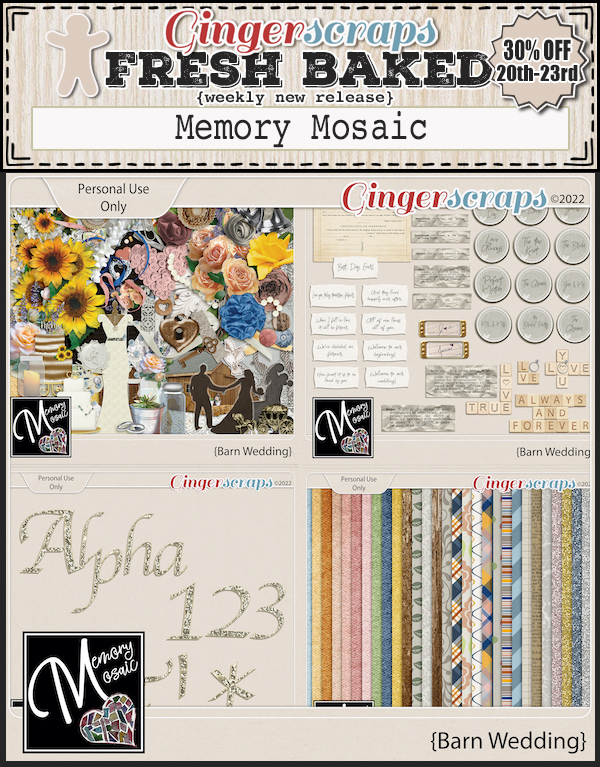
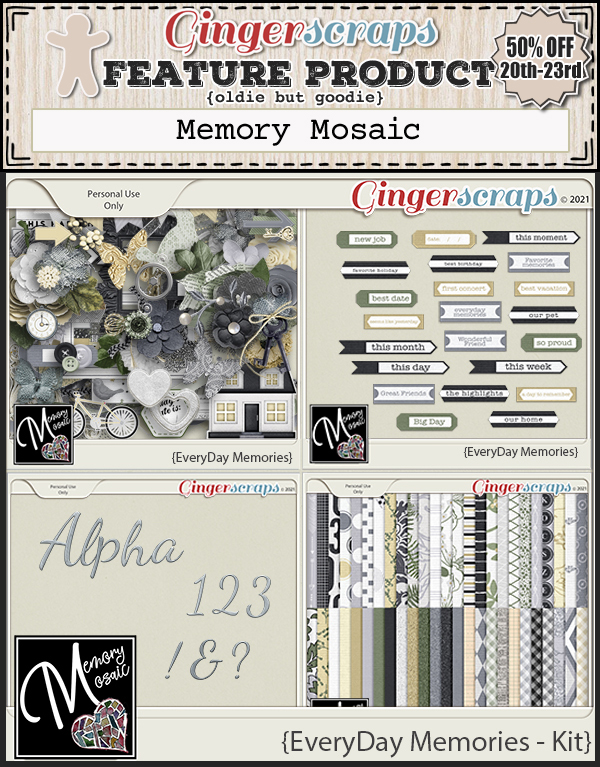
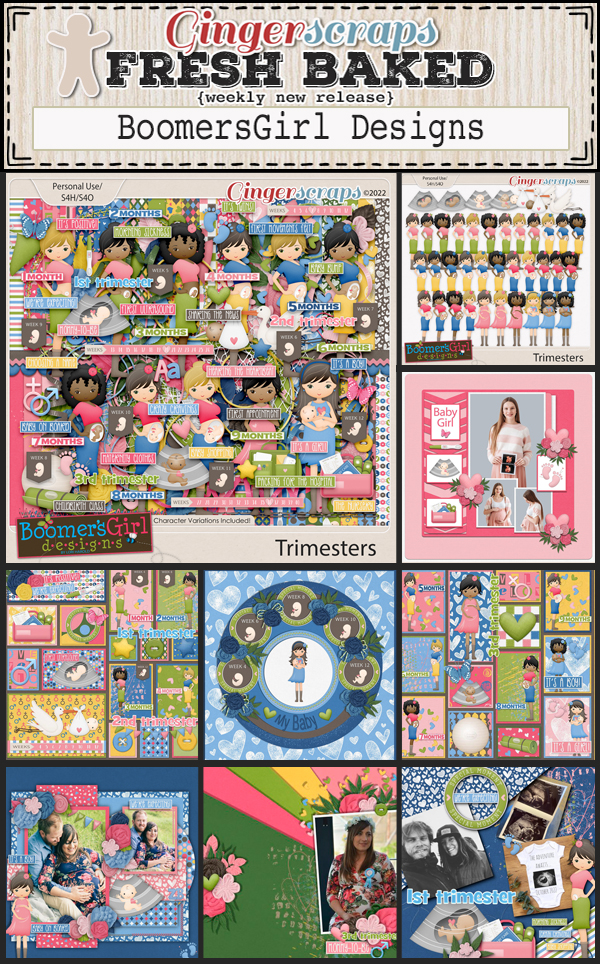
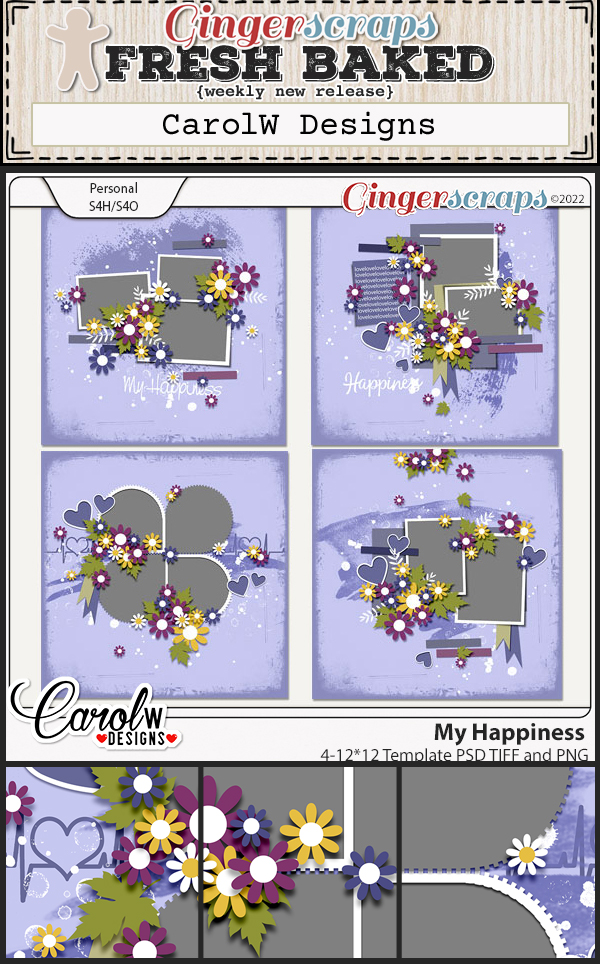
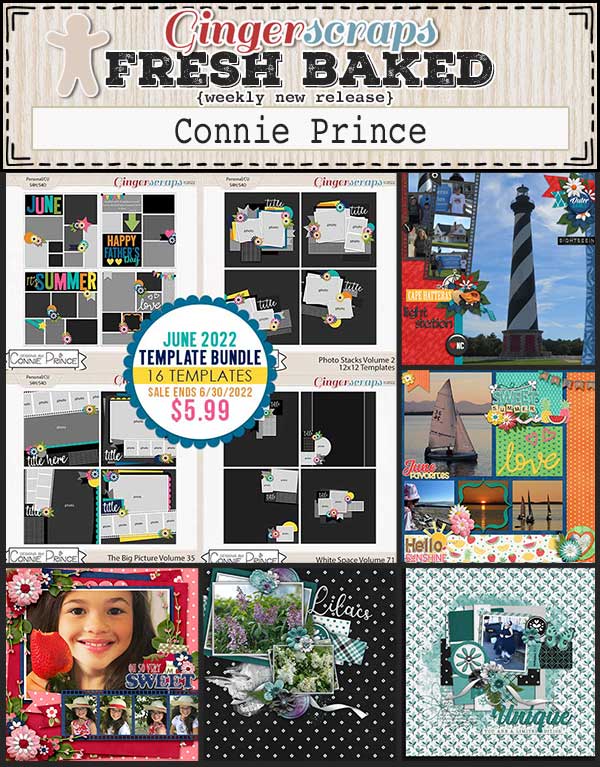
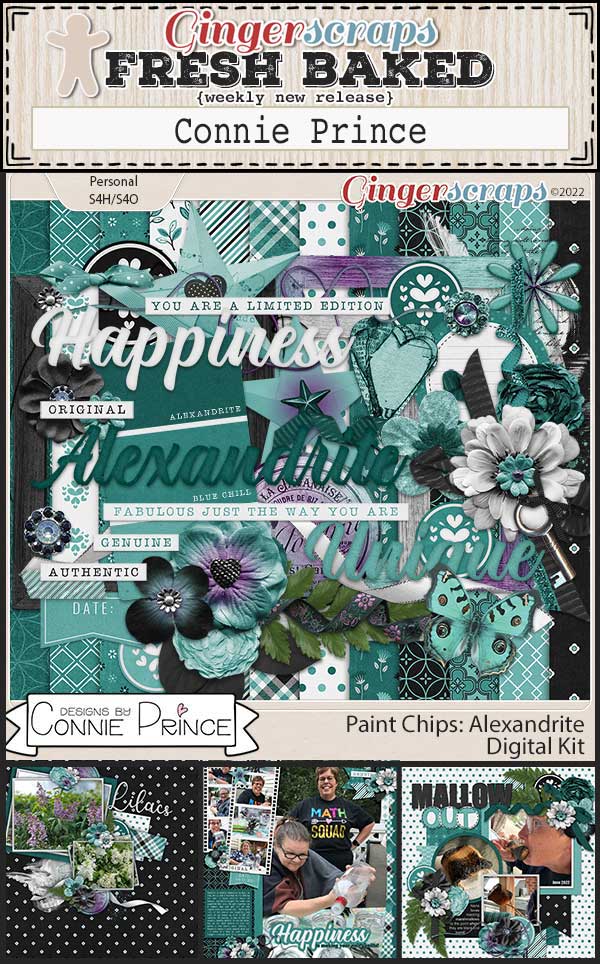
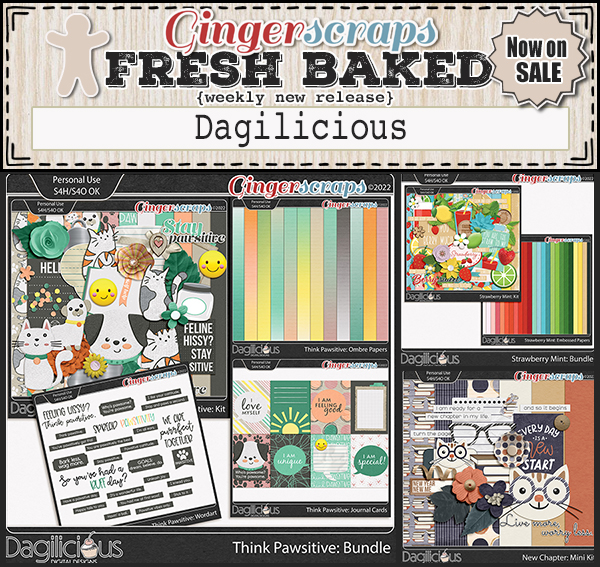
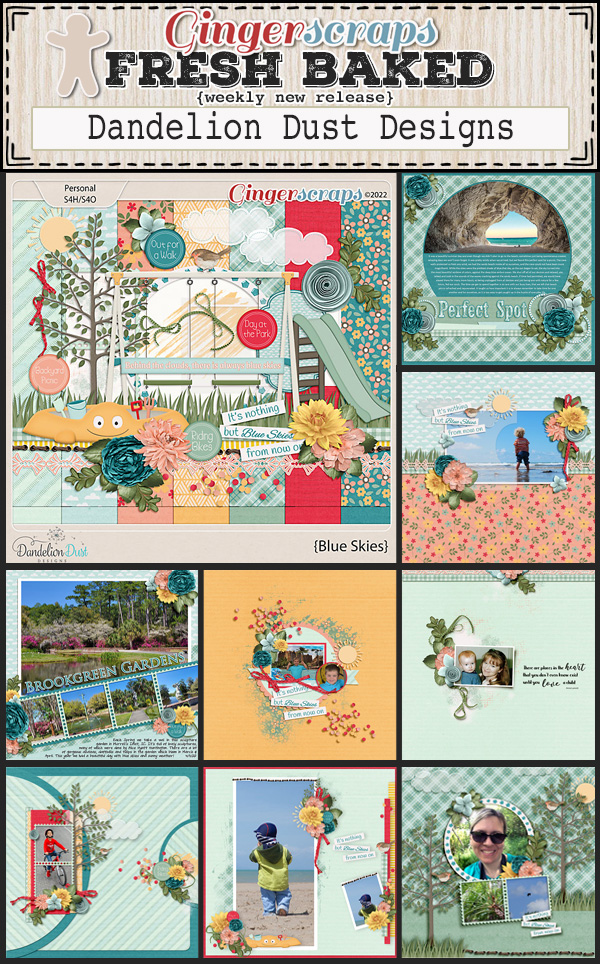
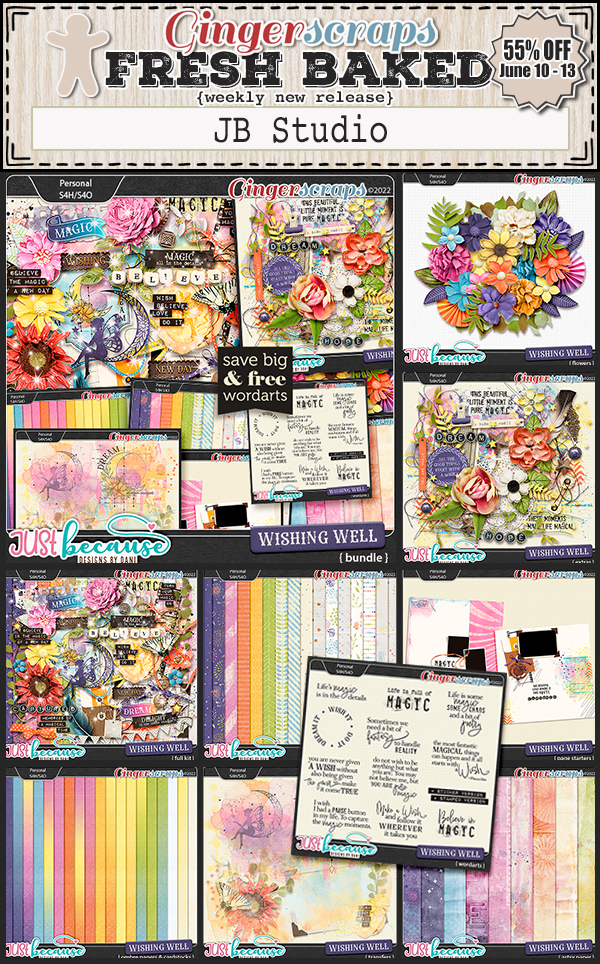
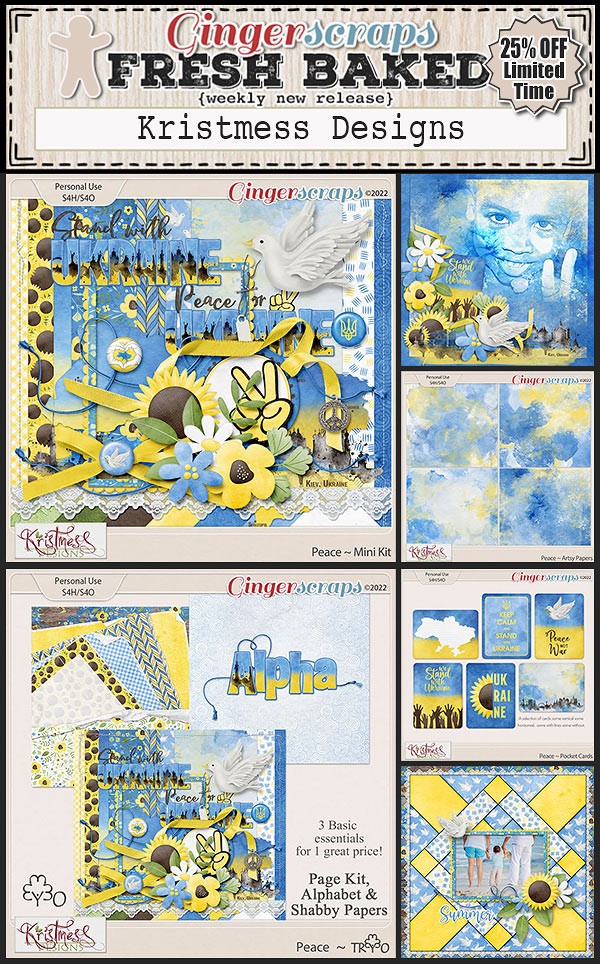
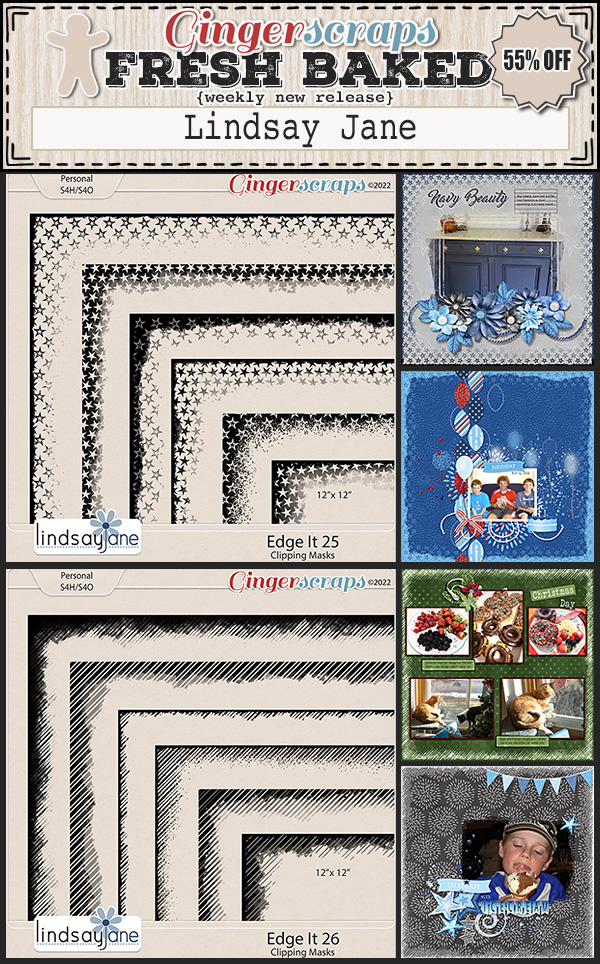
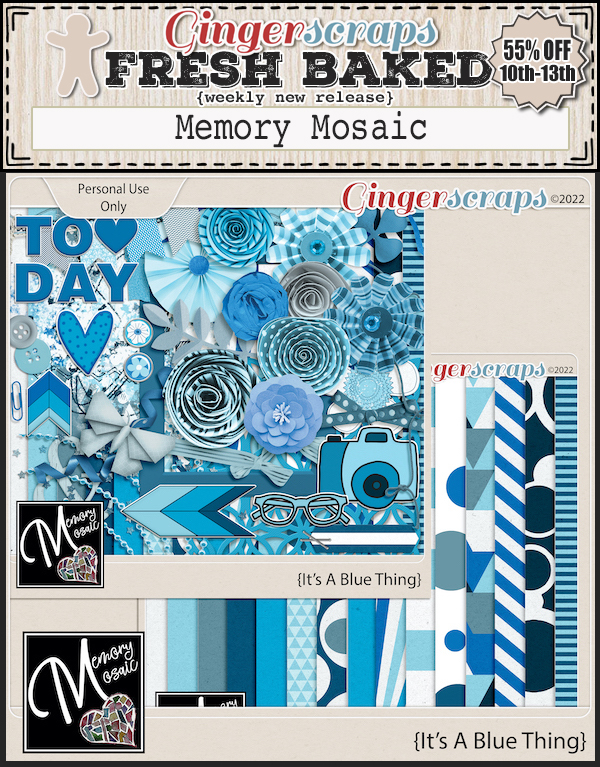
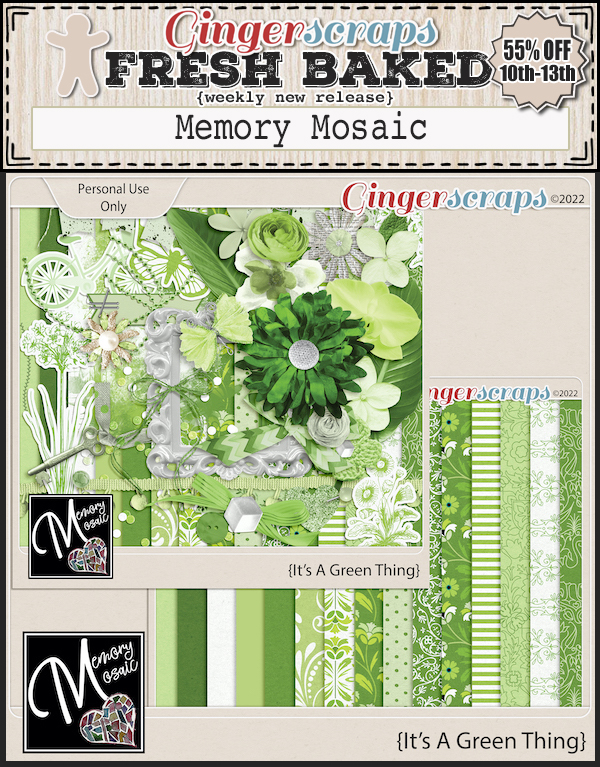
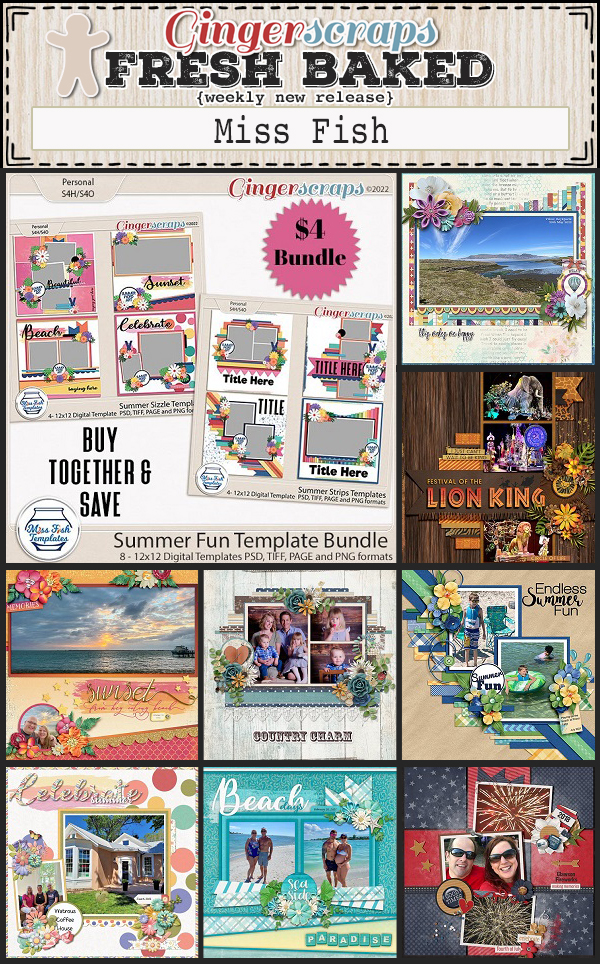
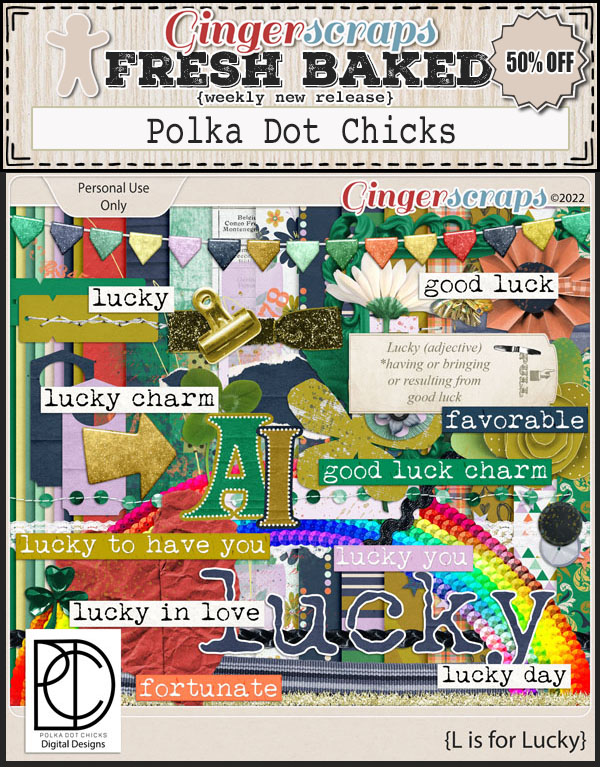
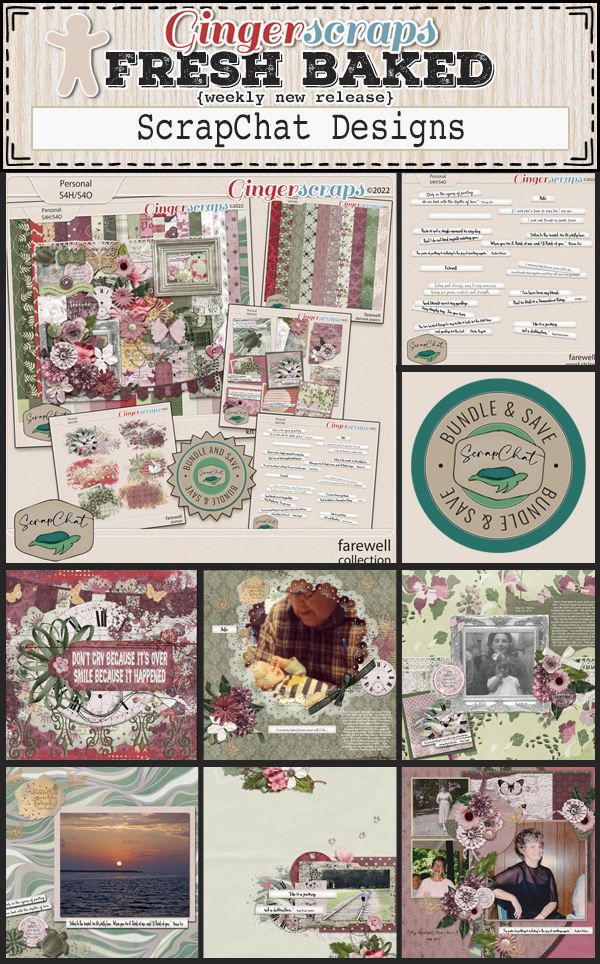
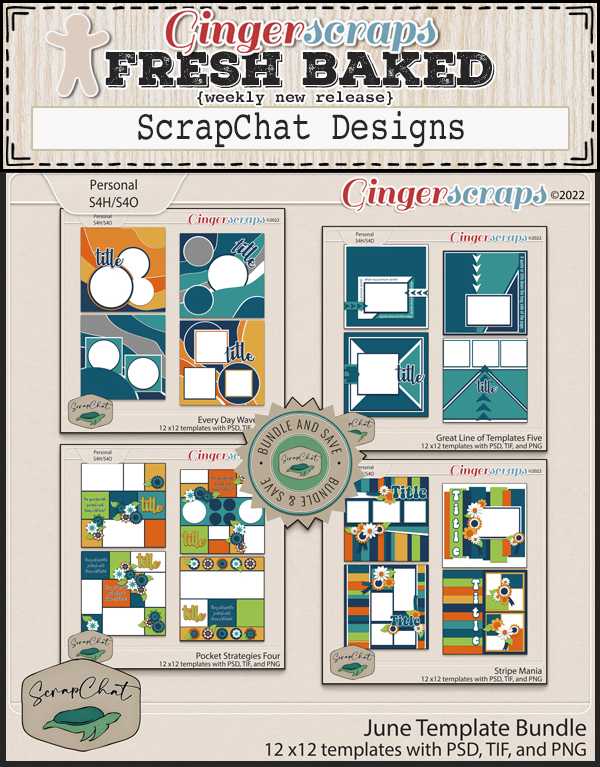
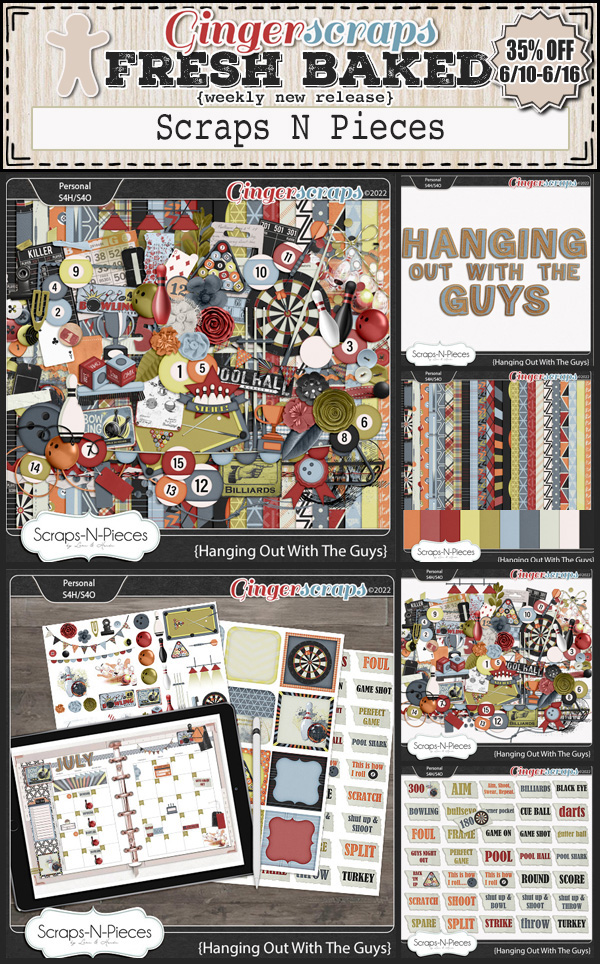
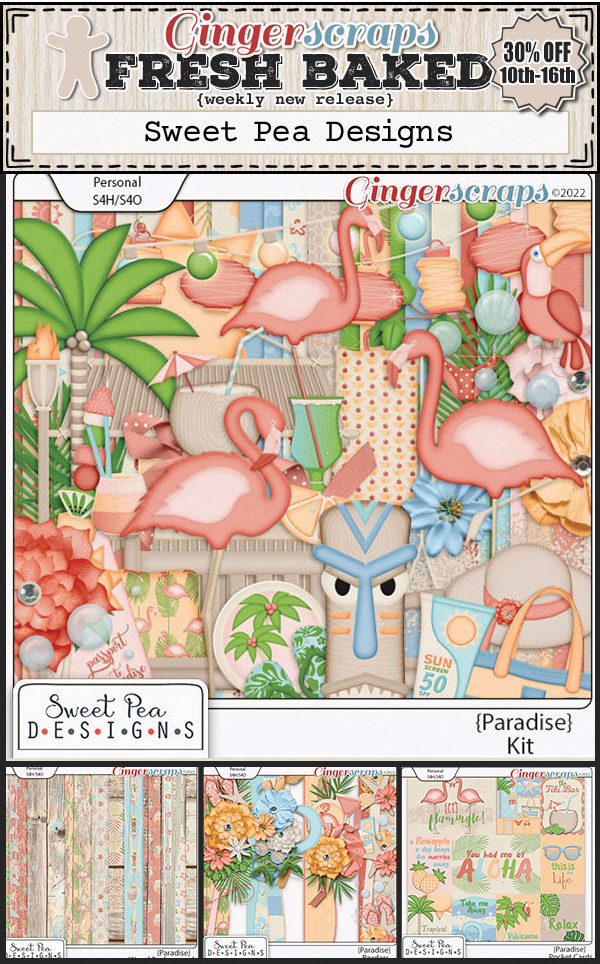
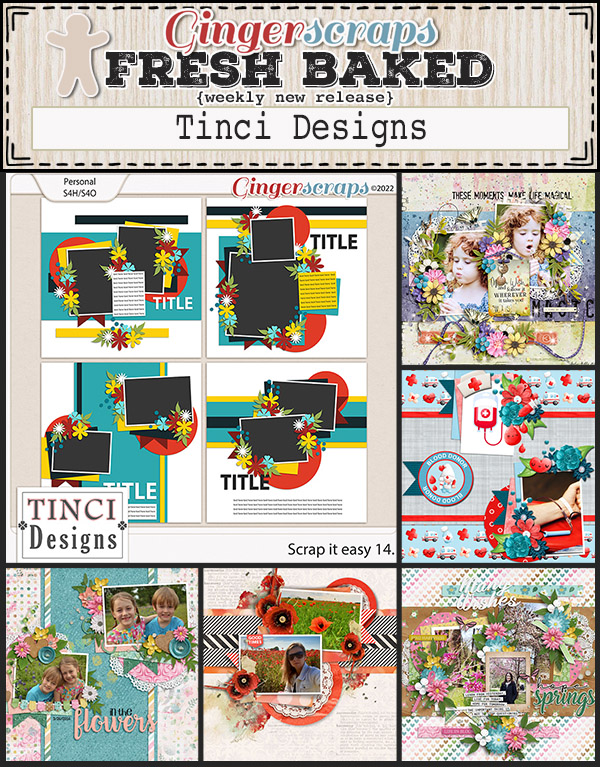
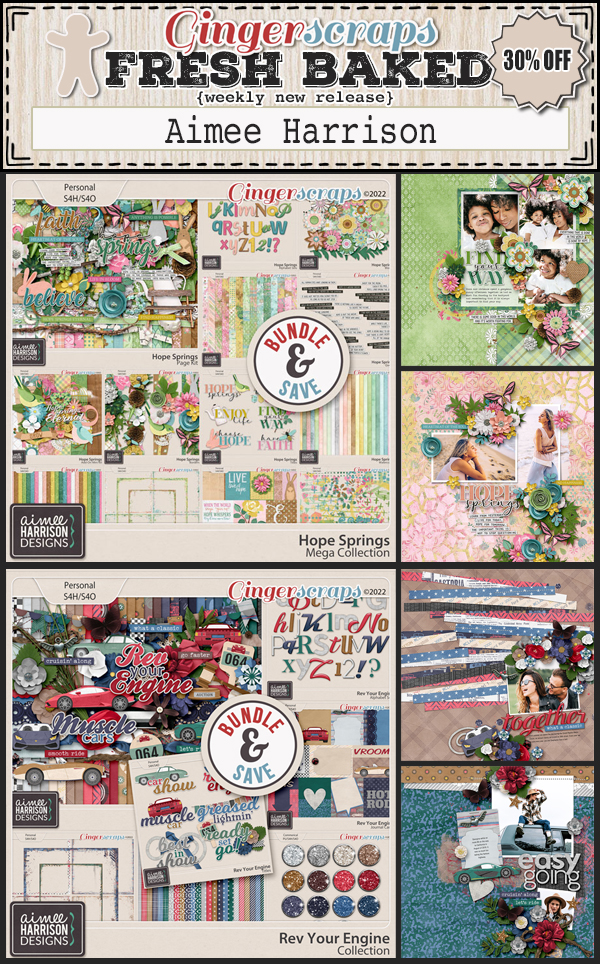
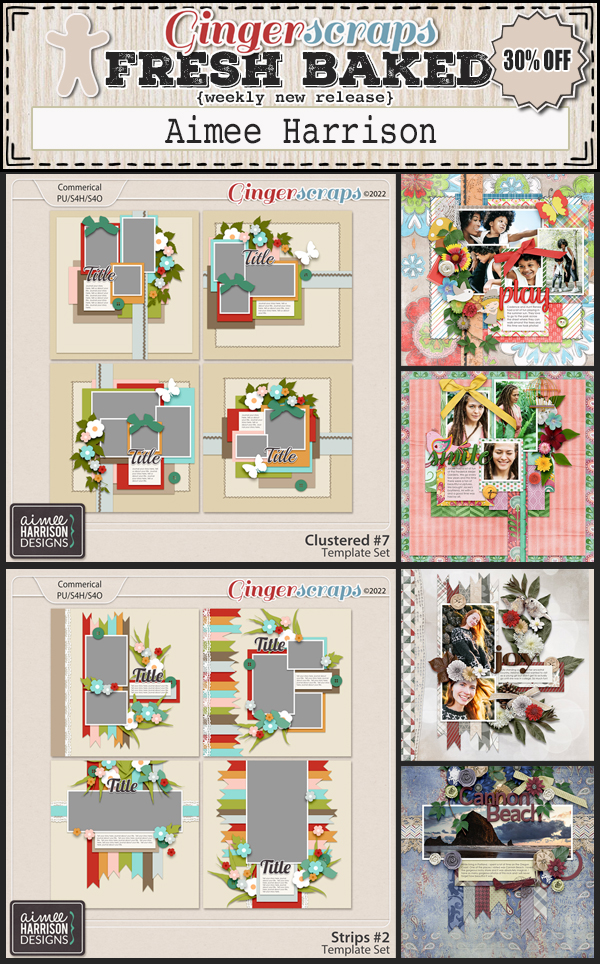
Let’s check on the new Fresh Baked items.


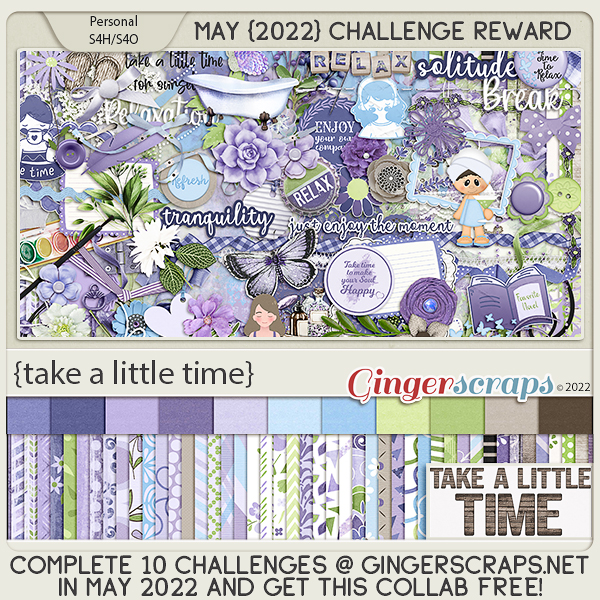
How are your challenges going this month? Just 10 completed challenges will get you this collab as a reward.
Have you gotten started on your challenges? 10 completed challenges will get you this kit as a reward.