Happy Friday everyone! I hope you have all had a wonderful week.
Have you seen the Free With Purchase kit for April? Spend $10 in the store and get this great kit for free.

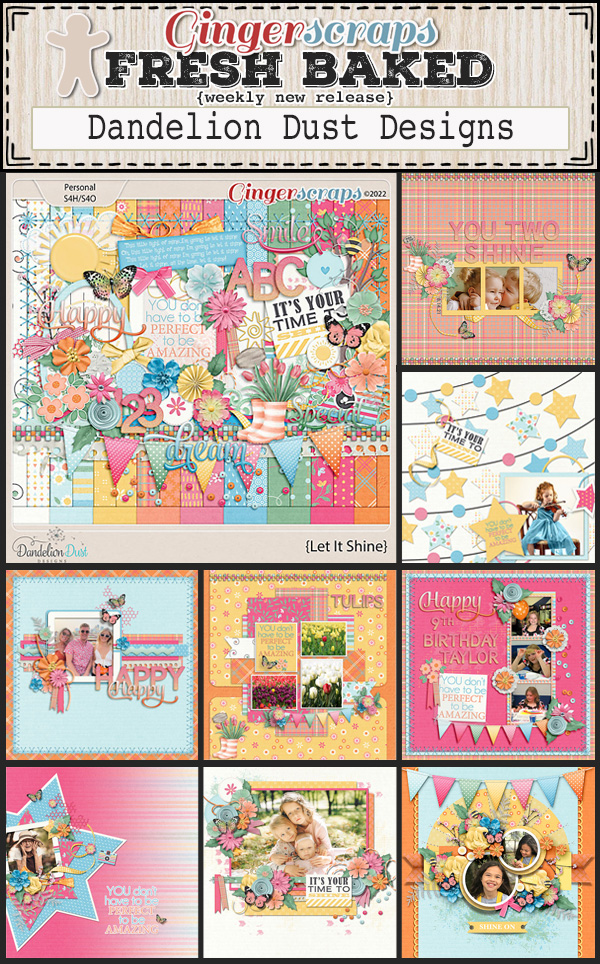
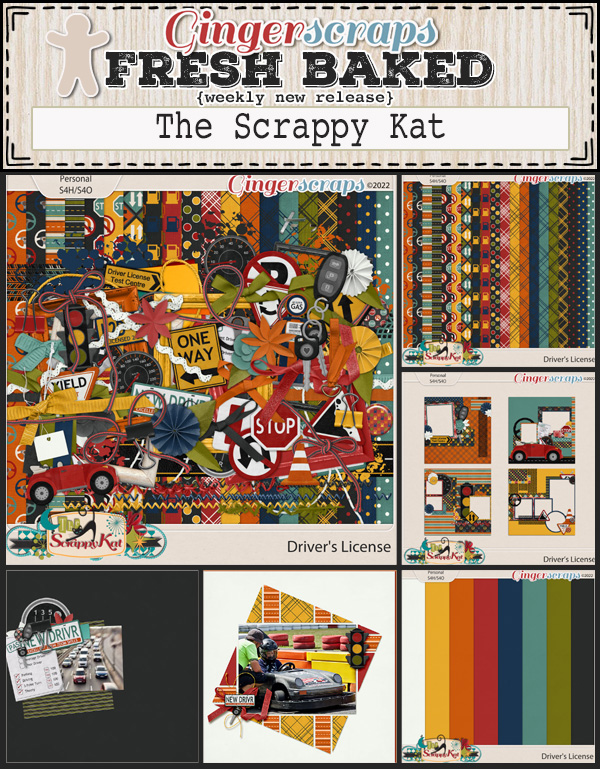
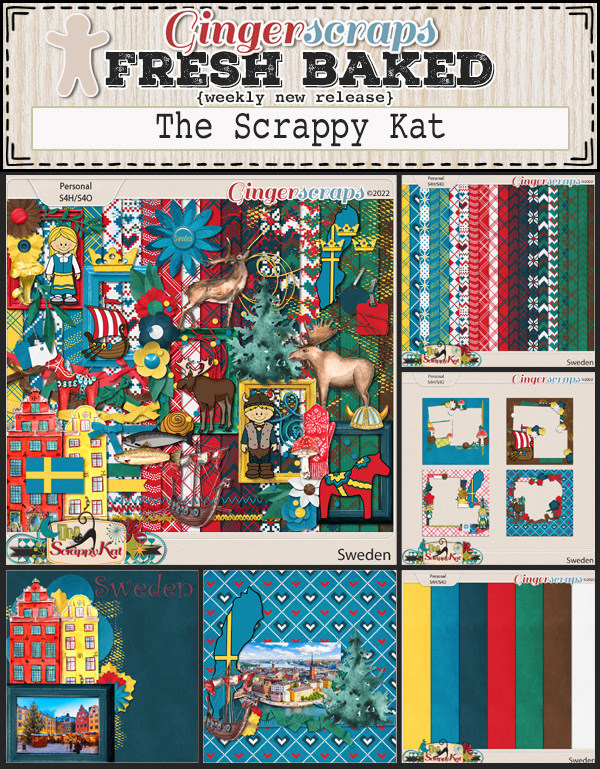
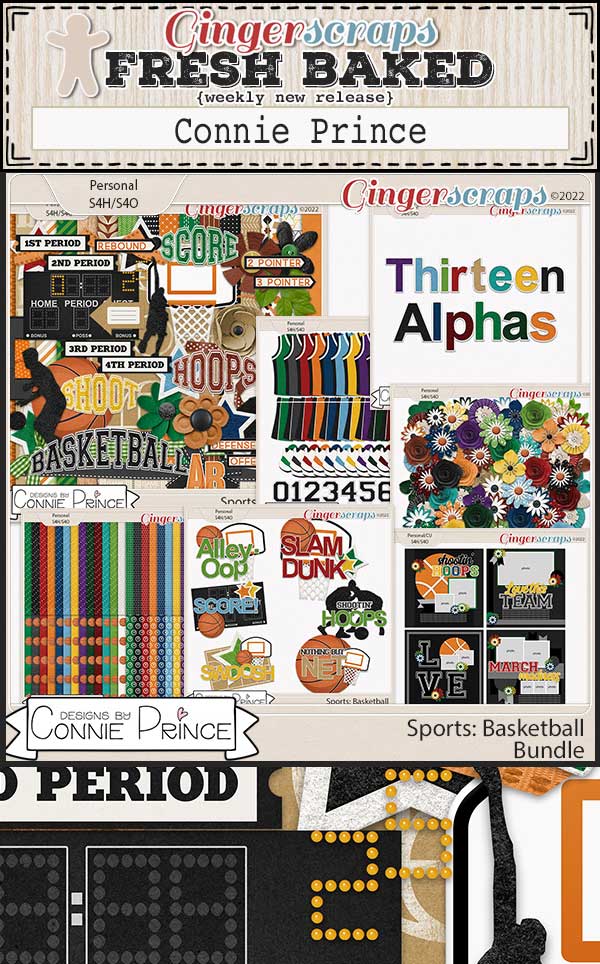
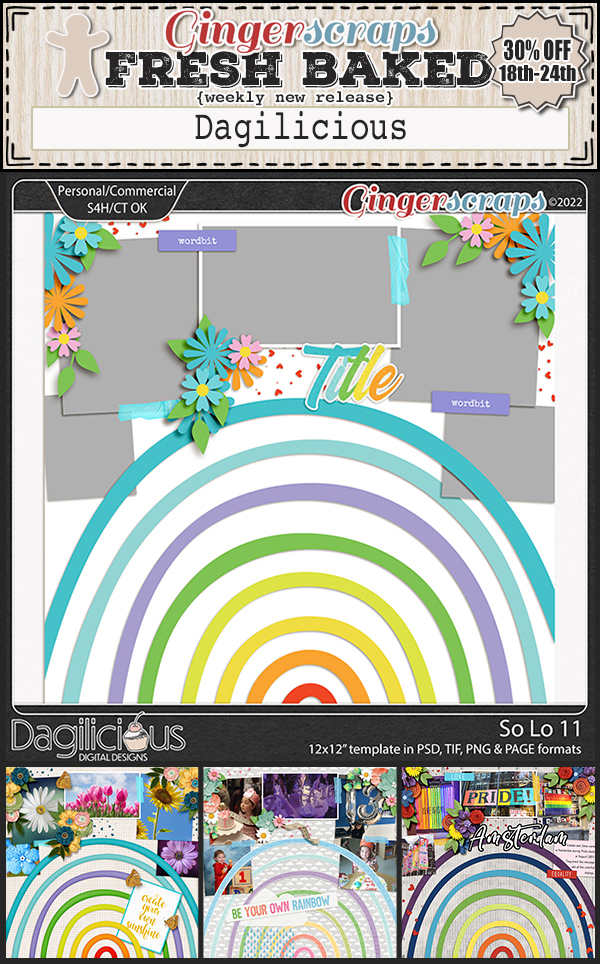
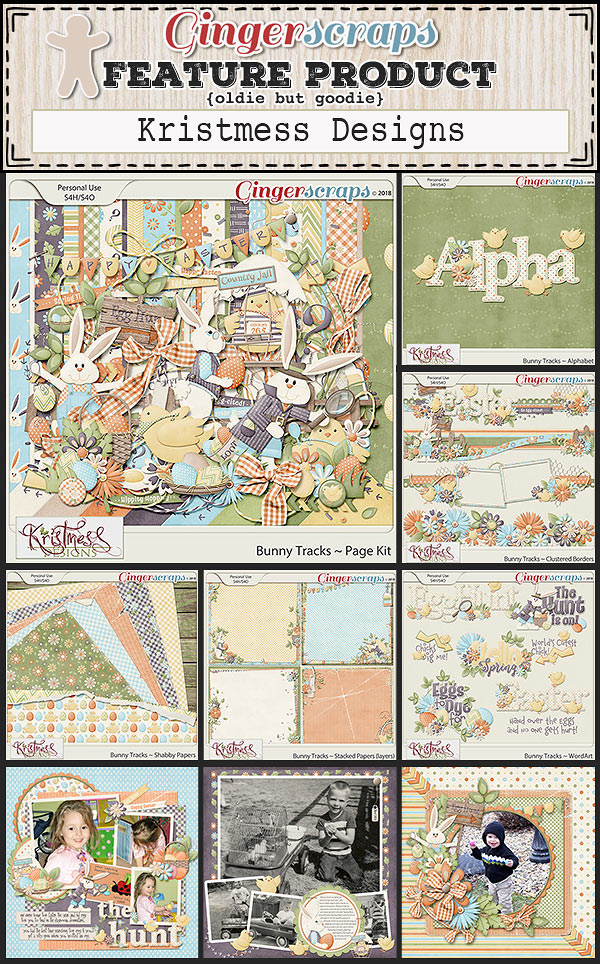
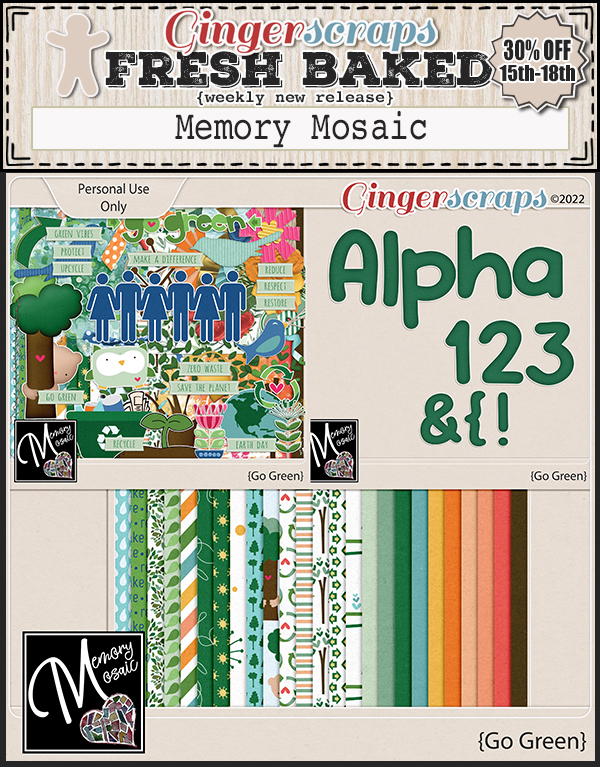
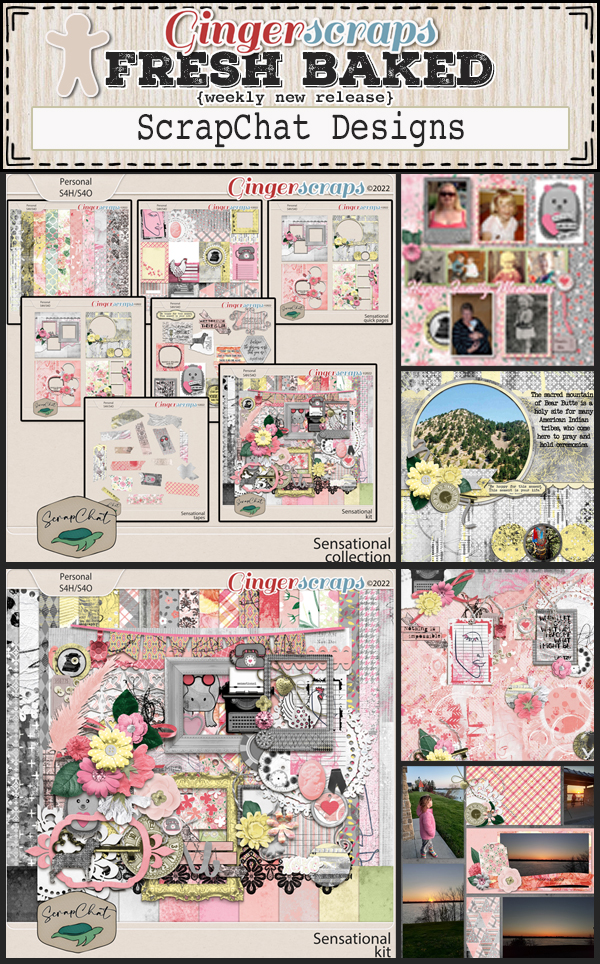
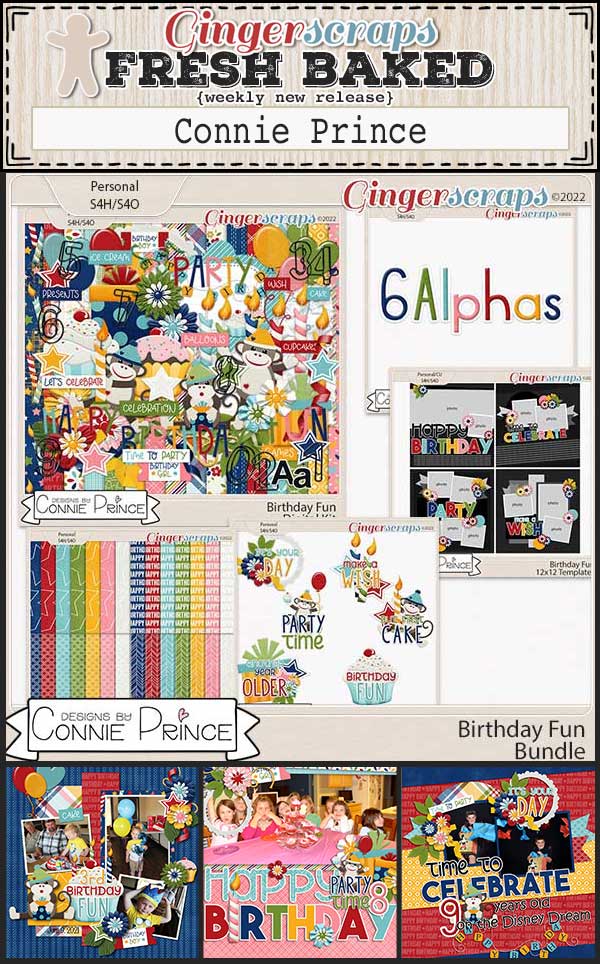
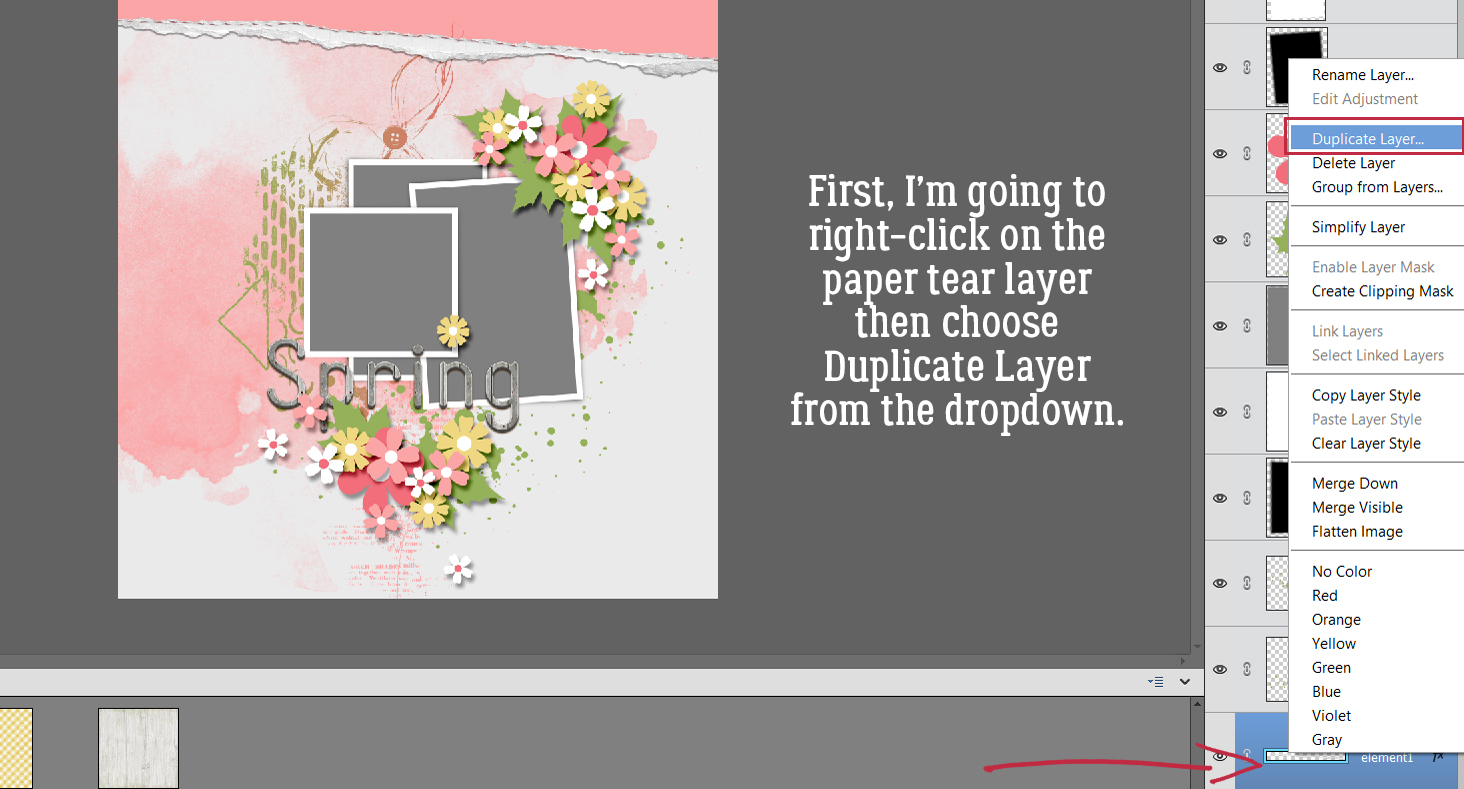
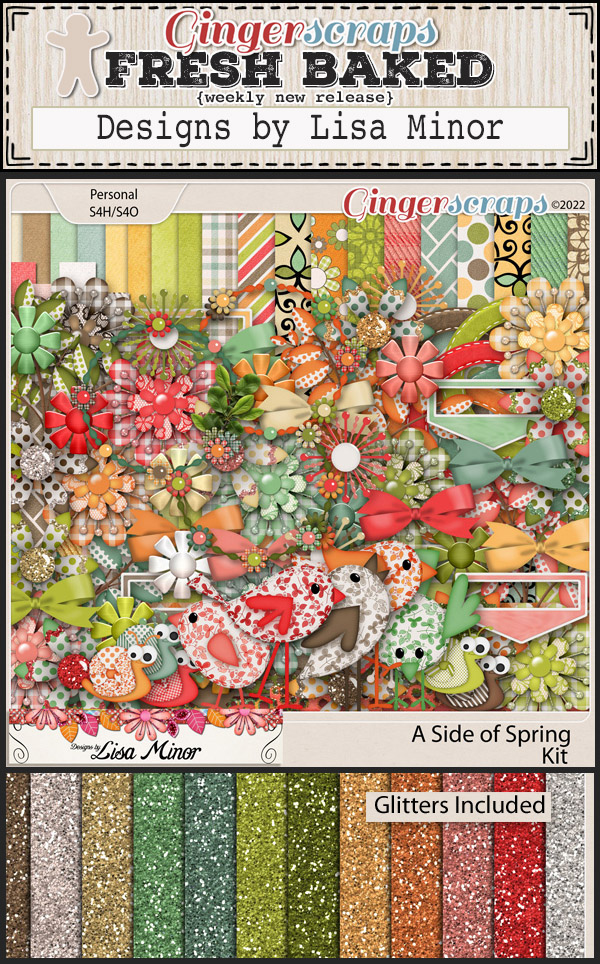
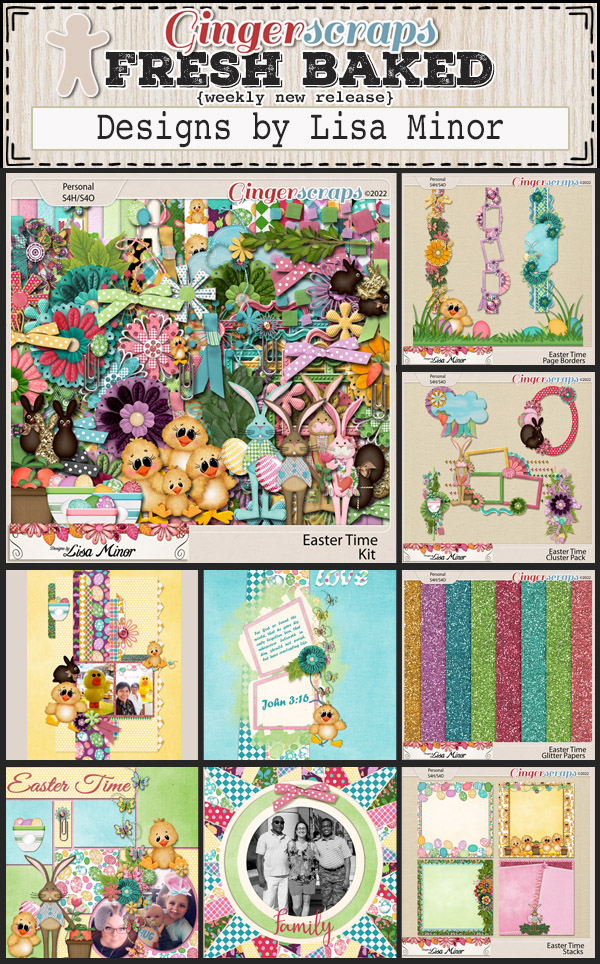
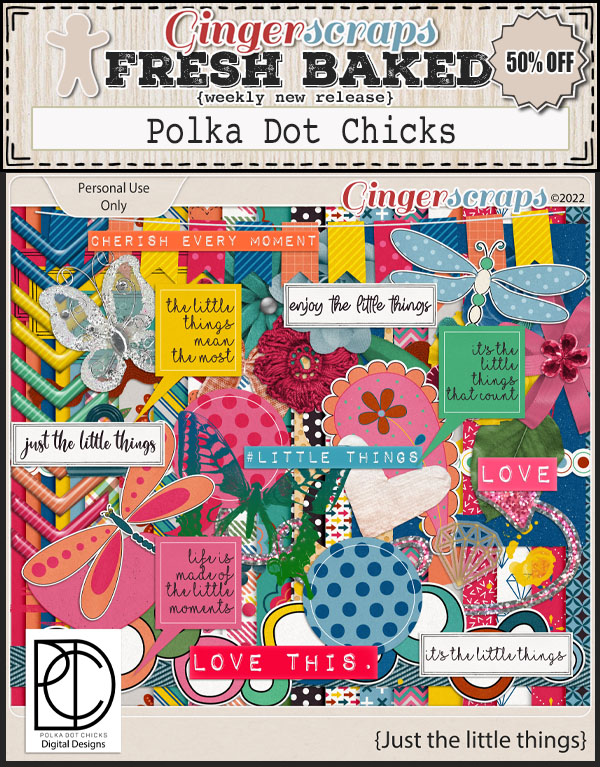
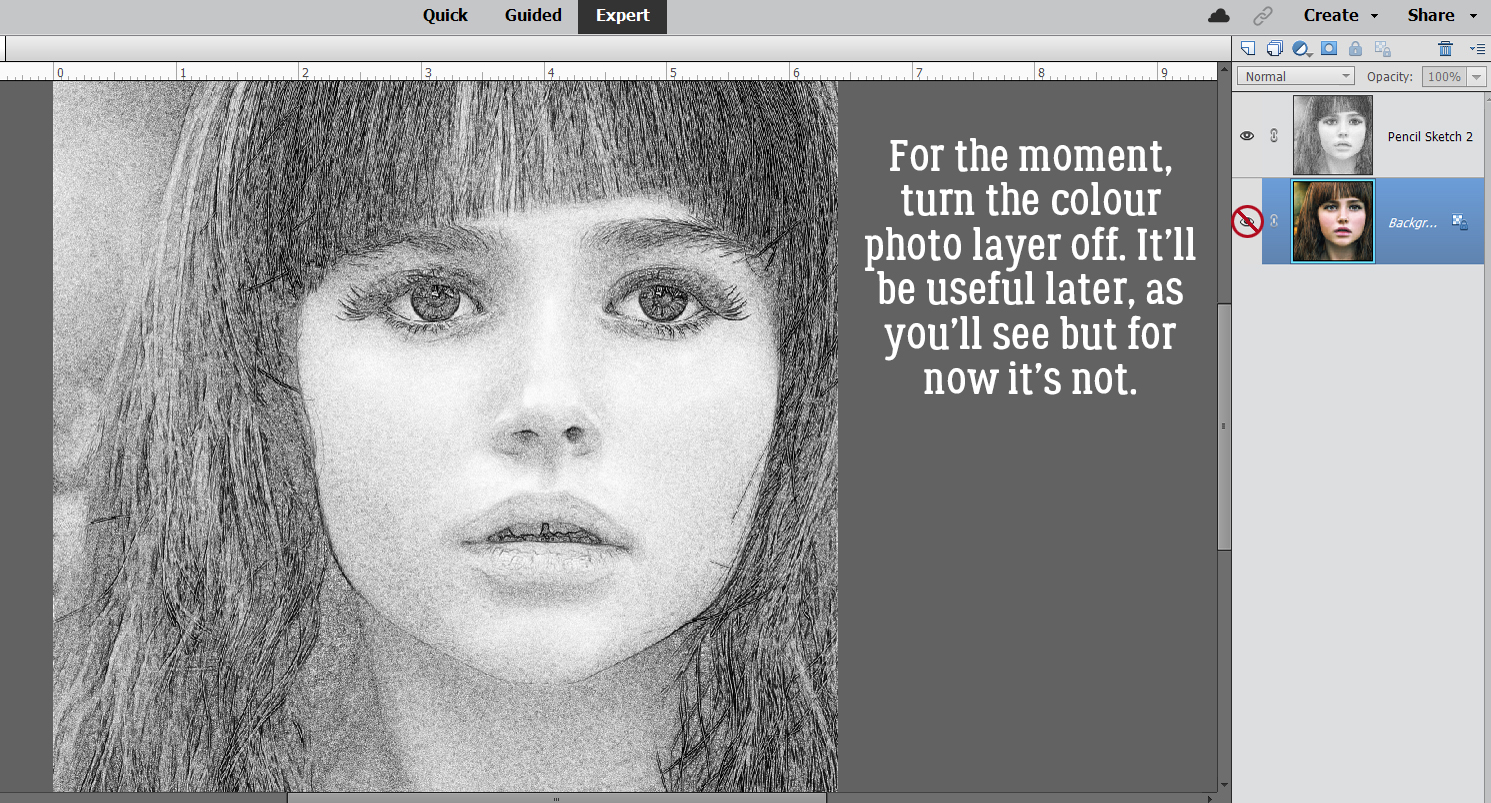
Now, let’s see what great new items the designers have for us this week.


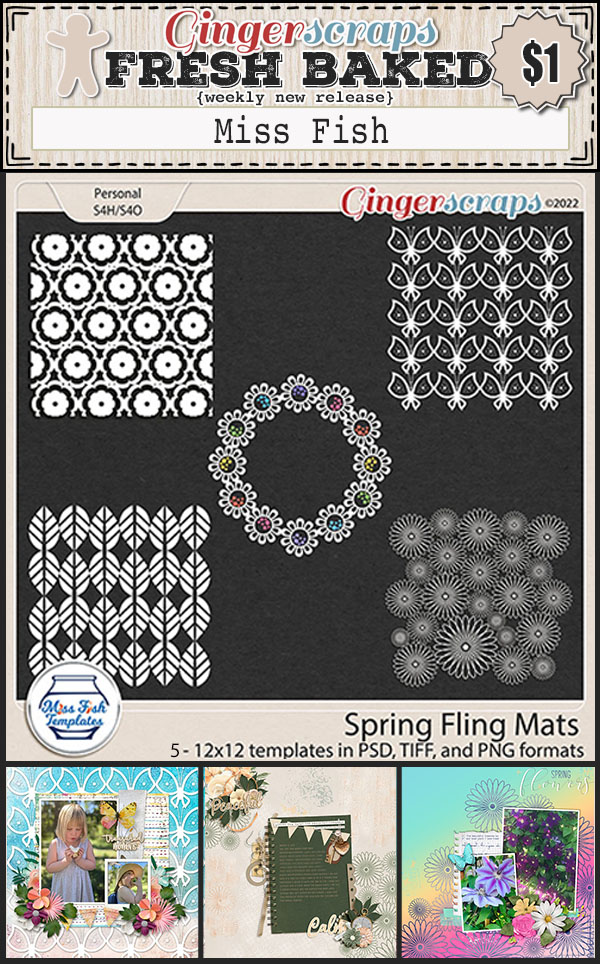
Who is ready for the $1.00 Bake Sale!? Here are the $1.00 deals we have for you this month:

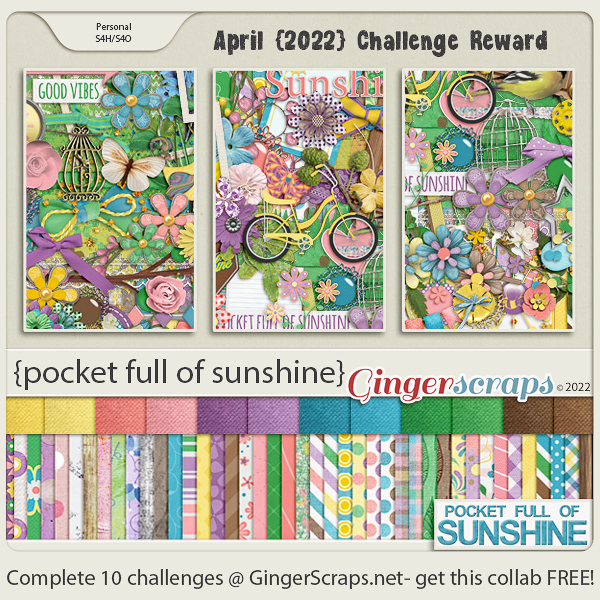
Have you started your challenges yet? Just complete 10 challenges and get this full kit as a reward.


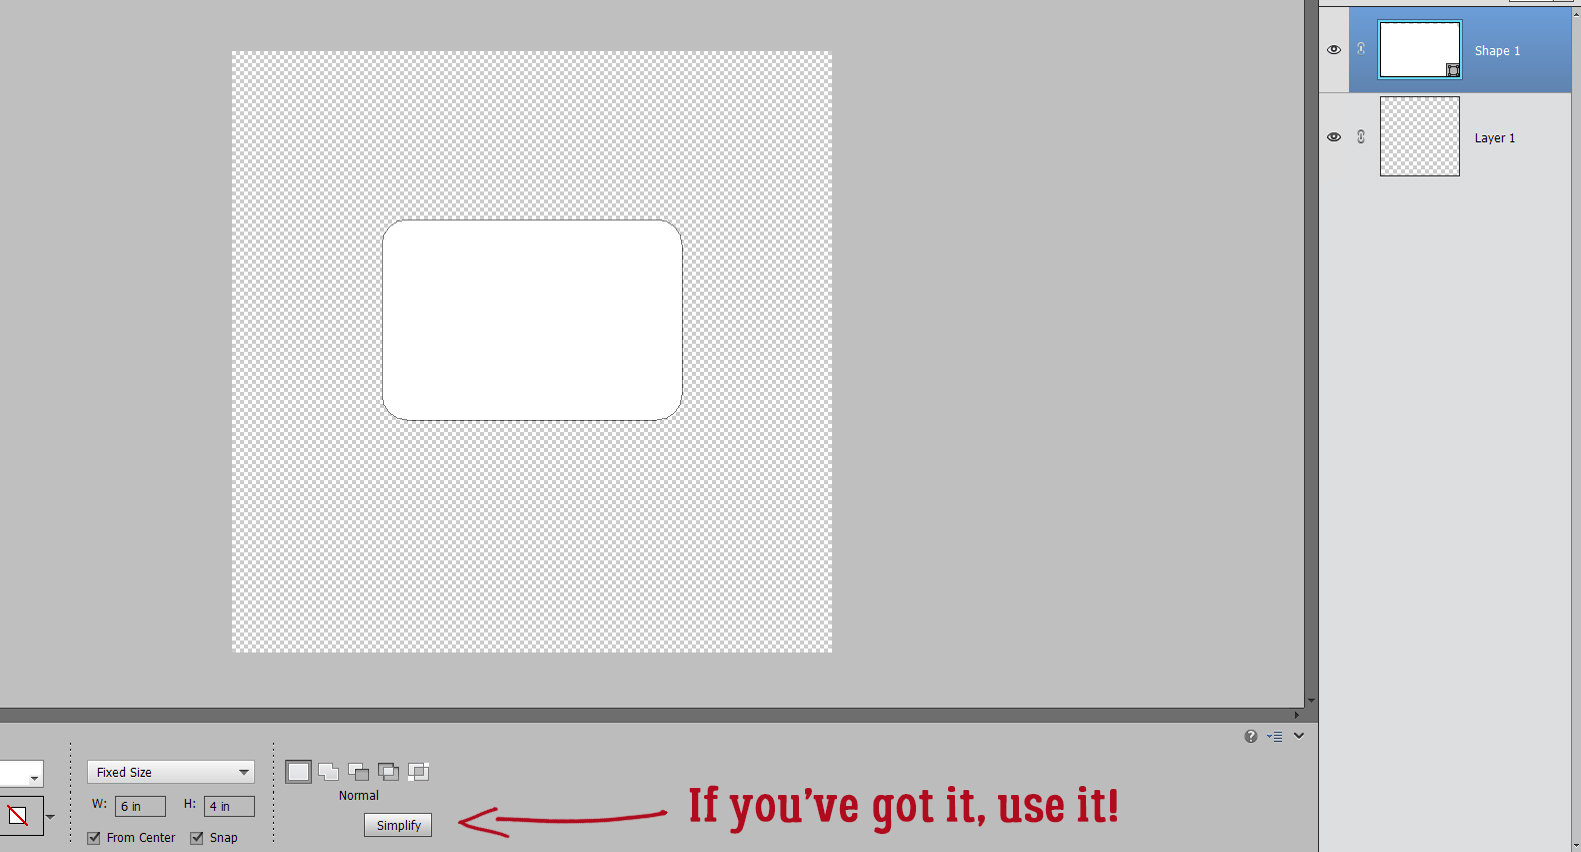
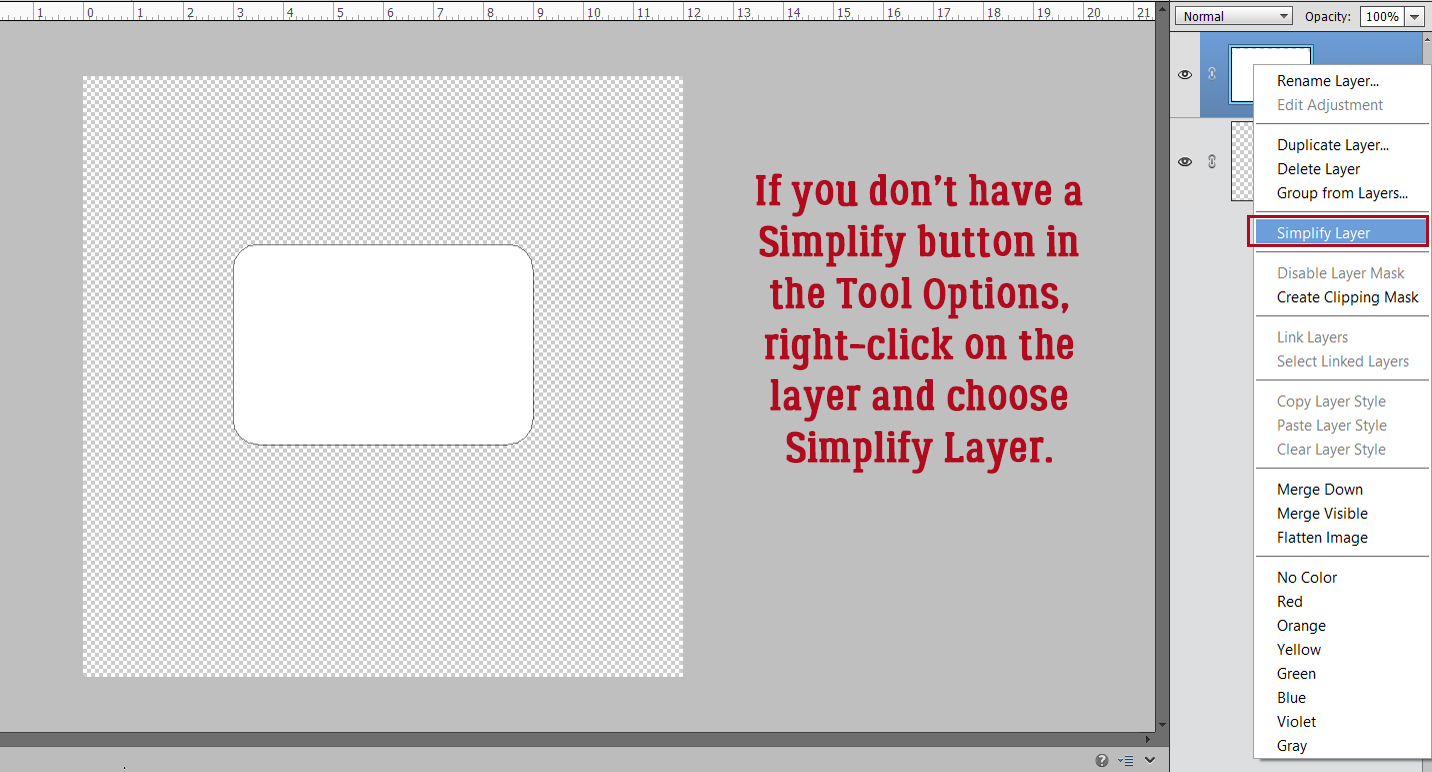


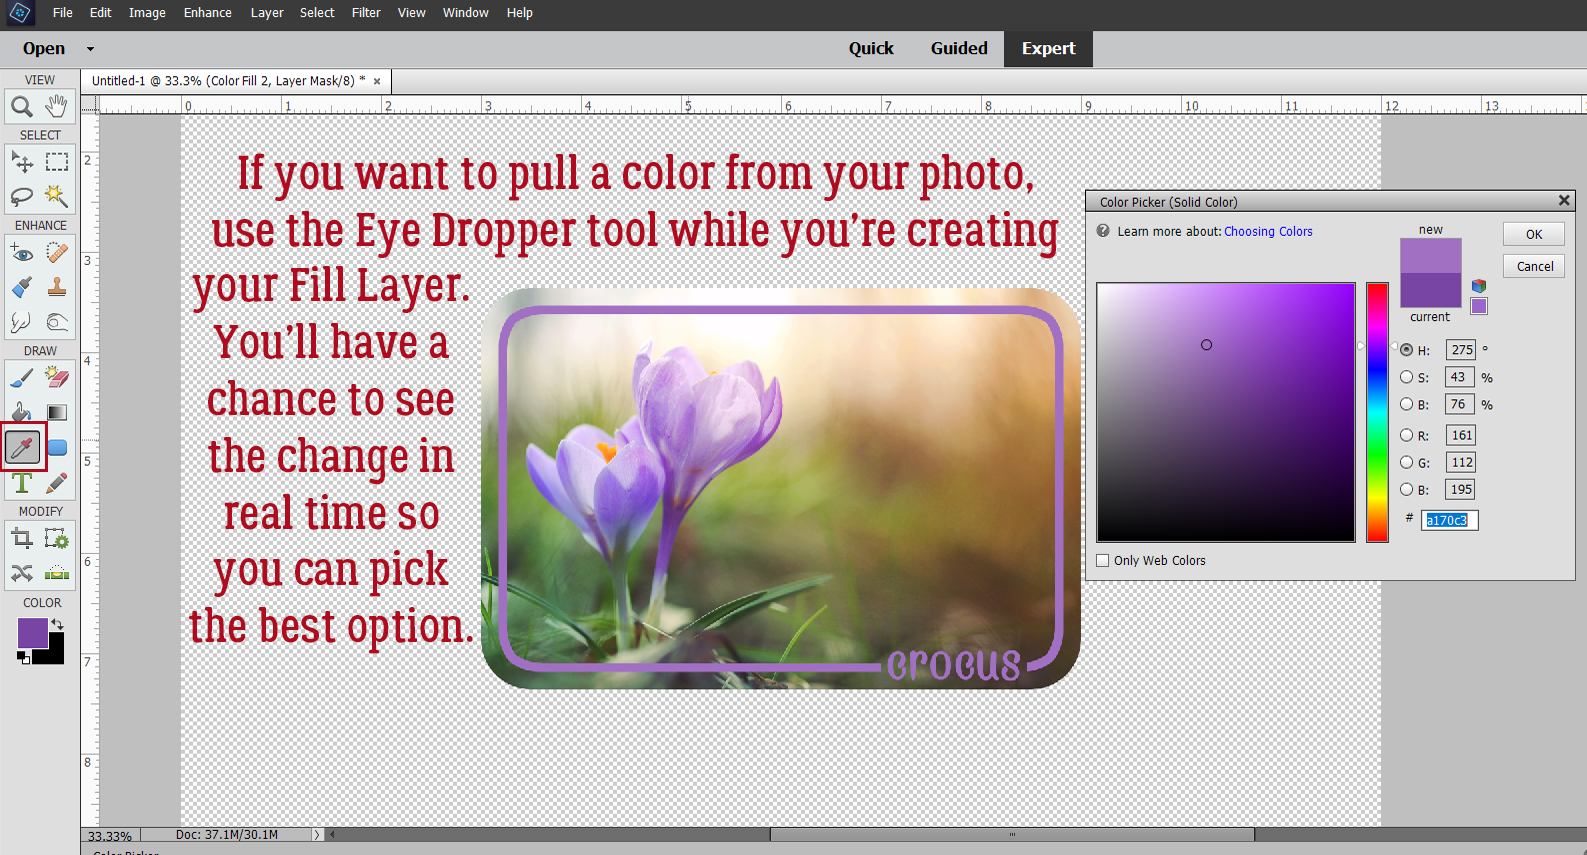


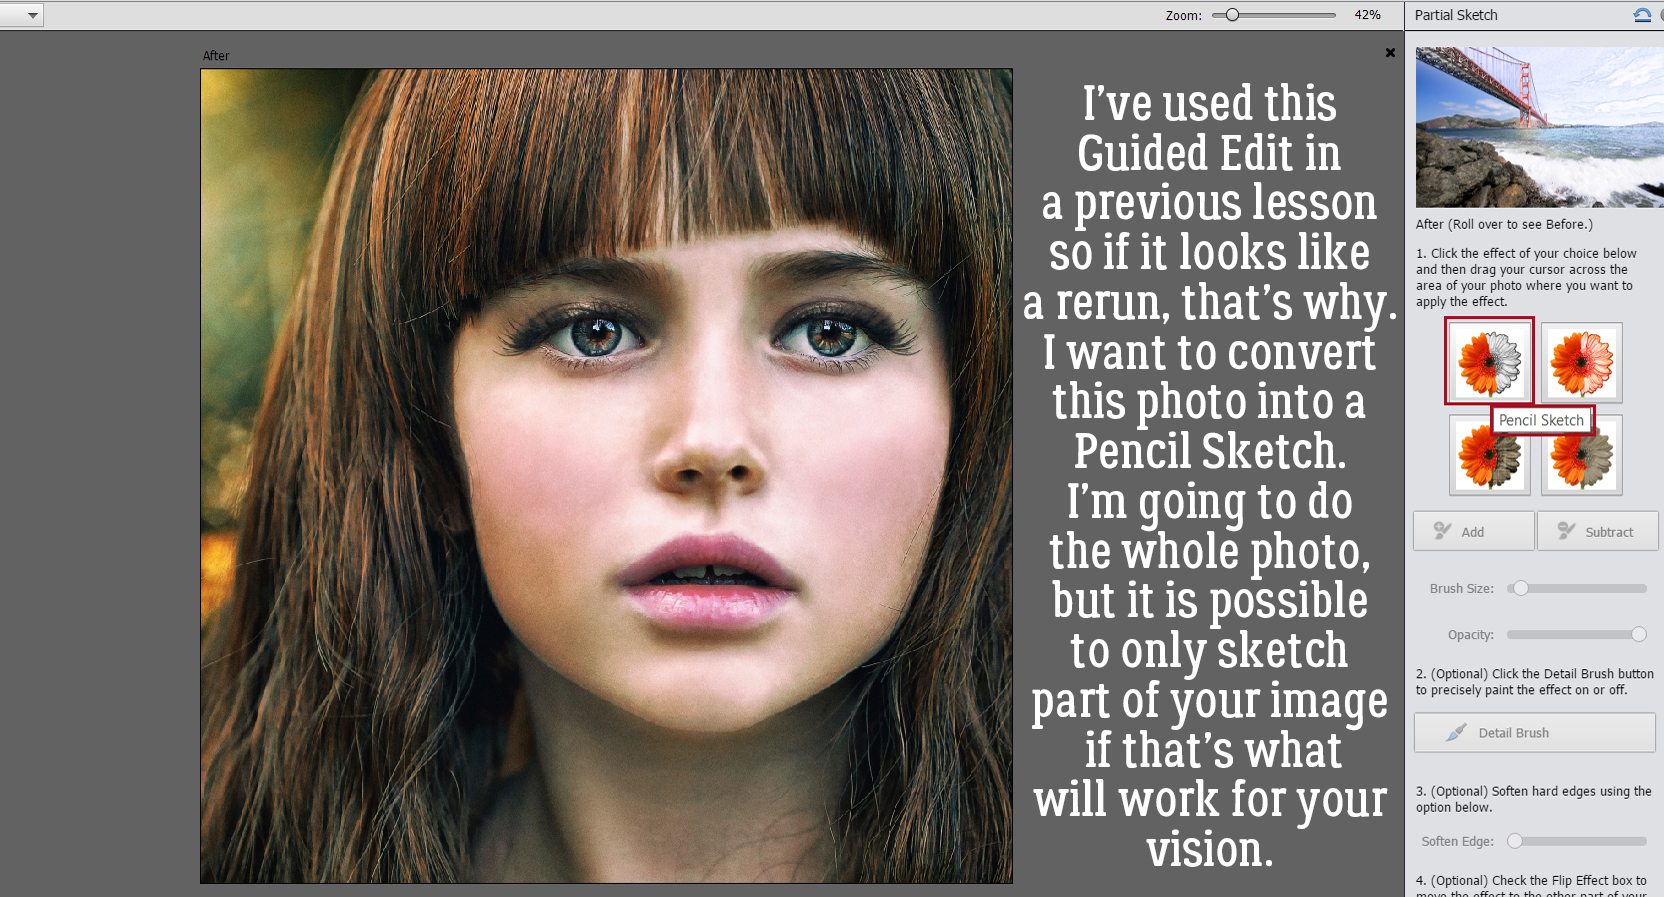
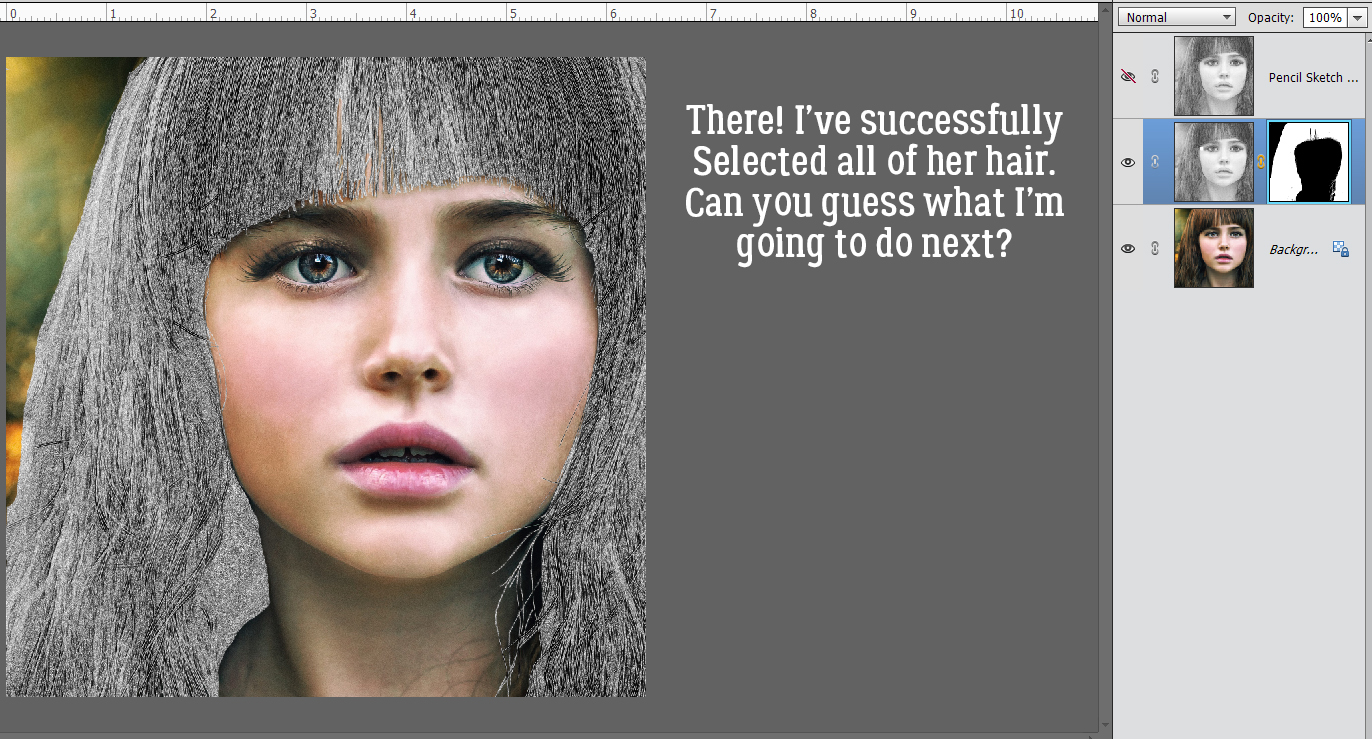
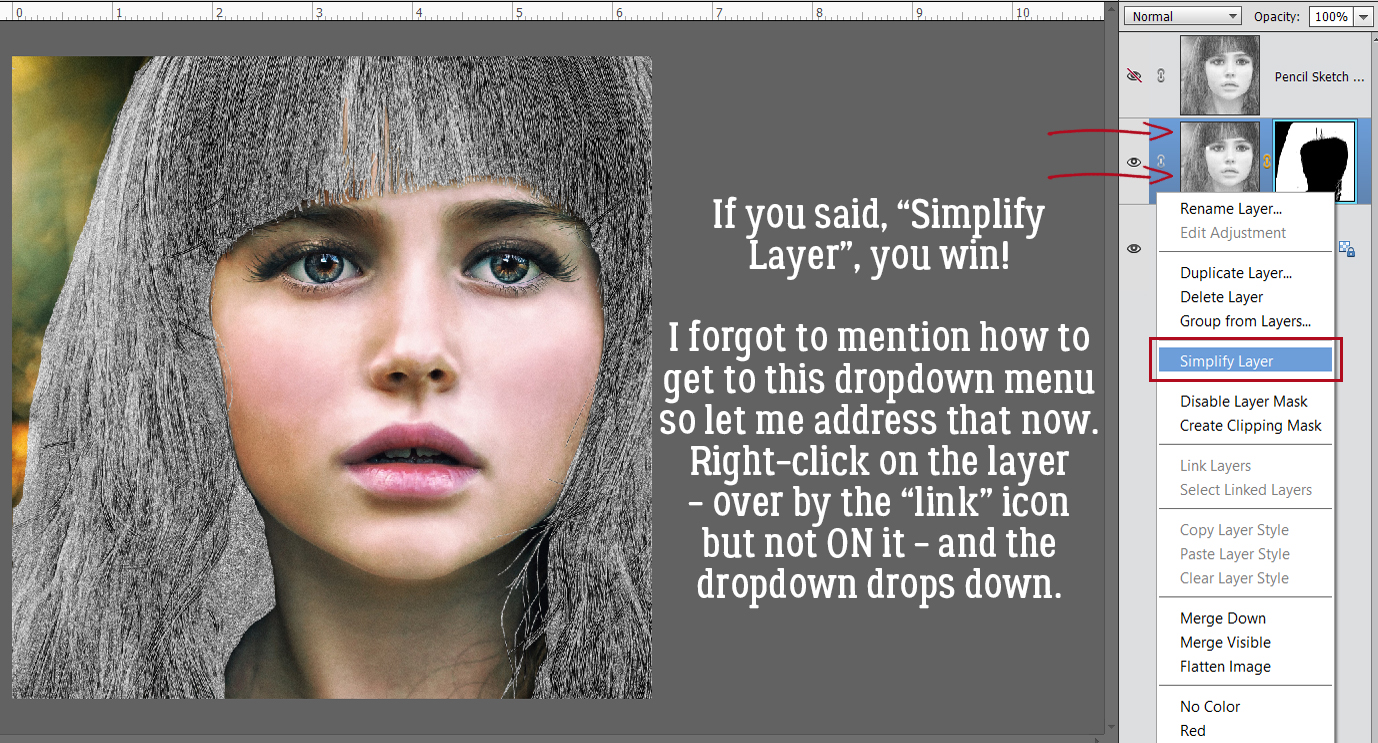
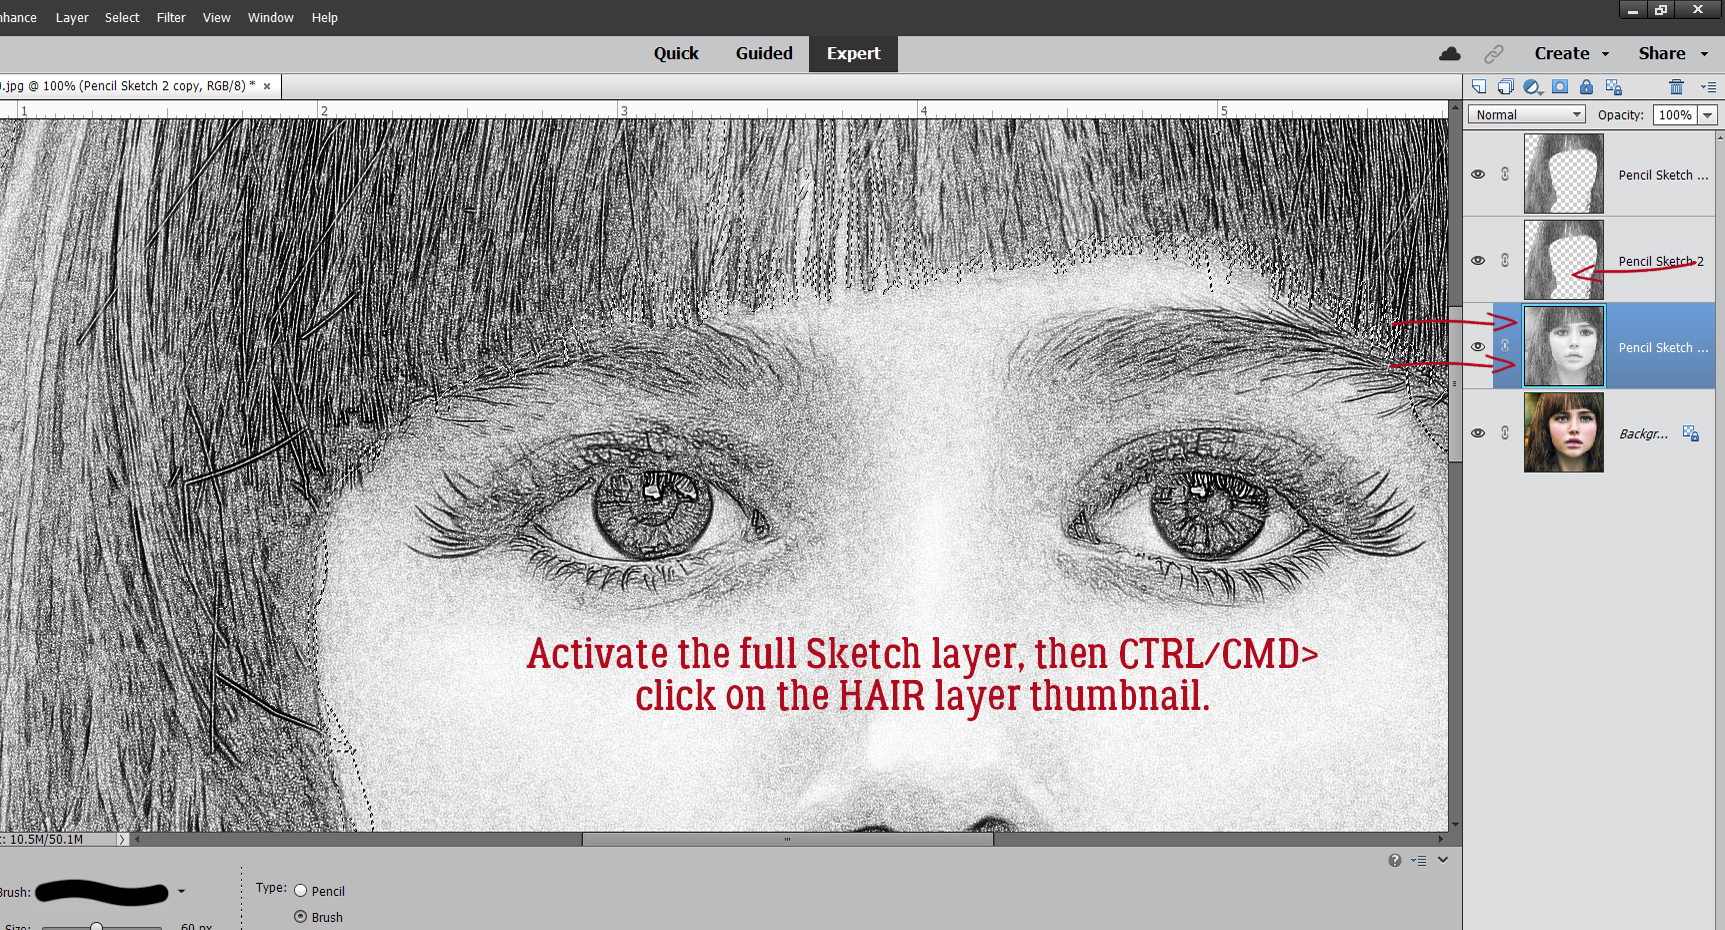
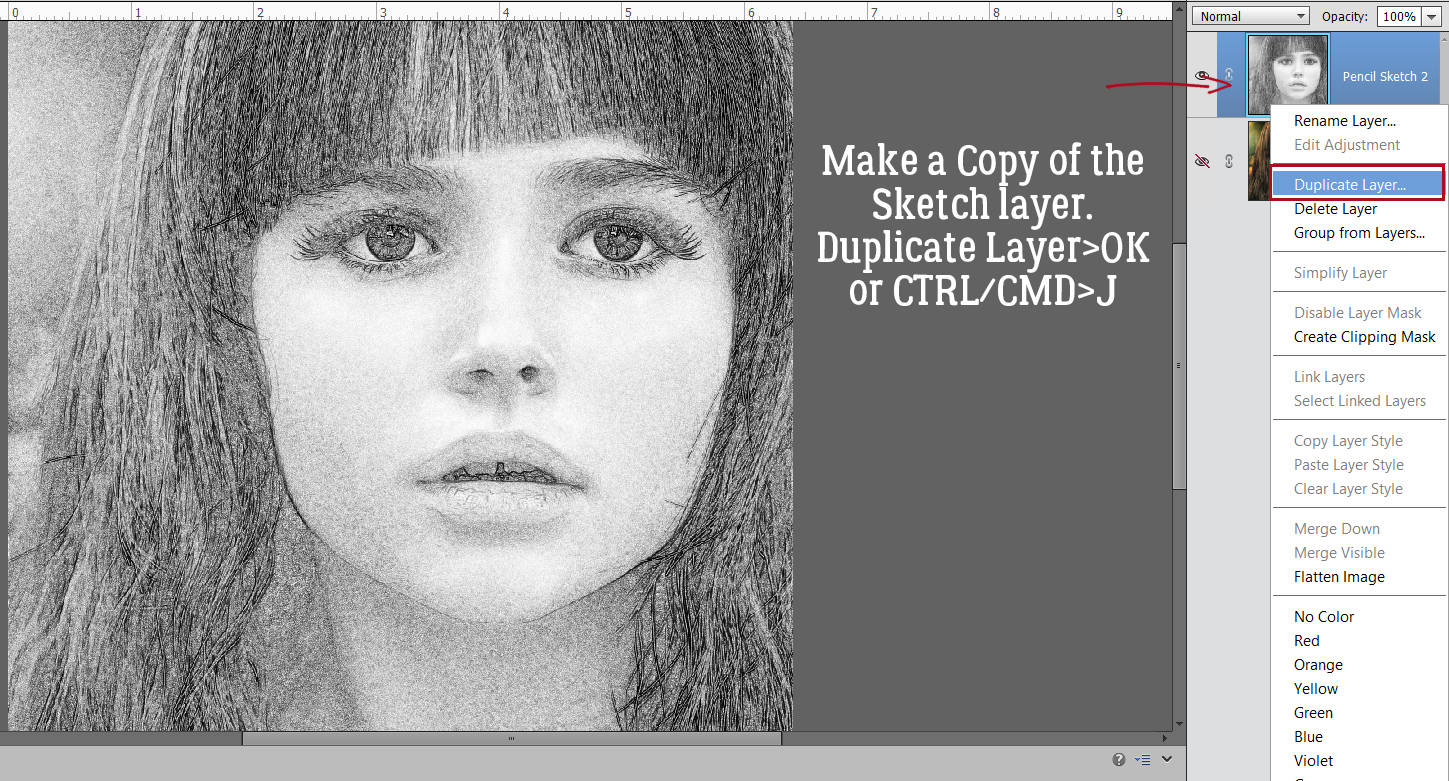
 Now it’s possible to see what Elements was doing in the background while we were busy and oblivious. Now I have 3 layers: the original, a sketch layer with a black Layer Mask and a sketch layer with a white Layer Mask. It’s possible to do the following steps using these two masked layers, but it’s a bit more challenging than my approach, so we’re not going to do that. The layer that I want to work with is the one with the white Layer Mask, but I need to Simplify it. Right-click on that layer – over on the left of the layer near but not ON the link icon – then choose Simplify Layer.
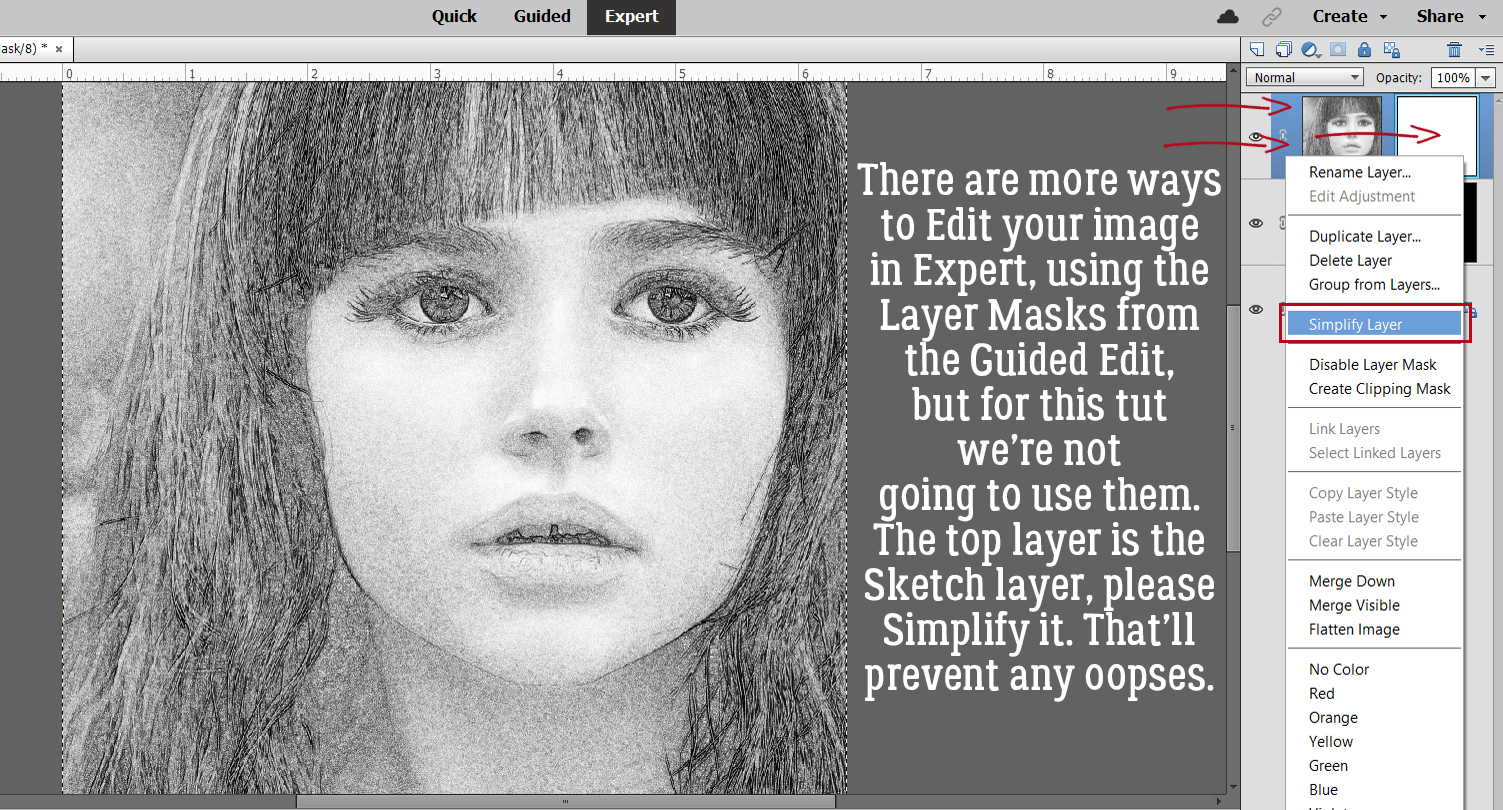
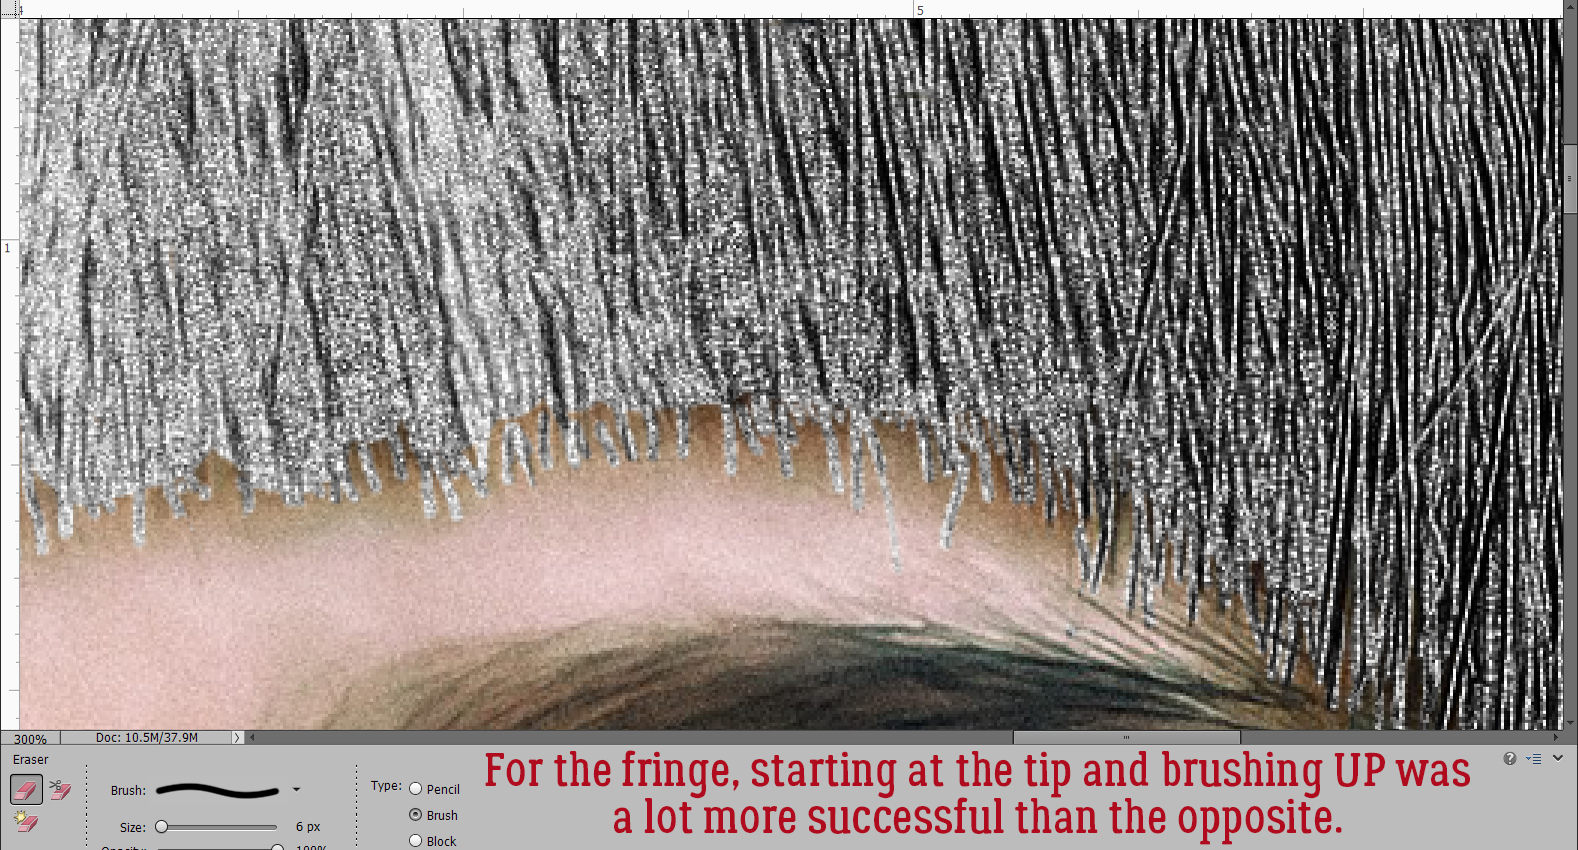
 I also discovered that toggling the colour layer on and off makes it easier to see edges of things better.
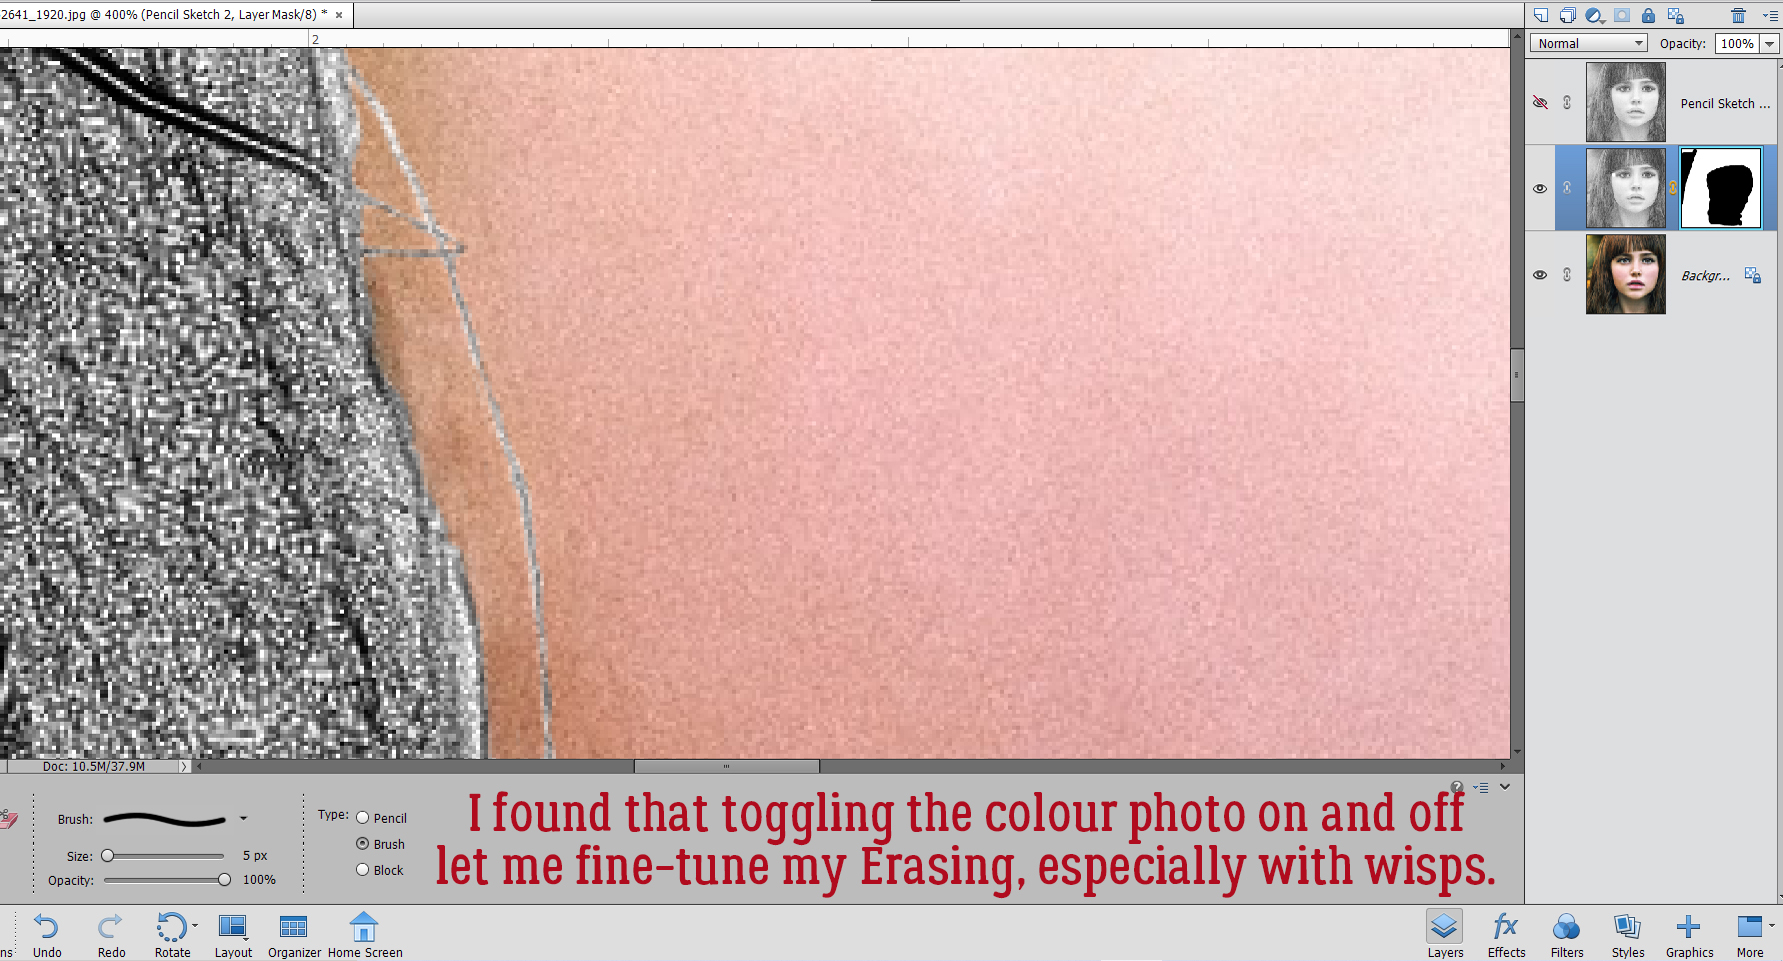 Aaaaaand toggling the sketch layer on and off helped me see where and what needed more help.