Repeating Patterns – Part Deux
![]()
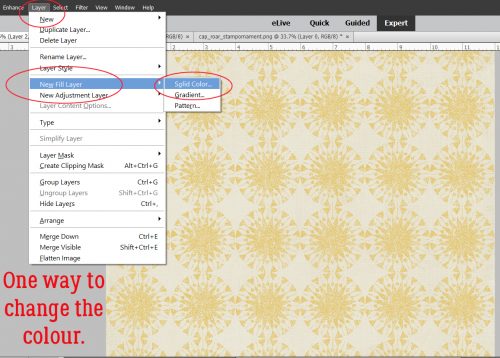
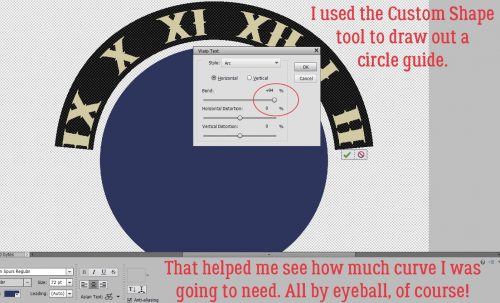
As promised, here’s the second installment of creating your own patterned papers. (I hope our lovely designers aren’t mad we’re doing an end-run around them… but sometimes the overall design cries out for a paper they didn’t give us.) Today I’ll show you how to create a staggered pattern repeat the quick and easy way. Refresh your memory if you need to… I’ll still be here when you’re done!
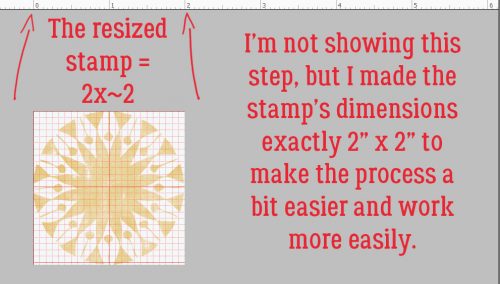
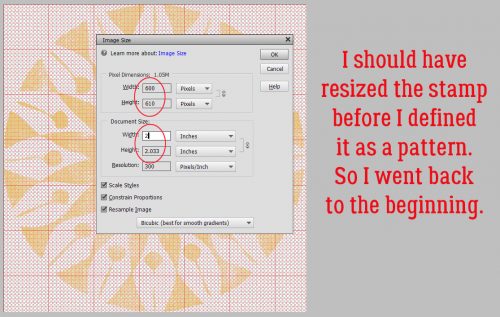
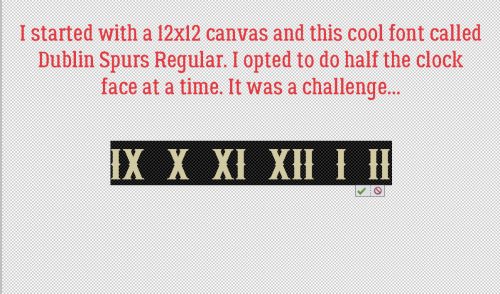
If you remember, my first effort was really odd because I hadn’t made the original stamp image small enough to give it a good repeat. So here’s the Resized stamp. I went with (almost) 2 inches square for a six-time repeat across the page, but you can go with whatever makes you happy. After I Resized my stamp I just pushed the bottom of the canvas up to make it a perfect 2 inch square to calm my OCD.
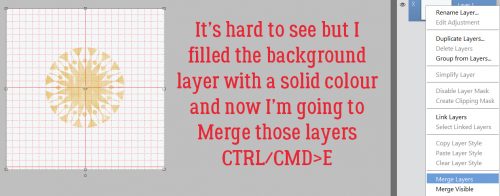
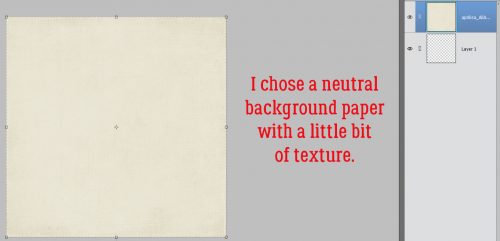
Then I actually shrank the stamp down a bunch more so the staggered repeat would look better. And I filled the background with a solid colour by adding a new layer BELOW the stamp layer then flooding it with white using my Paint Bucket tool for it’s more usual purpose. And I Merged the layers into one.
This step is something we’ve only rarely done, and that’s to Resize the Canvas. What does that mean? (Yes, I heard that!) The stamp is an IMAGE. The workspace behind it is the CANVAS. The keyboard shortcuts are almost identical. CTRL/CMD>ALT>I for the Image and CTRL/CMD>ALT>C for the Canvas. Easy enough to remember, right?
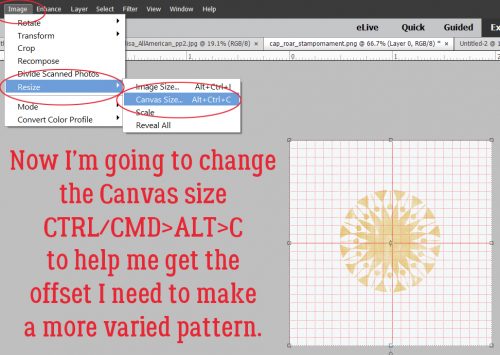
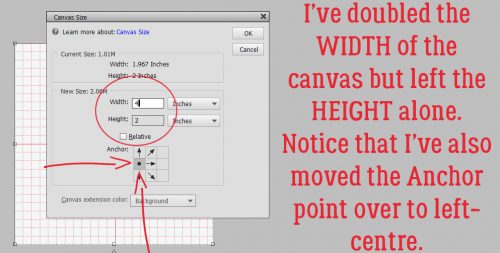
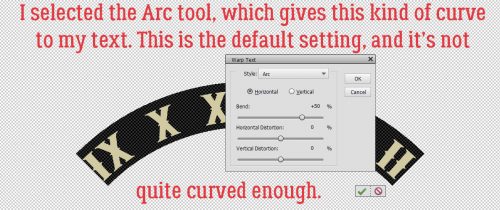
I doubled the WIDTH but left the HEIGHT unchanged. I also moved the Anchor point over to left-centre by clicking on it in the diagram. This is the most important part of this step. So many new things we’re trying here!
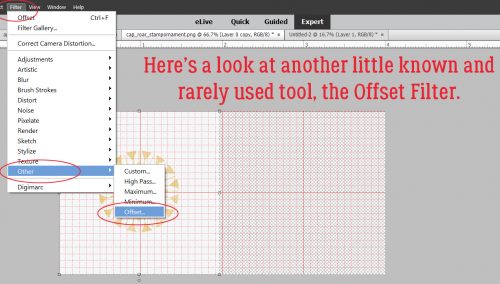
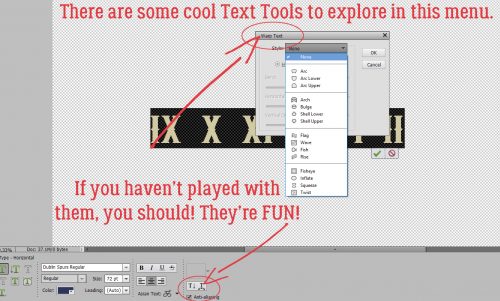
And it’s time for another new thing! We’ve looked at the Blur filter, and the High Pass filter and we’ve played with some of the others but we’ve never talked about the Offset filter.
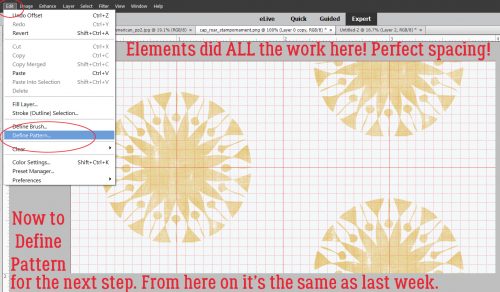
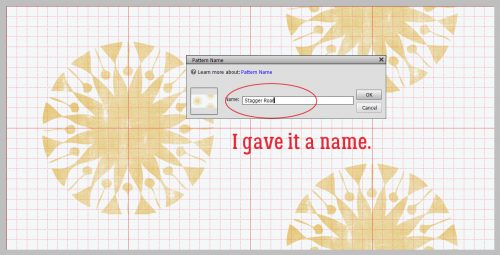
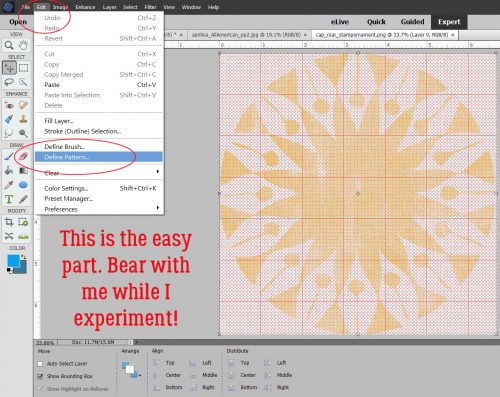
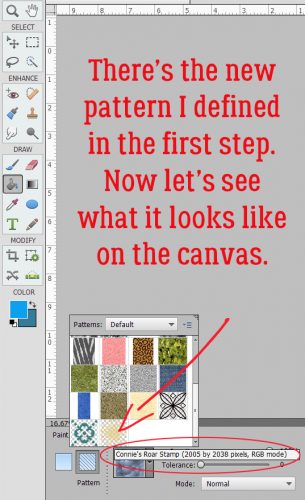
Isn’t it awesome that all you have to do is choose it from the drop-down menu and Elements runs with it? Now that there are some terrific staggered stamps here, I’m going to Define the Pattern in the same way we did it last week. Edit>Define Pattern… super simple.
I gave it a name that is different from my other defined patterns so Elements wouldn’t mix them up.
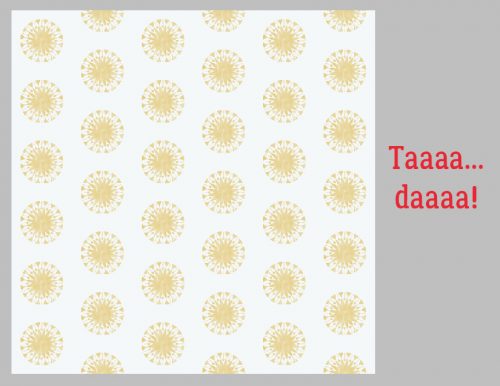
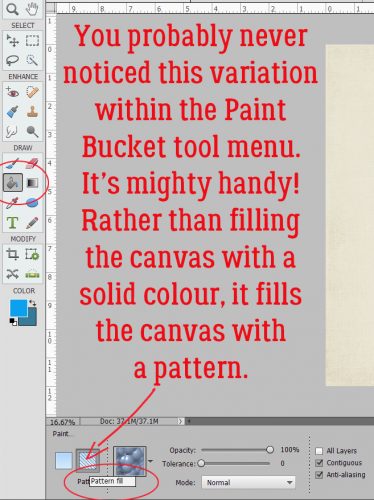
Then I went back into the Paint Bucket and chose the Fill Pattern mode. A single click on my gray paper and voilà! A staggered pattern all over my paper. (Of course, the gray paper is completely hidden by the white fill layer from way back in step 2…)
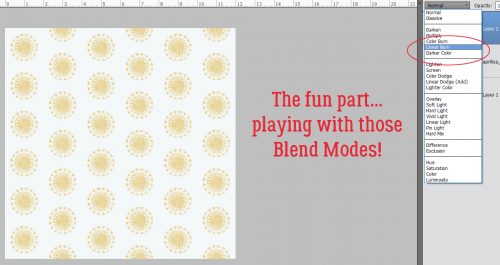
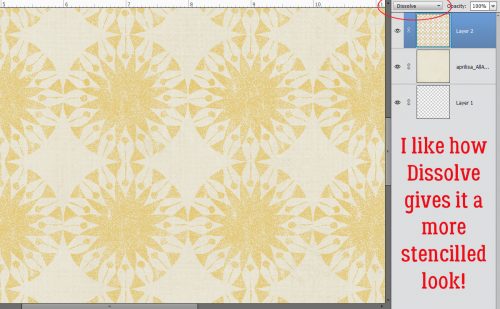
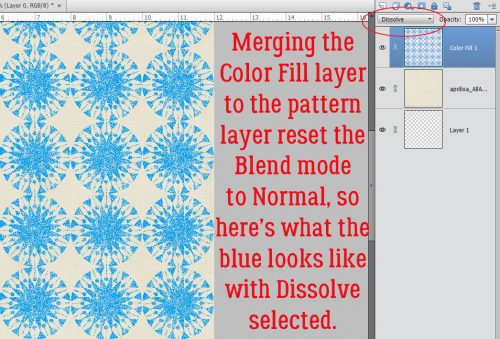
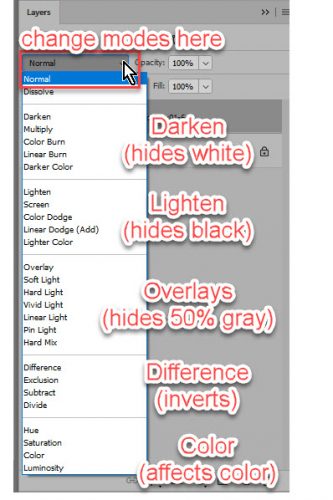
But that doesn’t matter because if I choose the correct Blend Mode, it’ll show back up with just one click. I went with Linear Burn.
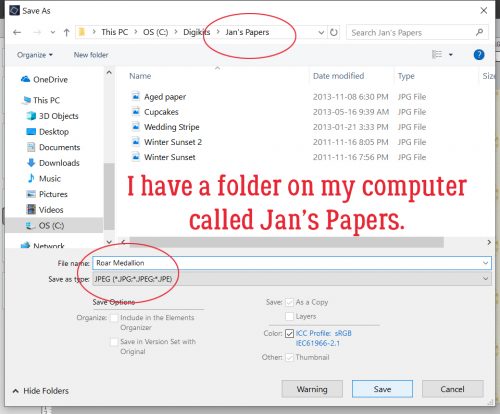
And there’s the gray paper! Now to save my paper for future use. I used the Save As (CTRL/CMD>SHIFT>S) method, which lets me decide what kind of file I want it to be. Papers are always .jpg files, so that’s what I’ll do.
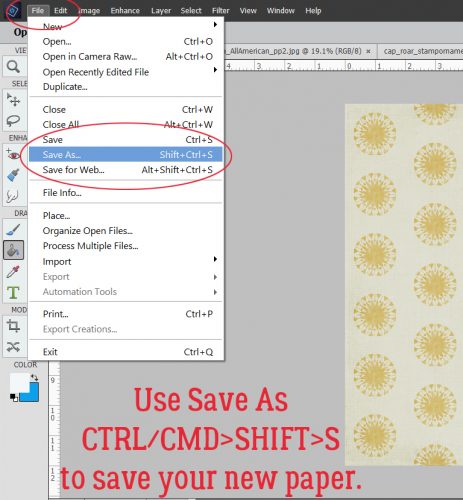
I have a folder on my laptop for “my” papers and that’s where I’m putting this one.
And we’re done!! I’m going to experiment before next week to make papers with more than one pattern. Wish me luck!
![]()


 Time Saving Tip: