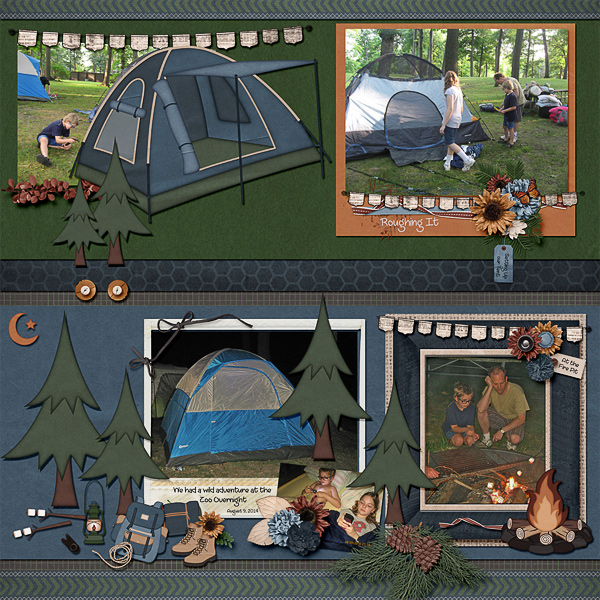
There aren’t many really weird holidays for June. Like at all. There’s only one “big” one for this week, and that’s Wednesday. All the kilt-lovin’ wearin’ guys are going to love this: International Axe Throwing Day. So, warm up that swinging arm and get that shutter finger ready! Time to get some pics of axes being thrown!
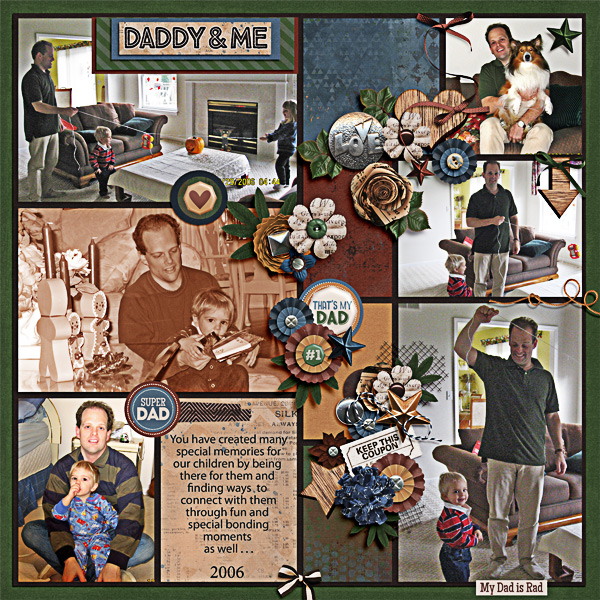
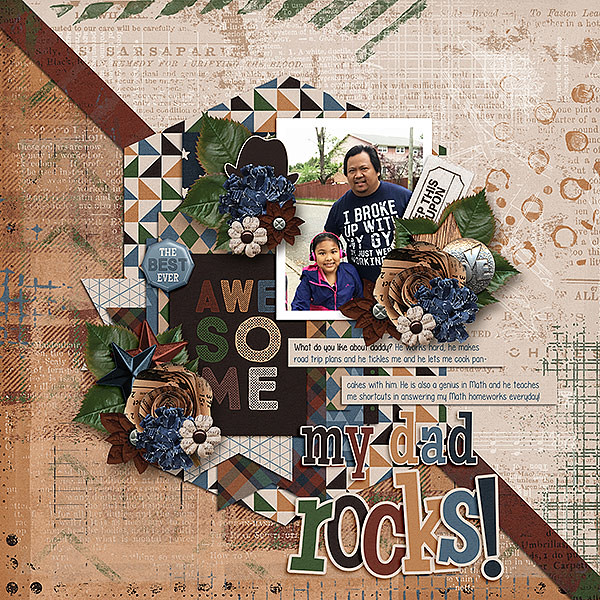
Remember when you spend $10 in the store, you get a great new collab! This month, it’s time to celebrate the “Super Dad” in your life!

https://store.gingerscraps.net/GingerBread-Ladies-Collab-Super-Dad.html

https://store.gingerscraps.net/Single-Page-Layered-Templates-Set5.html

Collection: https://store.gingerscraps.net/Coastal-Collection-by-Lindsay-Jane.html
Kit: https://store.gingerscraps.net/Coastal-by-Lindsay-Jane.html
Quick Pages: https://store.gingerscraps.net/Coastal-Quick-Pages-by-Lindsay-Jane.html

Collection: https://store.gingerscraps.net/Coastal-Collection-by-Lindsay-Jane.html
Kit: https://store.gingerscraps.net/Coastal-by-Lindsay-Jane.html
Quick Pages: https://store.gingerscraps.net/Coastal-Quick-Pages-by-Lindsay-Jane.html

https://store.gingerscraps.net/Document-Life-June-2018-Grab-Bag-by-Luv-Ewe-Designs.html

https://store.gingerscraps.net/Bye-Bye-Birdie-kit-by-Scraps-N-Pieces.html

https://store.gingerscraps.net/Summer-project-2..html

Collection: https://store.gingerscraps.net/Cool-By-the-Pool-Collection-by-Aimee-Harrison-and-HSA.html
Kit: https://store.gingerscraps.net/Cool-By-the-Pool-Page-Kit-by-Aimee-Harrison-and-HSA.html
Alphas: https://store.gingerscraps.net/Cool-By-the-Pool-Alpha-Sets-by-Aimee-Harrison-and-HSA.html
Extra Papers: https://store.gingerscraps.net/Cool-By-the-Pool-Extra-Papers-by-Aimee-Harrison-and-HSA.html
Messy Edges: https://store.gingerscraps.net/Cool-By-the-Pool-Messy-Edges-by-Aimee-Harrison-and-HSA.html
Stamps: https://store.gingerscraps.net/Cool-By-the-Pool-Stamps-by-Aimee-Harrison-and-HSA.html
Templates: https://store.gingerscraps.net/Cool-By-the-Pool-Templates-by-Aimee-Harrison-and-HSA.html
Word Art: https://store.gingerscraps.net/Cool-By-the-Pool-Word-Art-by-Aimee-Harrison-and-HSA.html

https://store.gingerscraps.net/Sweet-Summer-Treats-BGD.html

https://store.gingerscraps.net/June-2018-Template-Bundle-by-Connie-Prince.html

https://store.gingerscraps.net/D-Is-For-Dad-Digital-Scrapbook-Kit-By-Dandelion-Dust-Designs.html

https://store.gingerscraps.net/Blissful-Templates-by-Dear-Friends-Designs.html

Bundle – https://store.gingerscraps.net/The-United-50-Florida-BUNDLE-by-Heather-Z-Scraps.html
Kit – https://store.gingerscraps.net/The-United-50-Florida-KIT-by-Heather-Z-Scraps.html
Templates – https://store.gingerscraps.net/The-United-50-Florida-TEMPLATES-by-Heather-Z-Scraps.html
Journal Cards & Flairs – https://store.gingerscraps.net/The-United-50-Florida-JOURNAL-CARDS-and-FLAIRS-by-Heather-Z-Scraps.html
Word Bits – https://store.gingerscraps.net/The-United-50-Florida-WORD-BITS-by-Heather-Z-Scraps.html
Expps – https://store.gingerscraps.net/United-50-Florida-EXTRA-PAPERS-by-Heather-Z-Scraps.html

https://store.gingerscraps.net/Faded-Photo-Masks.html

Remember, if you complete 10 challenges, just ten, you get a free kit as well!!

Get some memories of the simple moments in your life!