When the Tutor Becomes the Tutored
![]()
I’m starting to seriously hate Tuesdays! (Especially the ones where I’m running a little behind.) It seems every single week when I turn my laptop on to write up my tutorial, there’s some sort of automatic update – either an OS, driver or hardware update – and it takes. For. Ever. To. Finish. And then it messes up my software…… But I persevered!
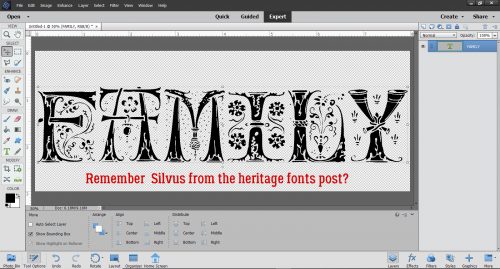
Remember the heritage fonts tutorial from last week? I said I had some ideas about how to make those fonts into fancy illuminated titles. I just didn’t expect to be showing you one of them right away! But it had to have been Fate that on Saturday Karen Schulz, formerly known as Snickerdoodle Designs, had a video tutorial in her newsletter that caught my attention. I’m going to show you some of what I learned from it, giving credit where credit is due.
The font I used for this title is Silvus, one of the fonts I showed you last week. It has a bit of a Game-of-Thrones/Lord-of-the-Rings flavour to it with the dragons of the “M”, the horns of the “Y” and the heraldic symbolism in all the letters. And it’s perfect for showing you this amazing trick!!
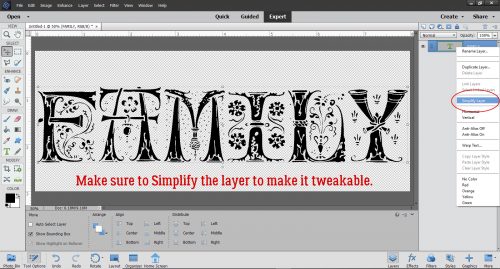
Text remains a Smart Object (can’t be altered, just edited – if that makes sense) until the layer is Simplified. I want to make my title fancy and so it needs to be tweakable. Right-click on the layer in the Layers Panel then select Simplify Layer from the drop-down menu.
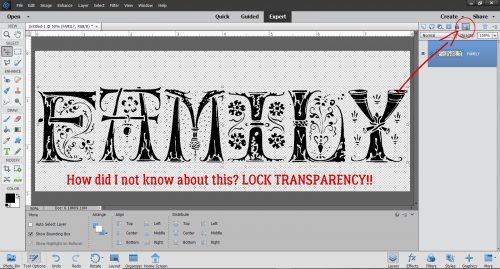
This little button is MAGIC! It Locks Transparency, meaning it keeps the background of your text, your brushes or your word art PNGs transparent and lets you “paint” JUST THE IMAGE!! The icon is hard to see in my screenshot, so I’ll describe it: a gridded “transparent” square with a lock image in front of it. Now that I know about this, I’m going to use it all the time.
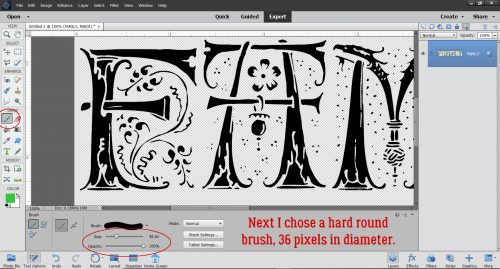
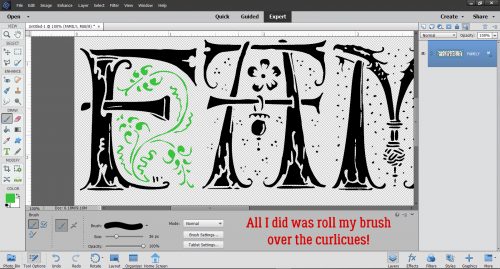
I Zoomed in on my title so I can see exactly what I’m doing as I select colours. I want to start with the curlicues that look like vines, so I chose a green from the Color Picker for the Foreground colour. (I chose a darker green at first, but it wasn’t showing well on the screenshots.)

The next step was to go to my Brush tool. I chose a hard, round brush with a diameter of 36 pixels to start. I left all the other default settings as is. Remember, you can make your brush tip bigger by clicking the ] (right square bracket) and smaller by clicking the [ (left square bracket). If you’re getting “paint” on parts of your image where you don’t want it, Undo (CTRL/CMD>Z) and change your brush size.
See how cool that is?! All I did was brush over the vines with my brush tip and it ONLY painted the vines.
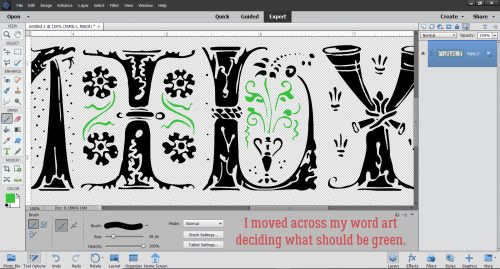
While I had my brush loaded with green, I looked over my title to see where else I could use it. There are other vines and leaves, so they got painted next.
Then I Picked a magenta colour for the flowers. One of them looks like a hibiscus, and magenta ones are my favourites.
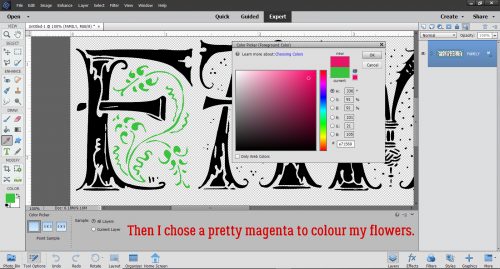
All the flowers are going to be magenta.

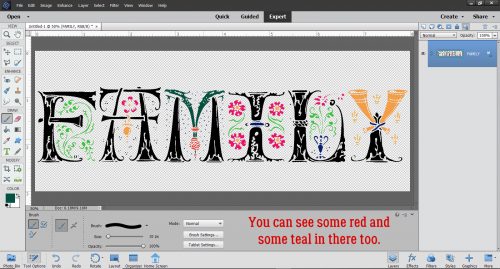
I kept choosing colours that seemed appropriate for what I was painting, some blue, yellow and gold.
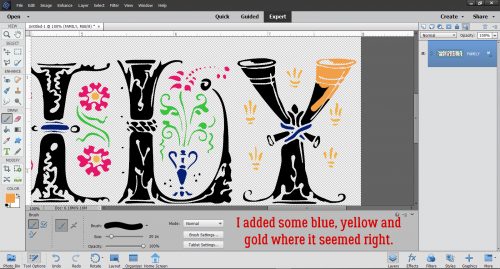
And some red and teal too. The dragons needed to be teal!
It was so much fun I just kept going.
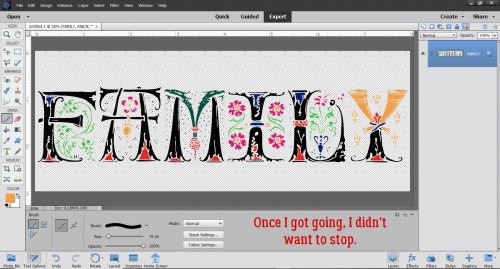
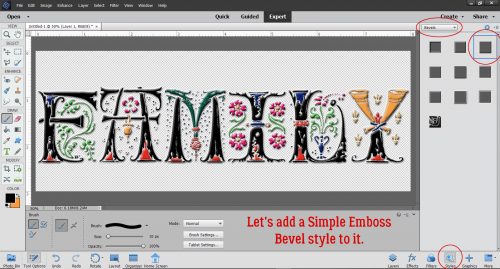
Once I had the whole title coloured, I could have just saved it and called it a day. But y’all know me better than that! I’m always going to show you some more ways to zhuzh up your stuff. So I clicked Styles>Bevels and chose the Simple Emboss Bevel. That gives my title a bit of weight.
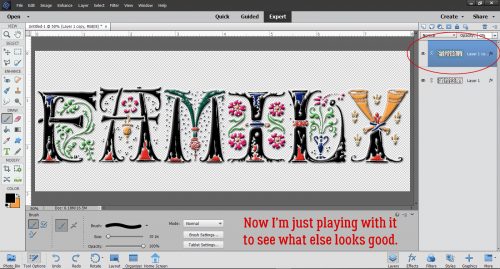
Again, it would be absolutely fine to save this version. But I want to show you one more little tweak. So I Copied (CTRL/CMD>J) the title layer.
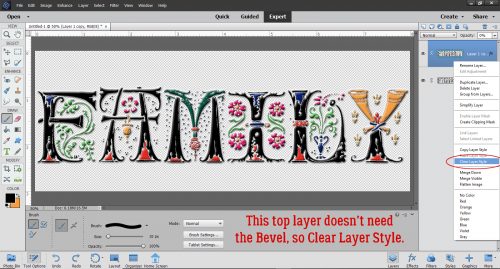
The top layer really doesn’t need the Bevel, so I right-clicked on that layer and selected Clear Layer Style to remove the bevel from that layer.
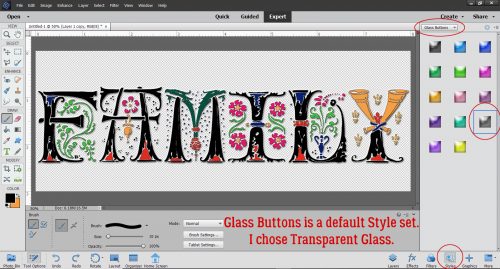
I went back into the Styles menu and chose Glass Buttons>Transparent Glass (it looks like it’s gray, but it shows clear).
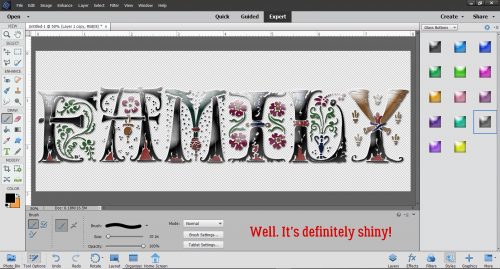
This is the default for the Style. It’s certainly shiny! This might be the look you like, and you could save it just like this. But it’s not the look I want. I could go into the Layer’s style menu and make adjustments, but for this it’s easy enough to make it less in-your-face.
Just by decreasing the top layer’s Opacity until there’s a sheen but it’s not blinding. I think it looks like cloisonée, don’t you?

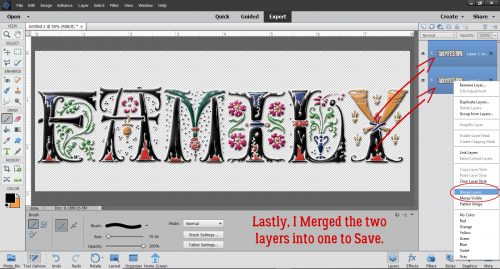
All that was left to do was Merge (CTRL/CMD>E) the layers together and Save (CTRL/CMD>S).
Thanks Karen!! If you’d like to see the other two techniques she shared in her video and get some inspiration, you can find it here.
![]()