Jan’s Like a Broken Record… or “Everything on its Own Layer”
![]()
Those of you who read these tutorials regularly will know what I’m talking about. I really flog the “everything on its own layer” as a Work Smart Not Hard tip. It recently occurred to me that I should explain that mantra a little more clearly. So that’s what I’m going to do.
Let’s start with Brushes. Brushes are fantastic tools and can really take your layouts to the next level. There are so many ways to to customize them and make them work for you. But if you don’t put them on their own layer, whatever you do to them – adding a style, changing colour, resizing them, rotating them or even repositioning them, for example – you will also do to the other thing(s) on that layer. Let’s say you want a paint splatter behind your photo(s). If you splatter that paint right on your background paper layer, then decide you need to move it so it peeks out more from behind your photo(s) your paper is going with it. Then you’ll need to UndoUndoUndo until you’re back at the beginning.
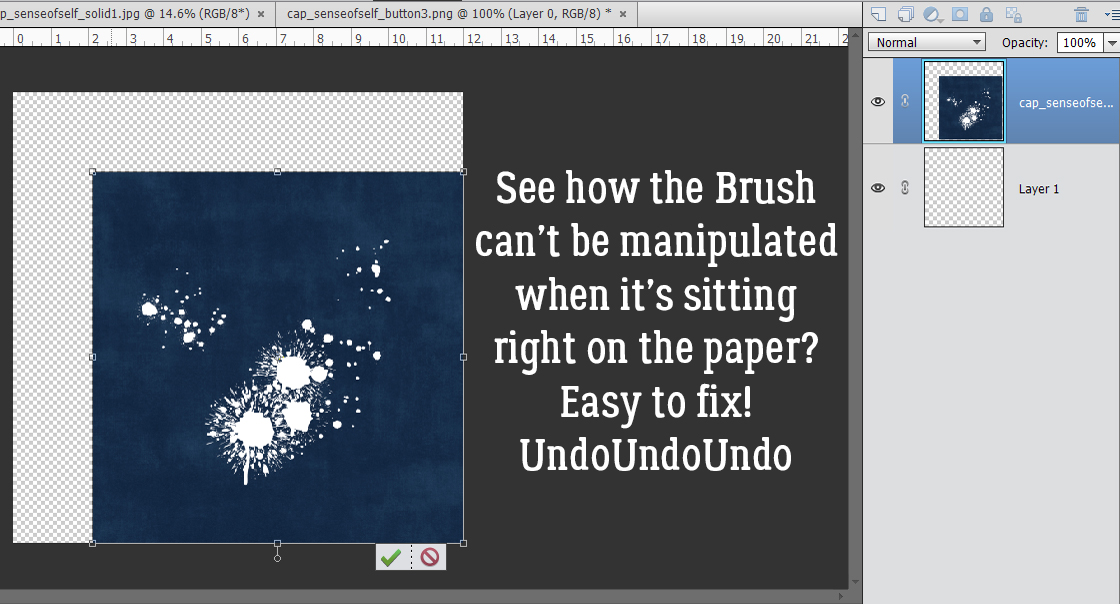
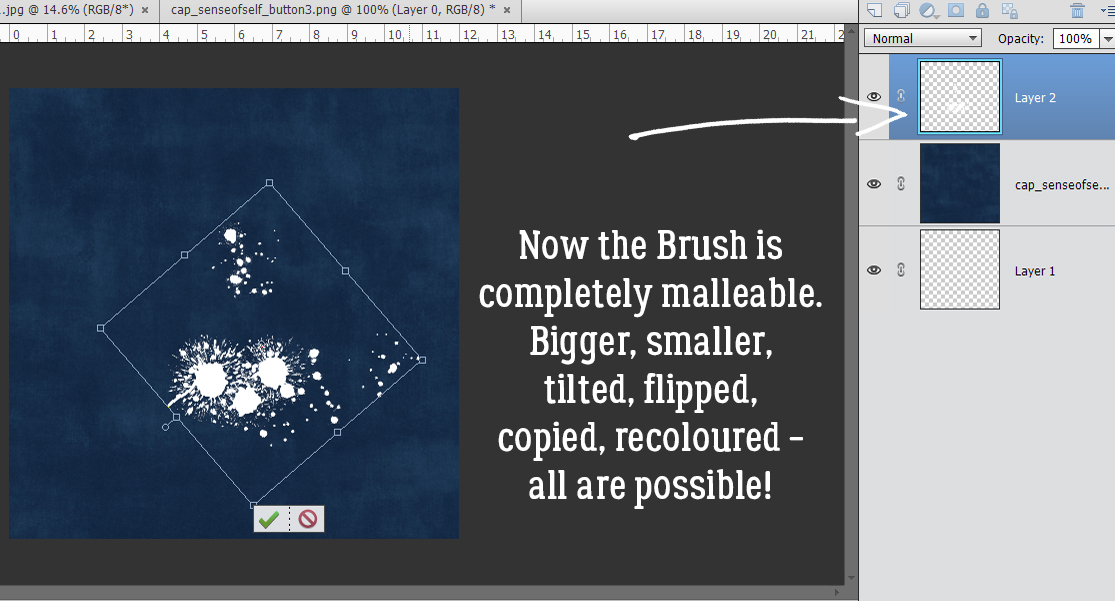
By creating a new blank layer and dropping your paint splatter on it, you can move it around to your heart’s content.
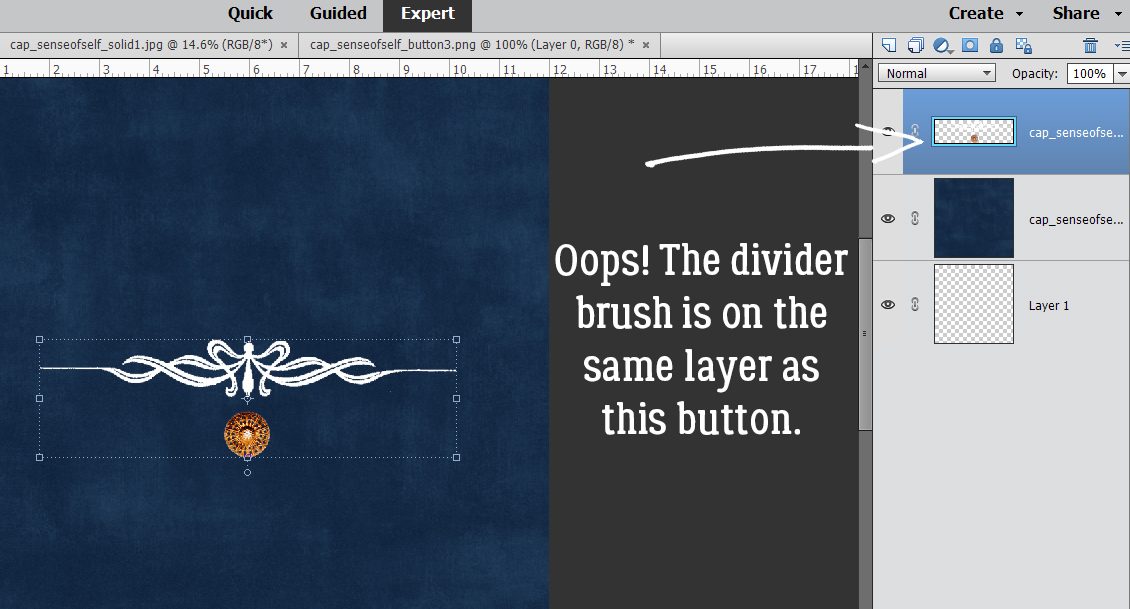
For border Brushes, you may want to flip that brush horizontally to make a top-and-bottom border. If it’s on the same layer as a button, you’re bringing the button along too.
If that border Brush is by itself, it’s easy enough to Copy that layer then flip it.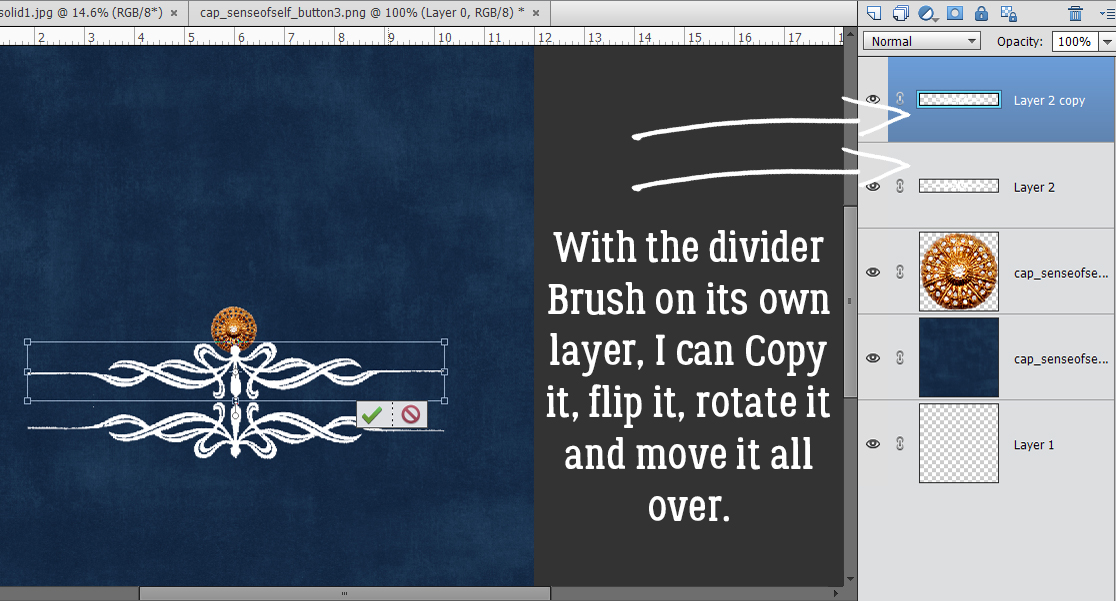
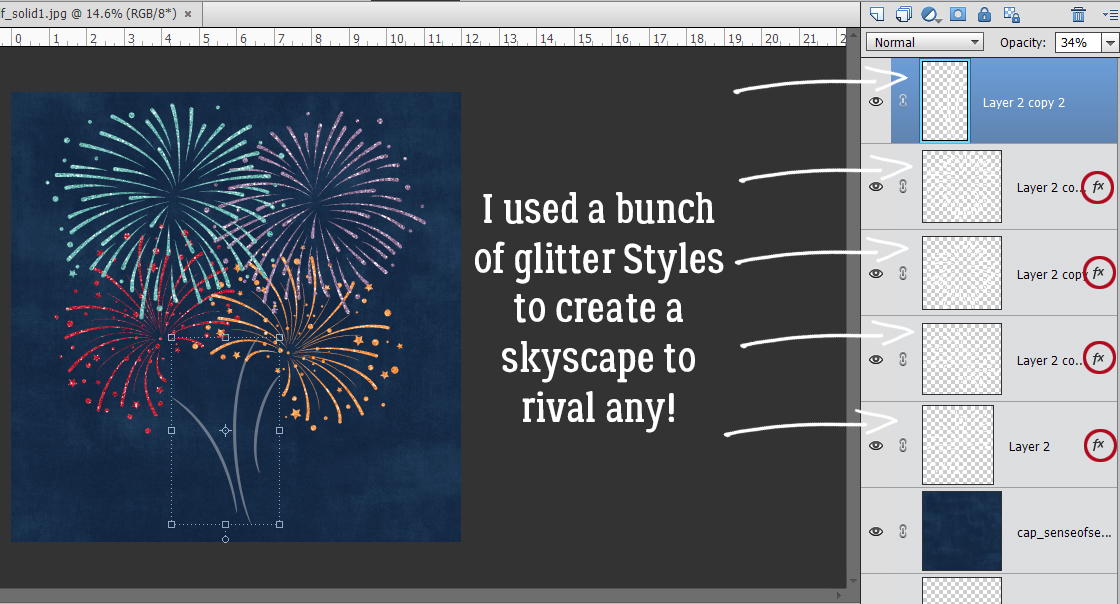
 Another example: this month’s Challenge brush from Alexis Design Studio has two starbursts and they’d look stunning in different colours. But if you add your brush to a layer that has a flower on it, you won’t be able to Copy just the brush to change the colour of one of the starbursts, because the flower will be Copied as well.

And you couldn’t apply a glitter Style to the starbursts either, because the flower would get glittered up too. Do that a few times and you’ll be a convert!
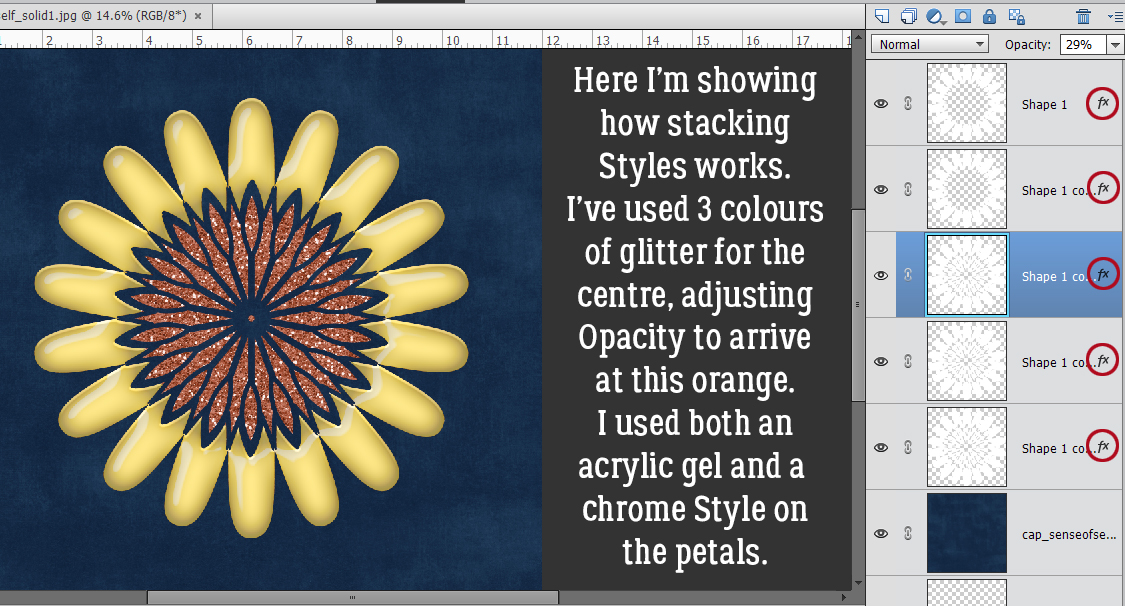
While we’re talking about Styles, the benefit of applying a Style to an element on a separate layer let’s you pile Styles on top of each other. In this instance, you’d be Copying the layer you want to alter, then adding the Style to the Copy layer. Imagine I created a Custom Shape of a flower.
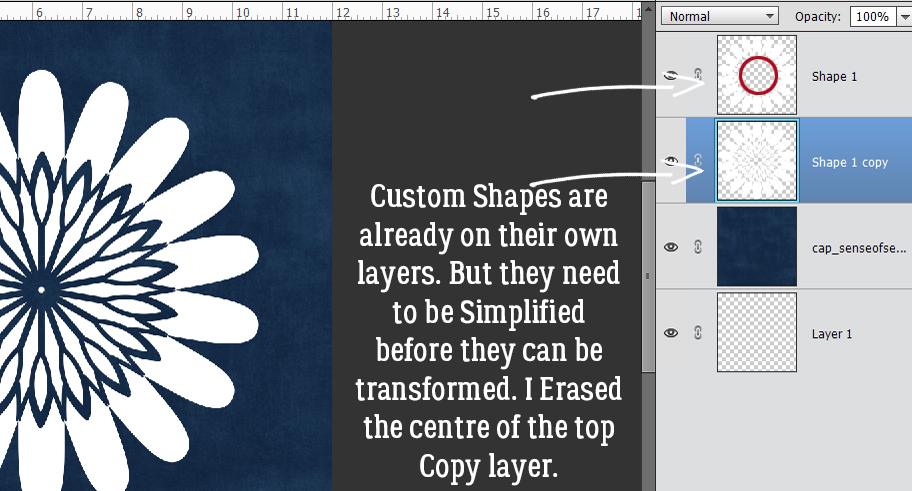
By making a Copy layer, I can add an acrylic gel Style to the petals and a glitter Style to the centre, removing the parts of each layer that conflict with each other.
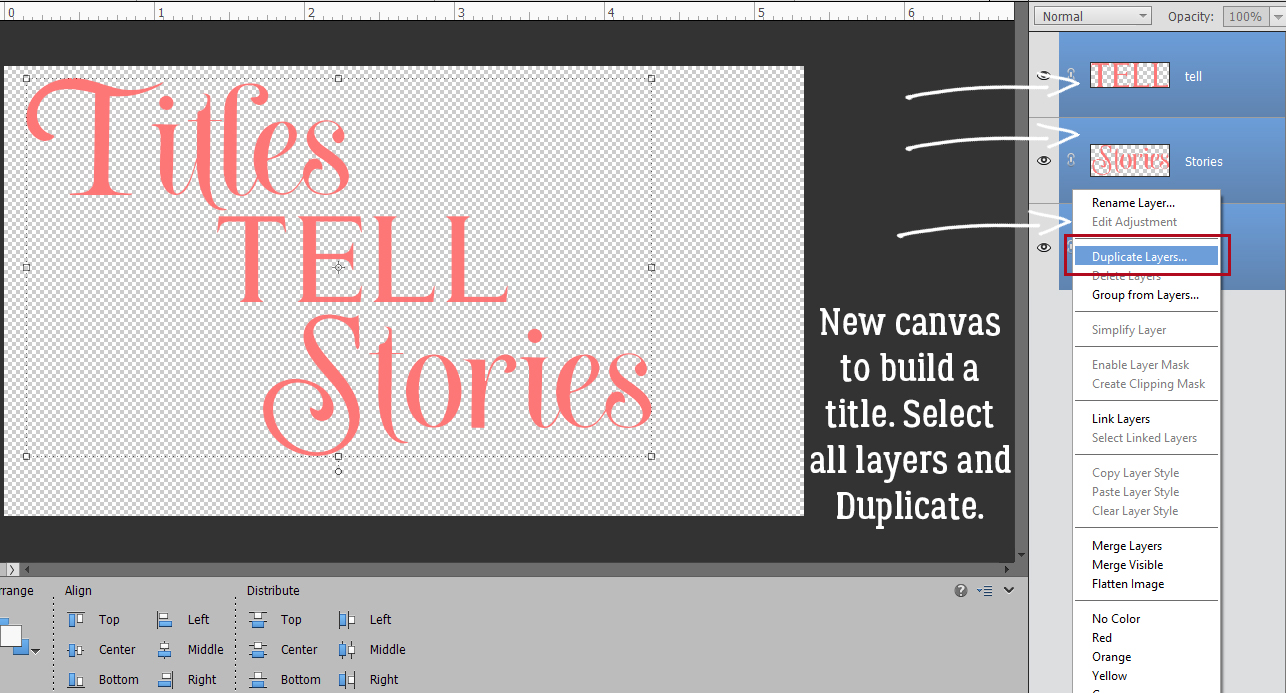
A slight variation of putting things on their own layer is one I use for titles, whether I use a font or an alpha. I create an new document where only the title will be manipulated. Sometimes it takes a little imagination to decide how to align the letters or the words, but the advantage of the new document method is that when I like how the title looks, I’ll Merge each word. Then I can select all the layers and Duplicate them onto my layout, where each layer is still intact but can be nudged into the most appropriate spot. To Duplicate those layers, click on the first layer in the stack, hold down the Shift key and click on the top layer. That “selects” all the layers. Then right-click and choose Duplicate Layers.
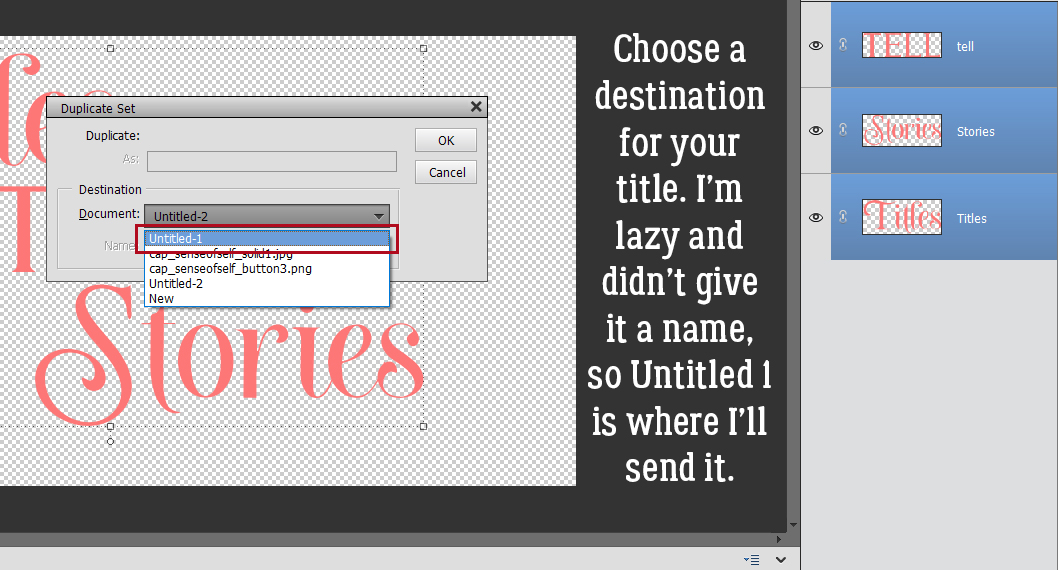
Look for whatever you’ve named (or not named!) your layout and choose it from the menu and click OK.
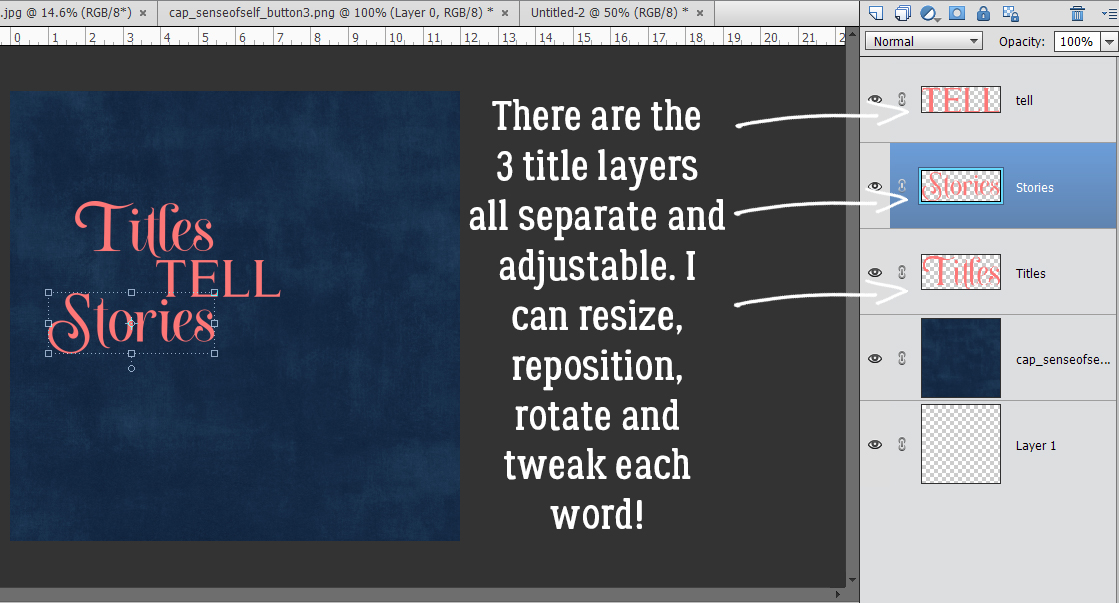
There, all three of my title layers are there and I can move them around individually, resize them, rotate them or whatever I think they need.
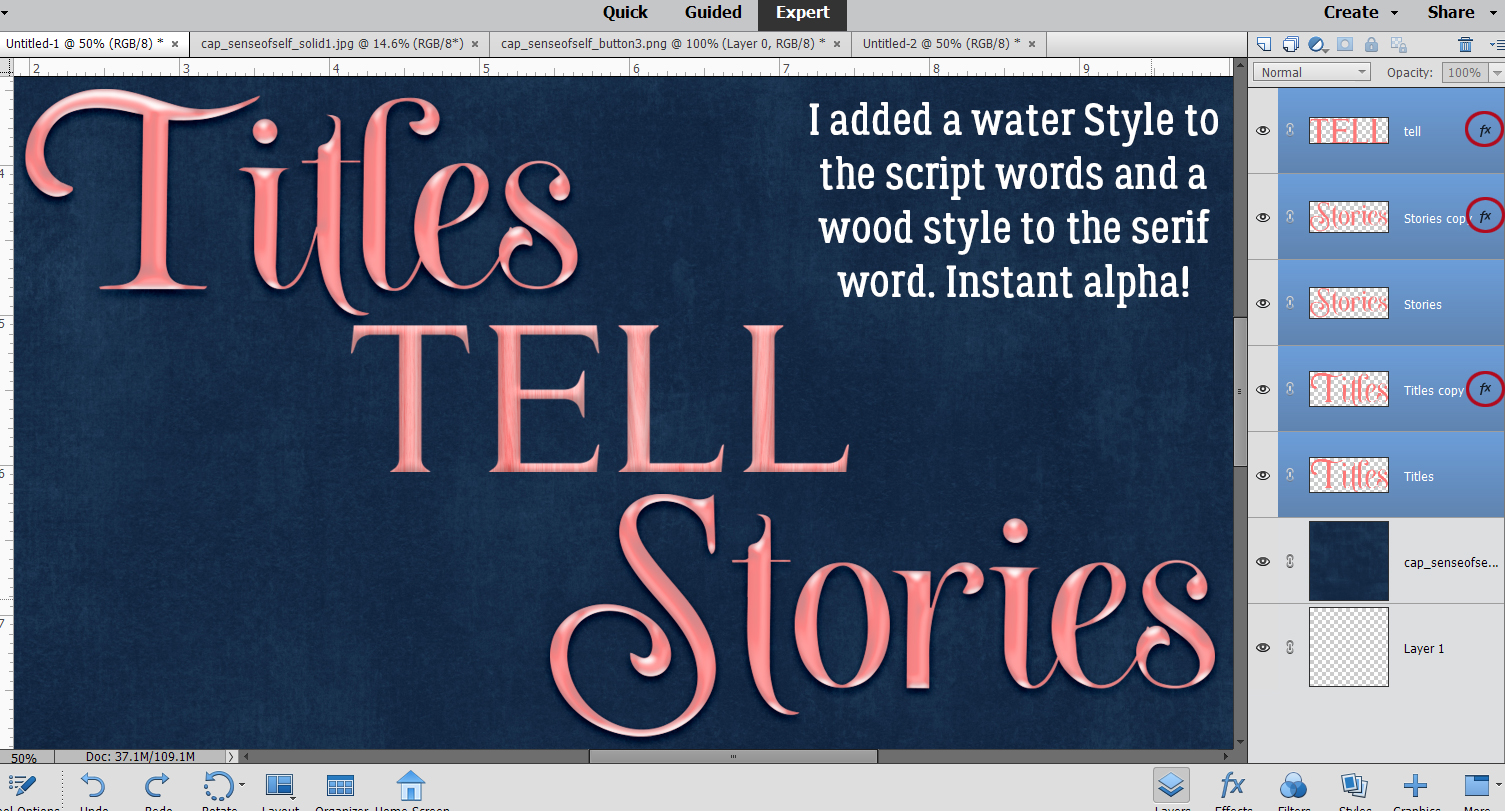
I couldn’t resist. I had to apply some styles to my title so you can see how easy it is to turn a font into an alpha.
Essentially, you want to have as much control over the things that make up your layout as you possibly can. These tricks have streamlined my creative process quite a bit – in addition to using all those keyboard shortcuts I show you each week. When I’m squeezing a little bit of time out of an otherwise busy day because the creative bug just won’t stop biting me, whatever will help me move things along is vital!
I hope this has helped with understanding ObiJan’s Golden Rule!
PDF Version: https://bit.ly/36C3YaN
![]()