Happy Friday. It’s hard to believe we are almost at the end of another month. I think they just pass faster and faster.
Remember, if you spend $10 in the store, you will get this great kit for free.

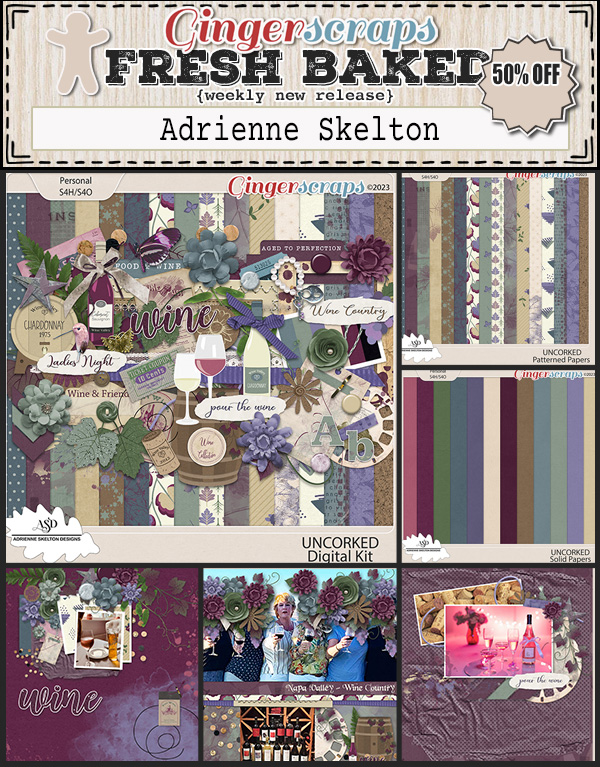
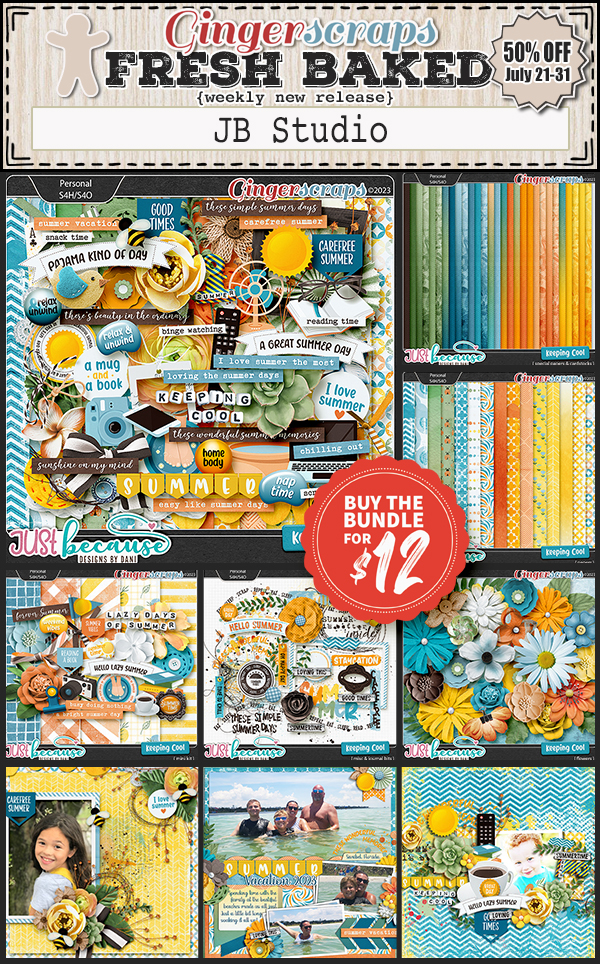
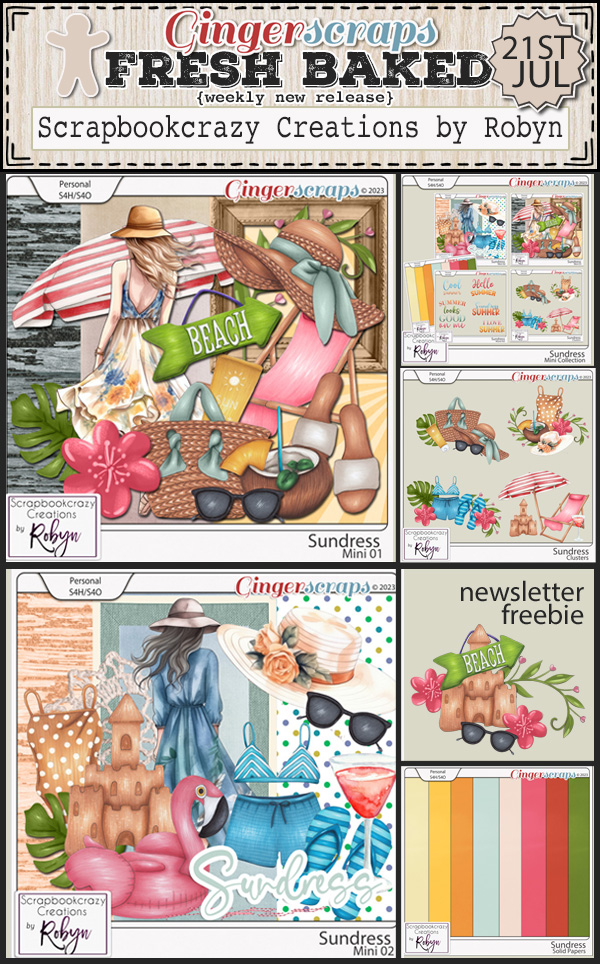
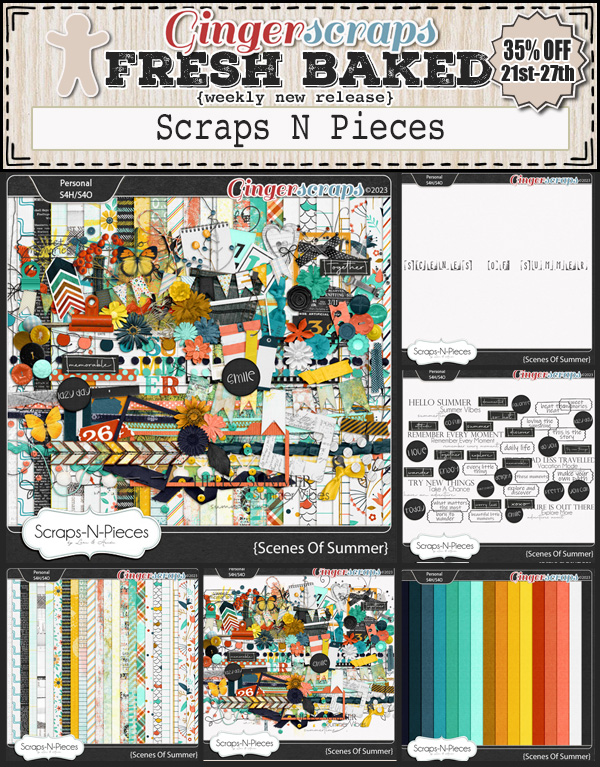
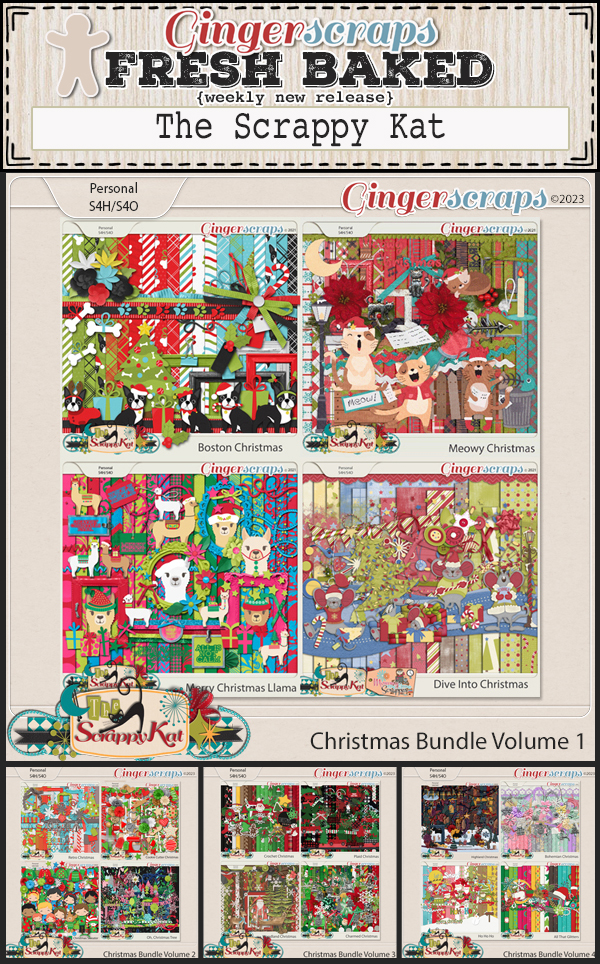
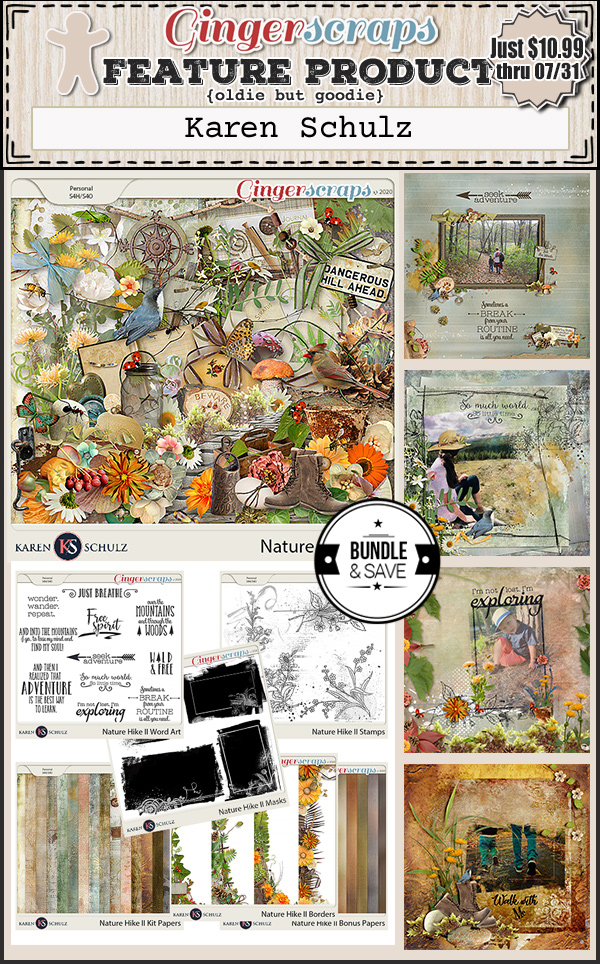
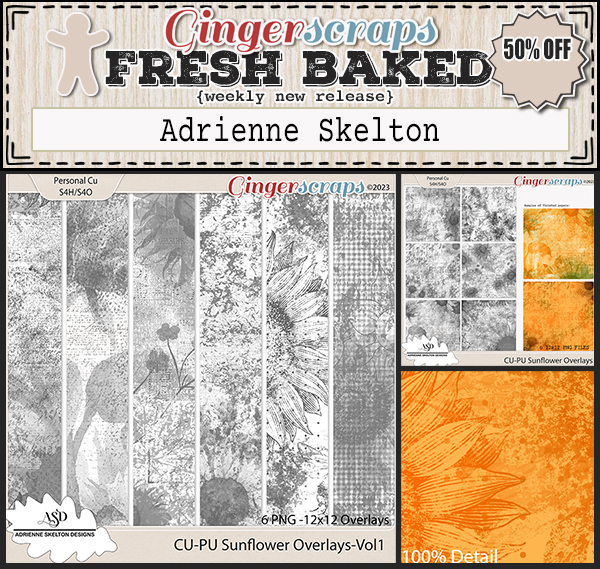
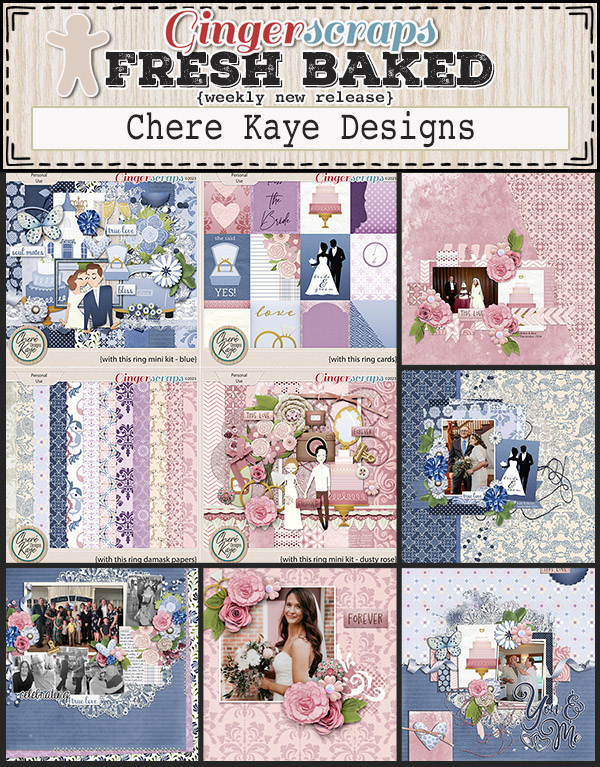
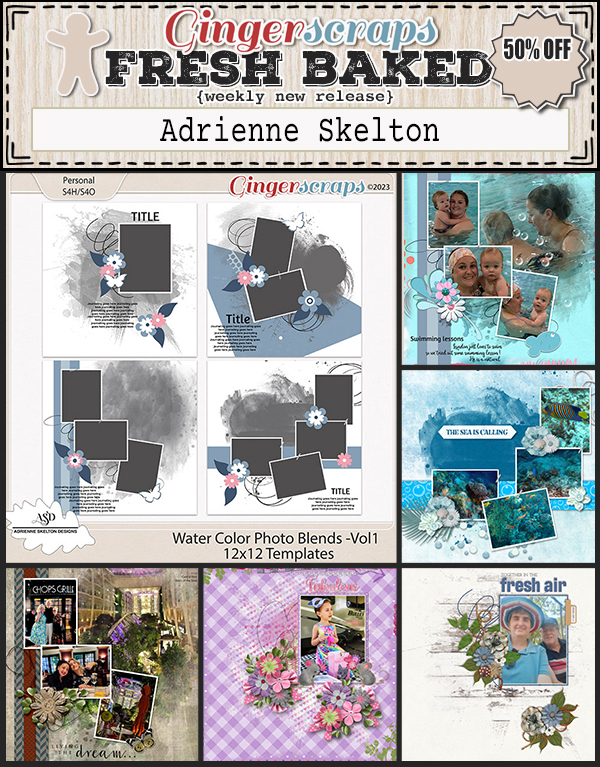
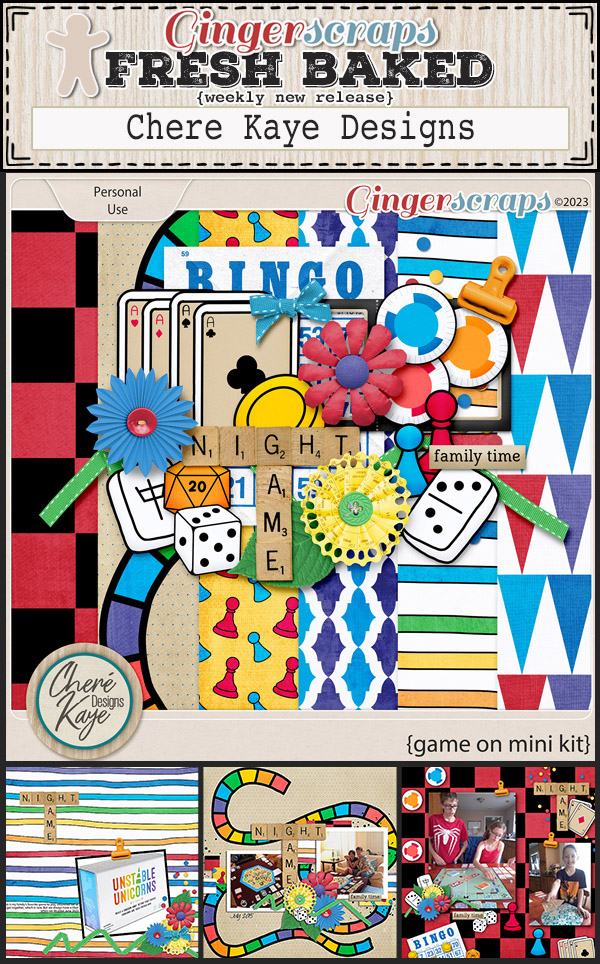
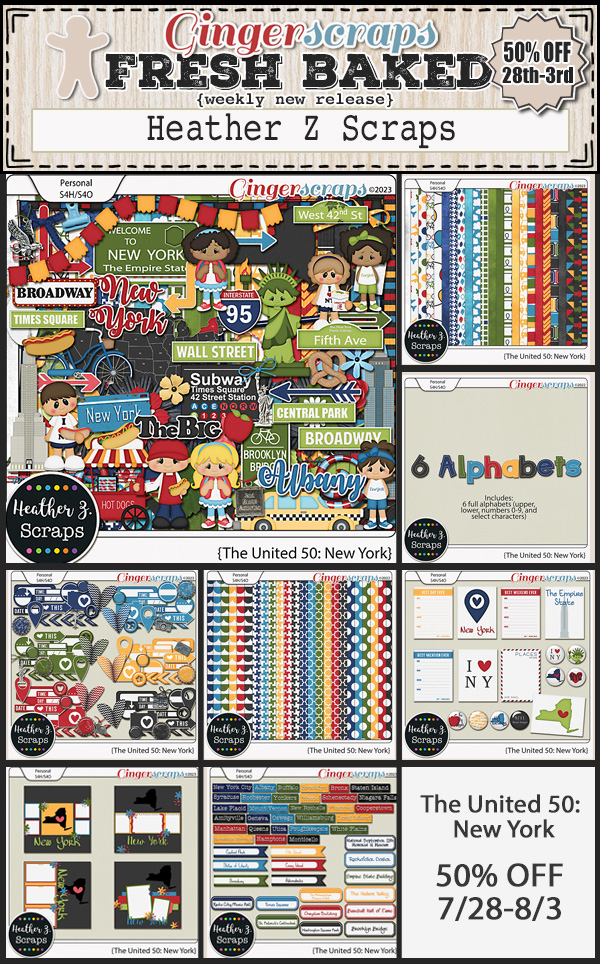
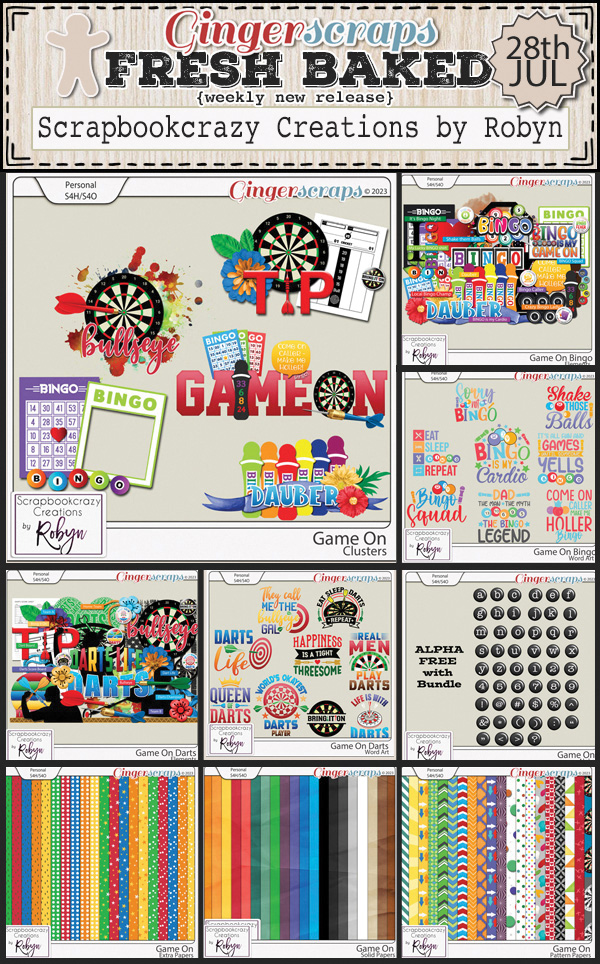
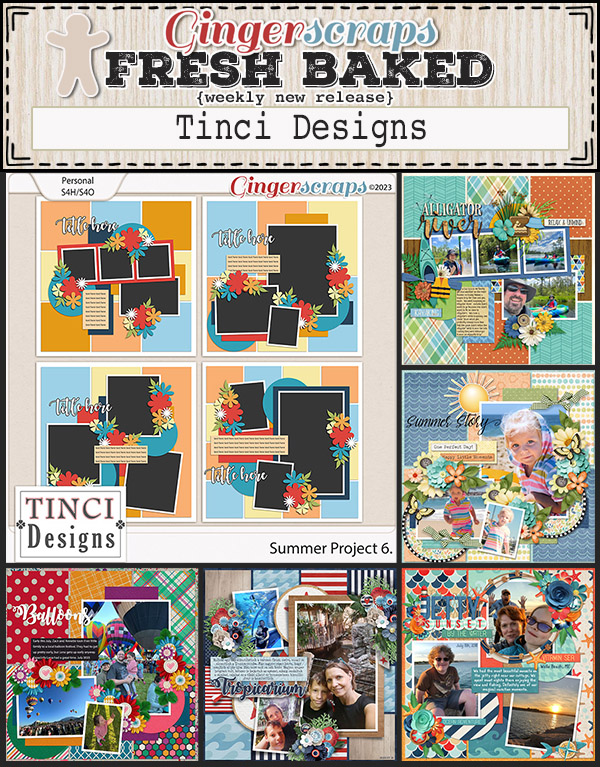
Let’s take a peek at what is new in the store this week.


Are you still working on your challenges? Complete any 10 challenges and you will get this kit as a reward.

ONLY A FEW DAYS LEFT!!
Don’t forget this limited time offer to get 35% off one of the amazing classes at The Digital Scrapper! We have joined forces to bring you this extraordinary opportunity!

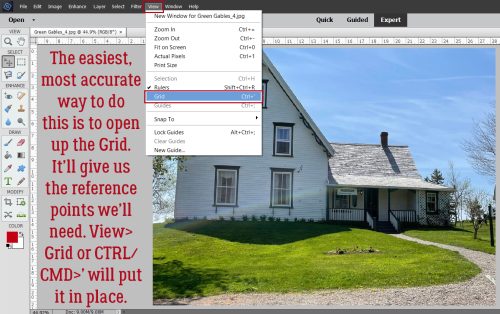
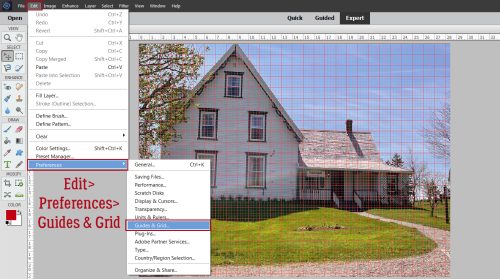
In this class, Syndee Rogers, from The Digital Scrapper, will gently guide you through settings, brushes, patterns, papers, and more! Now you can stop avoiding the Pattern Stamp tool and start using it to create stunning scrapbook pages.
LIMITED TIME – SAVE 35% on Painting with Patterns! Exclusively from GingerScraps! On sale now through July 31, 2023, Midnight Eastern.
Painting With Patterns includes:
- 17 videos for both PS & PSE
- Closed captioning (optional) while streaming
- 15 brushes, 19 patterns, 7 papers, 8 elements
- 1 word art, 1 style set, 1 template & 5 photos
- Challenge Tracker for motivation
- Syndee’s Keep It Tidy System for organization
- Instant & FOREVER Access
- Our 30-day Satisfaction Guarantee
Is Painting With Patterns for you? It’s for all styles of scrapbooking. It’s for beginners. It’s for the more advanced. It’s for scrapbookers, card makers and budding designers! If you have Adobe Photoshop or PSE 2019 or newer, then this class is for you.
Questions about Painting With Patterns? Contact Syndee Rogers

Remember that is exclusive 35% off discount ends July 31, 2023

Stay tuned for more updates, and get ready to unleash your creativity with GingerScraps and The Digital Scrapper. Together, we’ll transform your digital scrapbooking projects into breathtaking works of art!