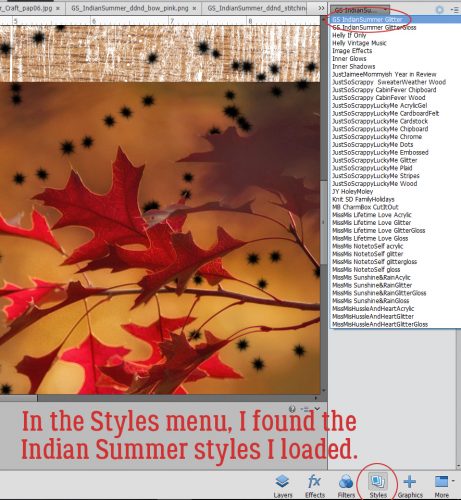
Driven to Distraction
![]()
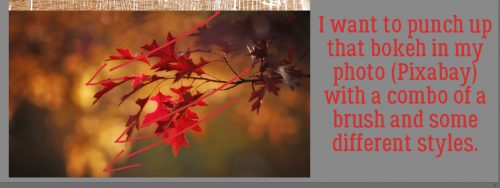
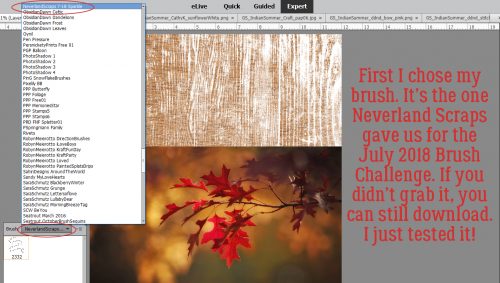
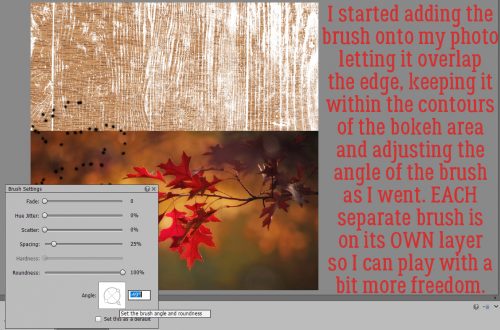
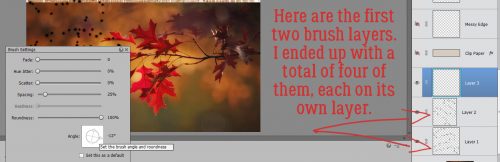
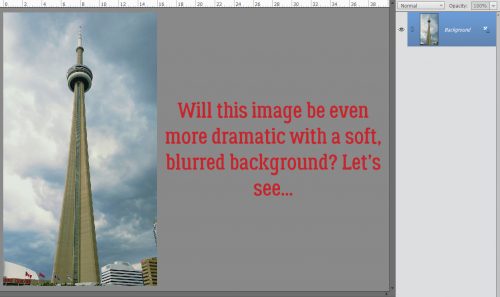
Depth of field. It’s that fabulous effect of a soft, slightly blurry background (and sometimes foreground too) that brings the subject of our shot into sharp focus and minimizes distractions. It’s easily achievable with manual settings on our DSLRs and with some settings on our phones. We all know how it makes our photos look better, but we don’t always have control over it. I snapped this photo of the CN Tower in Toronto with my cellphone. Because of the distance involved even with “portrait” settings, which should have given me a preferential focal point, the whole shot is in the same focal plane. I’m going to show you haw to fake depth of field quickly and easily using another Guided Edit.
You guessed it! Select the Guided tab, then Special Edits>Depth of Field.

There are two options for this Edit, a Simple one and a Custom one. Today we’re only going to look at the Simple method.
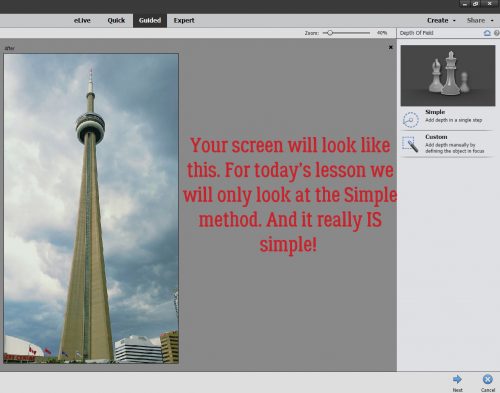
So just click on that Simple bar.

The menu looks like this and your next step is to add a blur to the whole photo.

You can increase the amount of blur by using the slider at the bottom of the panel, both before and at any point during the process.

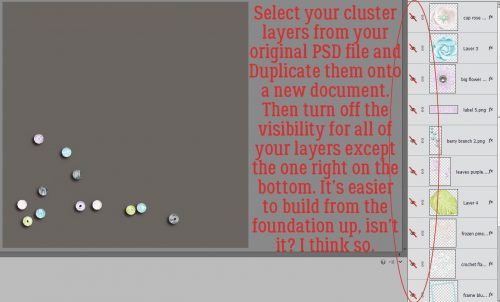
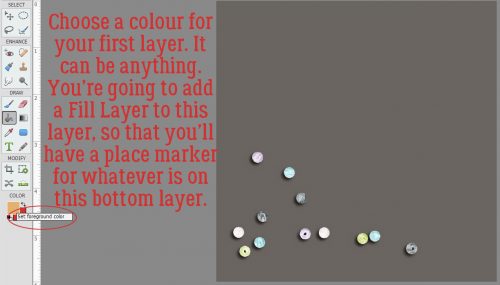
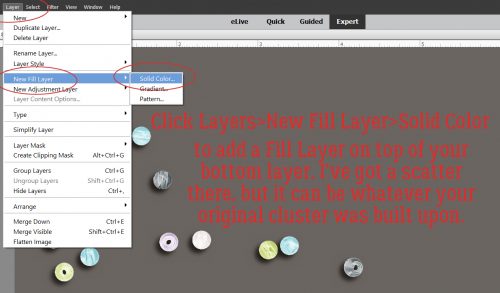
Then you’re going to select the areas you want to have back in focus. I experimented quite a bit so that I could give you the best information and save you some time and frustration.

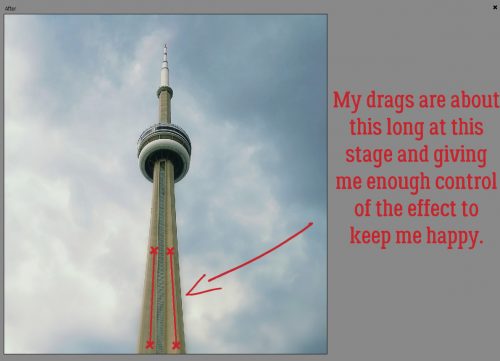
The secret to the Simple version, especially if you’re working on a photo with a lot of detail, is to make small changes. Click your mouse inside the area you’re focused on, hold down the left mouse button then drag the mouse a short distance and release. (Please ignore the typo on this screenshot. I’ve tried to fix it and WordPress won’t let me!)

If you make your drags too long, the “spillover” focus will bring areas of the photo you want blurry into focus. You can take the drags in any direction that will work for your image.

If you’re not sure how much of the image has been altered by your last drag, you can zoom in on the image. But you can’t go back in and make more drags on the zoomed in image; the software will revert back to the full image when you click on the Add Focus Area bar again.

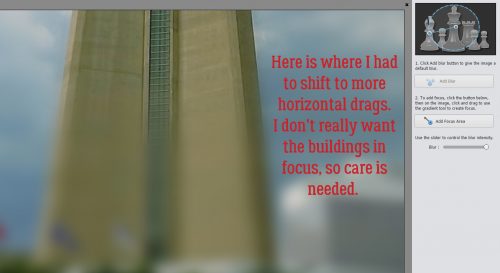
So with my photo of the CN Tower, I worked my way down the centre of the tower in short drags until I hit a point where the edges were still being left blurry. Always watch what’s happening as you work. Then if you notice areas you don’t want in focus are suddenly popping, you can quickly and easily Undo (CTRL/CMD>Z) those last couple of changes.

Once I got to the point where the edges were still visibly blurry, I adjusted the angle of my drags, but still keeping the start and end points inside the edges of the tower.

As I got closer to the bottom of the tower, I started seeing the buildings to the sides were starting to pop. Oh no you don’t! I changed my strategy again and used some horizontal drags again.
This is particularly important in images with more detail, both in the focal area and the background. Go slowly.

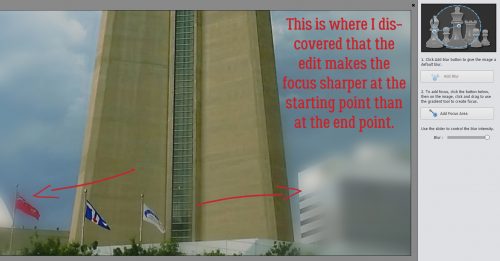
It was at this point that I started to notice that the software created more focus at the beginning of a drag than at the end. So again, I shifted my strategy from going left-right to going right-left. Problem solved!
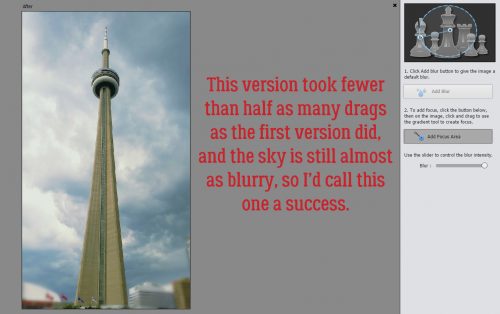
But before I shut Elements down, I wanted to try it again to see if I could reduce the number of drags needed to get the focus where I wanted it without messing with the blur too much. So I started again, this time taking longer vertical and slightly angled drags.

Here’s a zoom view of the observation deck.

The angled drags were longer than in my first effort, but not running top to bottom as I had done when I was first figuring out how to make this Edit really work.
I cut the number of clicks down by at least 50% and still had a result I was pleased with. So give it a try, Undo as needed and see how you like it!
I have some more photos I want to play with, and you just might see some of them in the Gallery one of these days!
![]()