Happy Thursday! This week’s new releases are a bonus to the awesome Buffet collections that debuted today. Remember the Buffet products are 50% off until the 5th! Several designers have goodies releasing tomorrow as well! Let’s take a look!
From Craft-tastrophic


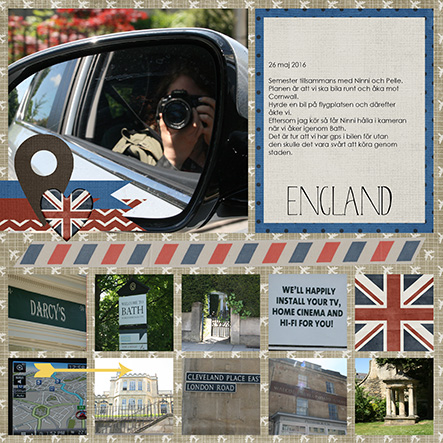
From Aimee Harrison


From Heartstrings Scrap Art


Have an awesome weekend!


")