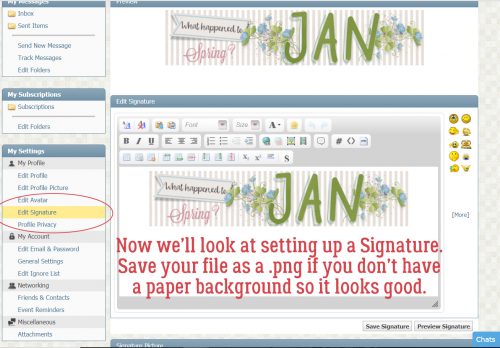
Quick Trick: Dupe a Graphic Novel Look
![]()
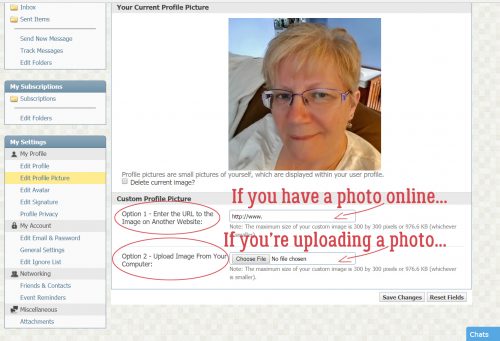
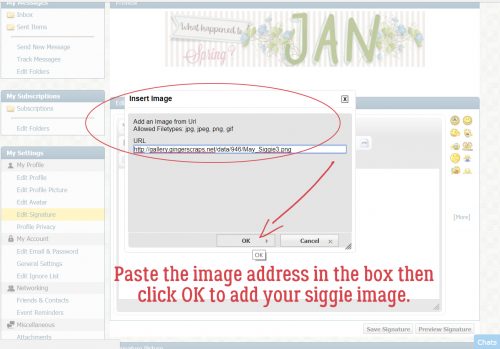
On Sunday I was with my son while he watched an adventure/comedy movie on Netflix. When the movie ended and the credits started rolling, I noticed the producers had turned some stills into graphic novel images, and the idea for this tutorial was born. Turning a photo into a graphic novel cartoon is really easy! This is the photo I chose to play with.

First thing I did was make two Copies of the photo. You can right-click on the photo layer then choose Duplicate Layer>OK twice of you can use the keyboard shortcut CTRL/CMD>J twice. Your call. [I make these Copies so each manipulation is on a separate layer and can be further tweaked to obtain my desired results.] Then I turned the visibility for the top two layers off so I could concentrate on the bottom, original layer. “Close the eye”. You don’t HAVE to do that if you choose not to.

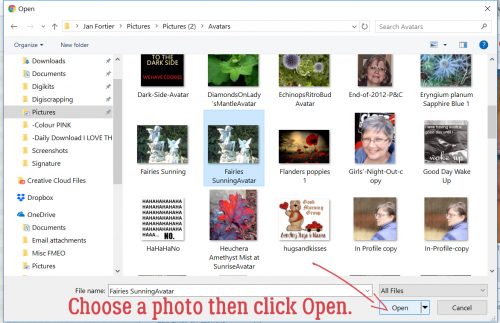
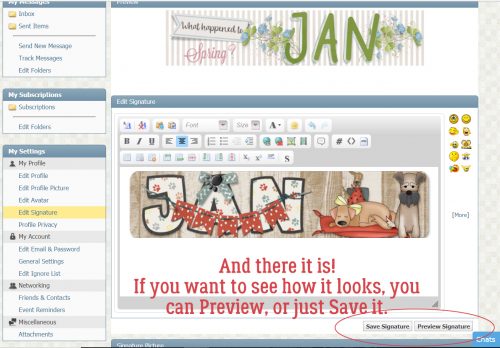
With the BOTTOM LAYER active, click on Filter>Sketch>Comic…

This is the Filter interface, and the default settings. Comic >> Soften = 4 >> Shades = 5.14 >> Steepness = 1.4 >> Vibrance = 0.5 and Thickness = 1.4. You can move the sliders around to see what each does and choose the look you like best. I kept the defaults.

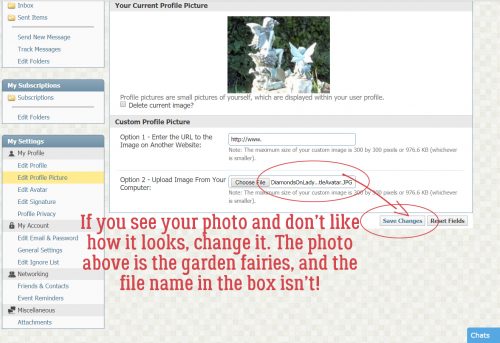
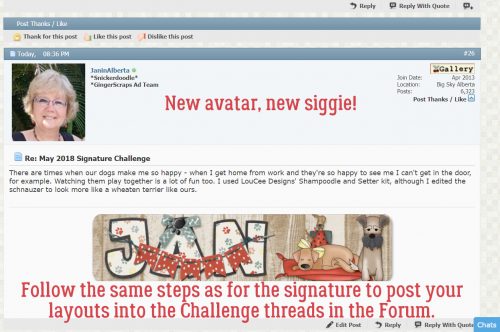
Next, activate the MIDDLE LAYER and again click Filter>Sketch>Graphic Novel…

The defaults for this one are as shown: Painted Gray >> Darkness = 4.64 >> Clean Look = 4.4 >> Contrast = 0.52 and Thickness = 1.43.

I did some adjusting here. Painted Gray >> Darkness = 3.87 >> Clean Look = 4.4 >> Contrast = 0.82 >> Thickness = 1.21 and Smoothness (1/2).

Then I changed the Blend Mode to Overlay. Click on the bar at the top left of the Layers Panel and choose Overlay from the dropdown menu.

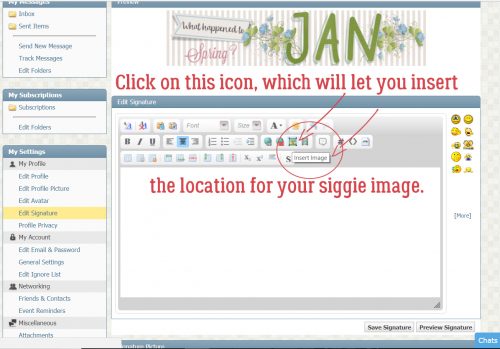
There’s one more Filter to add.

I moved to the TOP LAYER, and made sure my Color Picker was set to Black in the Foreground, White in the Background. [This is important so don’t forget to check! I learned it the hard way.] Then I clicked Filter>Sketch>Halftone Pattern…

The result isn’t super-visible here but if you could zoom, you’d see it easily. The defaults are Size = 4 >> Contrast = 50 >> Pattern Type = Dots.

Ah, there it is! I adjusted the Size to 6 and the Contrast to 40.

Again, I changed the Blend Mode to Overlay. Then I turned the other layers back on.

If I want to, I can adjust the Opacity of each layer, change the order of the layers and make other adjustments as I wish. I think I might go a bit farther with the original Comic layer, and maybe with the Graphic Novel layer too, and make it even more cartoon-y. I can do that by adding another Filter to each layer. But for a 5 minute exercise, it looks pretty good!

See you all in March!!
![]()