Hello friends. Welcome to another Friday and Fresh Baked newsletter. I hope your week has gone well.
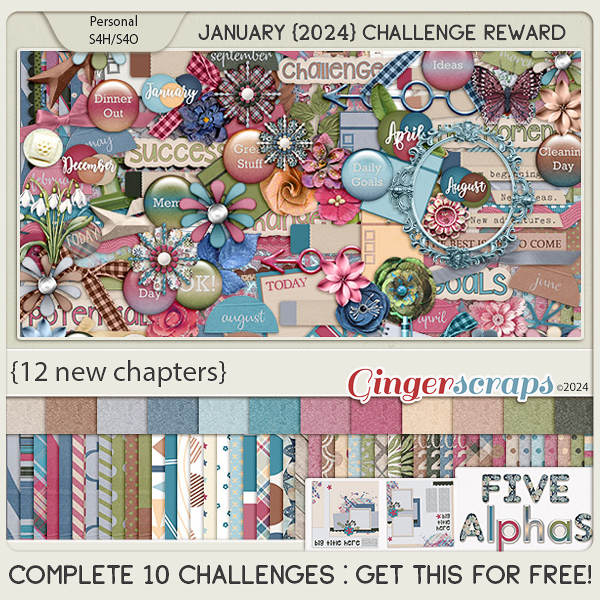
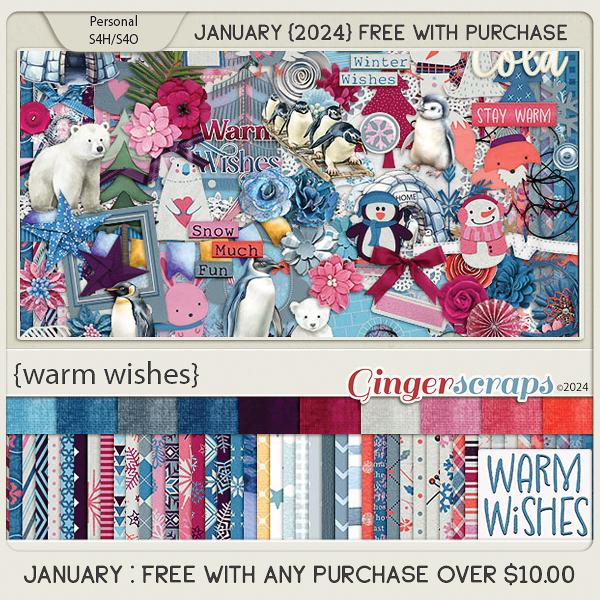
Remember, spend $10 in the store and you’ll get this collab for free.
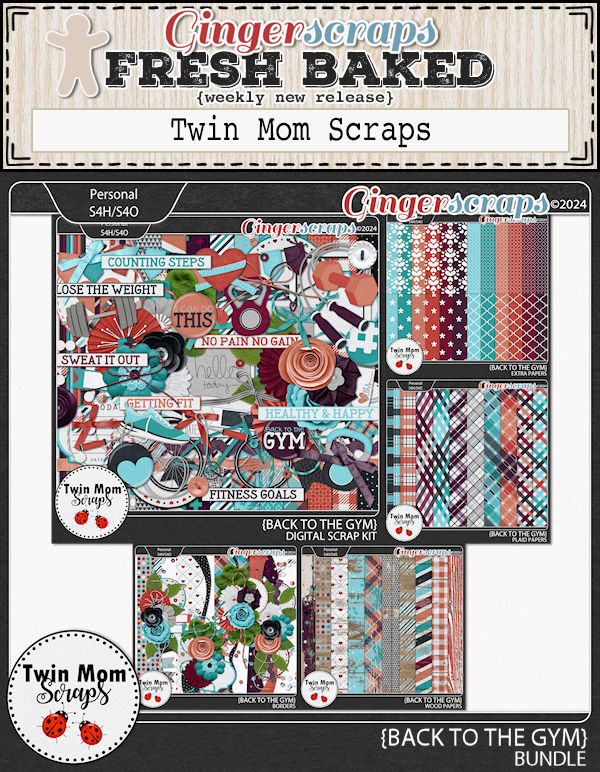
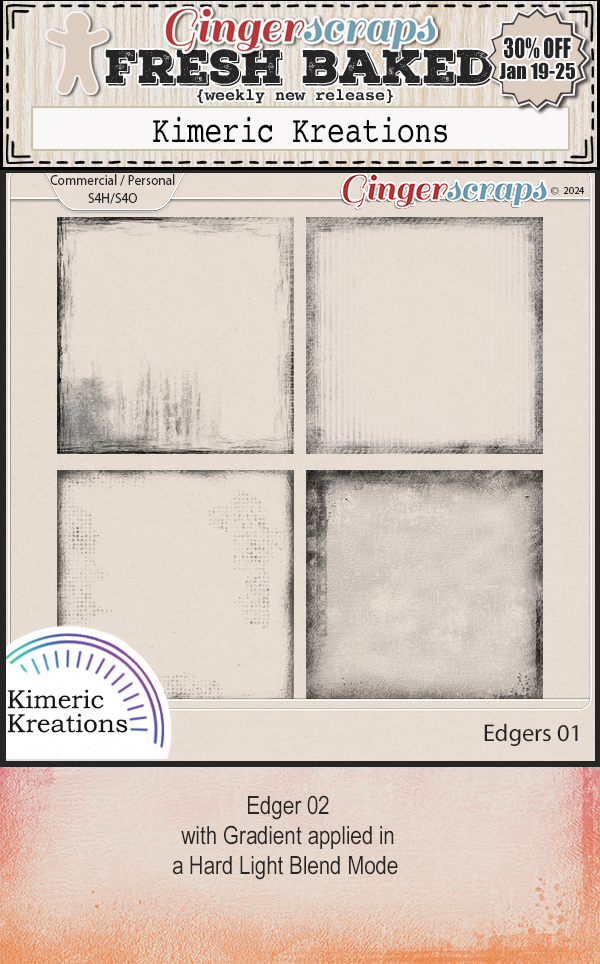
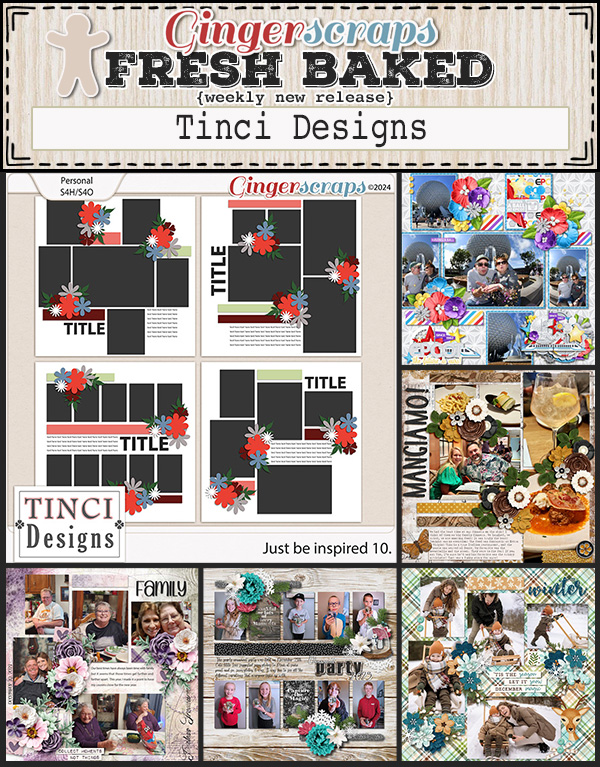
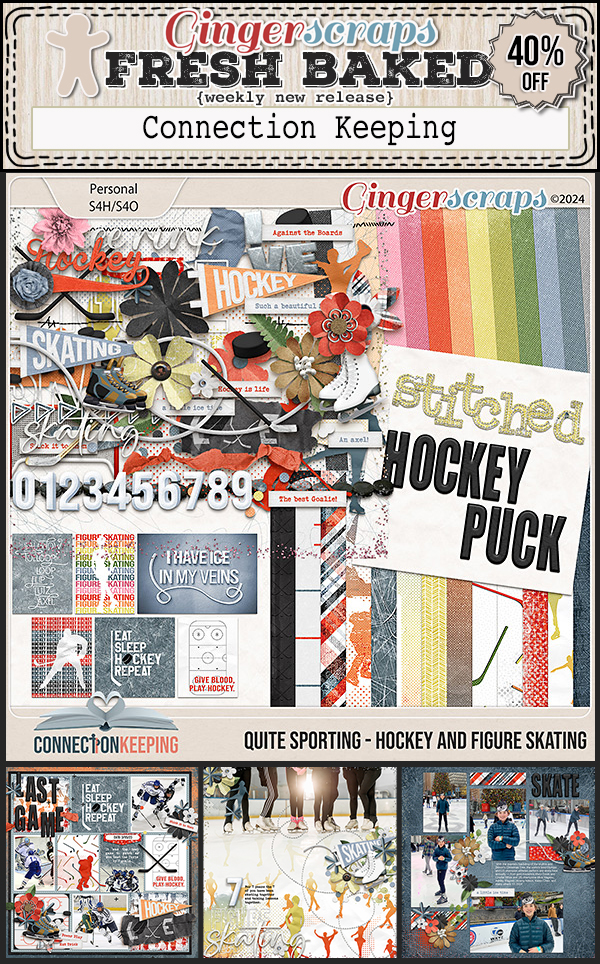
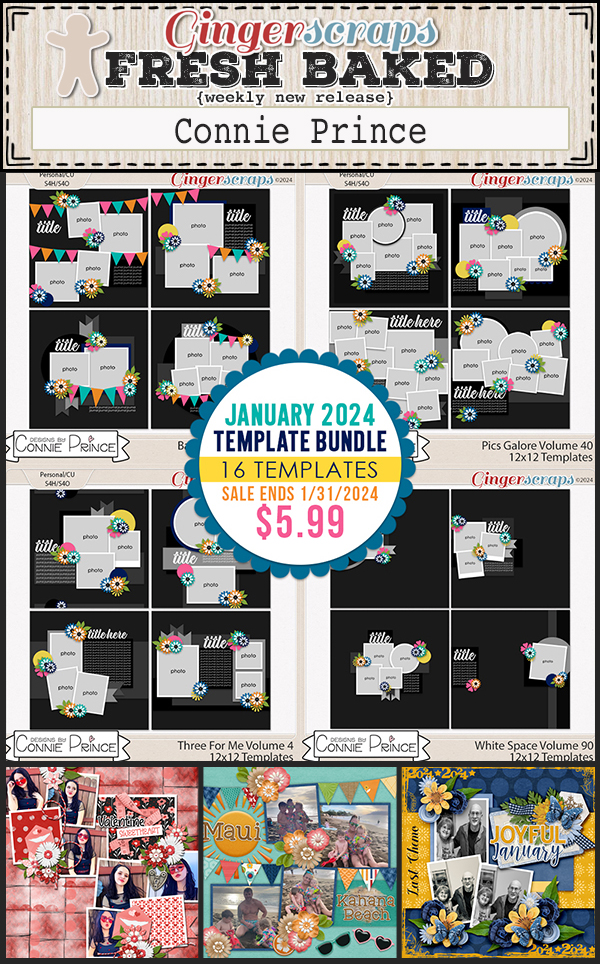
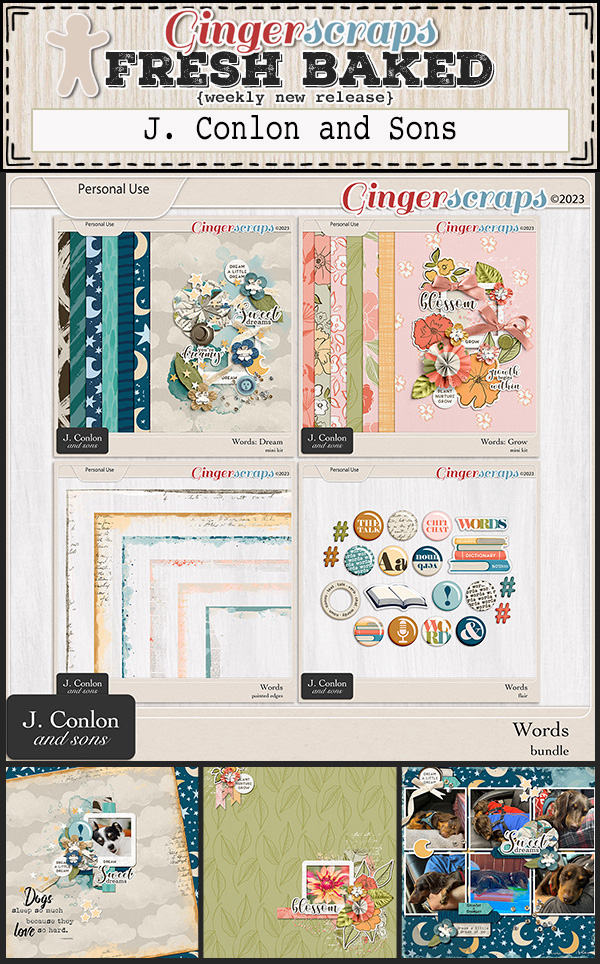
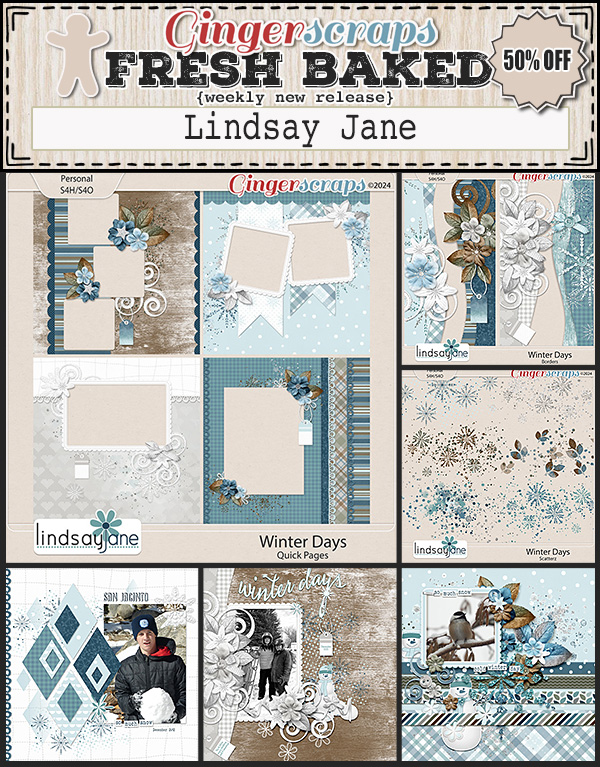
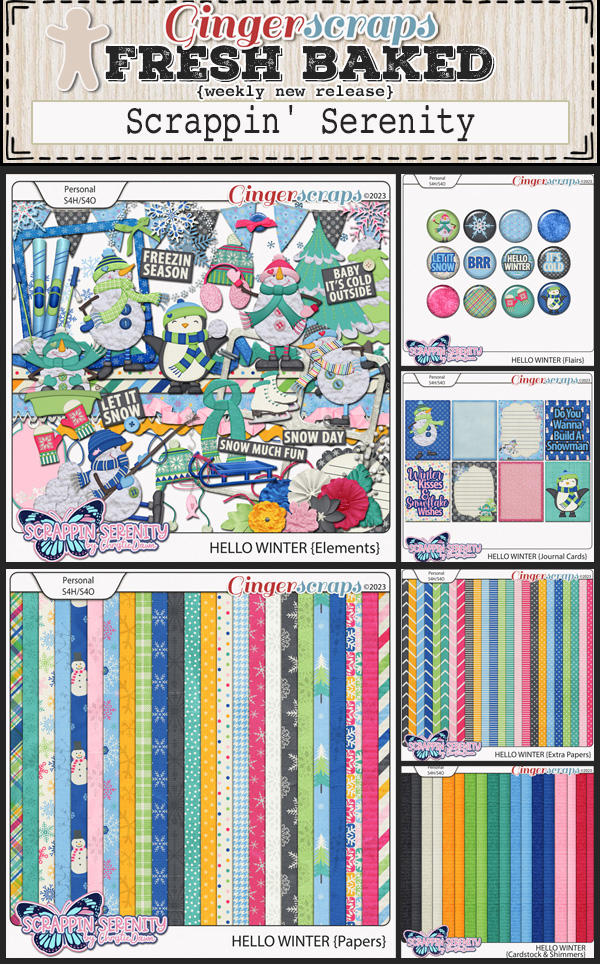
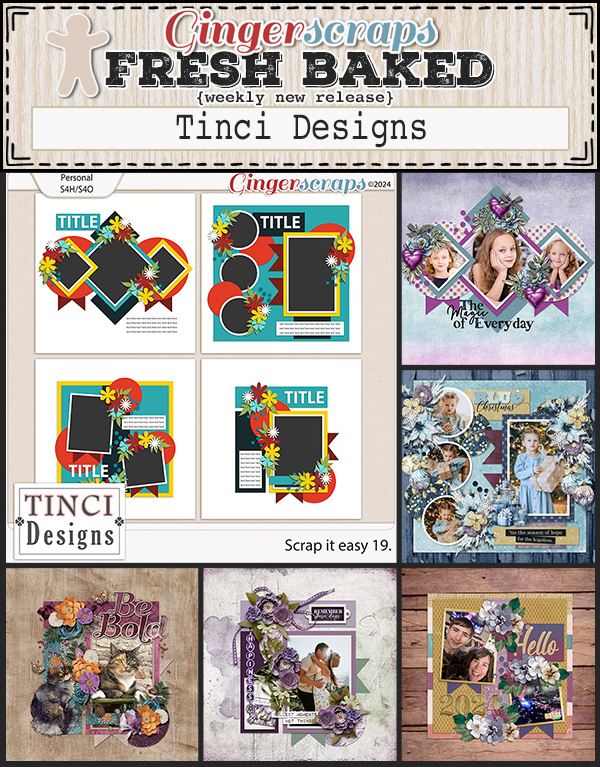
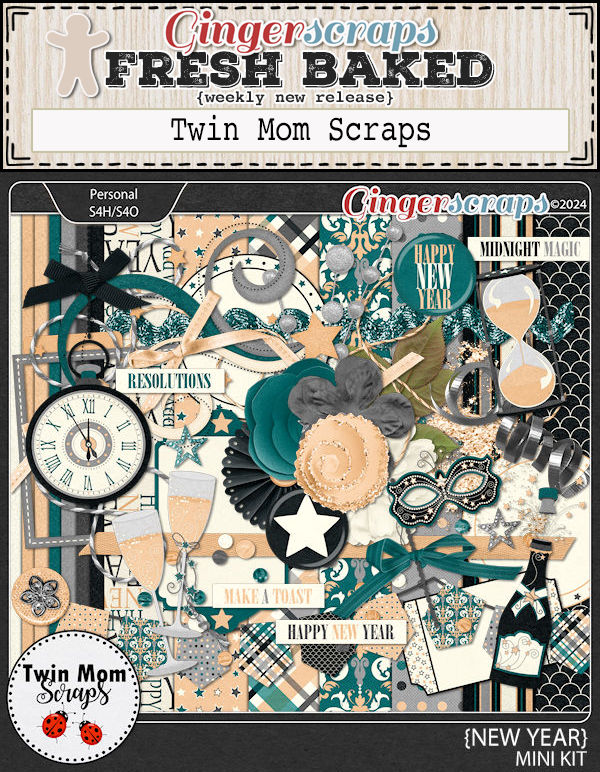
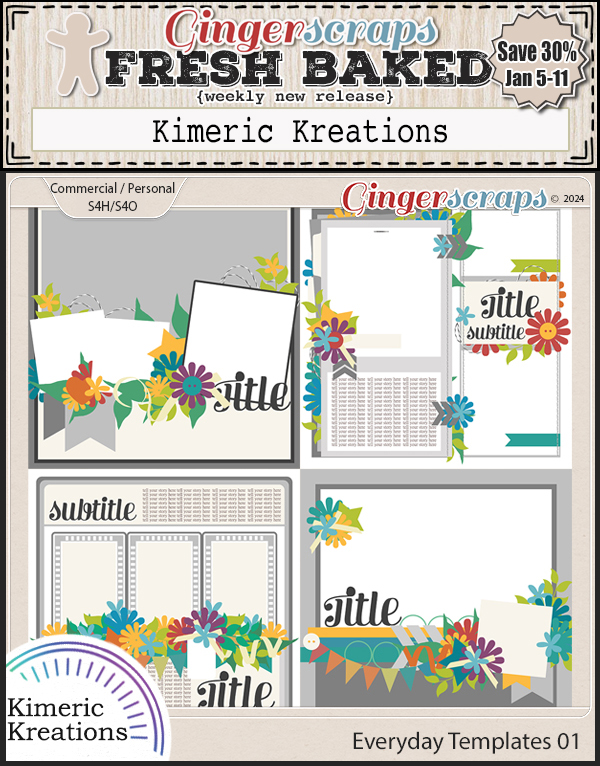
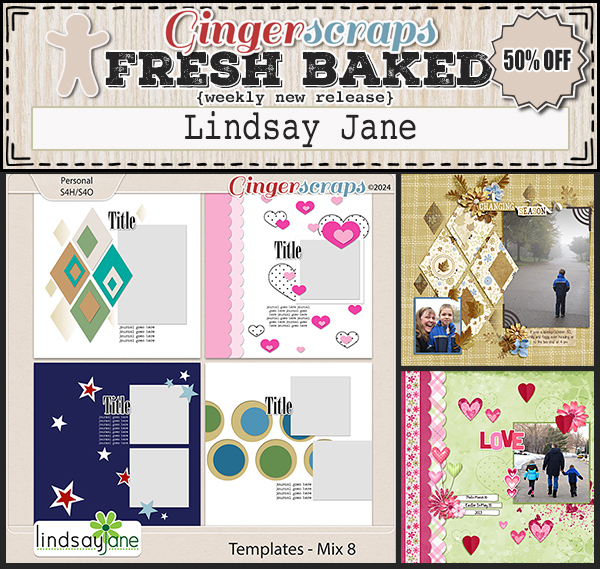
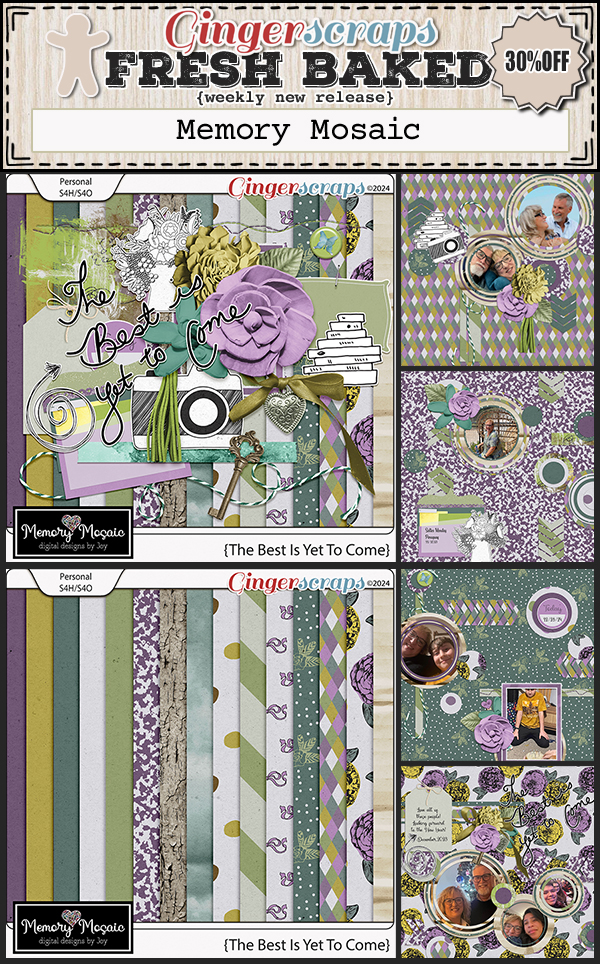
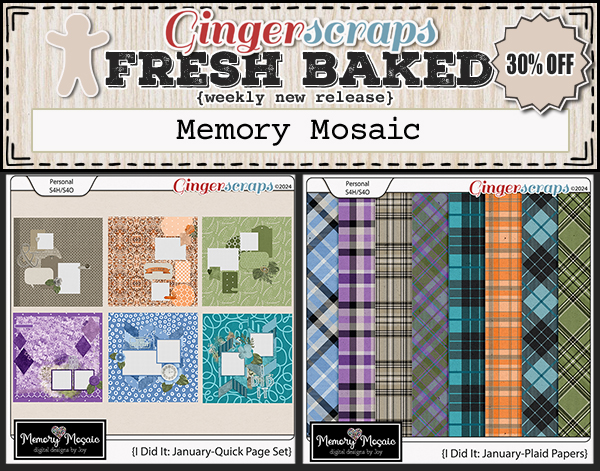
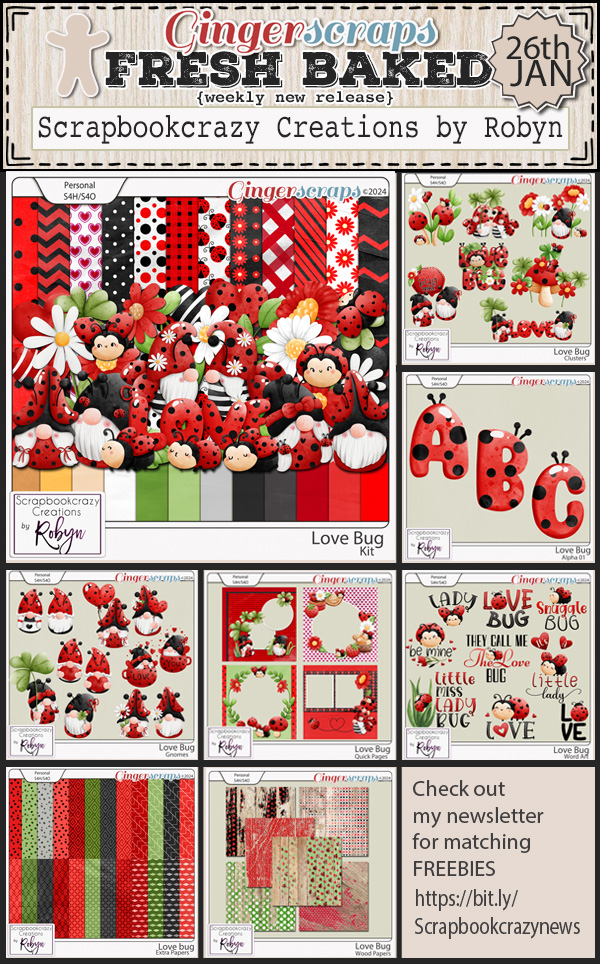
Let’s see what is new in the store.


NEW partnership sale with The Digital Scrapper!

Tell the story of your everyday life using hundreds of photos, a priceless collection of tiny stories, and a handful of beautifully designed scrapbook pages.
Stories, My Everyday Life includes: 50% off — NOW $36
- 4 styles of 12×12 grayscale templates
- Step-by-step PDF manual
- Action for splitting double pages and sharing
- Private Class Forum & Community Gallery
- FOREVER ACCESS

How are your January Challenges? Complete any 10 challenges and get this collab as a reward.