We’ve made it to another Friday. I think we’re finally starting to cool off here. I’m ready for fall.
Don’t forget this great Free With Purchase kit you get with any $10 spent in the store!

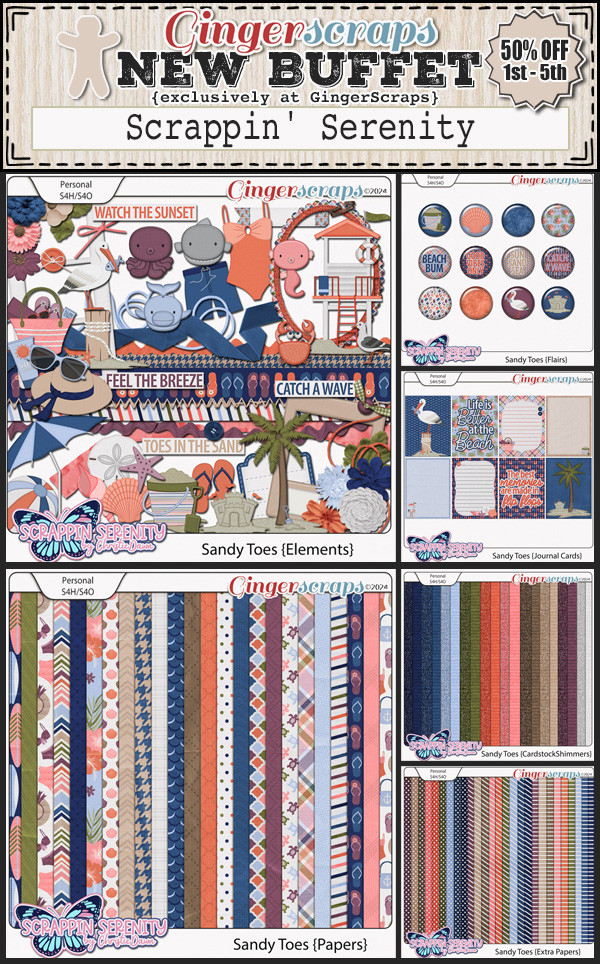
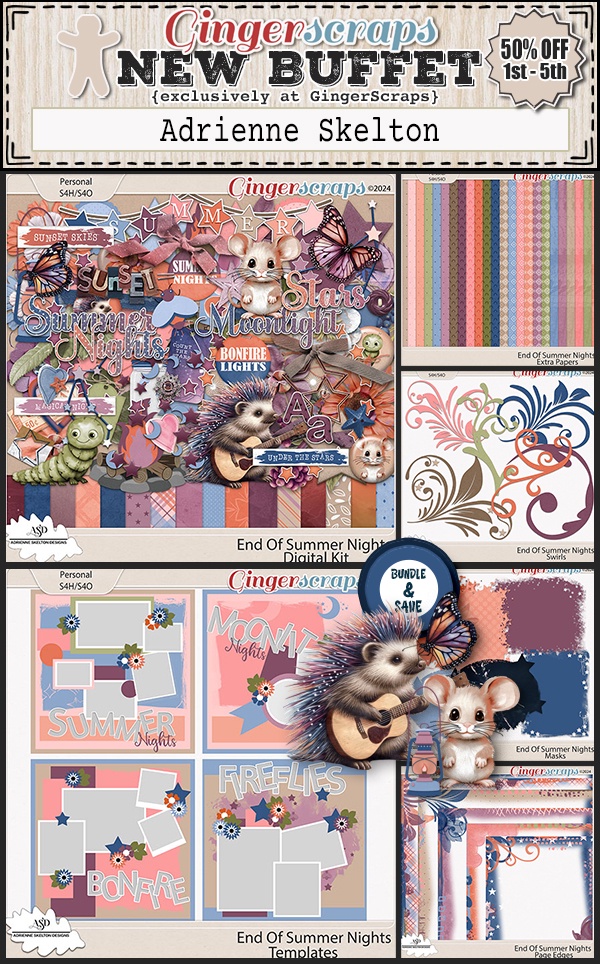
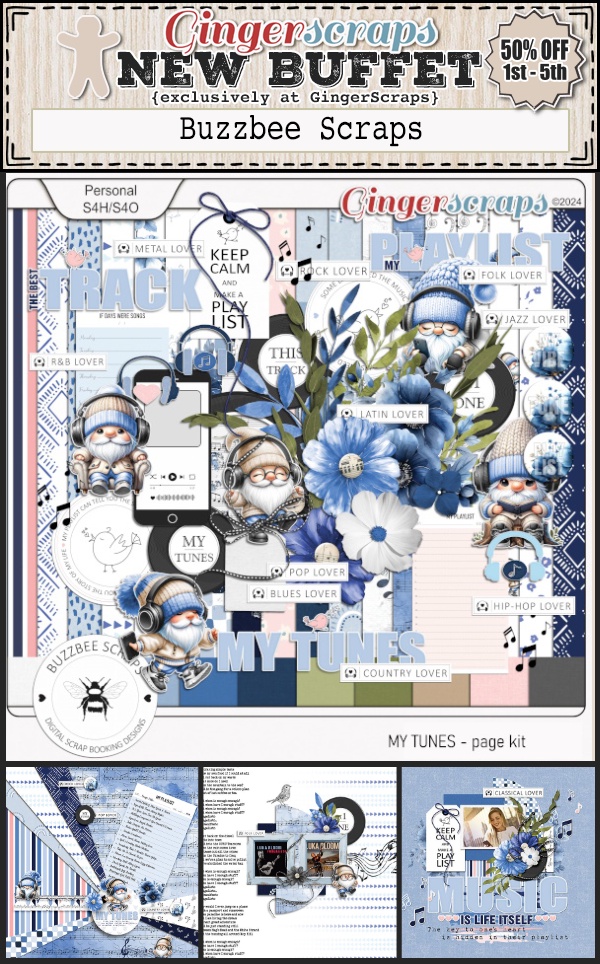
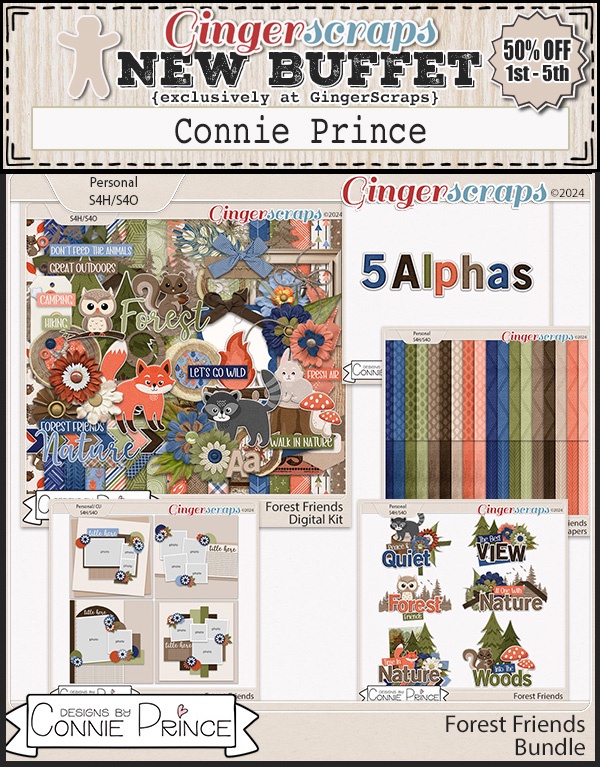
Now for this week’s goodies. We’ve got some cute kits this week.


Are you working on your challenges? If you complete any 10 challenges this month, you get this gorgeous collab as a reward! (Or a variety of other choices, visit the forum for all the details).


