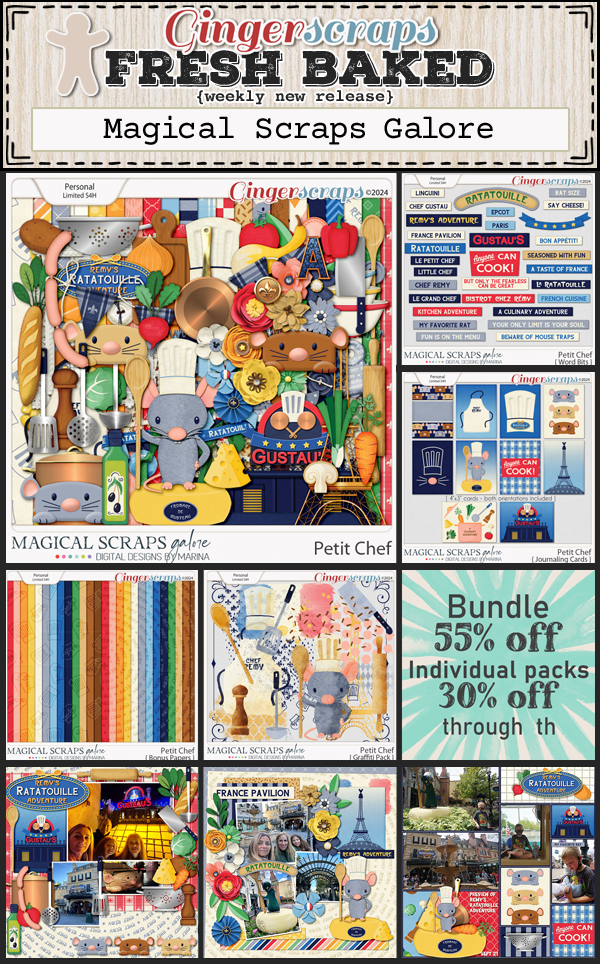
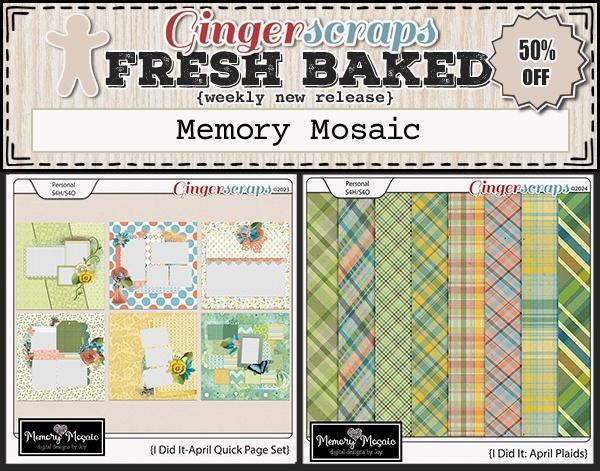
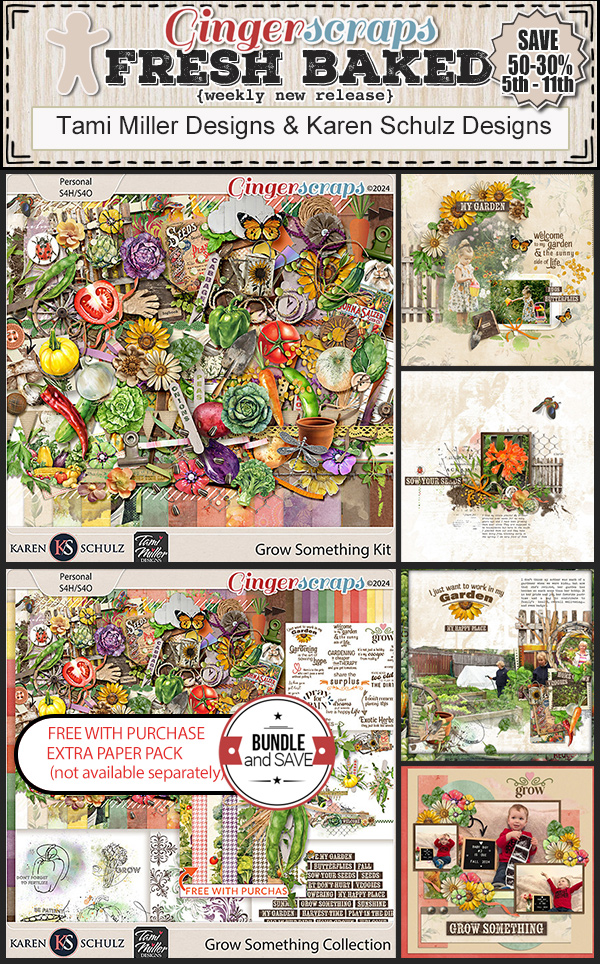
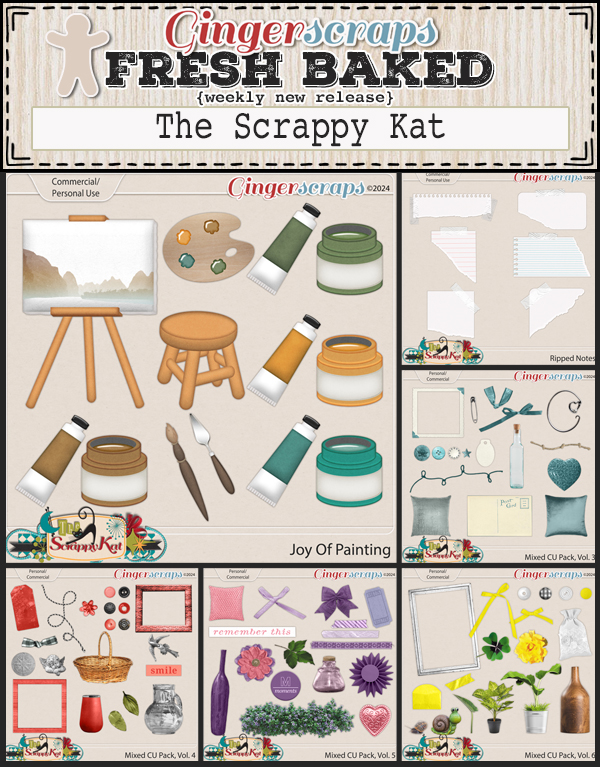
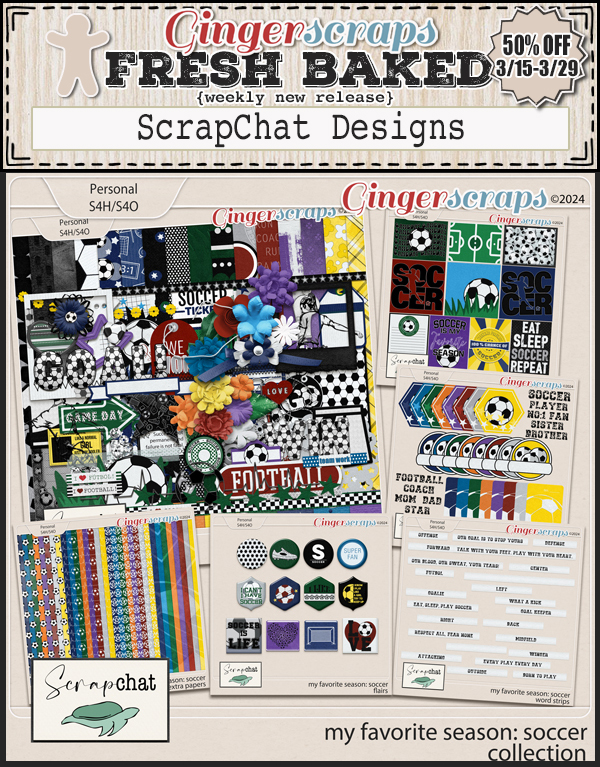
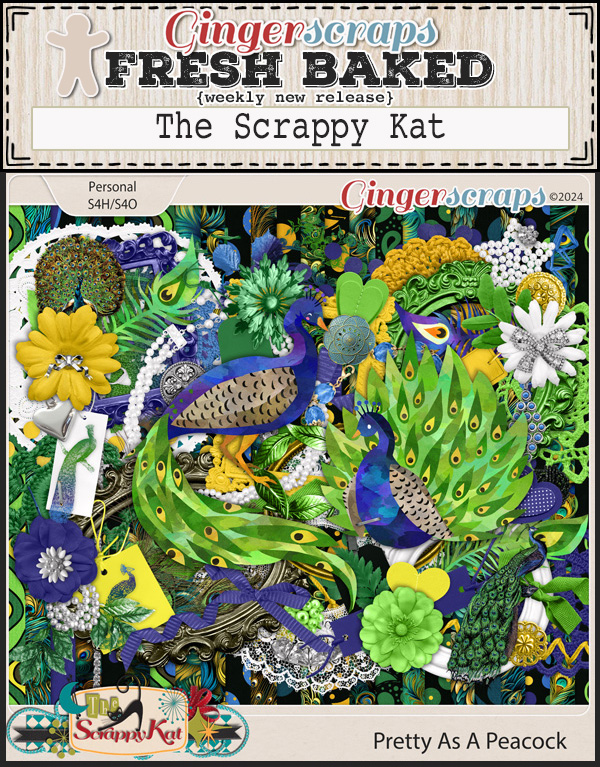
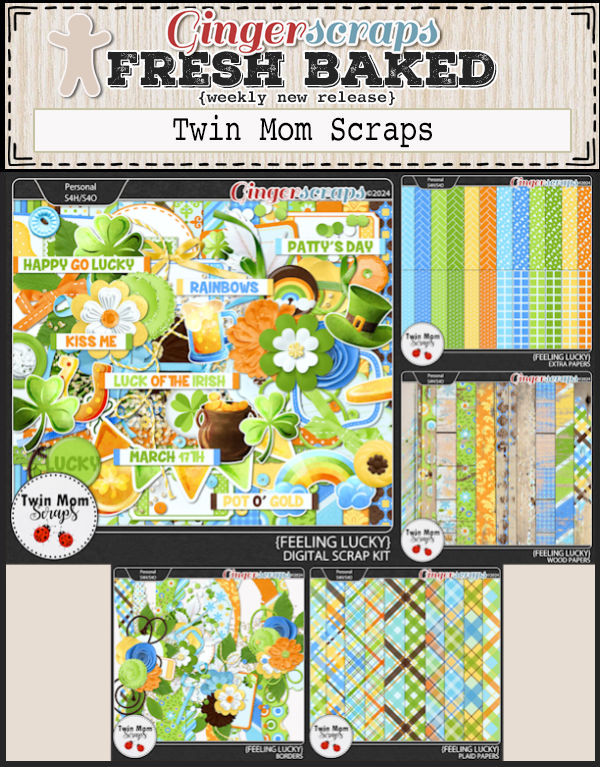
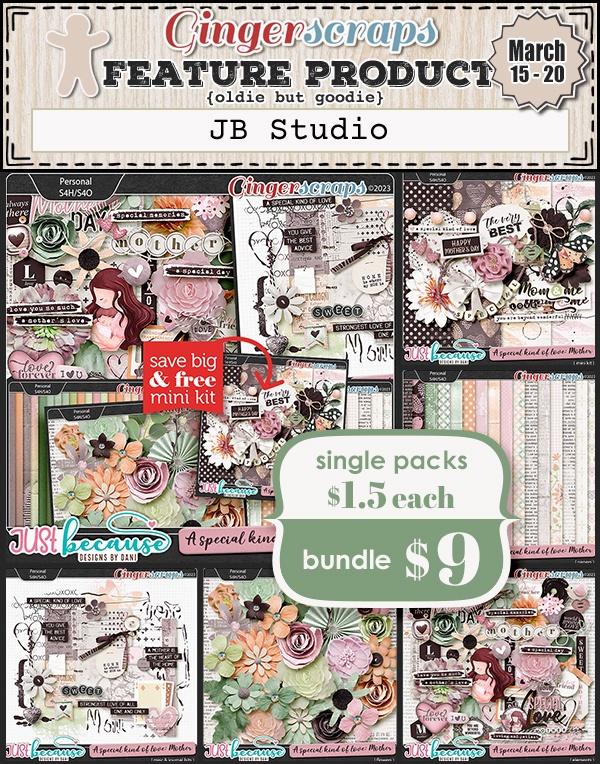
September 29, 2023: Fresh Baked

Here we are at the end of another month. I cannot believe it’s almost October. 

Remember if you spend $10 in the store you get this great kit for free.

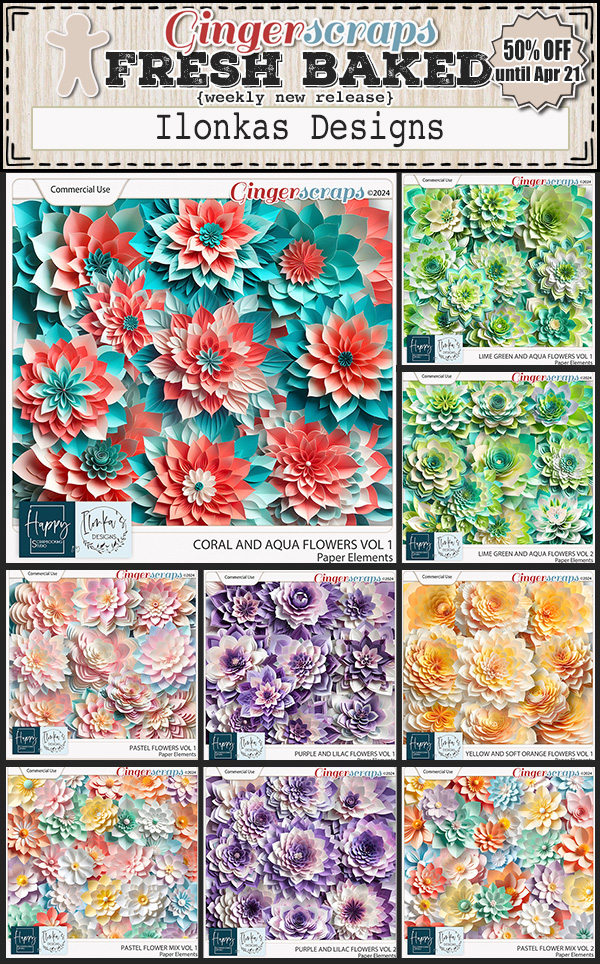
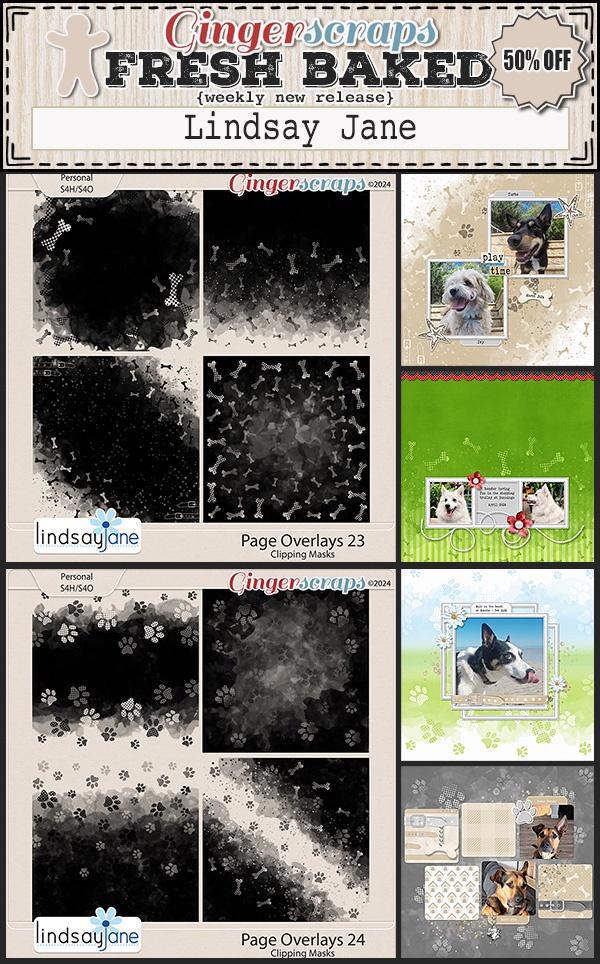
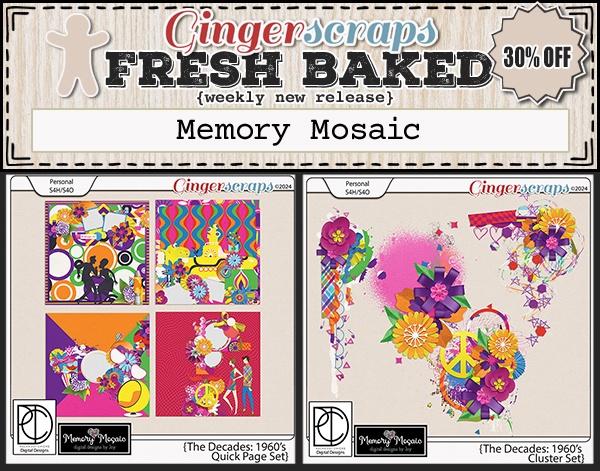
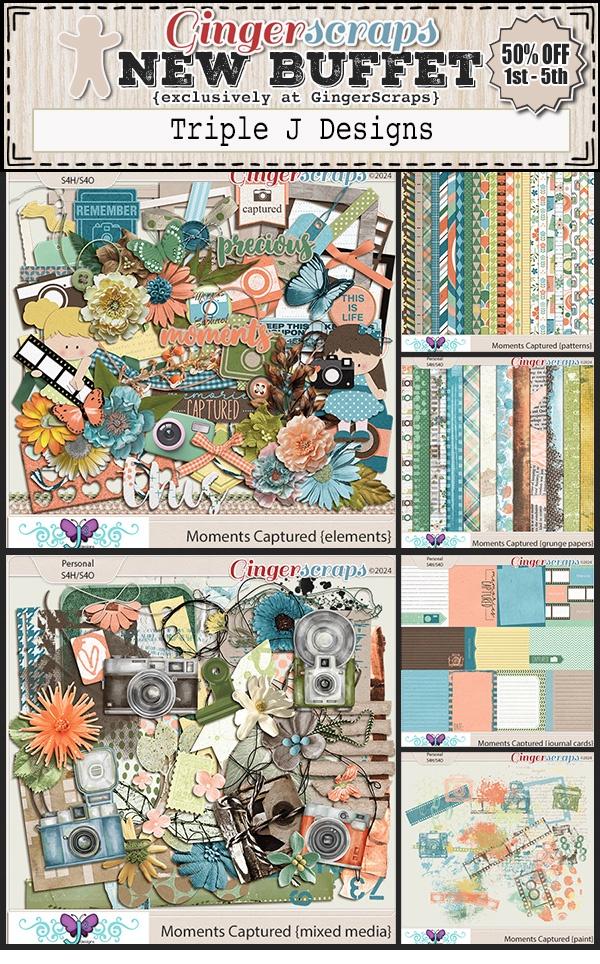
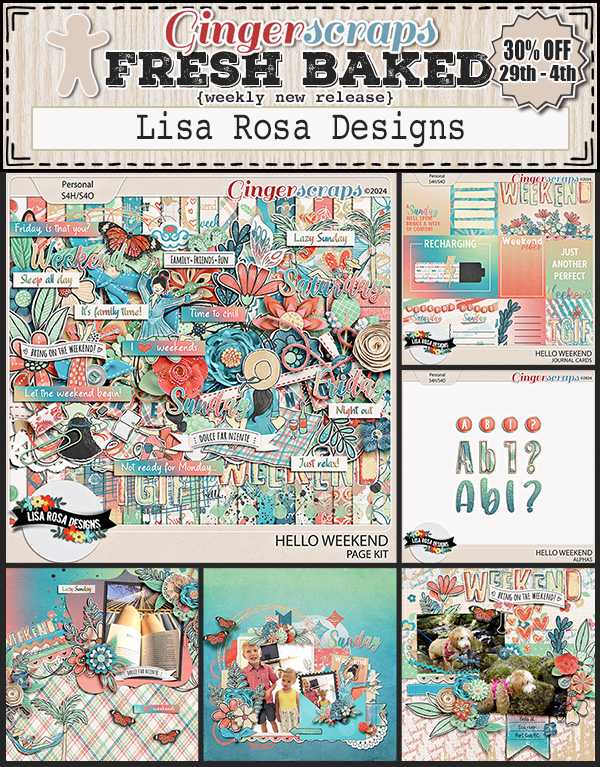
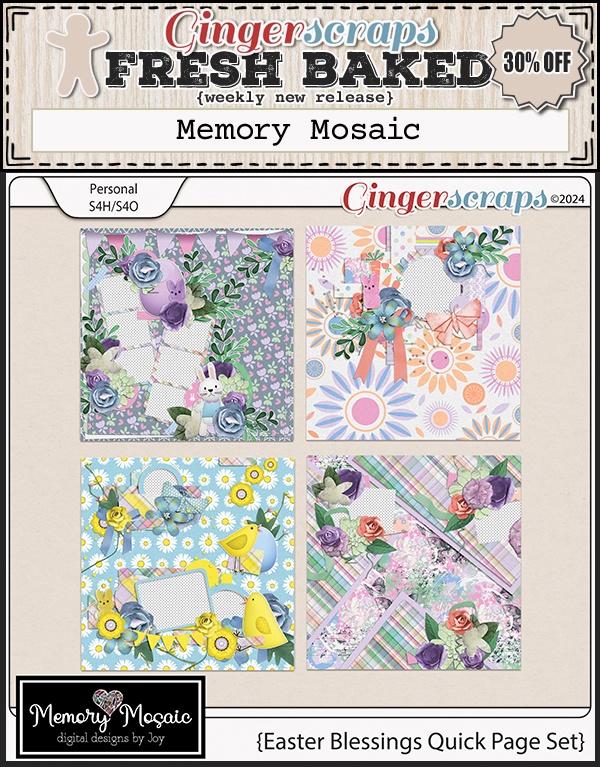
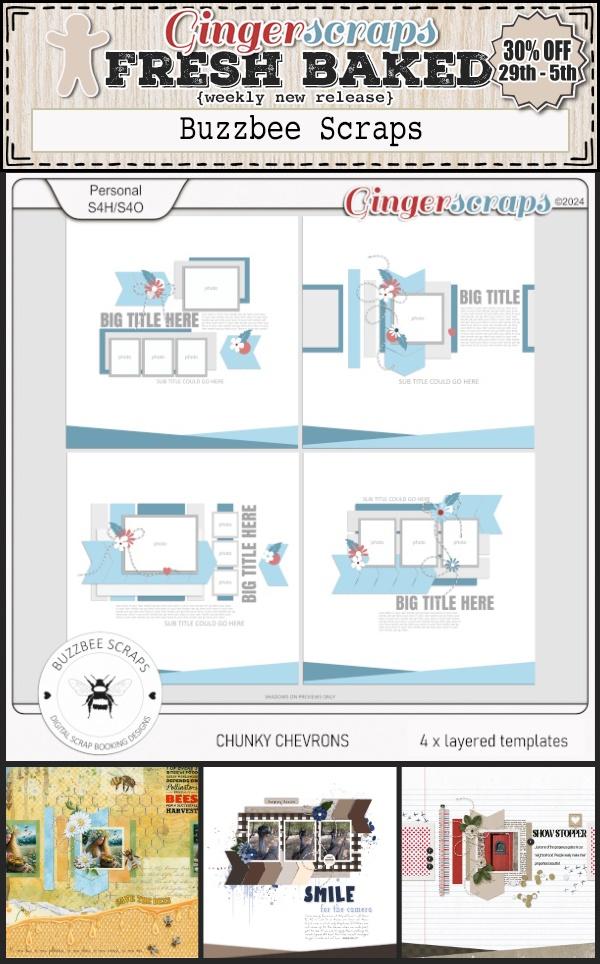
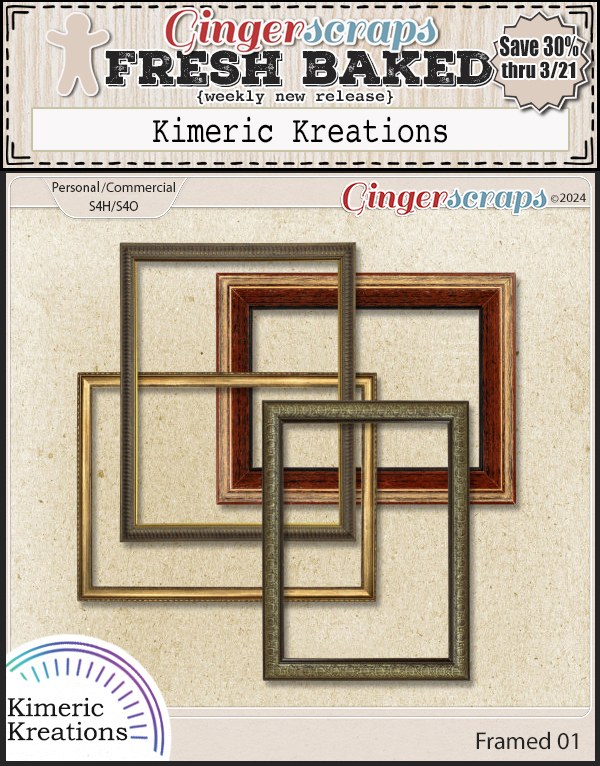
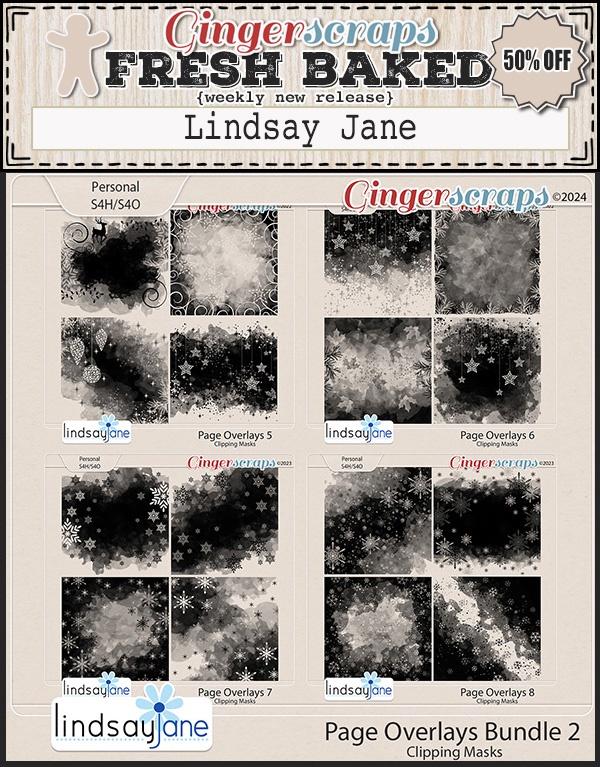
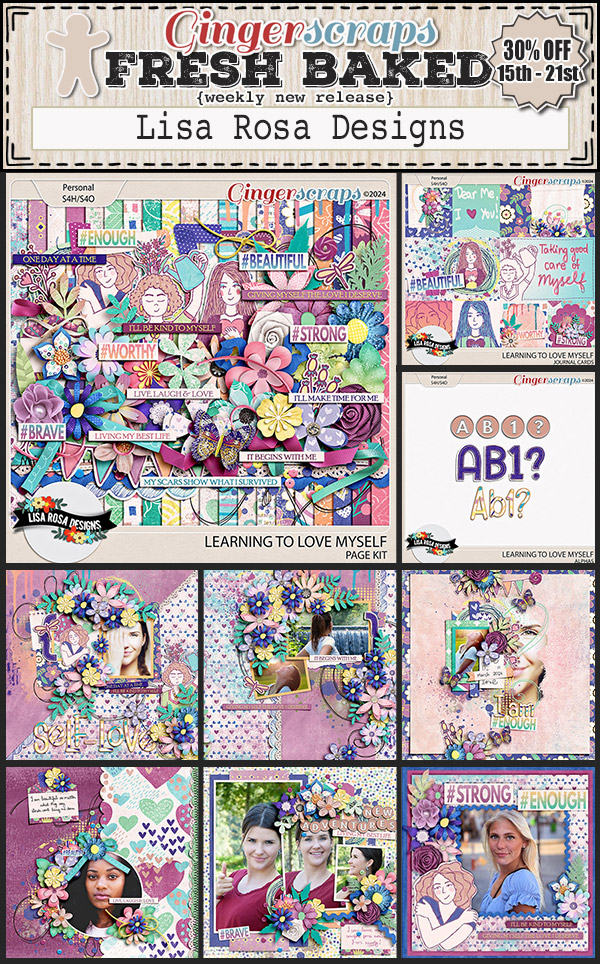
Let’s see what we have featured in the store this week.

You have a few days to get your challenges posted. If you complete any 10 challenges, you get this great collab as a reward.

September 22, 2023: Fresh Baked

Happy Friday everyone! I hope you have had an amazing week.

Remember if you spend $10 in the store you get this great kit for free.

Have you grabbed the September Monthly Mix? Only another week to grab this one at the great price.

How are your challenges going? If you complete any 10 challenges, you get this great collab as a reward.


Tutorial Tuesday (Individual Style)

Challenge Spotlight: Minikit

September is surely flying by, isn’t it? It’s already almost the autumnal equinox and the slow slide into winter here in the Northern Hemisphere, while our GingerScrappers down under are looking toward spring. And life goes on…

This month’s Spotlight Challenge is the Minikit Challenge, hosted by Joy of Memory Mosaic. As the name implies, the Challenge is to use the pieces of a supplied (free) minikit to create a unique layout. This type of Challenge showcases individual style very well, since all participants are starting with the same tools. This month’s mini is shown below.
Now I’m going to share each of the layouts that have been posted to the Challenge Gallery as of noon today PDT. They’re in the order they were posted, and I’ve linked each to the Gallery so you can get a closer look and leave some praise for the Scrapper. Just click on their Forum handle.

KAPOH has created a calendar with the mini. I see today is Talk Like a Pirate Day. I guess we should brush up on our “arrrhs”.

Alasandra has blended the papers to give herself some more options and flexibility, and flanked the ornate frame with two simple clusters.

As most of you know, I’m a sucker for heritage photos. I LOVE how trinanne has adapted the frame to encompass each of the people in her photo. The emphemera she’s added are scans of her aunt’s actual teaching diploma and license… precious!

MarilynZ has used the frame very cleverly here, with one being lightened without losing detail. The diagonal placement of the ribbon, with the key centred and the repeating small paper squares, gives the layout balance.

Pippin chose the perfect photo to coordinate with this mini! The purple sunset behind the house is a very close match to the purple paper. Her simple cluster and all that white space are very effective at drawing the eye to her photo. Brava!

NHSoxGirl has reversed the order of Pippin‘s papers to create a minimalist layout where the photo is the star. Good choice to go with black and white. The white stroke around the purple paper is brilliant.

This is something I would do! Those old keys in the photo play with the key in the mini so well. I see angbrey has also recoloured a flower and has used the frames as mats. Creative!

AnnieA has used everything but the tape, and kept her layout minimalist, with strong diagonals. I like the rotated purple paper, it’s exquisitely shadowed. Very eye-catching!

What an interesting layout PixyGirl has created, with a very vintage feel. The patchwork effect with the papers is beautifully executed. The slight tilt to the frame mimics the slight tilt of her great-grandmother’s head for a very effective focal point.

It took me a few minutes to deconstruct kabrak1207‘s layout. She has used additional elements and papers from the coordinating Buffet bundle from Memory Mosaic – totally allowed! – and has created an outstanding piece. That centre cluster is perfection.

CathyS has also added some elements from other designers in the September Buffet. I like how she’s faded the papers together and mirrored the brick behind the flowers in her photo with arty paint.

Oh my! Look at that beautiful dissolve/fade effect lulumoon has created with the papers!! The clusters provide a pop of colour and the entire layout is a showstopper.

The mini is cleverly disguised in nimble4u‘s layout. The only element from the mini that I couldn’t find is the tape. She’s added some elements from other kits, which are included in her credits.

Lastly, this layout from hkeith87 has included the whole mini, pairing it with a stunning sunset photo. The purple clouds in the photo look like they just merge into the purple paper strip. Beautiful!

It’s always a learning experience to browse the Gallery. Next week it’s Quick Trick time again. I’ll have to see what I can pull out of the ether to share with you all. Have a great week!

September 15, 2023: Fresh Baked & BAKE SALE

Welcome to another Friday. We have some big things going on today. When the Fresh Baked and Bake Sale fall on the same day, it’s a happy time at GS. 

Remember if you spend $10 in the store you get this great kit for free.

Let’s see what Fresh Baked kits we have this week.

Who is ready for the $1.00 Bake Sale!? Here are the $1.50 deals we have for you this month:


How are your challenges going? If you complete any 10 challenges, you get this great collab as a reward.

s

Tutorial Tuesday (Photoshop Elements)

Using Alphas for Titles – a Technique Tweak

PDF Version : https://bit.ly/3LJ2wZo

A newish GingerScrapper whose user name is rmcd100 asked this question in the Forum

I am looking for a tutorial on how to easily add alphas to a layout. It seems really cumbersome inserting each letter individually and then trying to place them all on the page in a uniform manner. There has got to be an easier way than the way I am doing it.

I replied with some links to some tutorials I’ve already posted and gave her a brief description of my workflow. But then I got to thinking about it and recognized that my technique has been fine-tuned quite a bit since those tutorials were new. I also want to be sure she understood what I was saying, so today’s tutorial is an updated alphas-for-titles workflow breakdown.

I knew exactly what she meant by “cumbersome” and could feel her frustration, because I’ve been that person! Elements can make it so much harder, because it seems to drop objects where IT wants them and not where I want them, especially the newer versions. This title technique grew out of all of that.

When I’m planning a title, I usually have an idea of what I’ll call my layout before I even choose photos, template or kit to work with. I choose the photos first, then a template that will work with the number, orientation and importance of my photos. Only then do I choose a kit. I love using alphas and have quite a stash of them so I can always count on having an appropriate one on hand. For my Back It Up Challenge layout, the prescribed theme is books/reading/library so that helped with making my choices. I opted for the GingerBread Ladies Must Love Books kit. I had 4 photos I wanted to use and chose a retired template from Connie Prince as my basic layout.

As you can see, the template’s title spot is a good-sized rectangular area, which makes the process a LOT easier! I like to work BIG, so I can see easily what’s going on; resizing later is a snap. I also like to reduce repetition if possible. So I’ve created a bunch of preset project formats: a 12×12″ Scrapbooking canvas, a 6×1.5″ Title Strip and a 6×3″ Large Title canvas are some of them. So when I click New>Document [CTRL/CMD>N] I can choose one of them. I’ve planned a two-word stacked title so I’m going to use the Large Title canvas. One important note: ALWAYS work on a TRANSPARENT BACKGROUND when creating titles with alphas using this technique.

So here’s the canvas. I’ve opened all the letters I’ll use for my title into the Photo Bin.

Then I started dragging and dropping the letters onto the canvas. Remember I mentioned that Elements does what Elements wants? Well, I can guarantee at least one letter will be out of order. It’s just a rule. 😉 Before you move on, check to see that the letters are all where they should be. Elements will stack from bottom up, and it’s easier to move one or two letters than rearrange all of them. Also take note that all the letters are aligned by the centre of the letter. That’s easy to address.

Before we continue, if you want your title to have a wandering baseline, you can skip a step – the one where we Align the letters’ bottoms. Also, if you want some letters to overlap others, you can adjust your workflow accordingly. For MY title, I want the baseline to be a single straight line. So I’ve activated all the letter layers except the “g” – it extends below the baseline and will need special attention. To quickly activate multiple layers, click on either the top layer or the bottom. Then hold down the SHIFT key and click on the layer at the other end of the stack. BINGO!

Using the Move Tool, Align the letters at their bottoms. If you don’t see the Arrange, Align and Distribute menu, click on Tool Options at the lower left of your workspace.

Now the “g” can be nudged into place. I use the top edge of another lower case letter as my guide for this part. Nudging with the up and down arrow keys is the most accurate method for this.

This is a step I’ve recently added to my technique, and it’s made a big difference. Activate all letter layers again – click>SHIFT>click – and move the whole bloc of letters all the way over to the left. The first letter of your word will be along the left border. Don’t worry about the size of the letters just yet.

Activate the very top letter layer (or the last letter in your word, if you’ve rearranged them) and using the left and right arrow keys, move it to the right until you can see the entire edge of the letter right next to it. My word is Raising; see the “g” and the “n” are no longer overlapping. Decide how much of a gap you like between your letters.

To start moving the second-last letter along with the last one, hold down the CTRL/CMD key and click on the layer. Now both letters are active and can be moved to the right until the third letter from the end is entirely visible. Pick up the third letter, the fourth letter, then the fifth letter in the same way. Move the train of letters over as one piece until they’re all nicely separated. If you have room! 😀 Now I can see that the letters are indeed much too big.

To fix that, activate all the letter layers again then estimate how much to shrink them. Then using one of the corner handles on the Bounding Box, move the handle toward the letters until you’ve got the size close enough to fitting. I’ll just go with 75% for now, and ensure I’ve Constrained Proportions.

There! All my letters are neatly spaced. Since my title is going to be two stacked words, I’ll move them all to the top of the canvas and turn off Visibility to eliminate distractions. Click on the little eyeball icons.

I took a little detour here. My title is alliterative, so I want to see how I like it with just a single GIGANTIC “R” at the beginning of each word.

I’ll use the same drag-drop-align process for the second word. I’ve got “eaders” here to go with my giant R and have ensured the letters are in the correct order.

None of these letters extend past the baseline so I can Align all of them. Then, while they’re all still active, I Resized them to the same 75% I used before. They may need further adjustment later.

Hmm. Let me show you another way to make the title fit inside the canvas by Resizing the Canvas! Image>Resize>Canvas Size… or CTRL/CMD>ALT/OPT>C

The dialog box shows the Current Size, New Size, Anchor point and Canvas Extension Color. I want to make my canvas wider, but the height is fine. Remember, the background must be transparent here too.

I’ll just change that “6” to a “7” and make any tweaks as needed.

Alrighty. Everything fits on the canvas but it doesn’t look right yet.

So I activated all the letters for “aising” and moved them in a group to the left. That looks better.

***If you’ve chosen to have your letters overlap, you’ll need to add shadows to your individual letters at this point. You can later shadow the whole title on the layout but where those letters overlap, the shadow style isn’t going to get the overlapping areas and it’ll look funny.***

Now to get the title onto the layout! If you don’t think you’ll need to do anything other than some resizing, you can activate all the layers [click>SHIFT>click] right-click and choose Merge [CTRL/CMD>E]. Then the entire title is a single layer and can be dragged and dropped onto your template/layout.

Alternatively, you can choose instead to Link Layers… but you’ll still only be able to resize it on the layout.

All that’s left is to slide it into place, adjust the size to fit your chosen space and make any other minor adjustments you want. Add a shadow to your title layer and you’re done! It sounds like a long process but you’ll be surprised how well it flows and once you’ve done it this way a few times, you’ll never go back.

Next week is the Challenge Spotlight. Will you see YOUR layout here? Swing by and see!!

September 8, 2023: IT’S BIRTHDAY PARTY TIME!

There is SO much going on this week. I guess I should start off with the biggest thing, right?

HAPPY 15TH BIRTHDAY GINGERSCRAPS!! 

And you know Ginger when it comes to celebrations. She doesn’t do them small. So we’re having a HUGE party!!

But first, Ginger has a message to share with you all :

“Dear GingerScraps Family,

Wow, time has truly flown by! It is with immense gratitude and excitement that I write to you today to celebrate a remarkable milestone: 15 incredible years of GingerScraps. It’s hard to believe how far we’ve come since the early days, and it’s all thanks to your unwavering support and trust in our digital scrapbooking business.

When I started GingerScraps 15 years ago, it was just a hobby. I thought it would be fun to chat with other scrapbookers and inspire one another. A few years later, I found myself in the midst of a divorce and faced some very scary health problems. During those dark days, I considered giving up on GingerScraps a few times. But I just couldn’t imagine parting with something that brought me (and many other scrappers) so much joy. With the expansion of the shop, I was able to support myself and my two kids. GingerScraps has grown beyond my wildest dreams, and it brings tears of joy to my eyes! You ALL have no idea what you mean to me!

I am filled with gratitude for each and every one of you. Your passion for preserving cherished memories and creating beautiful, meaningful digital scrapbooks has been the driving force behind GingerScraps’ success. Over the years, we’ve seen your talent shine through your layouts. We’ve marveled at the way you’ve used our digital products to tell your stories, capture precious moments, and celebrate life’s special occasions. It’s an absolute joy to be a part of your artistic journey.

As we look ahead to the future, I want you to know that your trust in GingerScraps is not taken lightly. We are committed to providing you with the highest quality products, the latest trends in digital design, and the exceptional customer service that you deserve.

Thank you, from the bottom of my heart, for being a part of the GingerScraps family. Your loyalty, creativity, and passion for preserving memories have made these 15 years truly remarkable. I am excited to see what the next 15 years will bring, and I can’t wait to continue this journey with all of you.

With Love,
Ginger (and the entire GingerScraps Staff)”

Now who is ready to PARTY!!!

Have you participated in one of the Scavenger hunts? They are so much fun and I always find kits I “need” while I’m looking for that crazy Gingerbread Man (he’s a little sneaky).

And our designers have some fun games going on in the Forum as well!

Don’t forget this great Free With Purchase kit you get with any $10 spent in the store!

On top of all that fun, we have some great kits and other special sales and new releases!

Have you started on the challenges? If you complete any 10 challenges, you get this great collab as a reward.


GingerScraps: New FREE with Purchase Collab, New Monthly Mix, NEW Designer & More!!

It is the 1st of the month and you know what that means; a huge, exciting newsletter! We have a New Buffet, New Monthly Mix, New Free With Purchase Collab, New Challenge Reward, New Daily Download on the GingerScraps Blog, & a New Permanent Designer!  Plus it’s Friday so we have Fresh Baked goodness as well. 

Let’s start out with the September Buffet. Don’t forget to check out the Buffet Bundles. One easy click to add bundles of Buffet goodies to your cart.

I love the colors of this month’s buffet. It reminds me of Summer moving into Fall. And with the buffet kits, you can mix and match to get the perfect kit for you.

Remember any $10 spent in the store gets you this great collab. Have you ever been to an {apple orchard}?

This Free With Purchase was created by Cutie Pie Scraps, Heather Z Scraps, Memory Mosaic, The Scrappy Kat, and Cornelia Designs.

This collab includes: 1 Alpha {Uppercase, Numbers & Punctuation}, 56 Papers, 128 Elements.

The September Monthly Mix is just beautiful. 

This Monthly Mix was created by Connie Prince, Lindsay Jane, Magical Scraps Galore, Scraps N Pieces, and Tinci Designs.

This collab includes: 1 Alpha {Uppercase, Numbers & Punctuation}, 49 Papers, 103 Elements, 4 12×12 Template {page, png, psd, tif file formats}.

Now to the September Download Sneak Peek. This month’s Daily Download is from Cheré Kaye Designs! Make sure you are checking the blog every day to get all the pieces of this kit!

We are happy to announce that Twin Mom Scraps is staying on permantly to become part of the GingerScraps family.

Not only do we have the wonderful Buffet and other first of the month goodies, it’s also Friday and that means Fresh Baked goodies too!

Take a look at the new challenge reward kit. If you complete any 10 challenges this month, you get this gorgeous collab as a reward!

This Challenge Reward was created by ADB Designs, Alexis Design Studio, Karen Schulz, and Tami Miller Designs.

This collab includes: 2 Alphas {Uppercase, Lowercase, Numbers & Punctuation} {One alpha uppercase only}, 56 Papers, 80 Elements.

Stay tuned for next week. It’s Birthday Time!!!


August 25, 2023: Fresh Baked

Can you believe it’s almost the end of August? Has school started where you are? It’s been fun seeing the buses go by the house and see my little neighbor across the street get off the bus of an afternoon. 

Remember if you spend $10 in the store, you get this great kit for free.

Let’s see what we have new in the store this week.

Have you picked up the August Monthly Mix? Only a few more days to get it at the lower price.

How are those challenges. I hope you are enjoying the wide range of options. You only need to complete 10 to get this great reward.

I was delighted to see so many of you enrolling in last month’s class at The Digital Scrapper! I hope you all had a fantastic time “painting with patterns”!

This month, I have chosen to feature a wonderful class called “Stories from the Road”. I’m currently enrolled in this class myself, and I am absolutely LOVING it! There is an abundance of incredible information and inspiration to be found.

Here is some additional information about “Stories from the Road”:

There is something about a memory that you can hold in your hand. It’s cherished.

Not long ago, Jen White, from Digital Scrapper, whipped up a photo book for her son-in-law for Christmas. She honestly had no idea of the tremendous impact it would have on him.

Through that experience, the foundation for Stories From the Road was born.

In this course, Jen will teach you everything you need to know (and more!) about creating a themed photo book — from the dreamy beginning to ordering end.

Don’t forget that we have a TON of wonderful materials to scrap all your photobooks! The “Vacation” category and the “Photobooks” section of the shop are a great place to start! I think my first photobook created from this class will be a Disneyland photobook! I’m so excited to get started on it!

Show Me the Class

LIMITED TIME – SAVE 35% on Stories from the Road!

Don’t miss this Exclusive offer for Gingerscraps customers! On sale now through August 31, 2023, Midnight Eastern.

P.S. Stories From the Road is evergreen, meaning the information and resources can be used over and over again for years to come.


August 18, 2023: Fresh Baked and RETIRING PRODUCTS

Happy Friday. We hope your week has been great. Today kicks off our Summer Retiring Products Sale.

Make sure you have checked out before 11:59 pm Eastern time on August 24. All products in the sale will be retired at the once the sale ends.

Remember if you spend $10 in the store, you get this great kit for free.

Let’s take a peek at some of the new items in the store this week.

How are your challenges going? Complete any 10 challenges and get this great collab as a reward.

I was delighted to see so many of you enrolling in last month’s class at The Digital Scrapper! I hope you all had a fantastic time “painting with patterns”!

This month, I have chosen to feature a wonderful class called “Stories from the Road”. I’m currently enrolled in this class myself, and I am absolutely LOVING it! There is an abundance of incredible information and inspiration to be found.

Here is some additional information about “Stories from the Road”:

There is something about a memory that you can hold in your hand. It’s cherished.

Not long ago, Jen White, from Digital Scrapper, whipped up a photo book for her son-in-law for Christmas. She honestly had no idea of the tremendous impact it would have on him.

Through that experience, the foundation for Stories From the Road was born.

In this course, Jen will teach you everything you need to know (and more!) about creating a themed photo book — from the dreamy beginning to ordering end.

Don’t forget that we have a TON of wonderful materials to scrap all your photobooks! The “Vacation” category and the “Photobooks” section of the shop are a great place to start! I think my first photobook created from this class will be a Disneyland photobook! I’m so excited to get started on it!

Show Me the Class

LIMITED TIME – SAVE 35% on Stories from the Road!

Don’t miss this Exclusive offer for Gingerscraps customers! On sale now through August 31, 2023, Midnight Eastern.

P.S. Stories From the Road is evergreen, meaning the information and resources can be used over and over again for years to come.

Tutorial Tuesday (Individual Style)

Challenge Spotlight: Inspiration

How is it already the third Tuesday of August? Of course, this month has FIVE Tuesdays, so we’re actually smack-dab in the middle of the month. The Okanagan valley in BC, where I live, is having a heat wave and we’re blanketed with wildfire smoke again. I feel very bad for the movers who are emptying a truck across the street in this heat and cruddy air. Our Level 4 drought is quickly moving to Level 5. Seems like it’s bad news everywhere. To all the GingerScrappers in Hawaii, you have all our love.

I chose the Inspiration Challenge for this month’s Challenge Spotlight because the Challenge Joy (Memory Mosaic) has tossed our way is something I love to do: take a photo from an “odd” perspective and scrap it. The alternate Challenge is to scrap a photoless layout from someone else’s perspective. When I looked at the Challenge Gallery, I was a little surprised to see only one person chose the photoless option. But what a great choice it was! Let’s have a look at the entries. As usual, they’re in the order they were uploaded to the Gallery and they’re linked to the Gallery so you can take a closer look, leave some praise or whatever. Just click on the scrapper’s user name and you’ll be right there. (I have participated in this Challenge, but decided not to include my own layout, because the focus of these Individual Style posts is on YOU!)

Here, greenfiend27 has two photos and perspective is a feature in both of them. These stainless steel balls see, to be everywhere these days and offer endless potential for interesting photos. They can be a lot like funhouse mirrors, right?

GrannyNKy has a really carefully-framed photo for her layout. There are millions of photos of Christ the Redeemer near Rio de Janeiro, but not many like this one!

Look at TBear‘s layout… the lone outlier! Here’s what she said about it: “DGD, who thinks outside the box as second nature, asked me what I thought an alien birthday cake would look like. I tried to create something from her perspective…outside the cake mix box.” I LOVE it! Kids are so clever.

I had to look very closely at this layout by MeleahG to decide where the “perspective” was… and then it hit me: the depth and breadth of variety! Shakespeare, Narnia, The Count of Monte Christo, The Witch of Blackbird Pond… I read that one when I was about 10 and had completely forgotten it.

For her layout, bumblebeee chose a photo taken from HER perspective of her family canoeing in an idyllic spot. Sometimes looking at the back of someone’s head can be magical. (This PICU nurse’s heart is happy to see life jackets on those precious babies.)

One of the cardinal rules of obtaining great photographs of kids and animals is to get down on their level. And Karen Diamond learned that one well! She also has an aerial view of the farm and a downhill shot of cows in a pasture, so she’s used many perspectives. Good job!

JAMSquared80 has skillfully used up-shots for her layout. That perspective gives a sense of just how tall those buildings are.

Here’s another good example of getting down on their level from photocrazy. Not only do we get better images this way, but they’re more natural and uninhibited.

I’ve NEVER seen a real peacock with its tail fanned out, never mind from the BACK! Props to gmae for this unusual perspective!

This makes it look like the subject of the photo is either walking on water or walking up a glass wall. It’s a bit disappointing to know it’s a glass balcony wall and gadawg83‘s subject is seated, don’t you think?

If you’re new to digi-scrapping, GingerScraps’ Challenges are a perfect way to find inspiration, learn new things and build up your stash. Several of our designer-hosts include freebies with their Challenges and there’s a Challenge Reward kit for completing 10 Challenges. (Missi keeps track of everybody’s totals. When you reach 10 completed you’ll automatically receive the download link for that month’s Reward via Private Message. However, the counter stops there until a new month starts, so if you hit your 10 layouts on, say, today – August 15th, but you keep going and complete 5 more layouts, those ones don’t carry over to September when the counter starts again. Clear as mud?) Here’s a look at the August Reward kit.

See you all next Tuesday!