Quick Trick: All-in-One Alphas
![]()
PDF Version : https://bit.ly/4bl74QA
January has flown by! It’s already the last tutorial of the month. Whew!
Susan asked for a tutorial on using those all-in-one sheets some designers provide with their alphas, and it just so happens that topic fits nicely into the Quick Trick deck. Now, I don’t use them, as a rule; I typically delete them and keep the individual letter files. But then, I’ve got a ton of hard drive space for that, and I know not everybody does. However, when I ran a search through my GingerScraps kits, I found more than one folder that had the all-in-ones inside – the only form of the alpha(s) provided. So I was set to get this tut out to you.
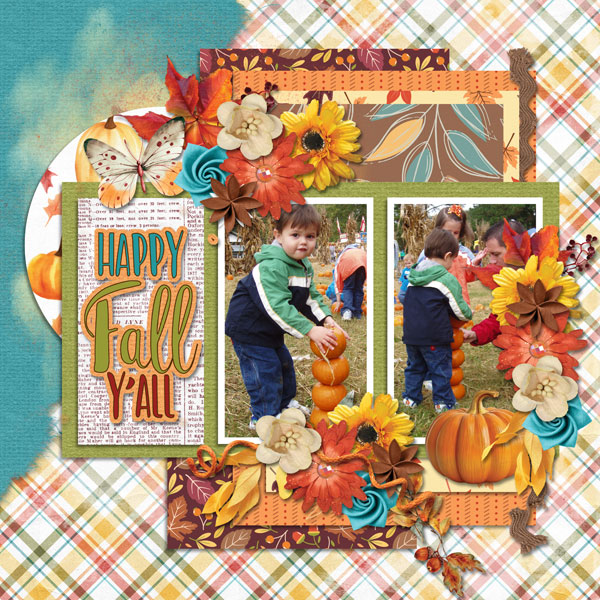
For my sample, I’m using this pink striped alpha from the GingerBread Ladies Summer Treats collab.

Once the all-in-one is in your Photo Bin, I recommend opening a New Project/canvas [CTRL/CMD>N] to create your text in a clean, no-distraction space. I have several presets in my Elements bag of tricks, including this one, a Title Strip 6 inches wide and 1 1/2 inches tall.

So on to the actual task at hand. Open up the all-in-one and using the Rectangle Marquee Tool, draw a box of marching ants around the first letter you want to use.

Now click Edit>Copy or use the keyboard shortcut CTRL/CMD>C.

Flip over to your blank canvas. It will show in your Photo Bin, as well as in the strip across the top of the Elements workspace. Click Edit>Paste or use the keyboard shortcut CTRL/CMD>V. (They couldn’t use P because that’s already in use for Print. 😉 )

And there’s your first letter! It’s just that easy. Follow the same steps to add the rest of your letters. If you’re reusing one or more, you can always use CTRL/CMD>J to make a Copy right there, rather than going back and forth between your all-in-one and your text.

Each letter you Copy and Paste in this manner will be the same size. Once you’ve got all your letters on the canvas, they’ll need to be organized and distributed, because Elements dumps EVERYTHING in the centre of the canvas, and not always in order. When you’re happy with it, you can Link or Merge [CTRL/CMD>E] all the layers so you can move the whole text box onto your layout. Then you can treat it as you do any of the embellishments you add to your layouts. Easy peasy!

I’ll be back over the weekend with the February Designer Spotlight, so stay tuned!
![]()