![]()
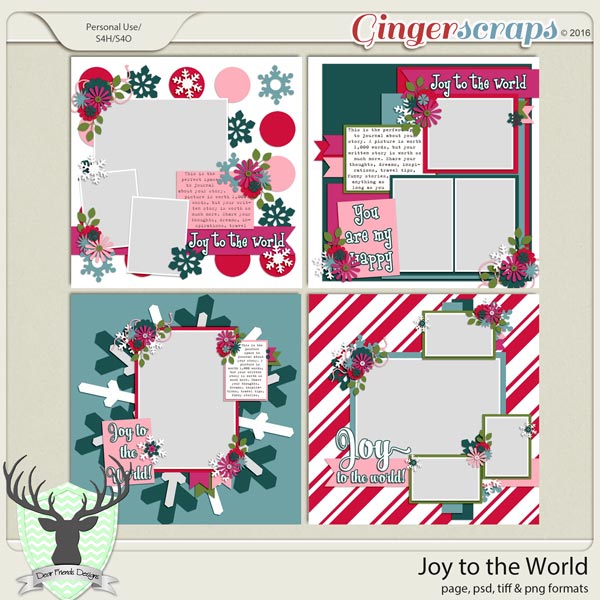
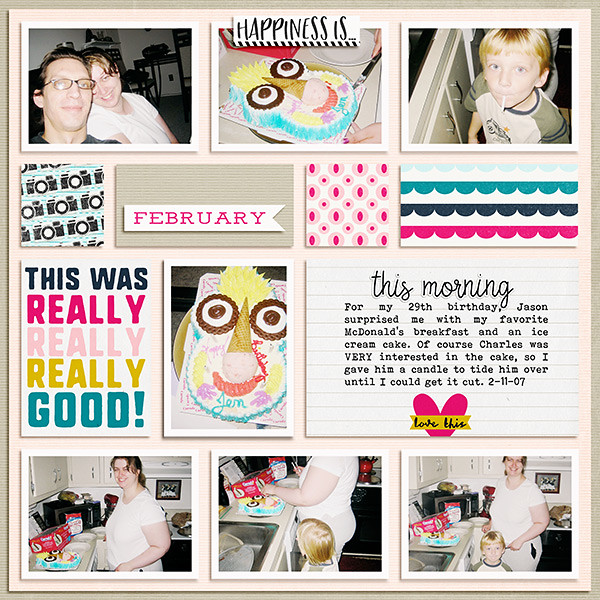
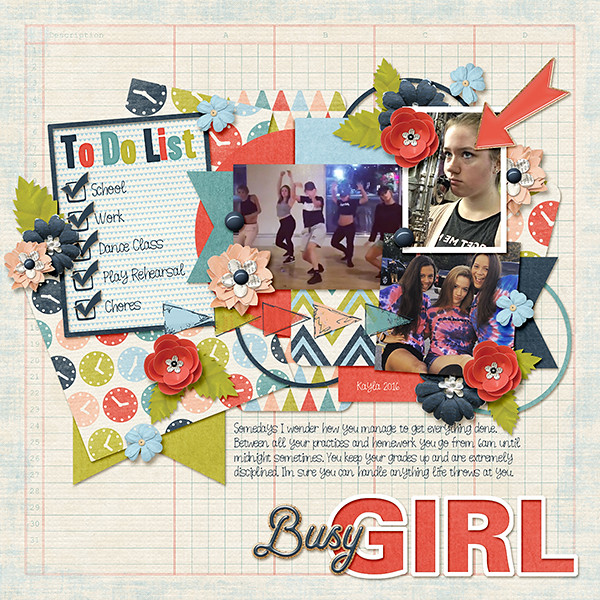
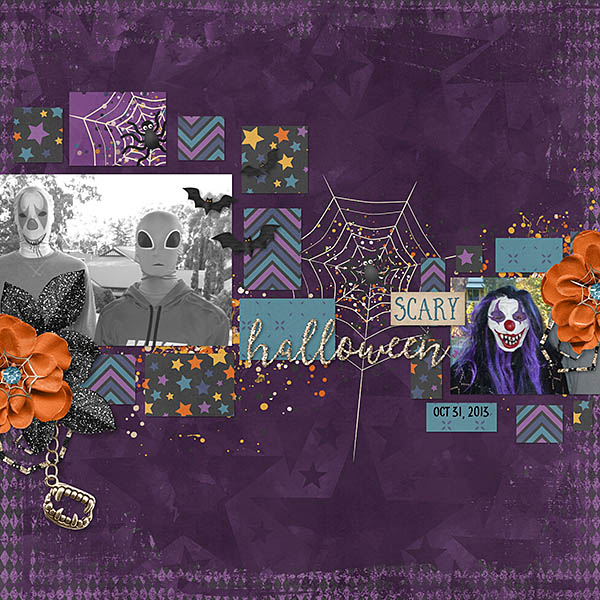
Good Thursday morning. I thought I would start your Thursday morning off with some sneak peeks for tomorrow’s releases.


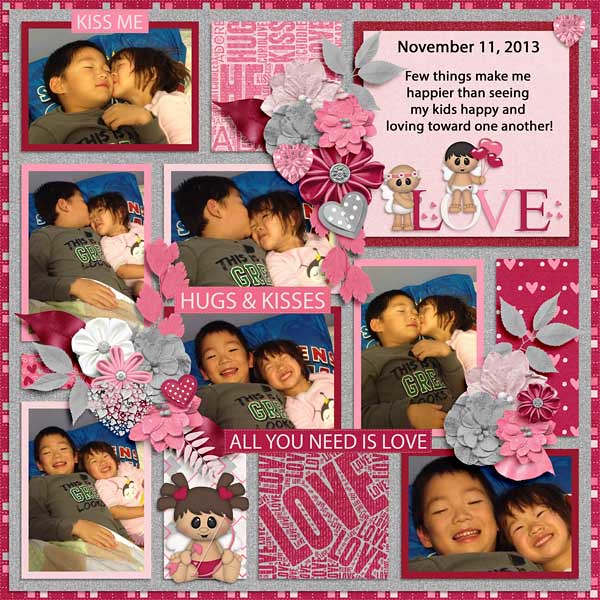
Make sure to check out the blog later to see layouts from our store CT made with these awesome kits. And tomorrow, head over to the store to fill your cart!
![]()