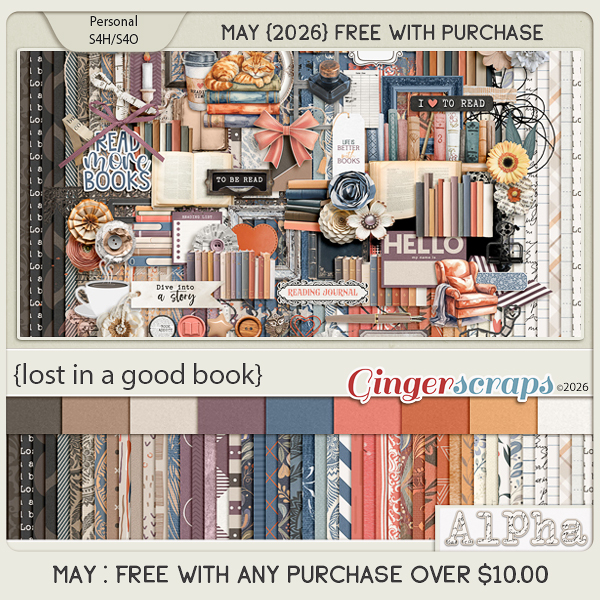
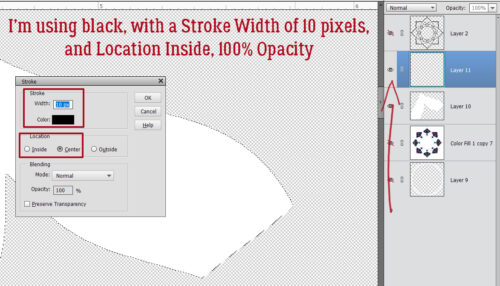
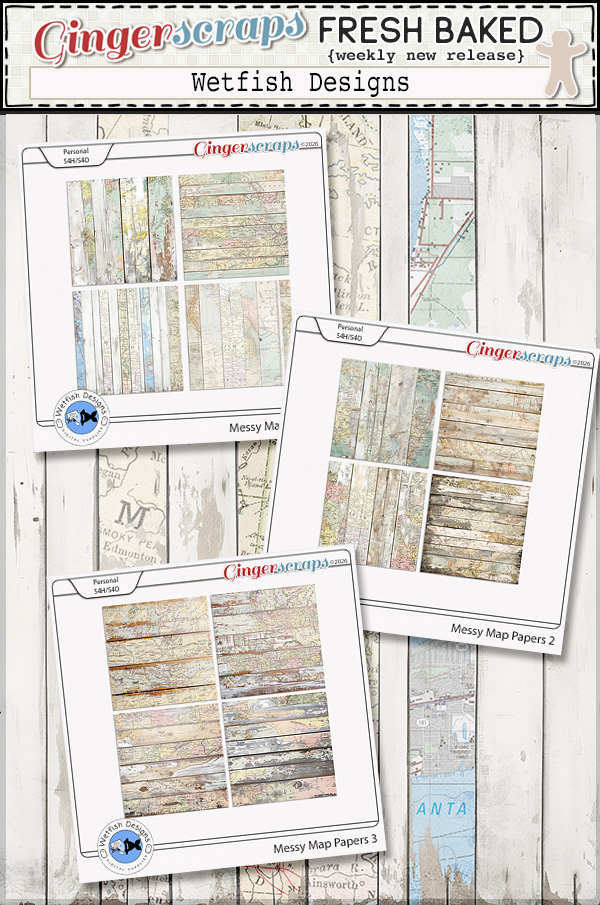
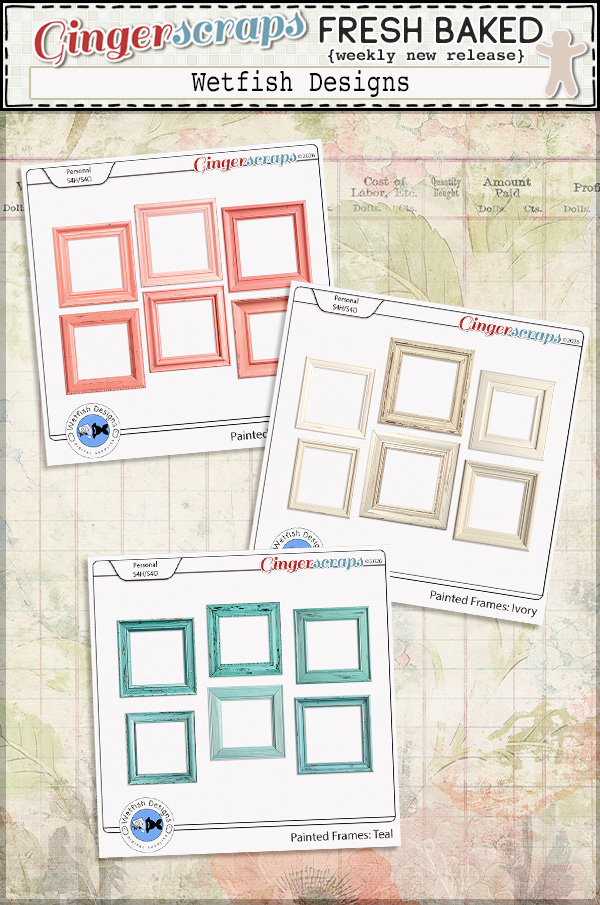
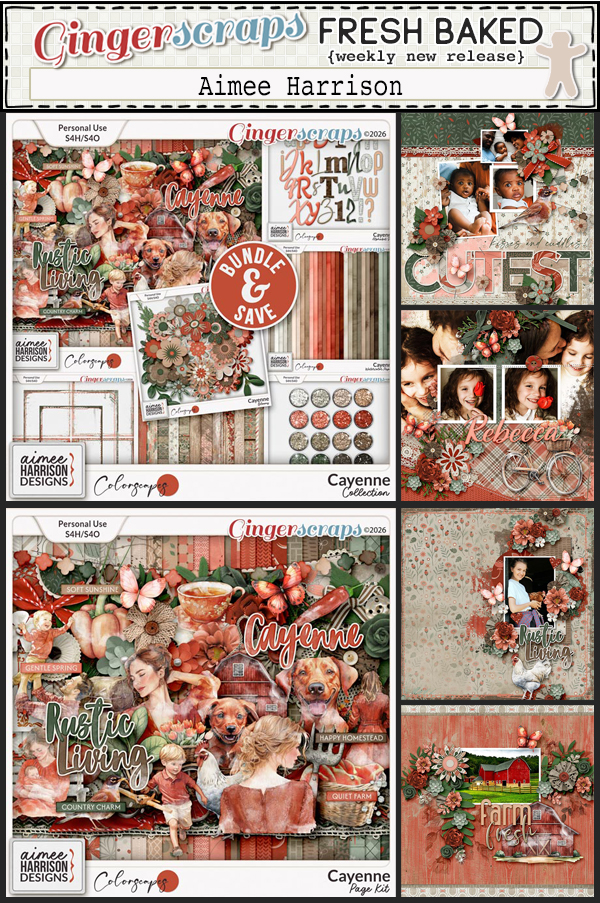
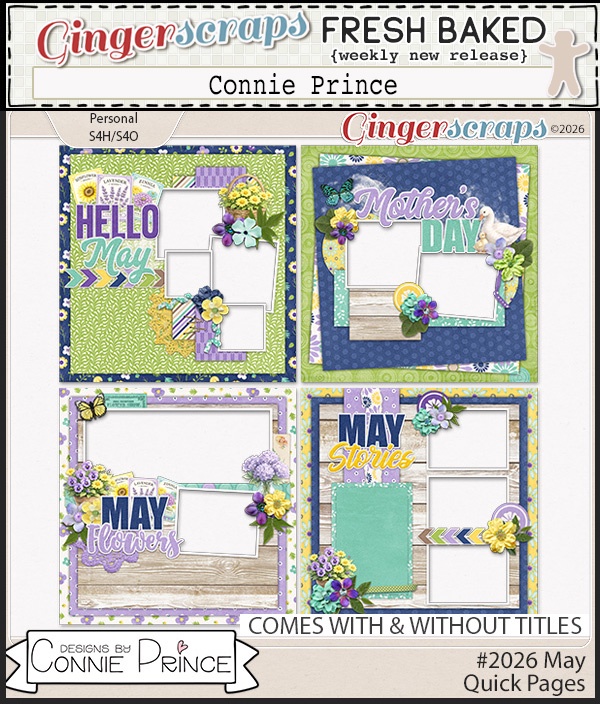
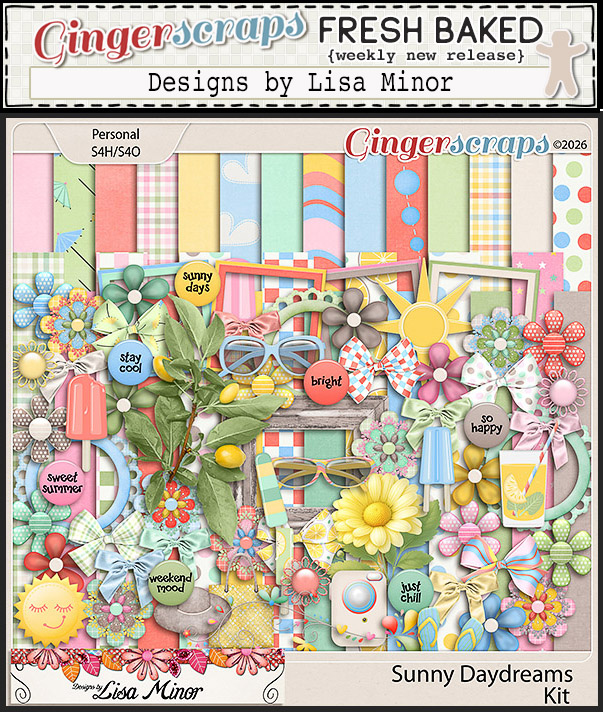
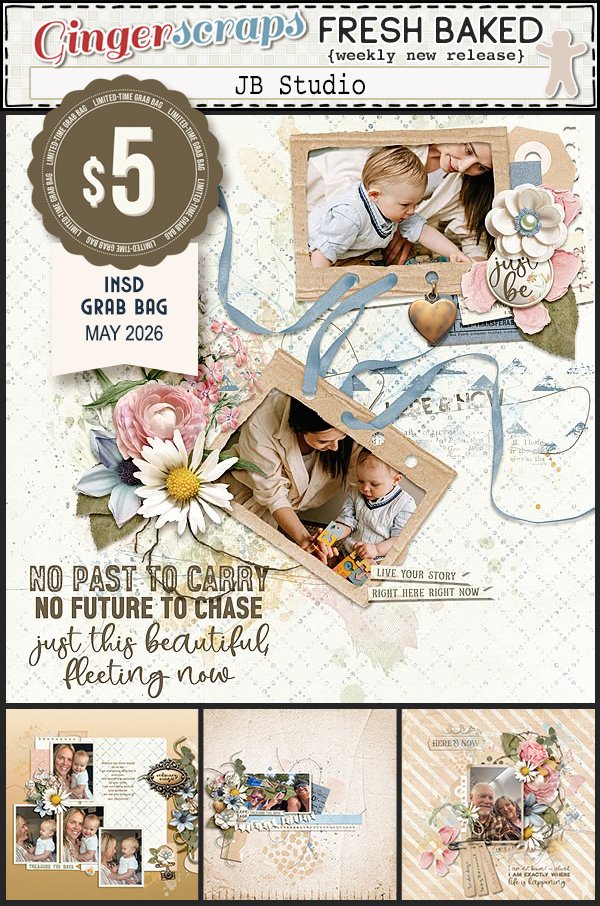
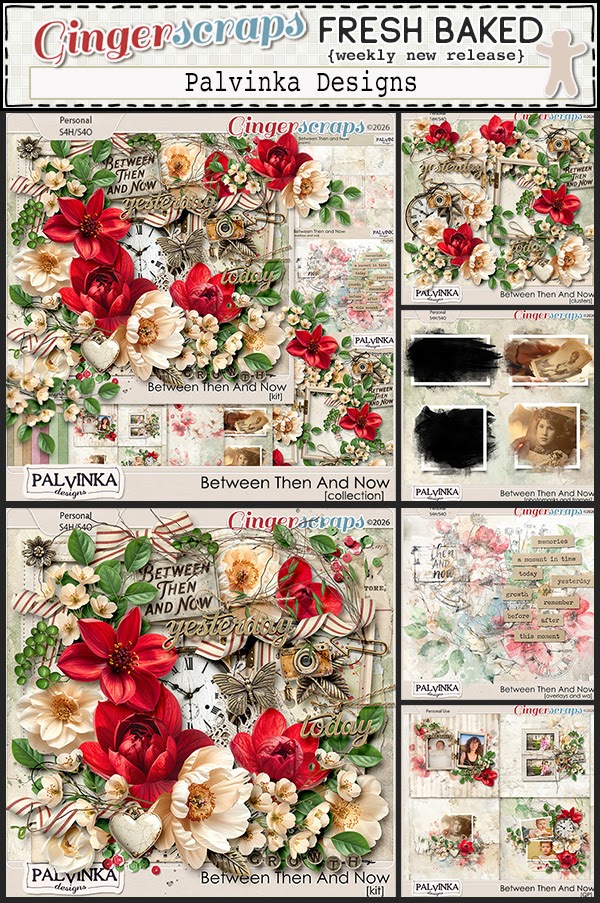
It’s a brand-new month at Gingerscraps, and we have so much in store for you! Be sure to check out our new Free With Purchase, Monthly Mix, Challenge Reward, and Daily Download. We’re also excited to welcome a new Guest Designer. Stop by and see all the wonderful new products, promotions, and inspiration waiting for you this month!
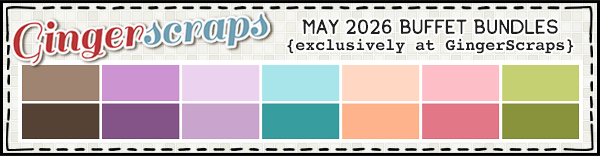
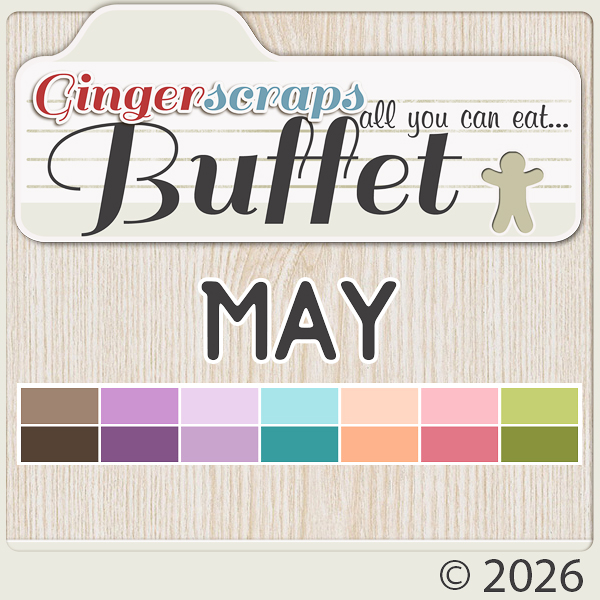
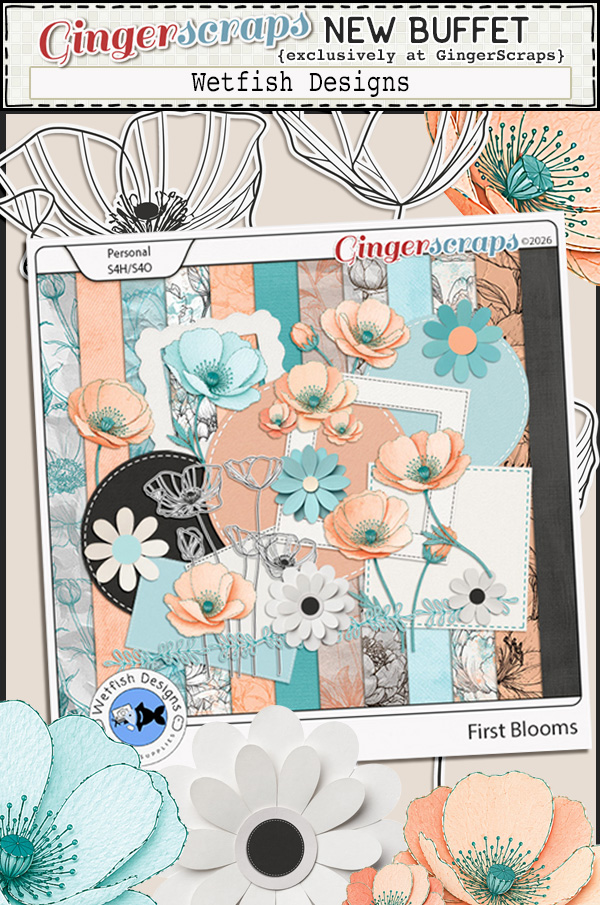
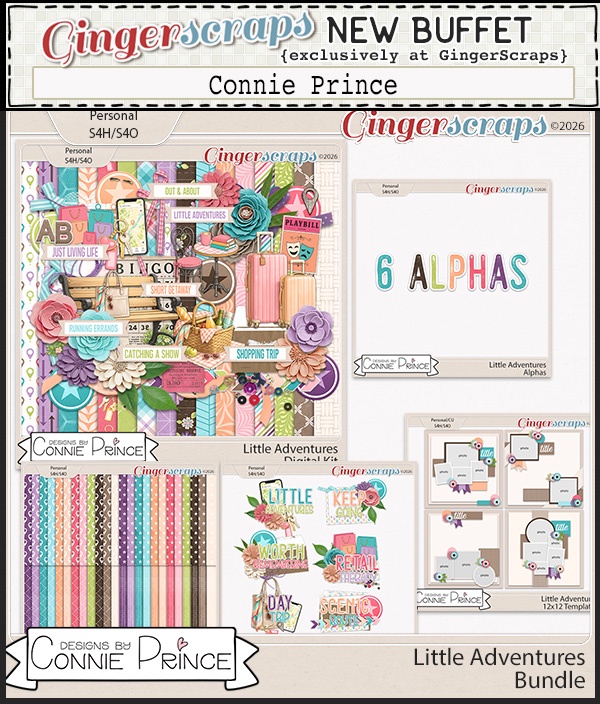
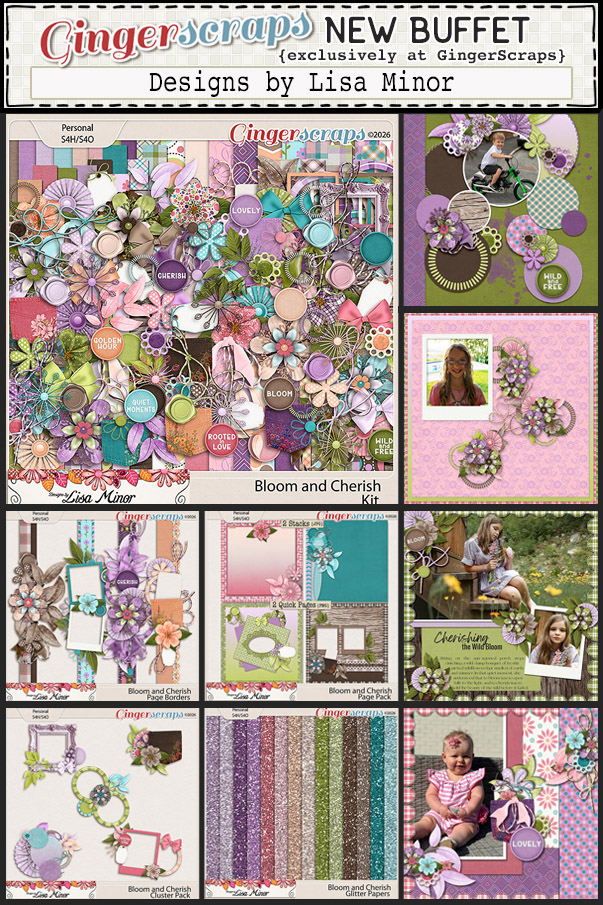
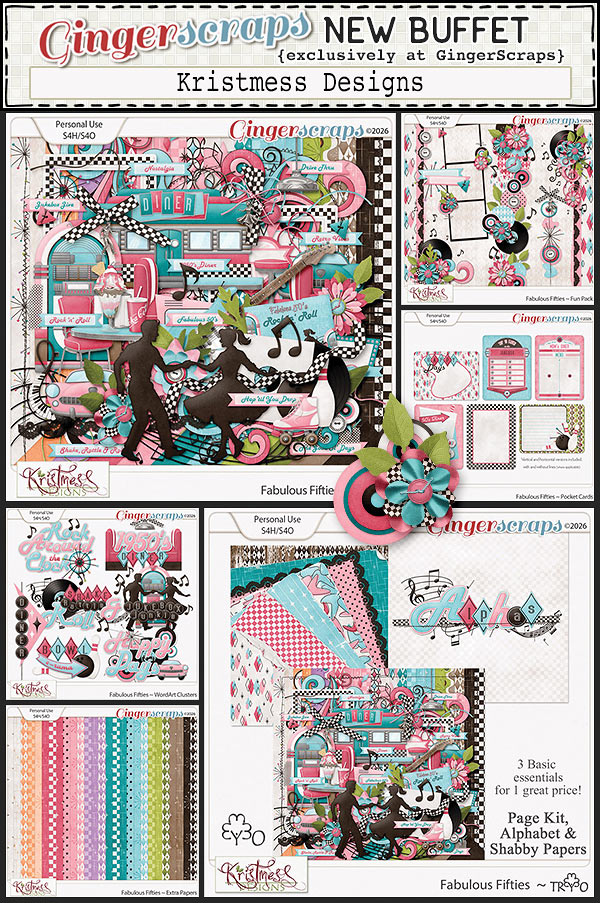
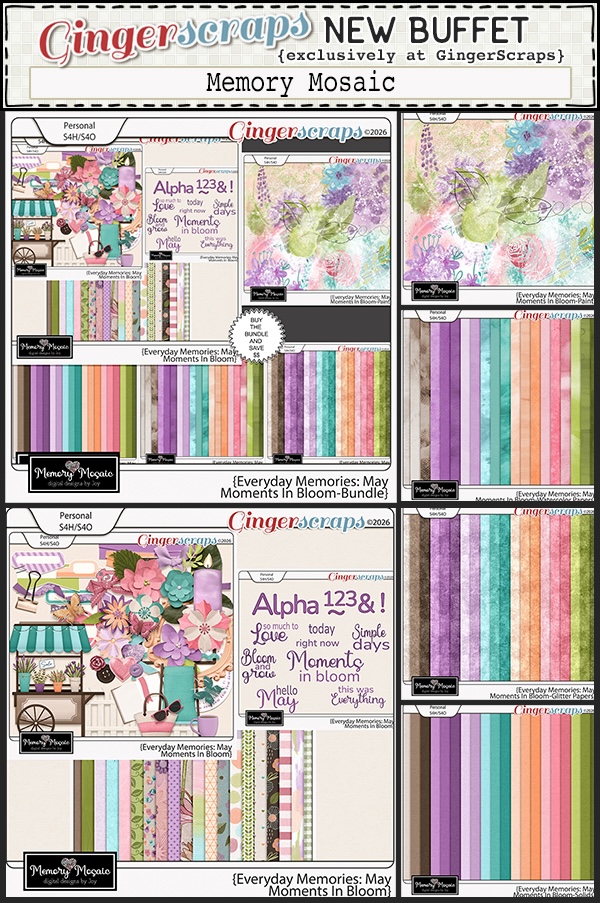
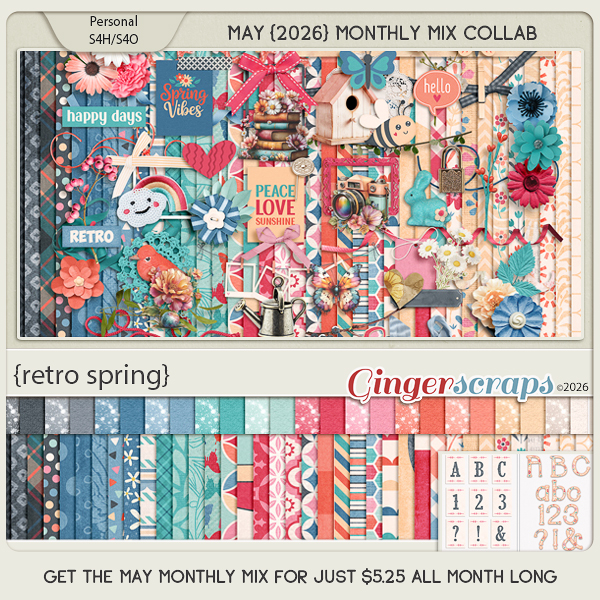
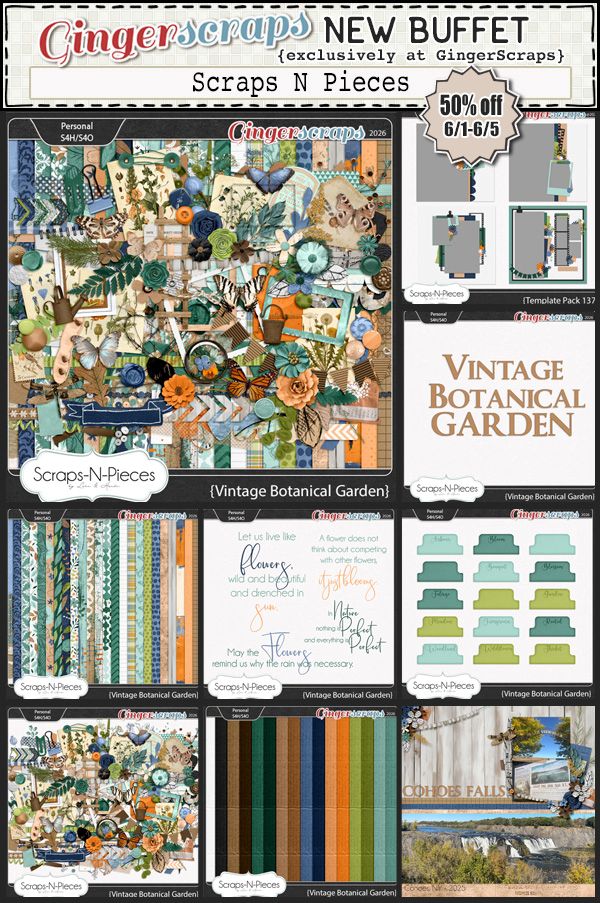
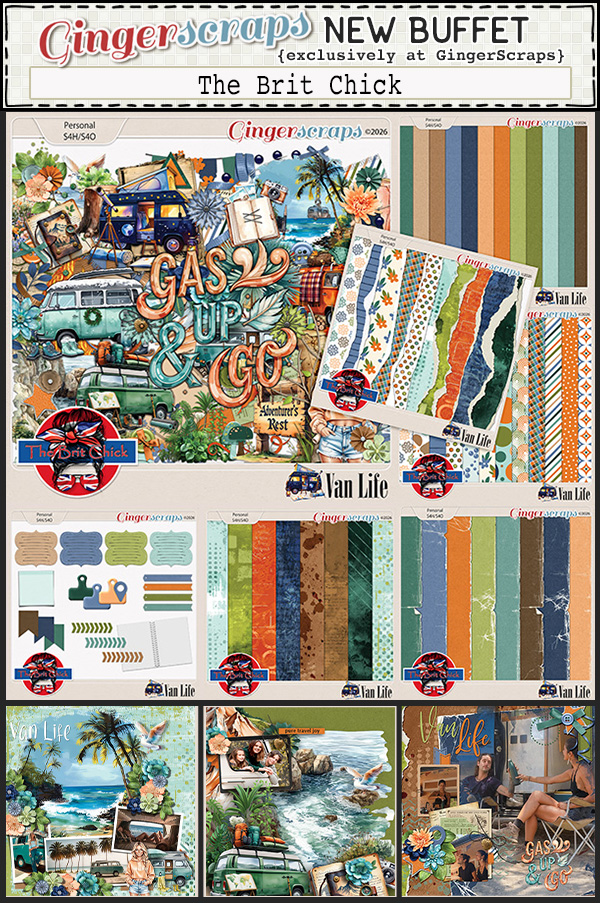
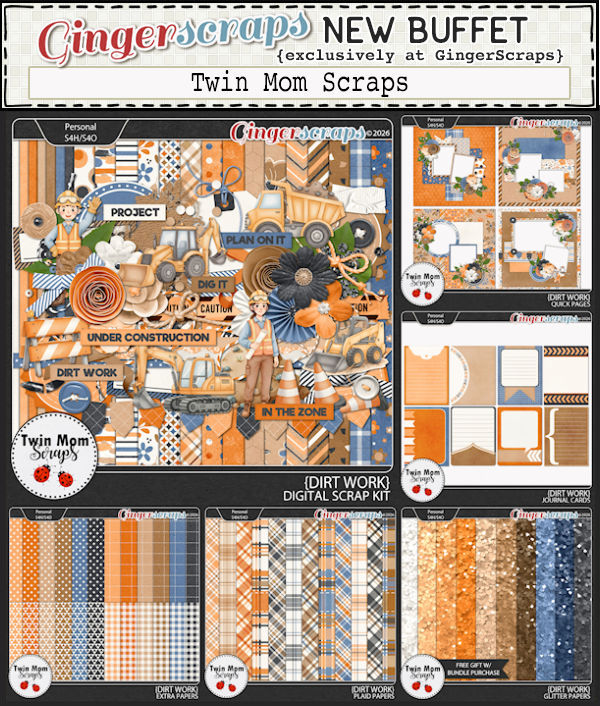
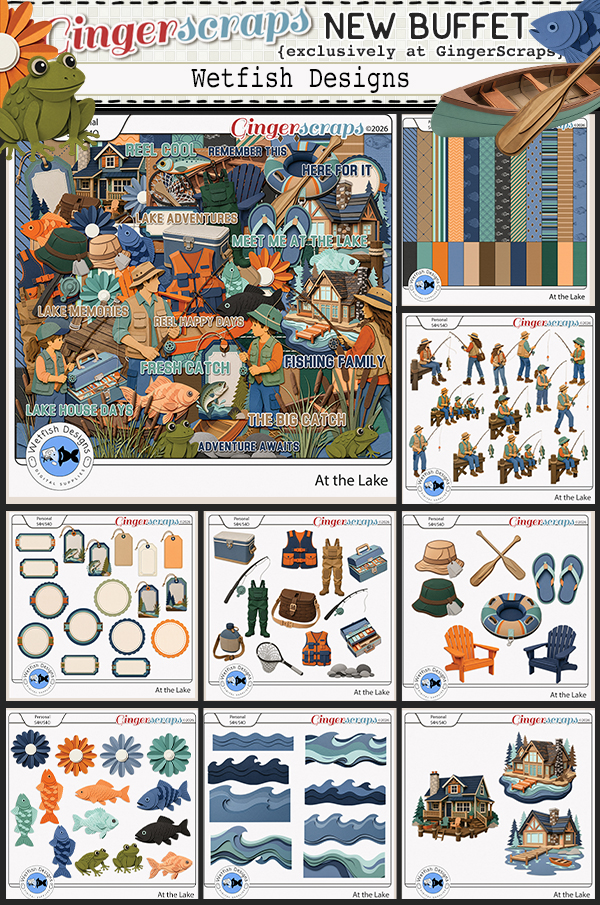
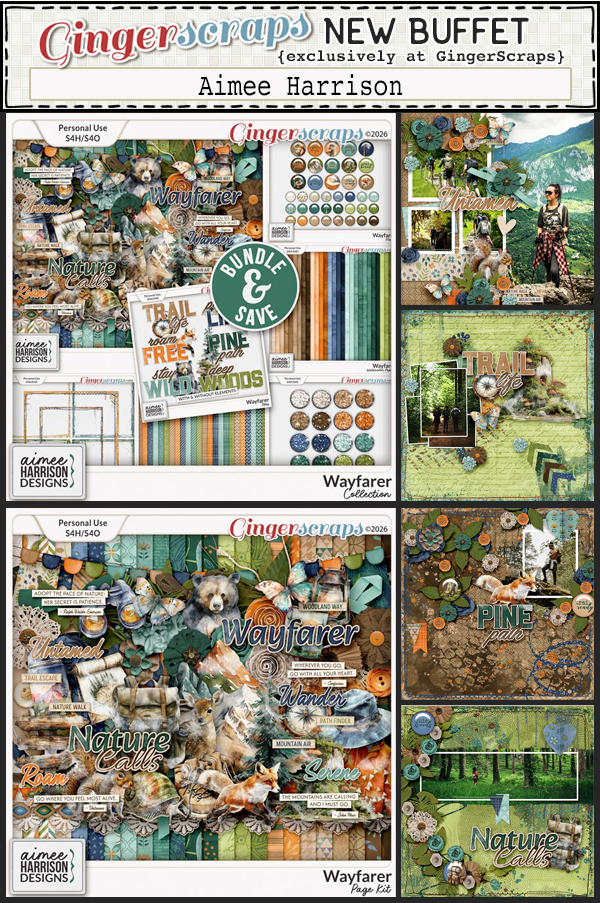
Next let’s look at the June Buffet. Don’t forget to check out the Buffet Bundles. One easy click to add bundles of Buffet goodies to your cart.
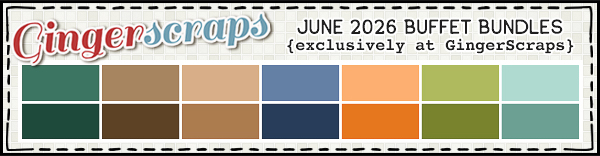
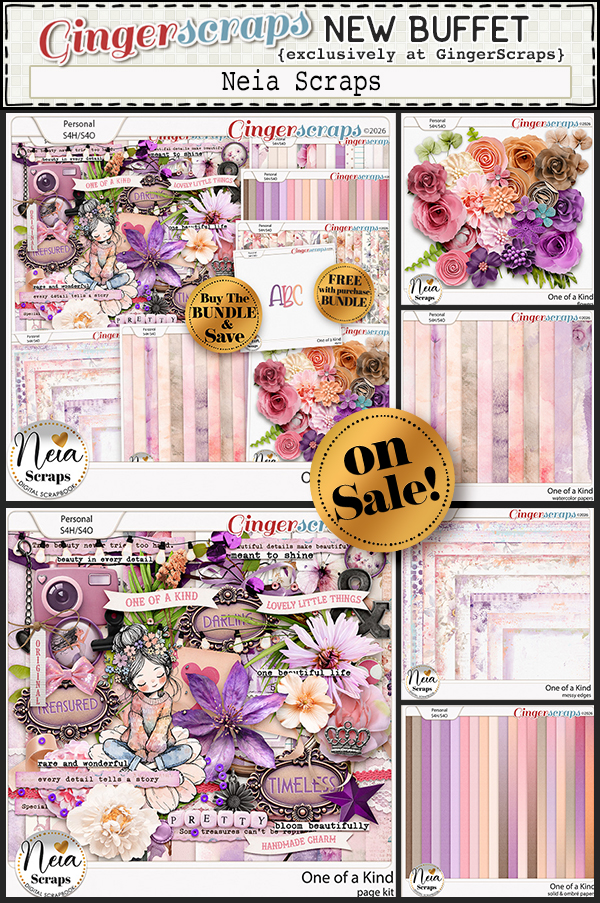
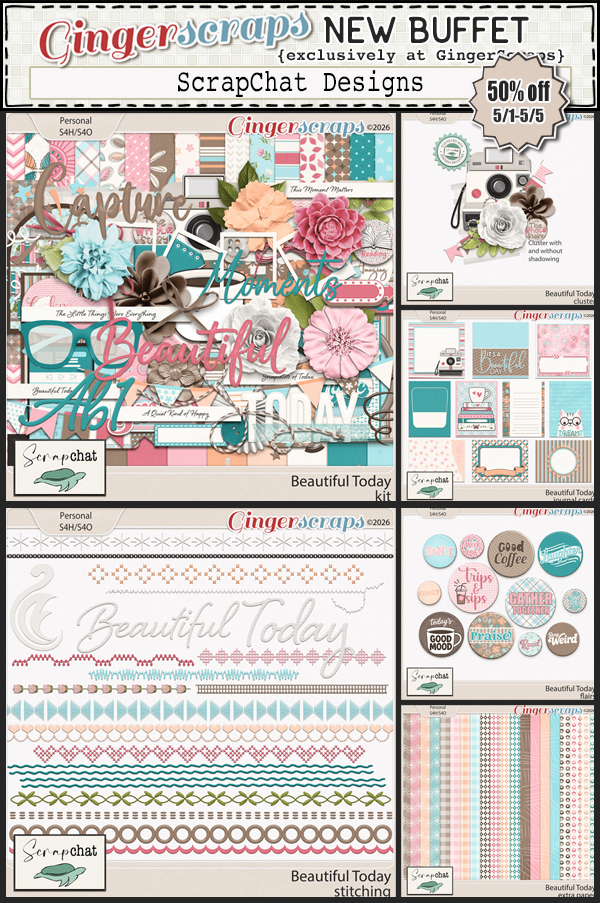
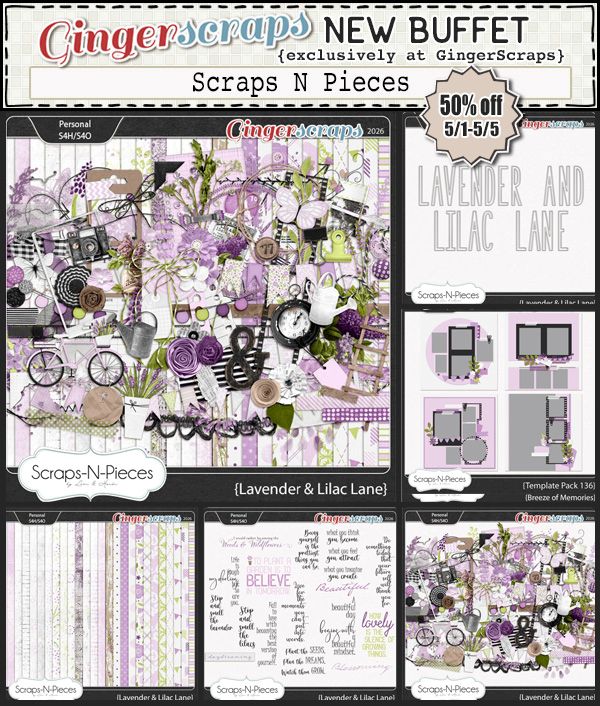
I love that these colors are not your typical “summer” colors. The designers did a great job (as usual). Remember that you can combine any of the buffet kits to make your own collection.

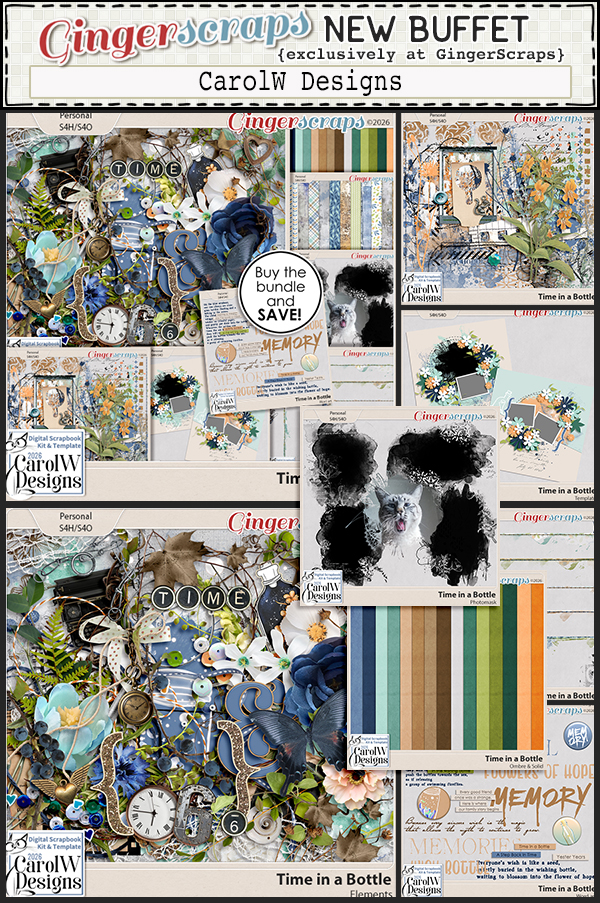


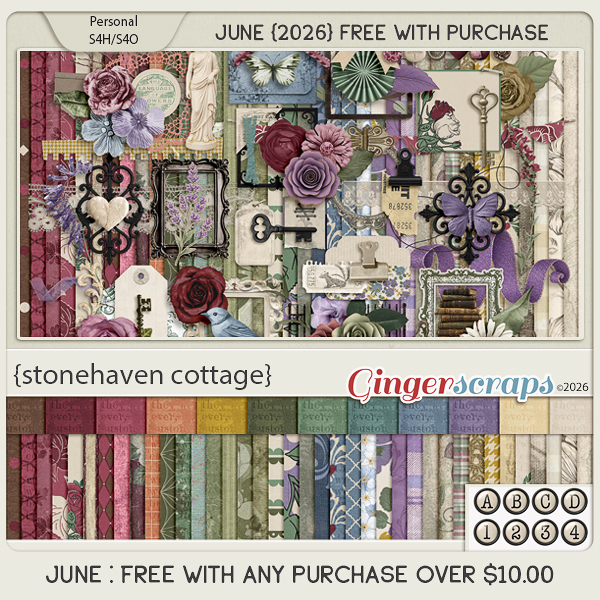
Stonehaven Cottage invites you into a romantic forgotten estate where beauty quietly blooms once again. Inspired by the charm of an old English manor slowly returning to life, this collection is filled with moss covered statues, overgrown roses, wildflowers, aged stone paths, weathered benches, antique florals, and delicate worn lace textures. The muted and slightly dark palette of rich vintage tones creates an atmosphere that feels timeless, weathered, and softly mysterious. Every detail of Stonehaven Cottage evokes the feeling of wandering through hidden gardens and forgotten pathways where nature and history intertwine. Perfect for heritage photos, romantic storytelling, garden inspired layouts, and dreamy vintage pages, this kit captures the beauty of things lovingly worn by time.
This collab includes: 1 Alpha {Uppercase & Numbers}, 51 Papers, and 87 Elements.
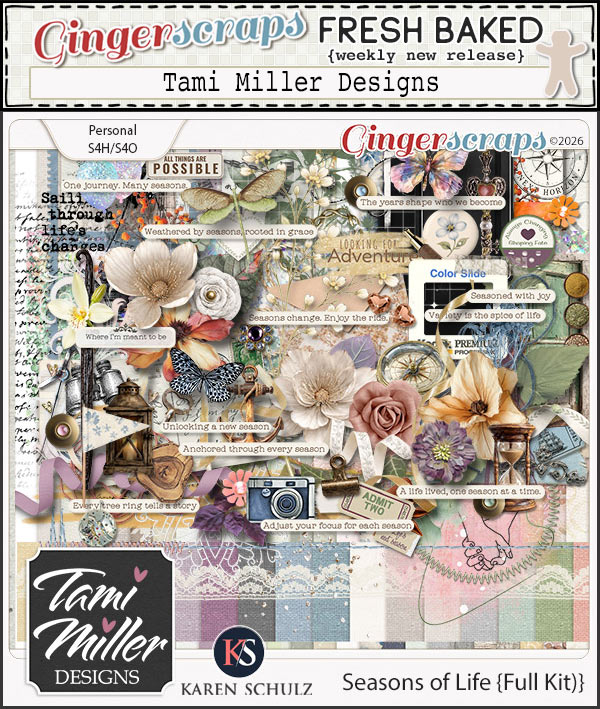
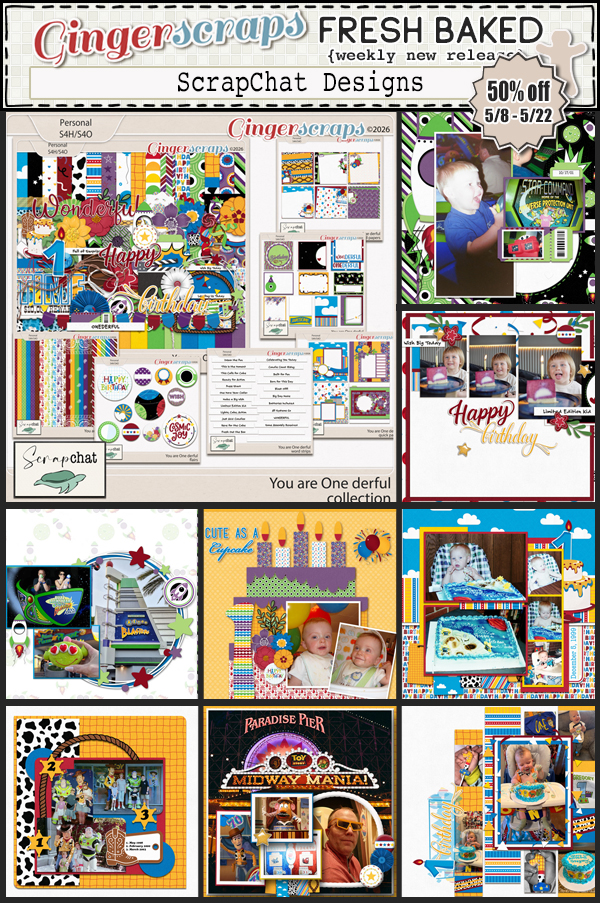
This Free With Purchase was created by Memory Mosaic, ScrapChat Designs, Scraps N Pieces, and Tami Miller Designs.
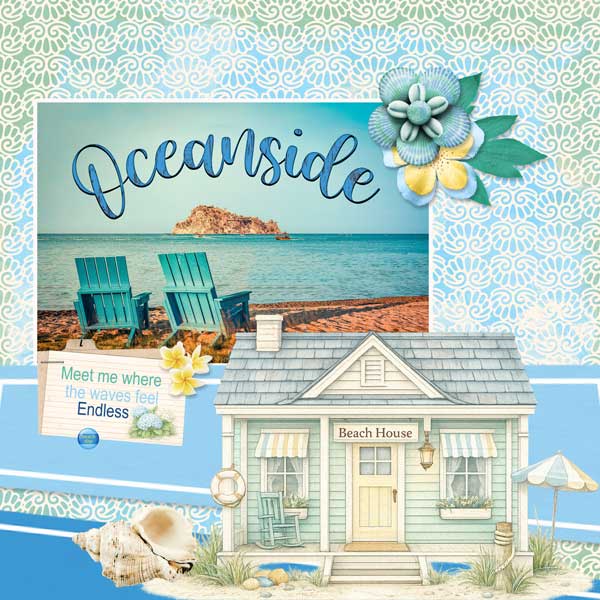
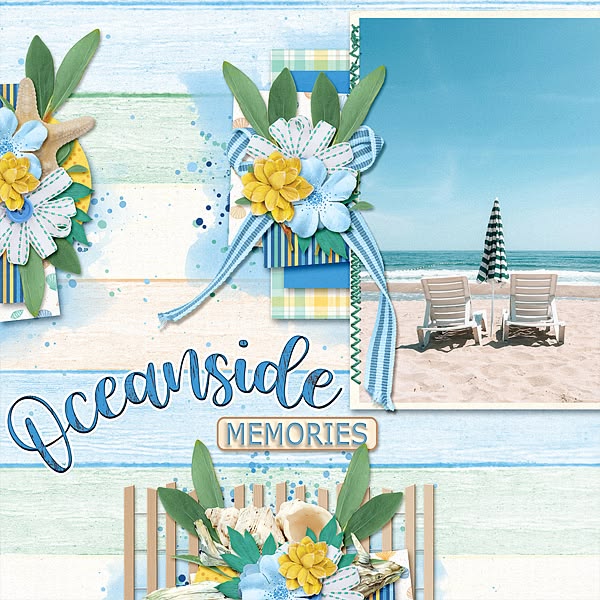
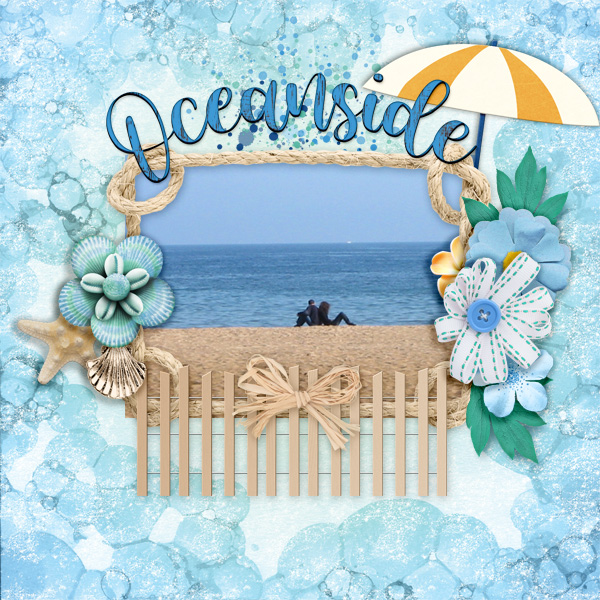
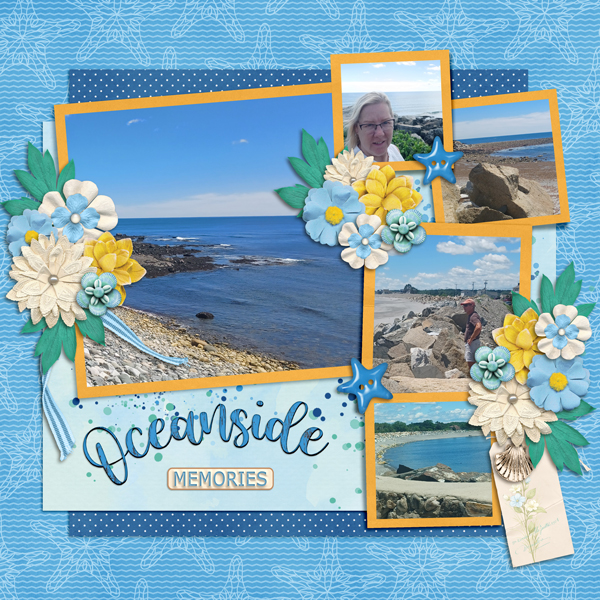
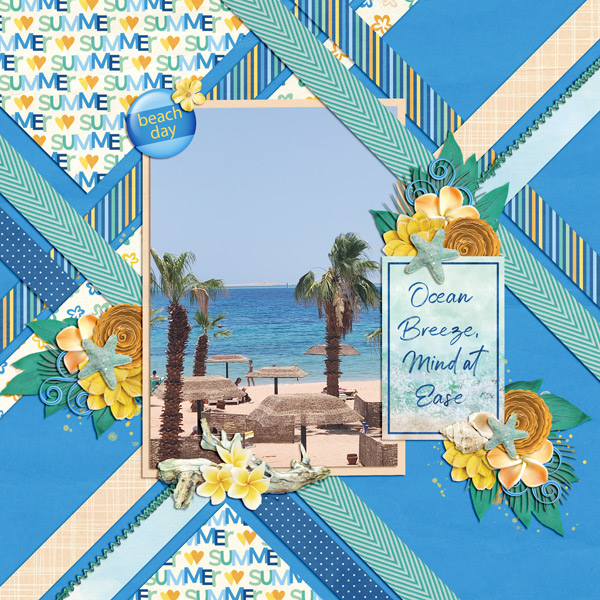
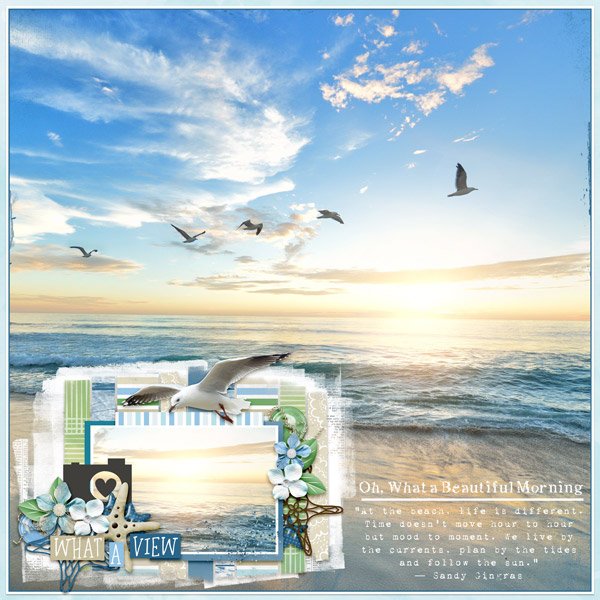
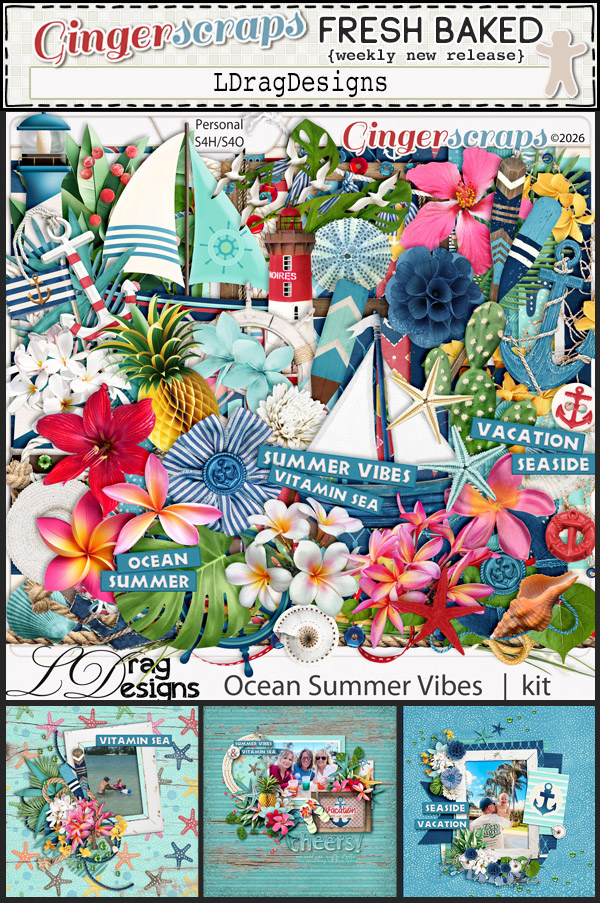
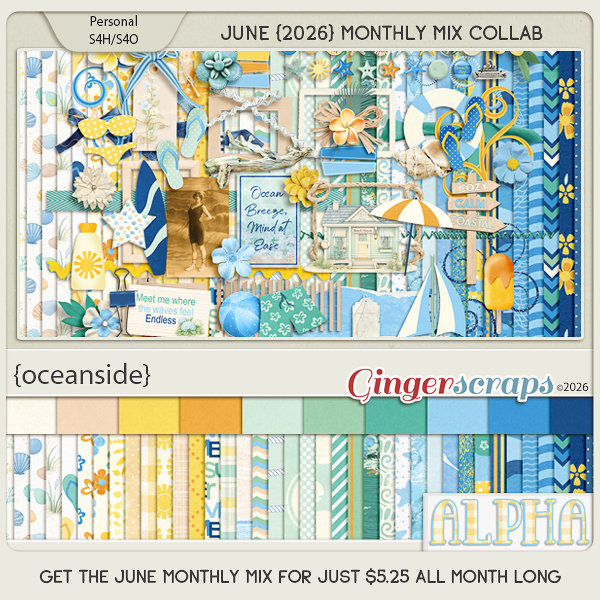
Oceanside captures the carefree spirit of summer by the sea. Filled with breezy beach vibes, ocean inspired elements, and sunny seasonal charm, this kit is perfect for documenting vacations, sandy toes, salty air, and unforgettable summer memories. Whether you are scrapping days spent by the waves, relaxing coastal evenings, or family adventures along the shore, Oceanside brings the warmth and beauty of the beach to every page.
This kit includes: 1 Alpha {Uppercase, Numbers & Punctuation}, 48 Papers, and 82 Elements.
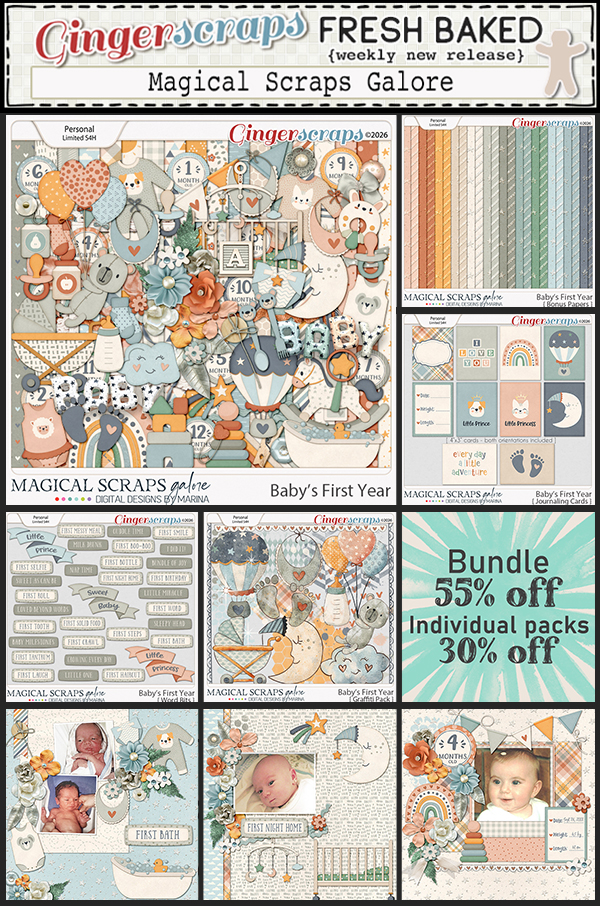
This Monthly Mix was created by Adrienne Skelton, Key Lime Digi Design, Lindsay Jane, and Magical Scraps Galore.
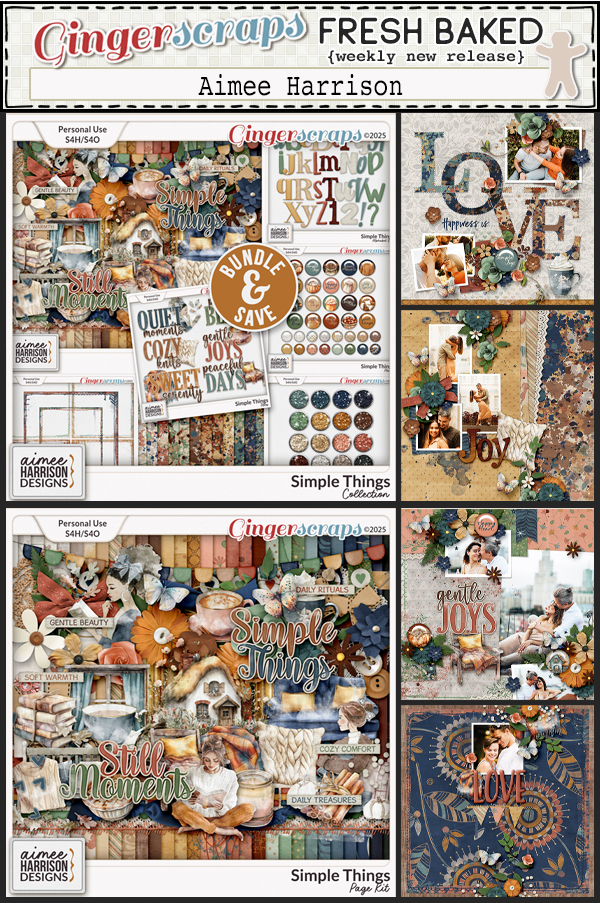
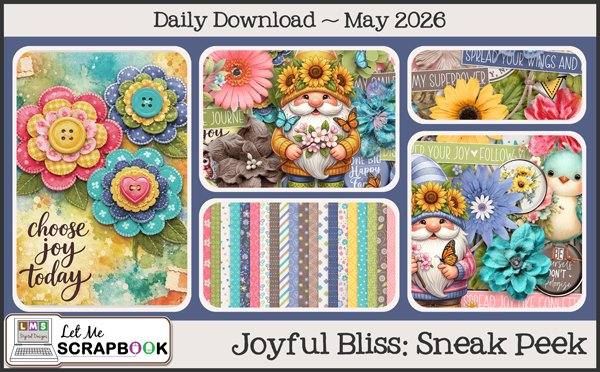
June’s Daily Download is provided by Aimee Harrison Designs. Stop by the blog each day in June to collect pieces of this beautiful kit.

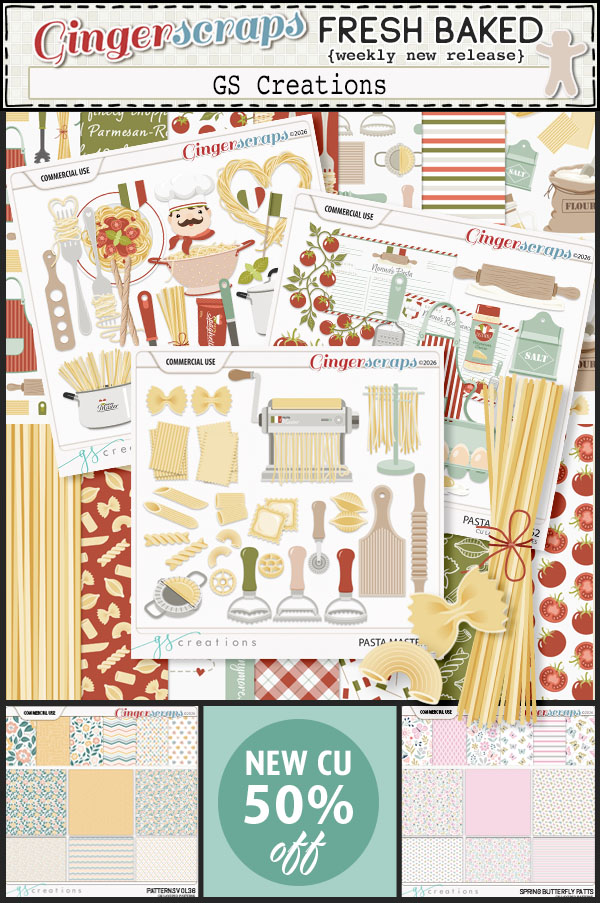
We are excited to announce we have a new Guest Designer starting in June.
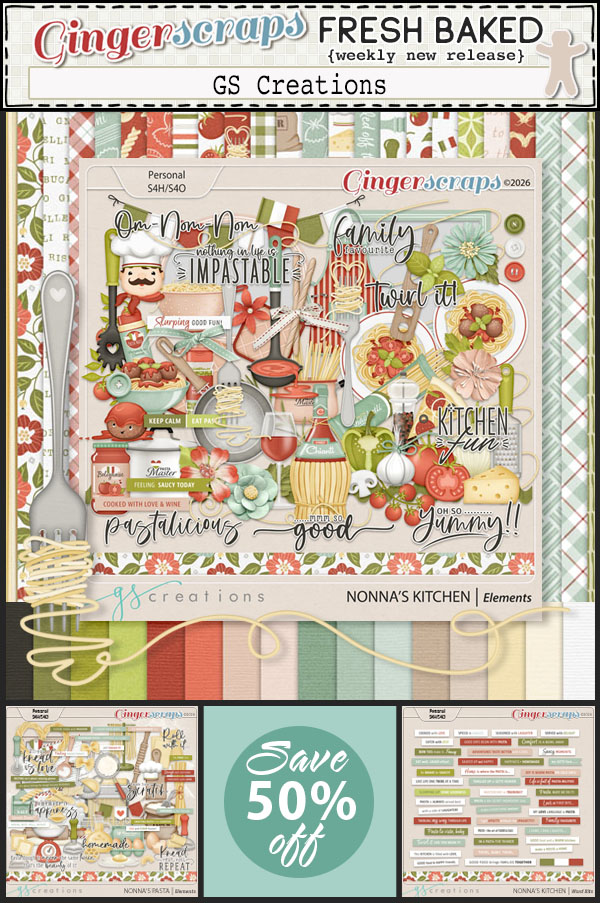
GS Creations

BIO:
Hi, it’s Gaye from GSCreations, I’ve been designing scrapbook supplies since around 2009, I’ve lost count of the years but I do know that if I don’t get my daily fix of coffee and creative time I can be a little grumpy around the edges…….. I live with my family and fur babies in the small town of George, Western Cape South Africa where we are blessed with blue skies, mountains and the sea. My biggest hope is that my products bring a smile to your face and inspiration to create. xoxo hugs
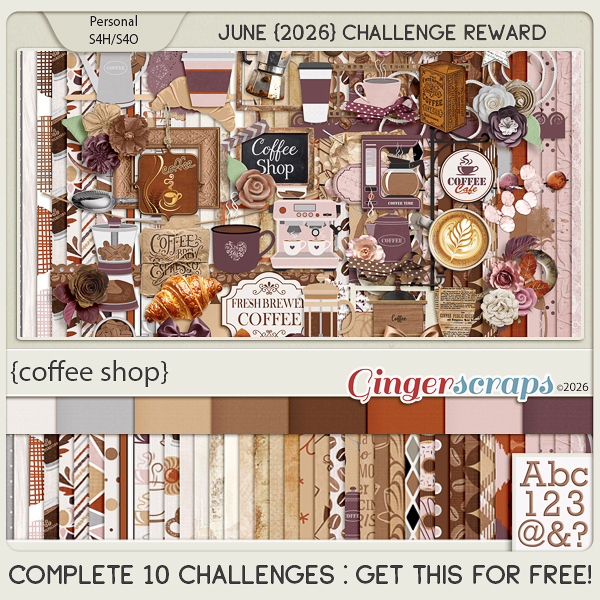
Take a look at the new challenge reward kit. If you complete any 10 challenges this month, you get this gorgeous collab (or a variety of other choices from previous challenge collabs) as a reward!
Coffee Shop is a warm and cozy collection inspired by your favorite neighborhood café. Designed in a natural palette of rich browns, creamy neutrals, and soft tan tones, this kit is filled with everything coffee lovers adore. You will find mugs, coffee pots, coffee stained accents, beans, café signs, sweet treats, and comforting details that perfectly capture the atmosphere of a relaxing coffee shop visit. Whether you are documenting morning routines, café meetups, cozy conversations, or your love for coffee itself, Coffee Shop brings warmth and comfort to every layout.
This kit includes: 1 Alpha1 {Uppercase, Lowercase, Numbers & Punctuation}, 48 Papers, and 98 Elements.
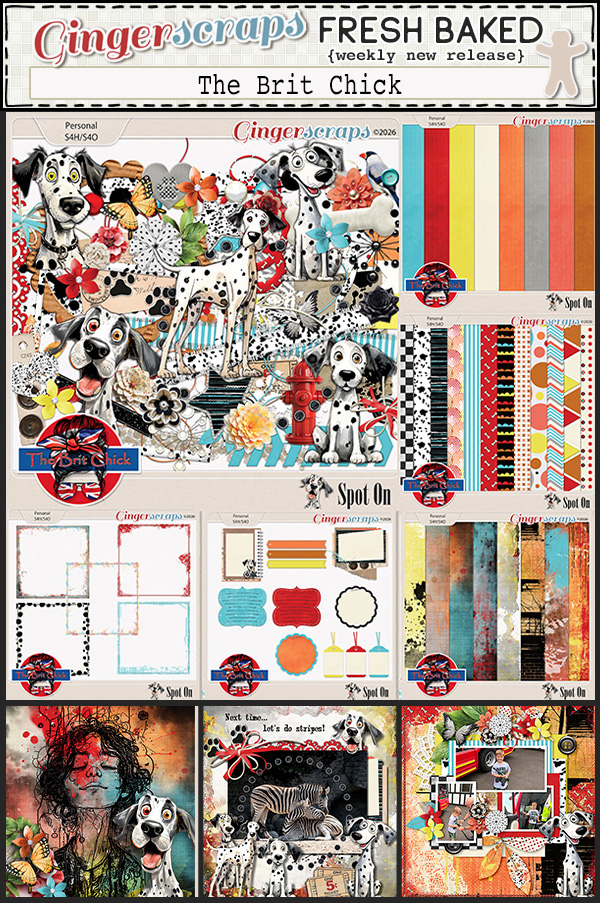
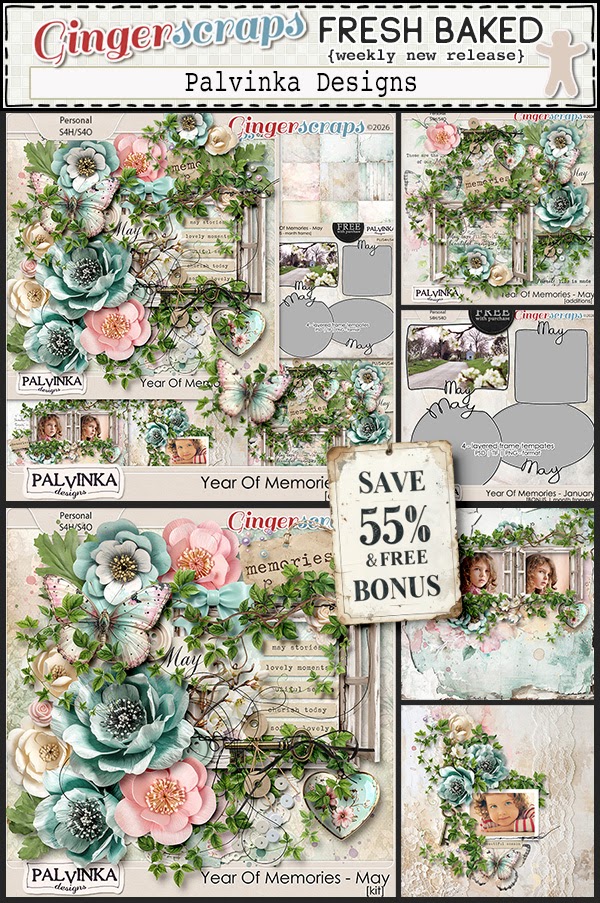
This Challenge Reward was created by ADB Designs, The Scrappy Kat, The Brit Chick, and Palvinka Designs.
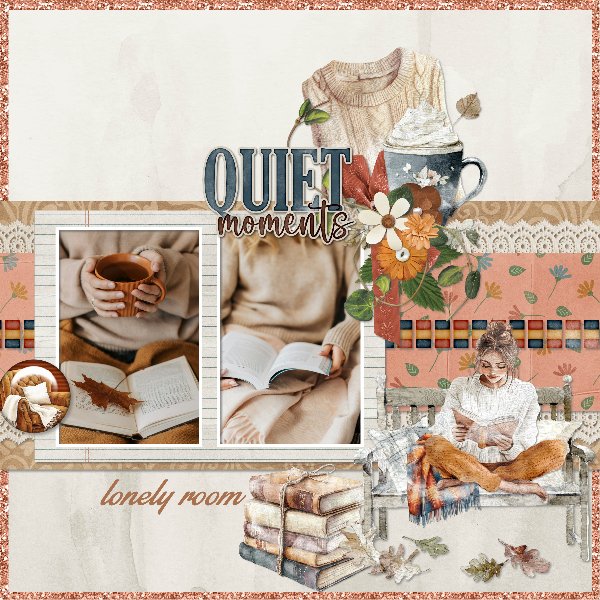
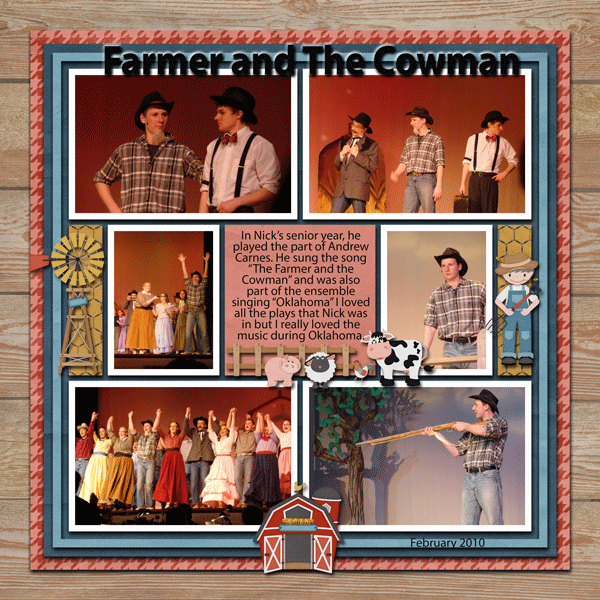
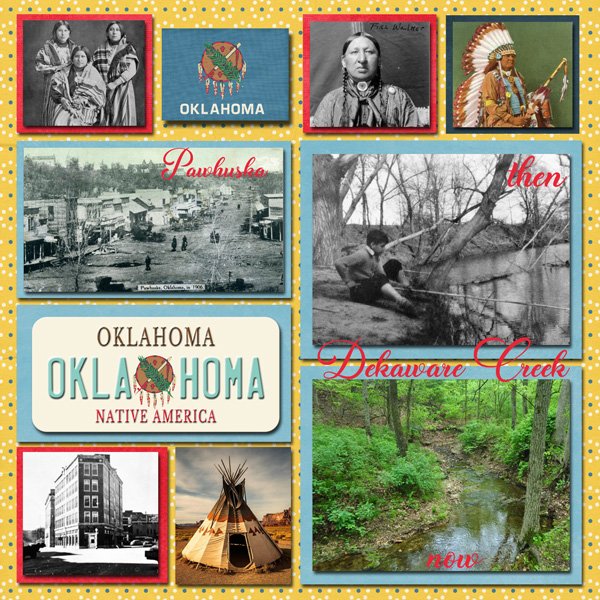
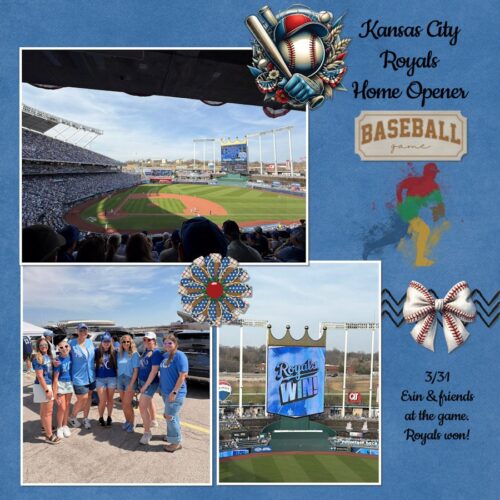
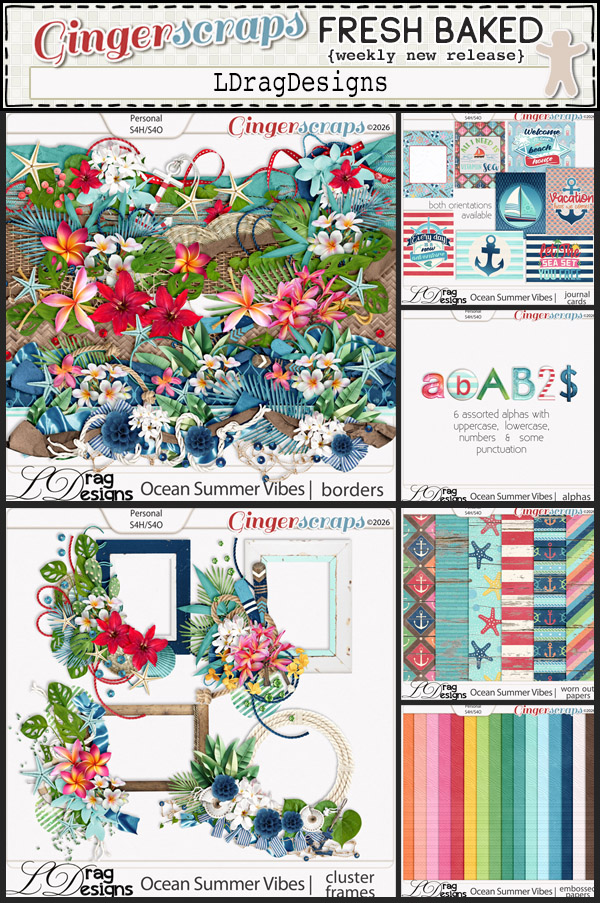
Take a look at these beautiful samples created by the GS Creative Team. These were done using the June Monthly Mix, Oceanside.