Archives for July 2026

DD: JUL 22

DD_July_2026_Day_22_tqspsgcd.zip

Follow Cindy on her Facebook Fan Page and her Facebook Group.

Follow Lisa on her Facebook Fan Page.

Remember, the download is kept up for 5 days, and then it is taken down. If you miss pieces, the kit will be available for purchase on the first day of the following month.

Post expires at 10:00am on Tuesday July 28th, 2026

Tutorial Tuesday (Individual Style)

Challenge Spotlight: Memory Mix-Up

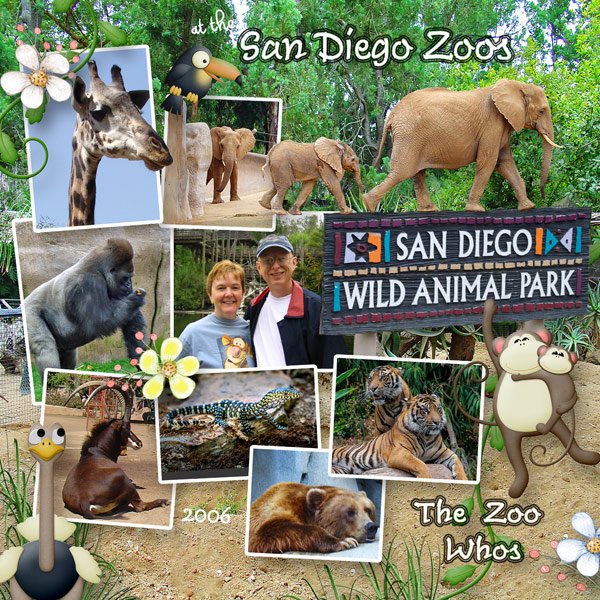
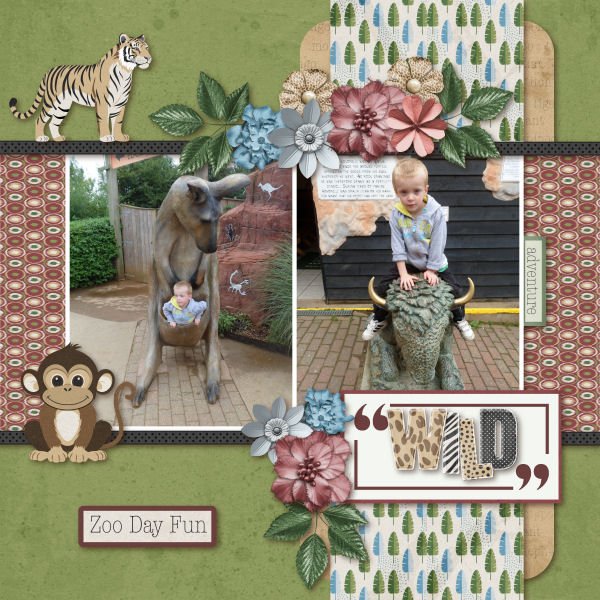
Before I launch into this month’s Challenge Spotlight… anybody else out there getting body-slammed by Mercury in retrograde? I don’t usually pay attention to that kind of thing, but this time it’s inescapable. I found myself suddenly locked out of half the websites I use for various purposes and was told the only solution was to change browsers. Which meant setting up a new one, complete with having to reset at least a dozen passwords – including this one. I’m over it!! With that on top of my suddenly garbage vision, I’ve hardly accomplished anything this month. However, I have persevered and DO have a Challenge Spotlight for you. And this month, it’s the Memory Mix-Up Challenge, hosted by Twin Mom Scraps. The prompt for this month’s Challenge was a phrase: a day at the zoo. So far, there are 9 layouts posted to the Gallery and I’ll share them all with you. As usual, each layout will be linked to its spot in the Gallery so you can take a closer look and/or leave a comment. Just click on the Scrapper‘s user name.

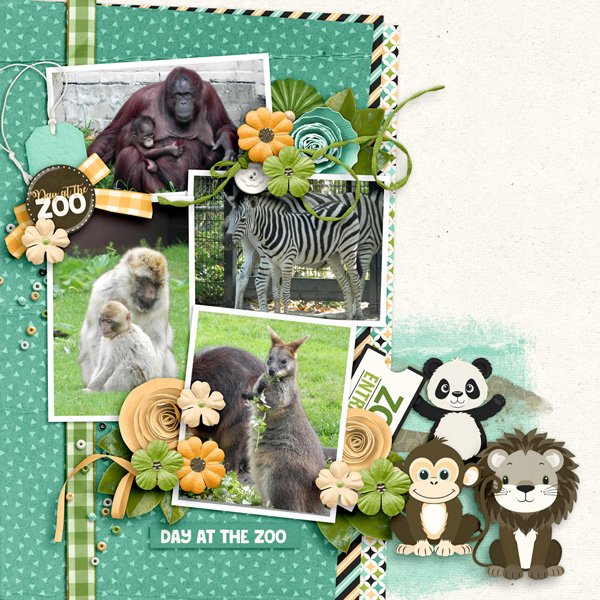
First up is this layout from scrapmevrouw. Her photos are precious! Each one shows a mom and baby pair. The layout itself is well-composed, with a strong diagonal aspect between the photos and the large cluster of animal elements. I like how the paint element behind the cluster grounds it perfectly.

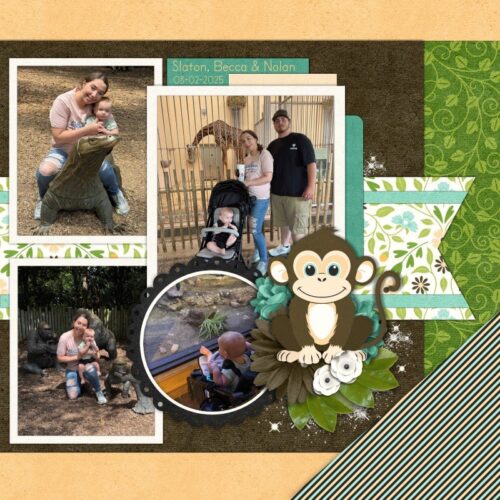
GrannyNKy has created two layouts for this Challenge. Her photo focus is on the family outing, rather than primarily the zoo angle, and that’s a perfect definition of scrapbooking right there… Preserving memories! To tie in with the prompt she has some prominent critter elements. LO 2 can be found here.

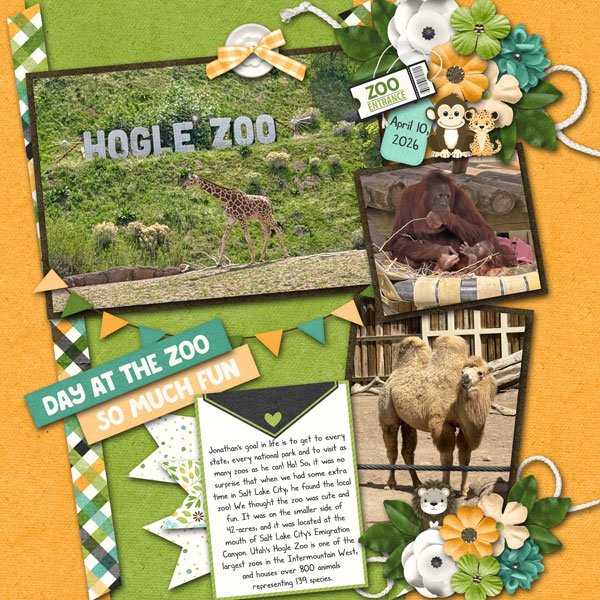
For her layout, jenniferl75 described how their visit to the zoo came to be, and included some exotic animal photos to document the event. She used the very same collection as the previous two Scrappers, a detail that escaped me until I took a better look. I like that she framed her photos with black, making them draw the eye.

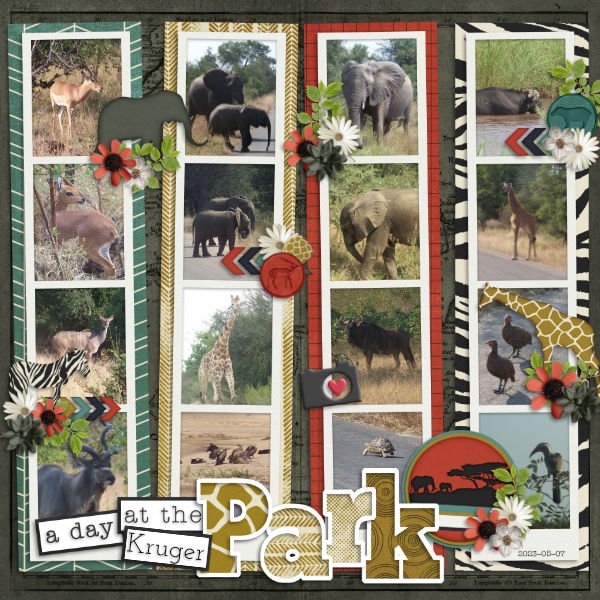
CathyS has created a grid-style layout filled with photos of the inhabitants of Kruger Park. Her title is smashingly well-done! And I enjoy how she’s used matching animal elements to draw attention to some of those inhabitants.

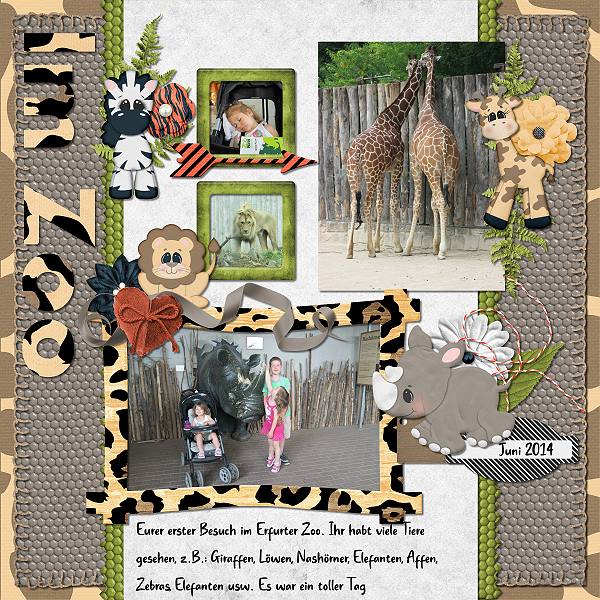
Look at the animal print papers sarahm172 has used to anchor her photos. They really carry the layout. Don’t you love that little rhino element?

Tbear‘s layout is about a zoo I’ve actually seen with my own eyes. I appreciate the way she’s used a large photo as her background and has the elephants appearing to be walking out of another photo. The out-of-bounds treatment of the giraffe actually leads the eye to that little vignette. Clever!

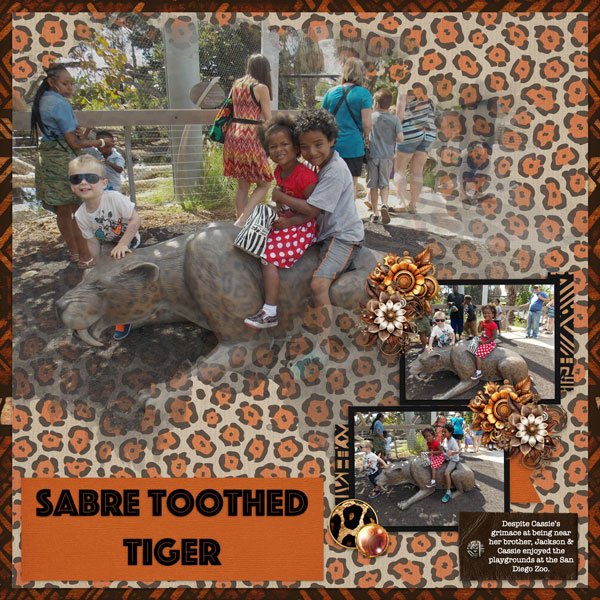
I’m glad RobynC included a bit of journaling to clarify which zoo has sabre-toothed tigers. 😉 The cheetah print background paper and small slices of other animal print papers definitely whisper “zoo”, don’t they?

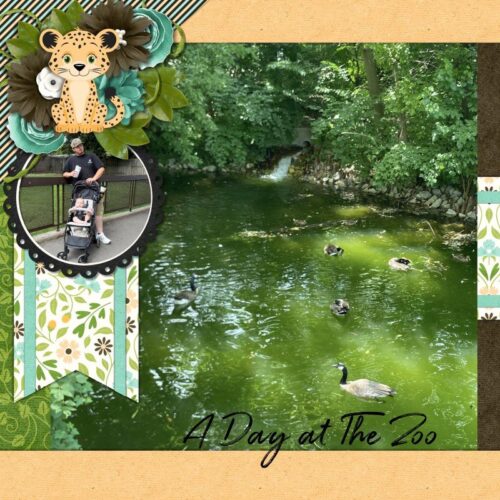
Our last layout is from twizzle. The little man in her photos enjoyed the inanimate animals a lot. I like the distressed animal print alpha she’s used for her title, but I swear I’ve seen that monkey somewhere before. 😀

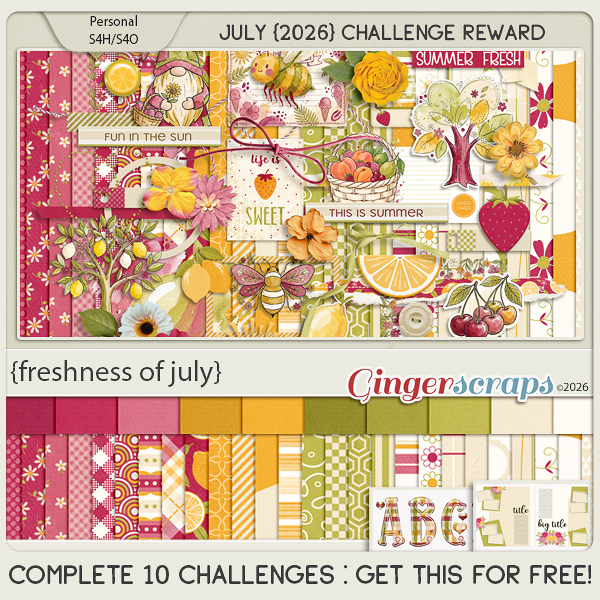
If you’re new to GingerScraps and haven’t participated in any of our Challenges, you really MUST check them out! They’re like an instant shot of inspiration and there’s a lovely bonus kit every month for everyone who completes 10 Challenge layouts in that month. This month’s Challenge Reward is this beaut…

DD: JUL 21

DD_July_2026_Day_21_qhjnfwuo.zip

Follow Cindy on her Facebook Fan Page and her Facebook Group.

Follow Lisa on her Facebook Fan Page.

Remember, the download is kept up for 5 days, and then it is taken down. If you miss pieces, the kit will be available for purchase on the first day of the following month.

Post expires at 10:00am on Monday July 27th, 2026

DD: JUL 20

DD_July_2026_Day_20_xxeponne.zip

Follow Cindy on her Facebook Fan Page and her Facebook Group.

Follow Lisa on her Facebook Fan Page.

Remember, the download is kept up for 5 days, and then it is taken down. If you miss pieces, the kit will be available for purchase on the first day of the following month.

Post expires at 10:00am on Sunday July 26th, 2026

DD: JUL 19

DD_July_2026_Day_19_dpidoblh.zip

Follow Cindy on her Facebook Fan Page and her Facebook Group.

Follow Lisa on her Facebook Fan Page.

Remember, the download is kept up for 5 days, and then it is taken down. If you miss pieces, the kit will be available for purchase on the first day of the following month.

Post expires at 10:00am on Saturday July 25th, 2026

DD: JUL 18

DD_July_2026_Day_18_wvwihkvf.zip

Follow Cindy on her Facebook Fan Page and her Facebook Group.

Follow Lisa on her Facebook Fan Page.

Remember, the download is kept up for 5 days, and then it is taken down. If you miss pieces, the kit will be available for purchase on the first day of the following month.

Post expires at 10:00am on Friday July 24th, 2026

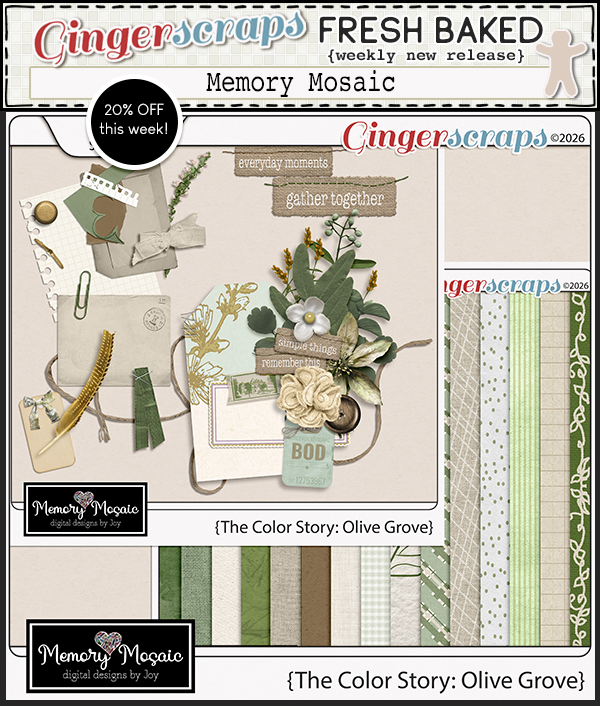
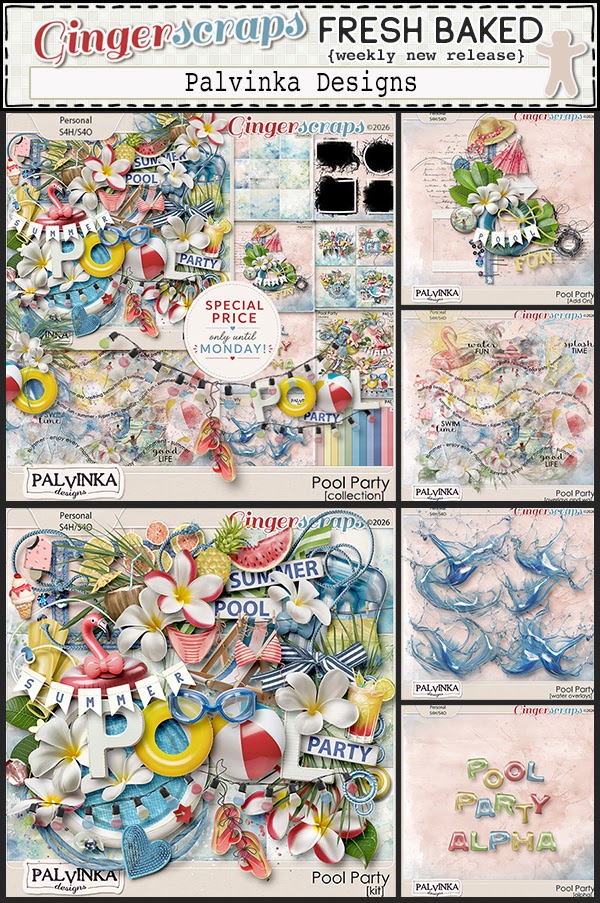
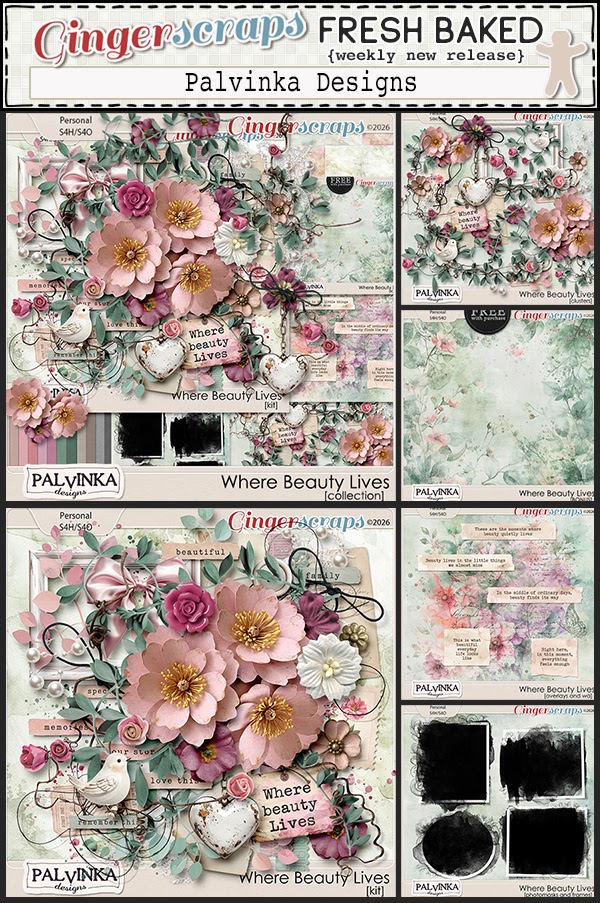
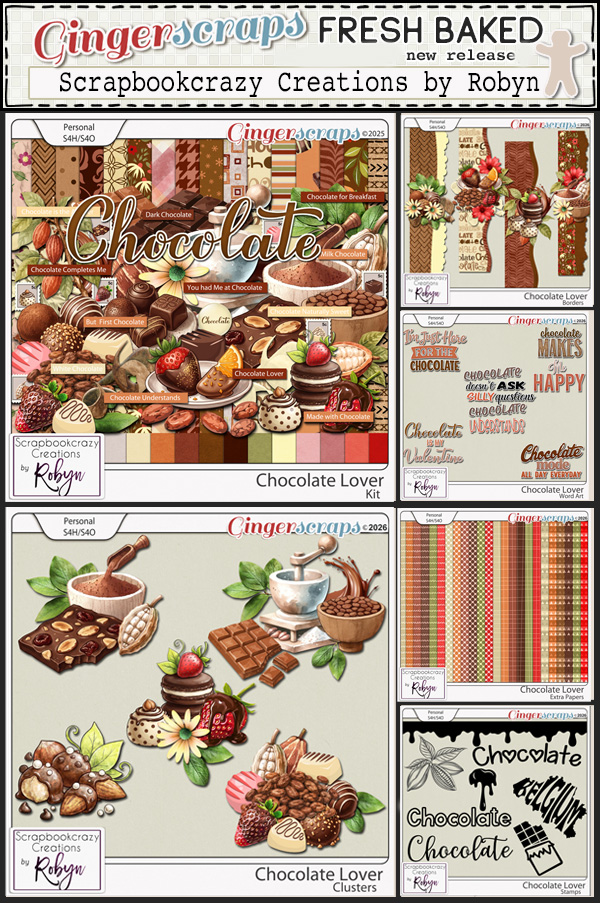
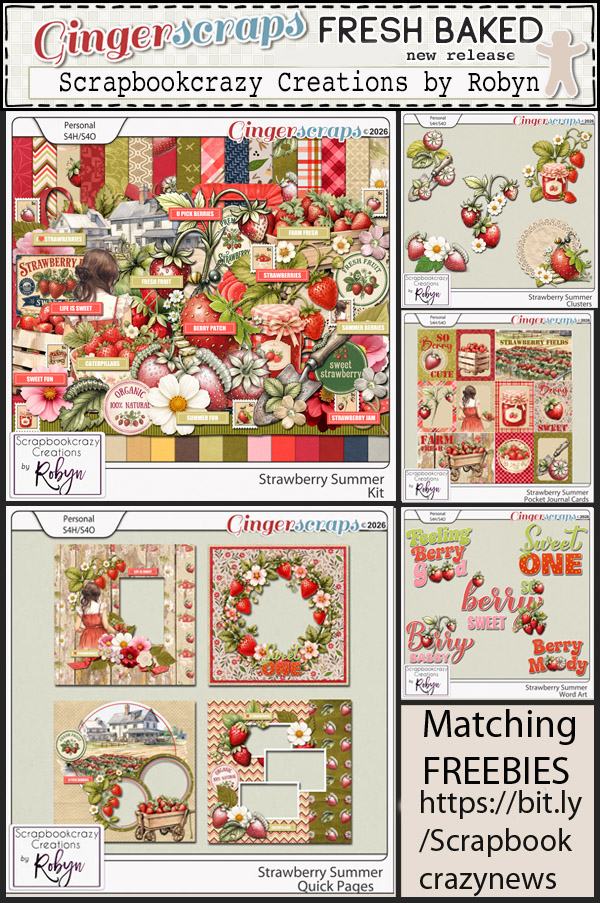
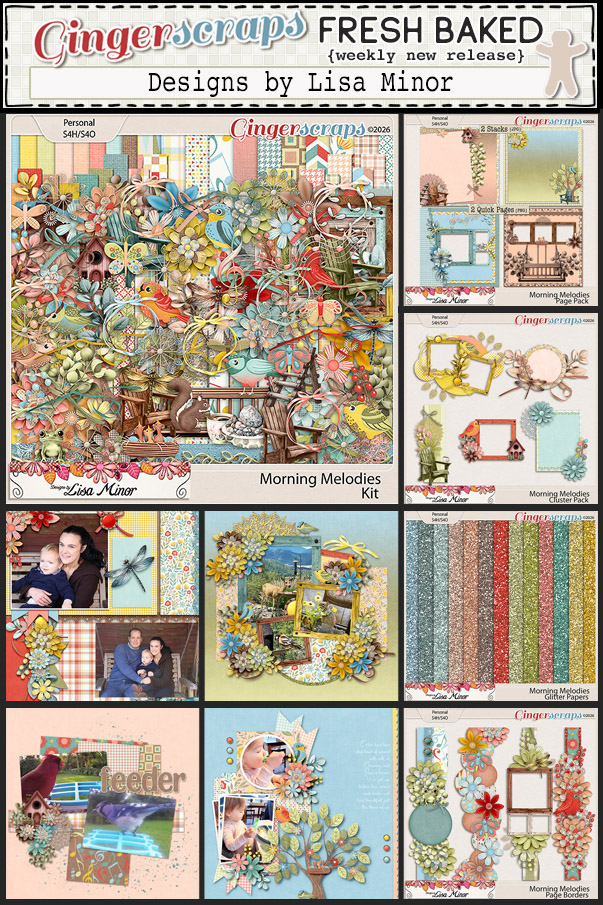
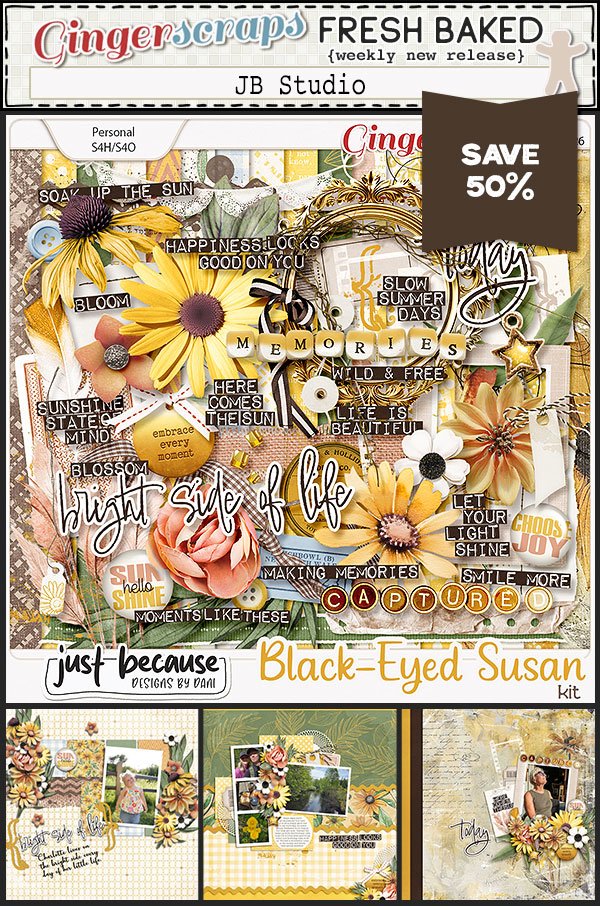
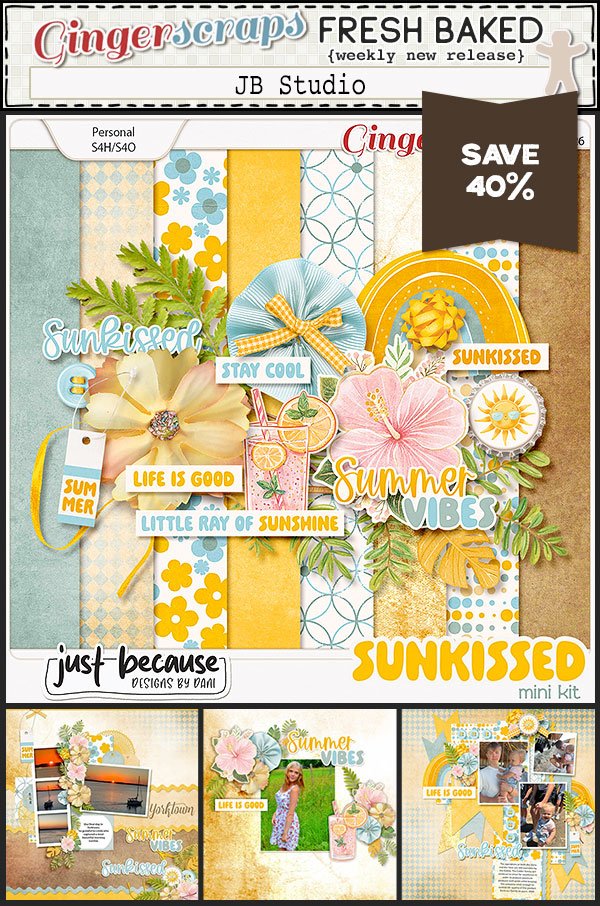
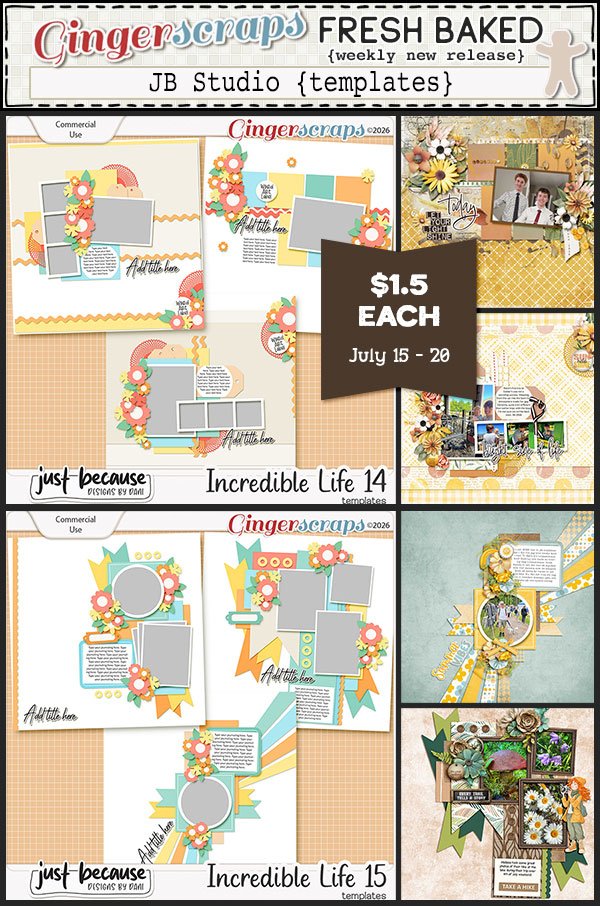
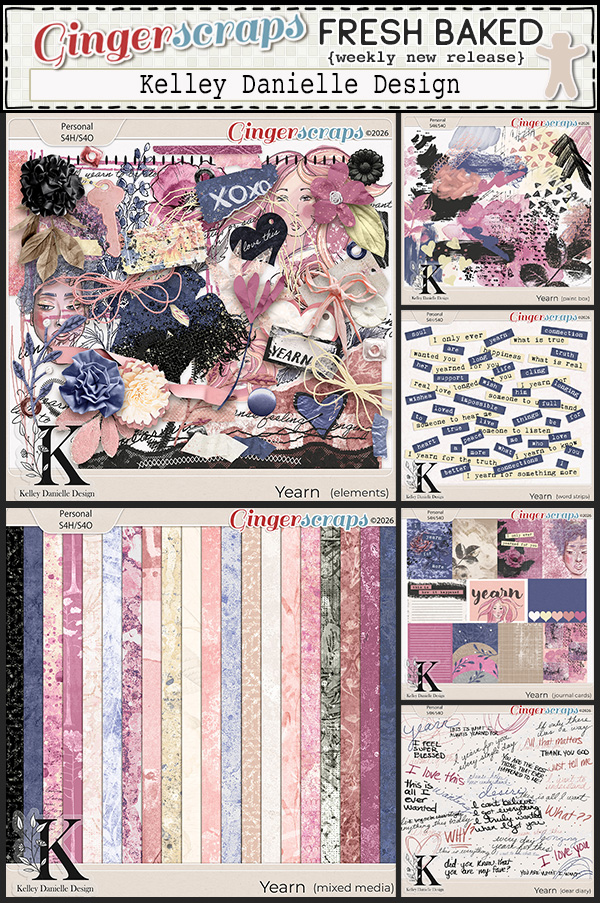
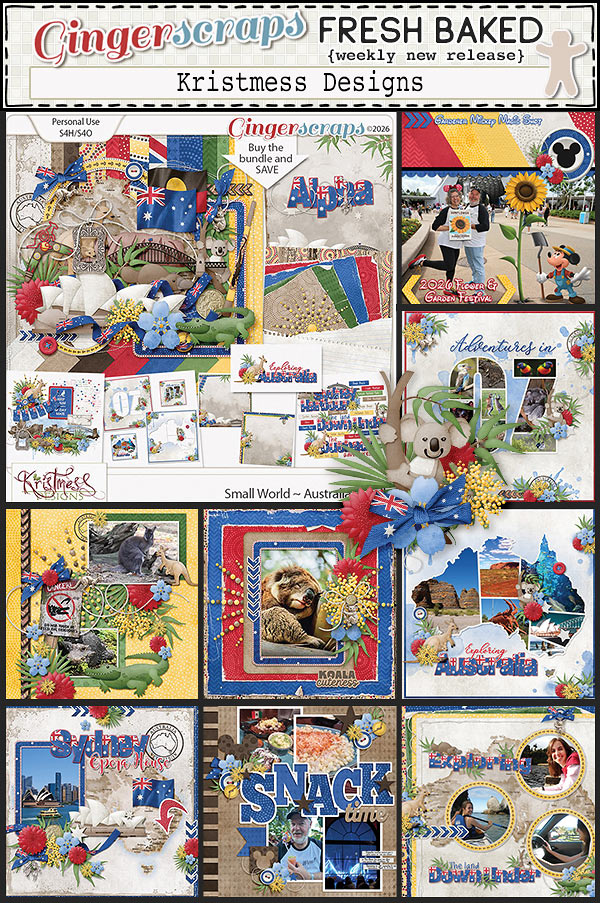
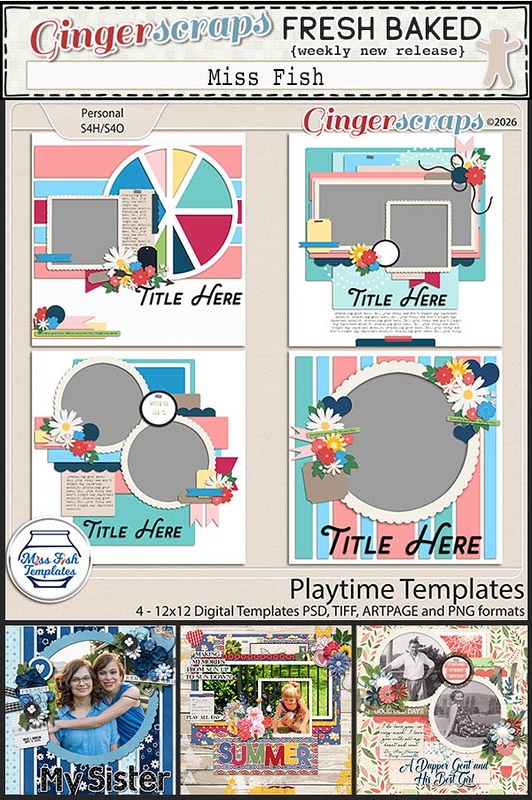
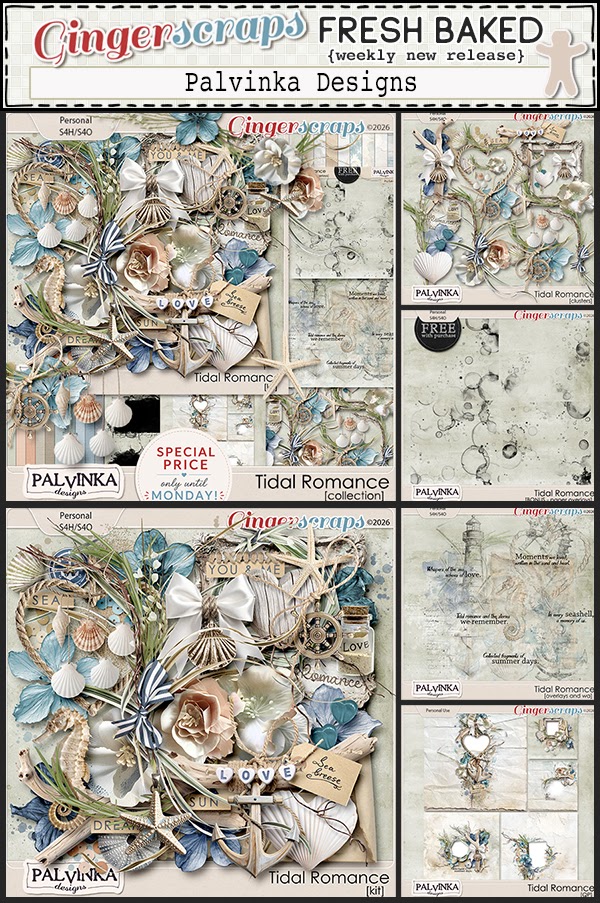
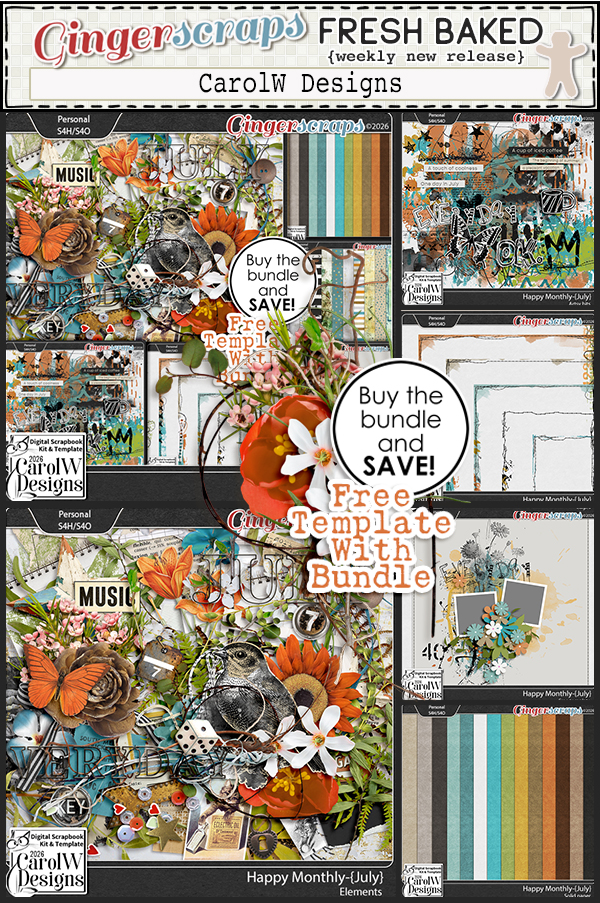
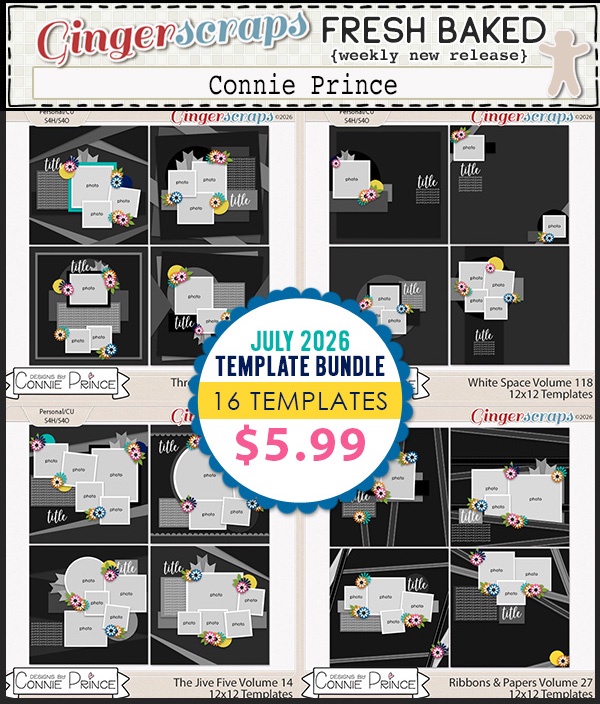
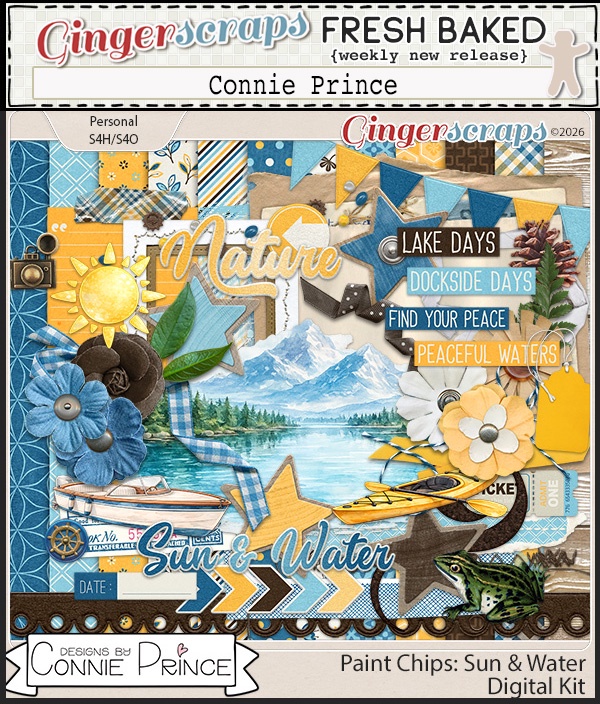
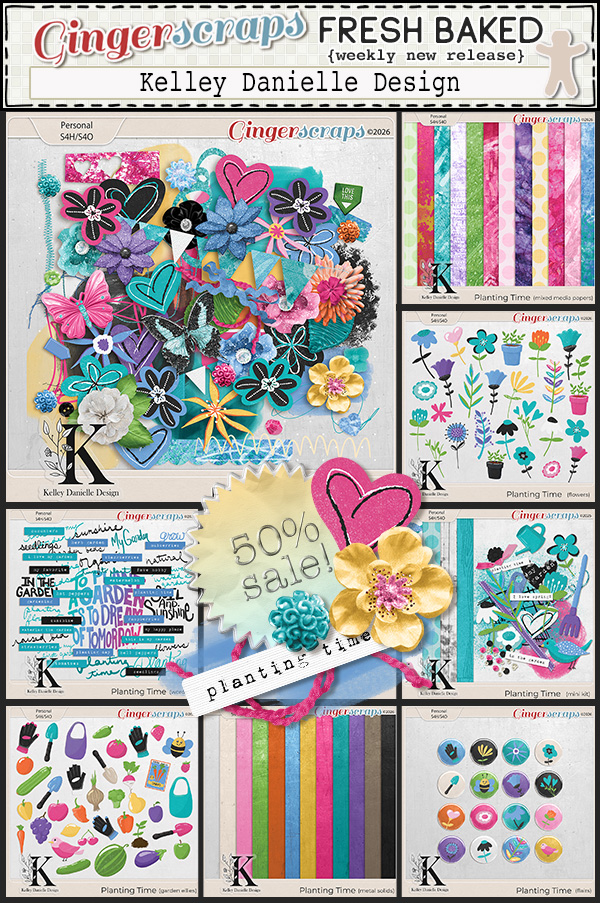
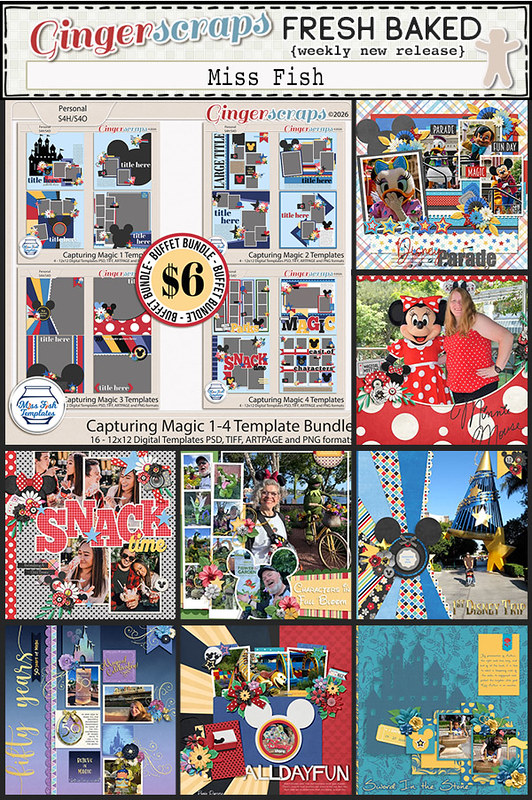
Fresh Baked Friday @ Gingerscraps – July 17, 2026

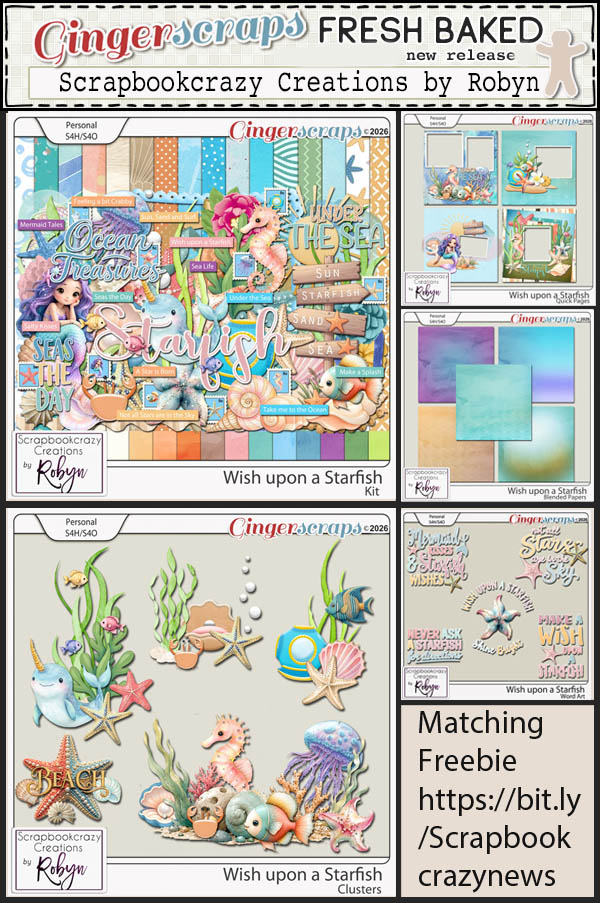
Happy Friday friends. I hope you have all had a good week and have had plenty of opportunities to take photos to scrap.

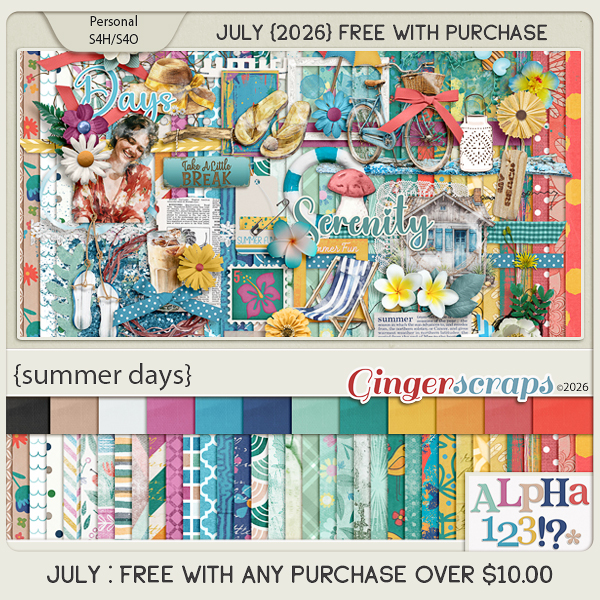
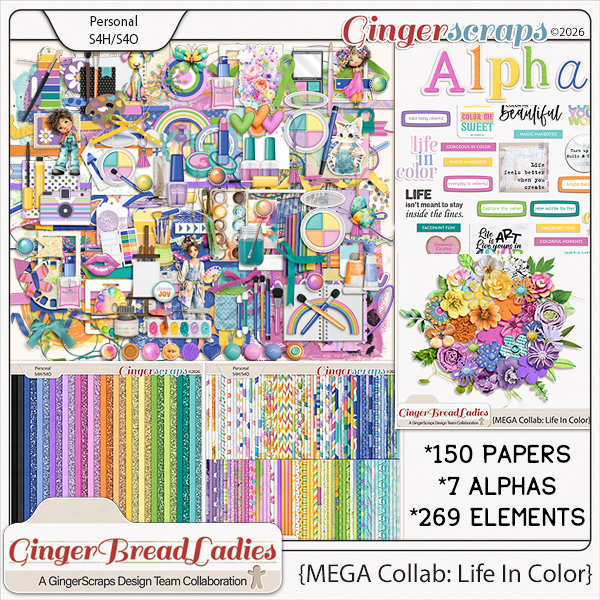
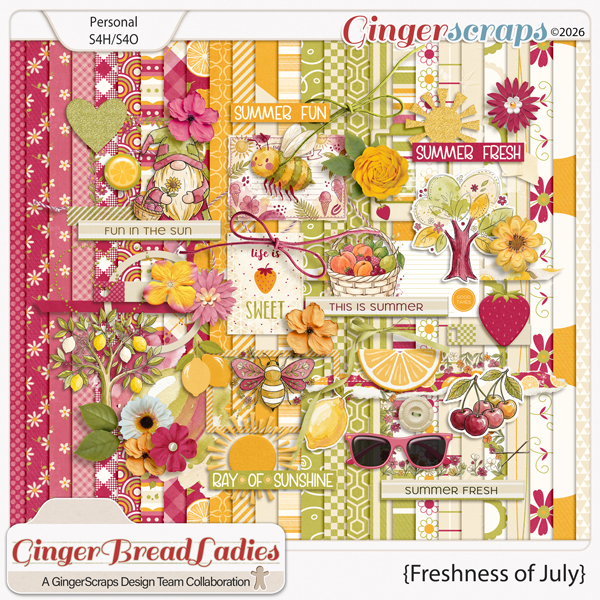
If you spend $10 in the store, you will get this beautiful collab for free.

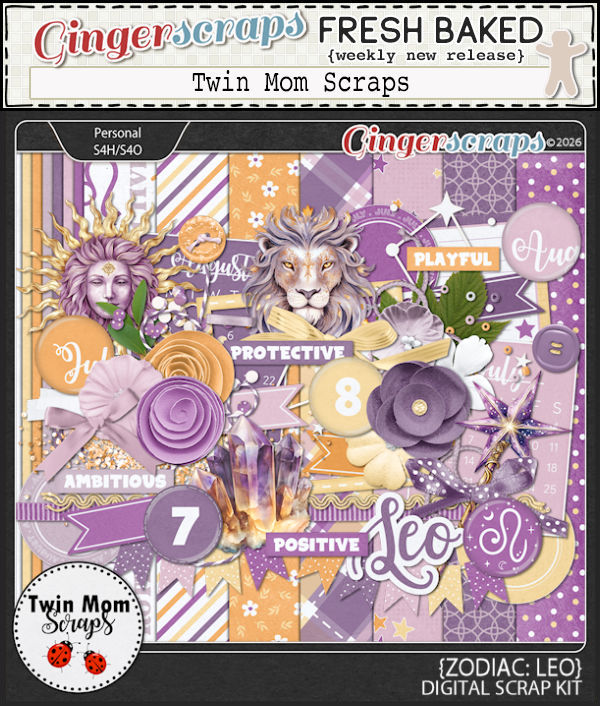
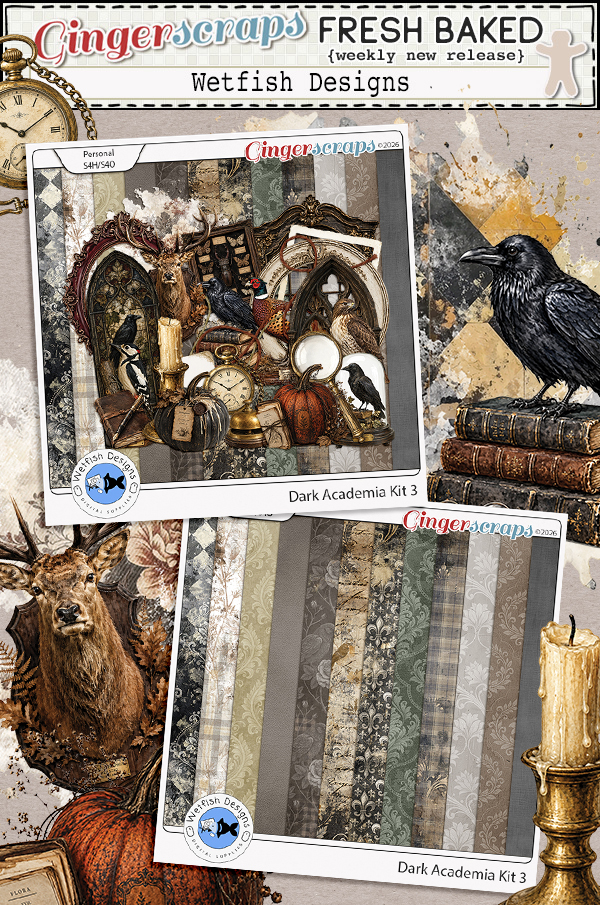
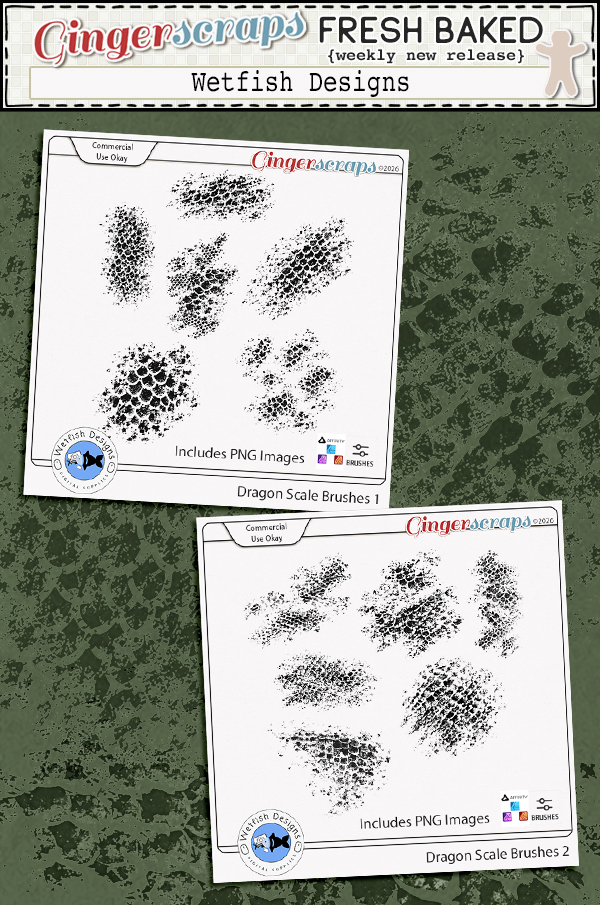
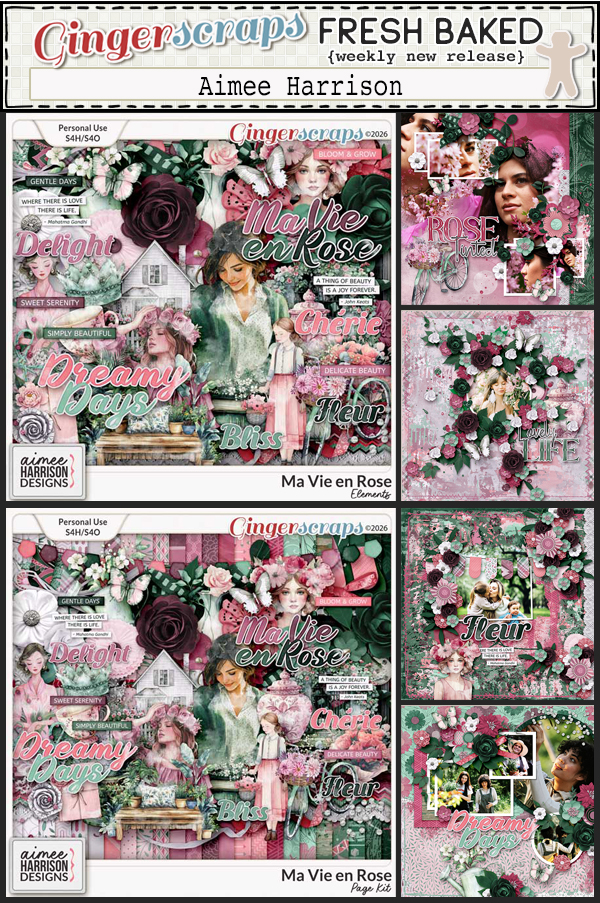
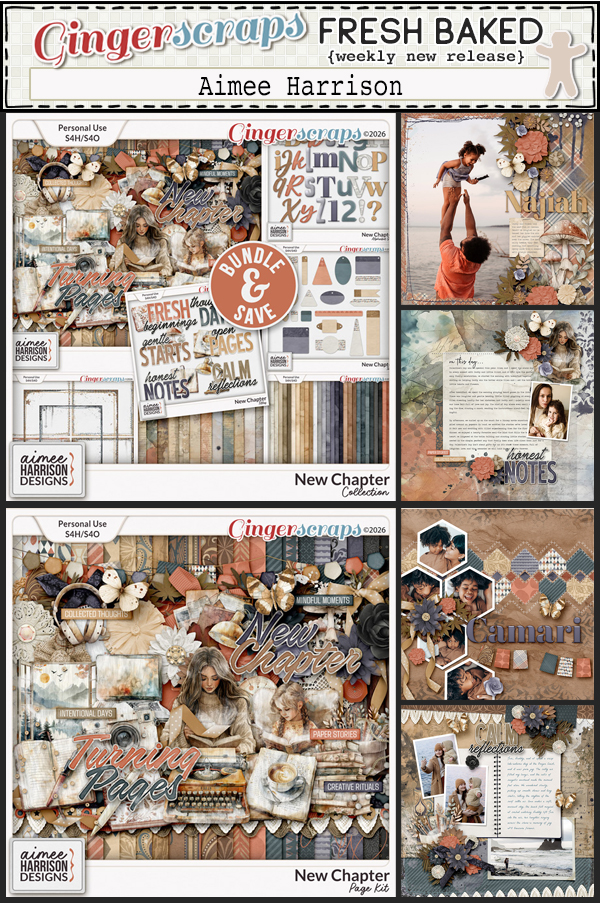
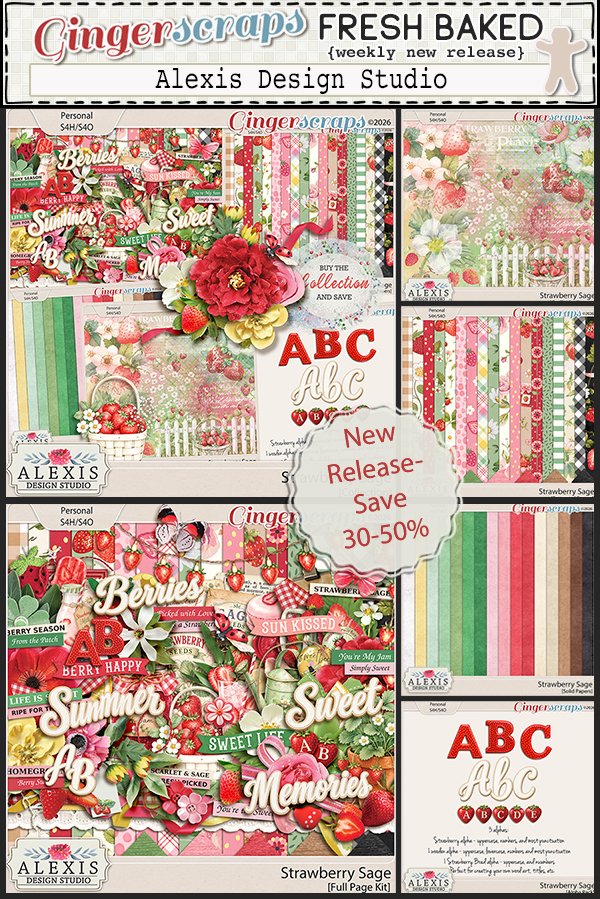
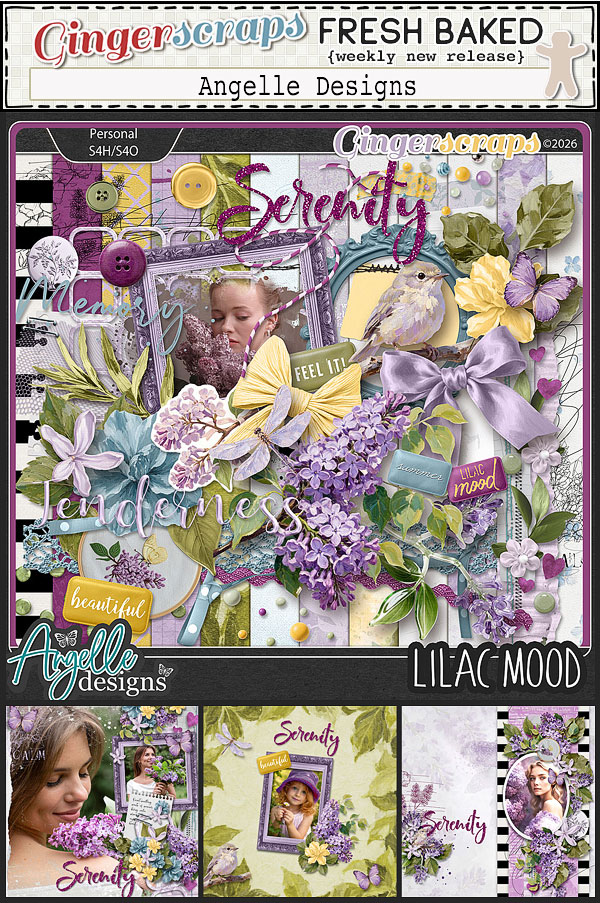
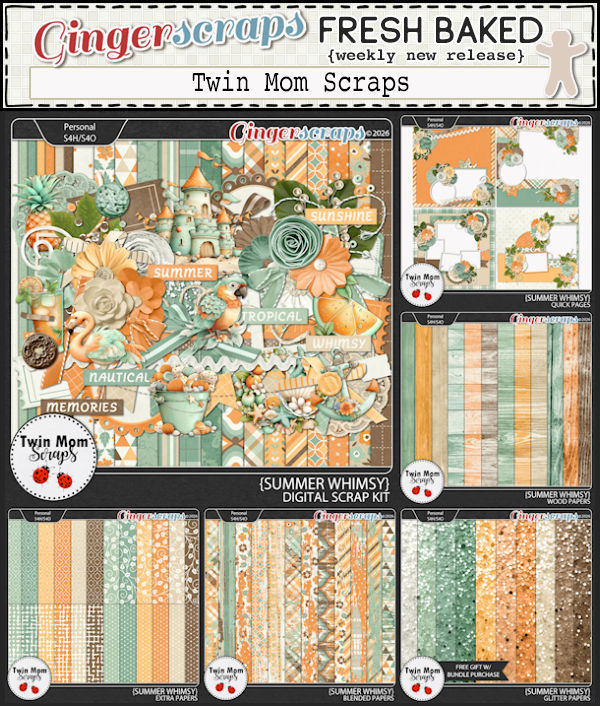
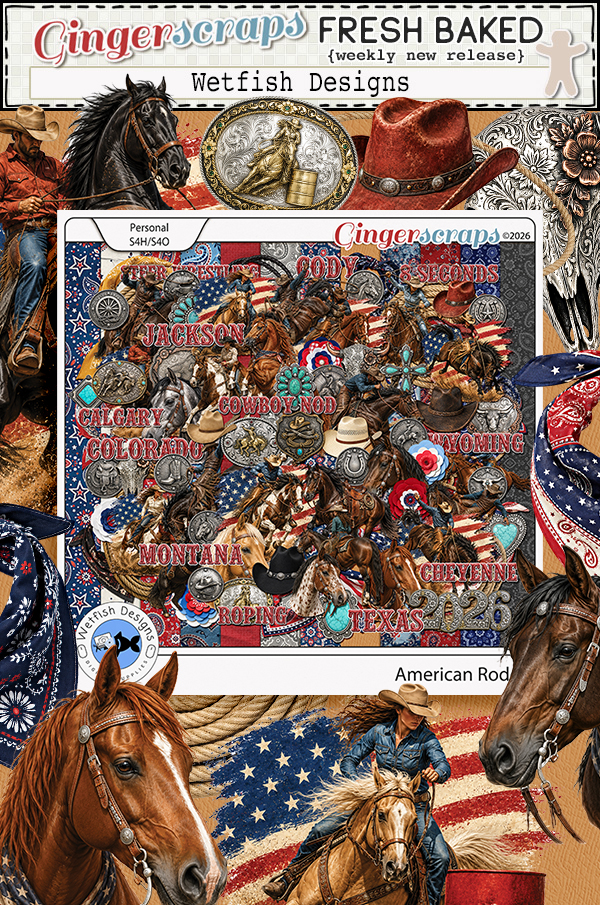
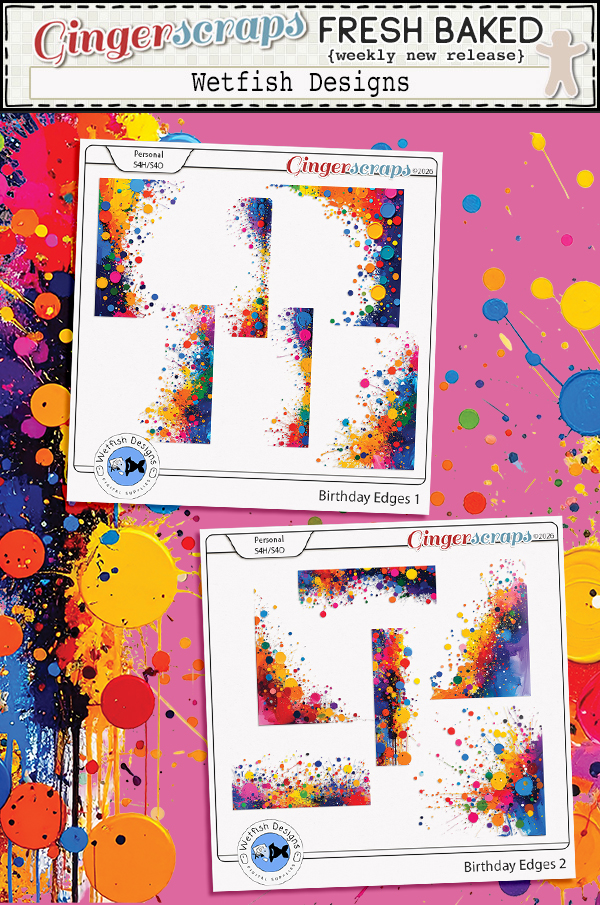
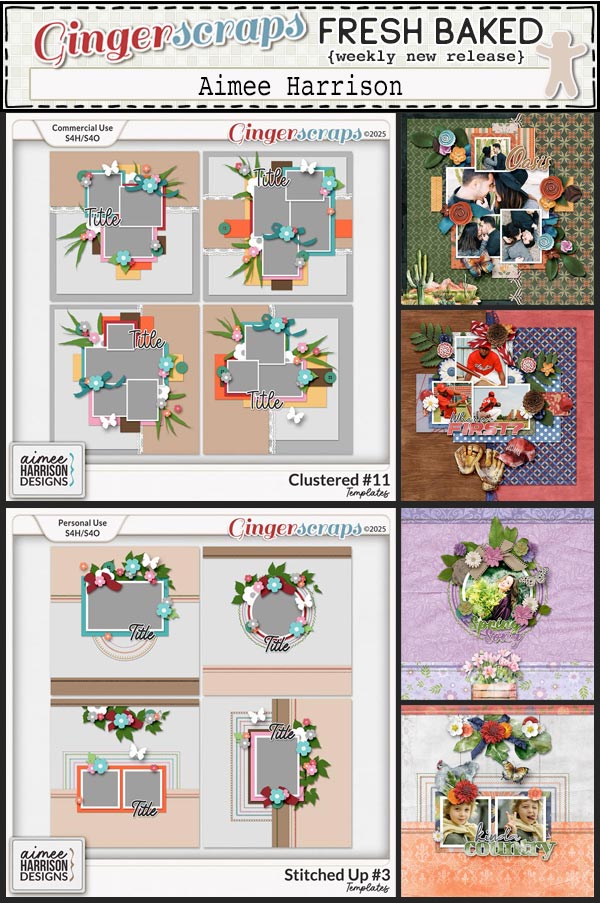
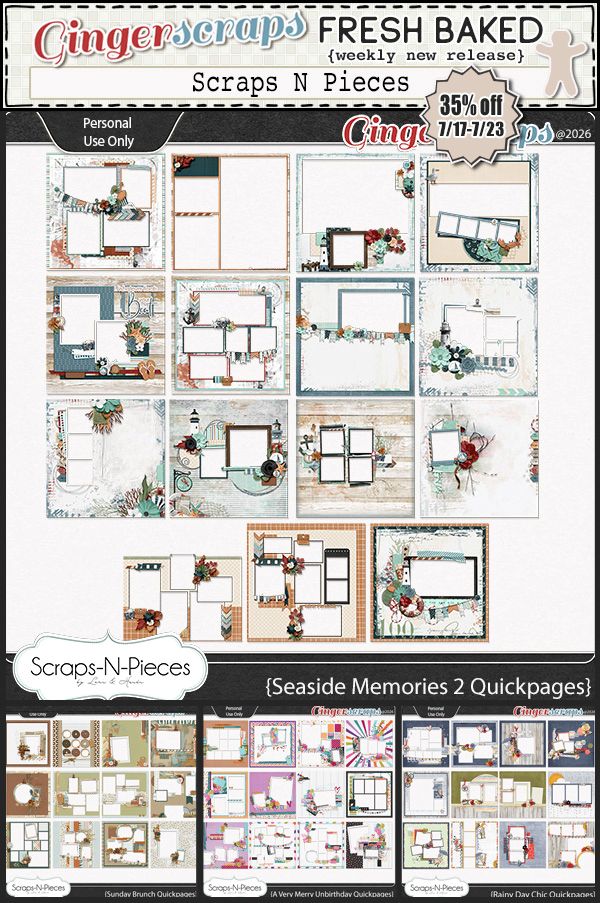
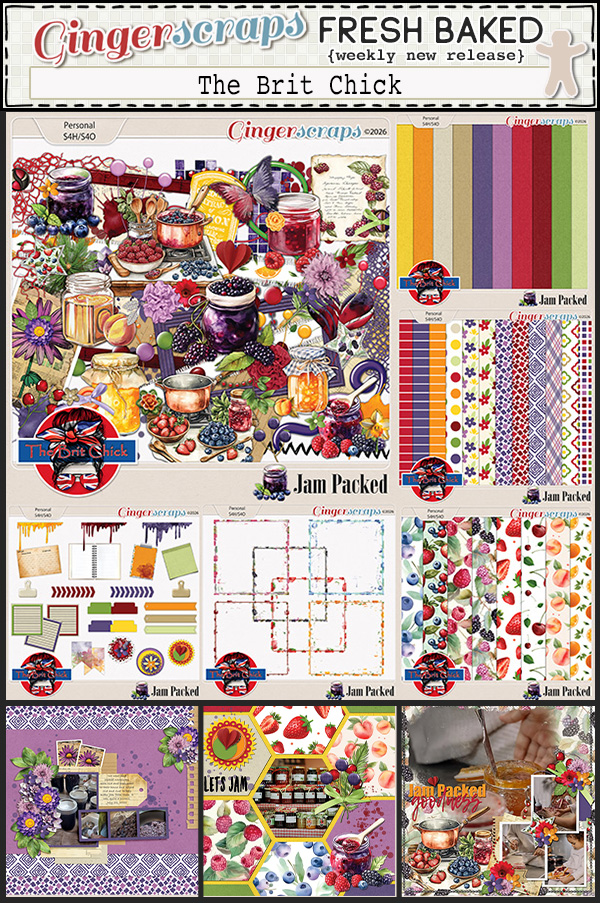
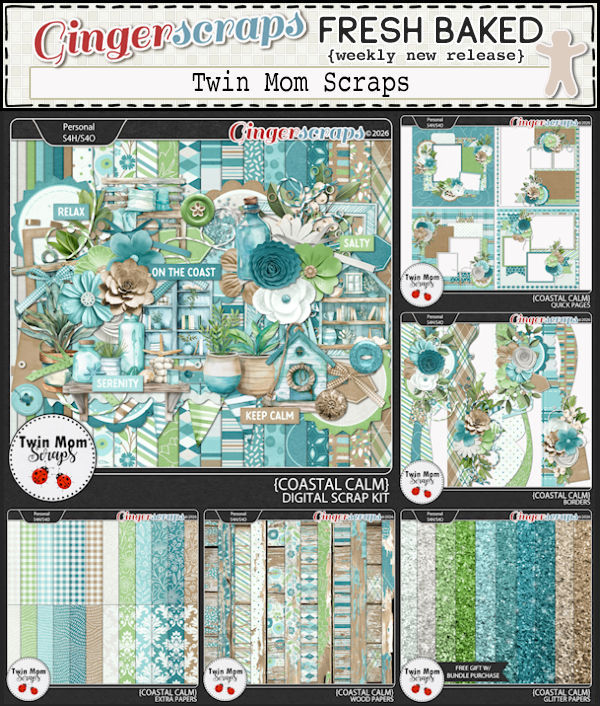
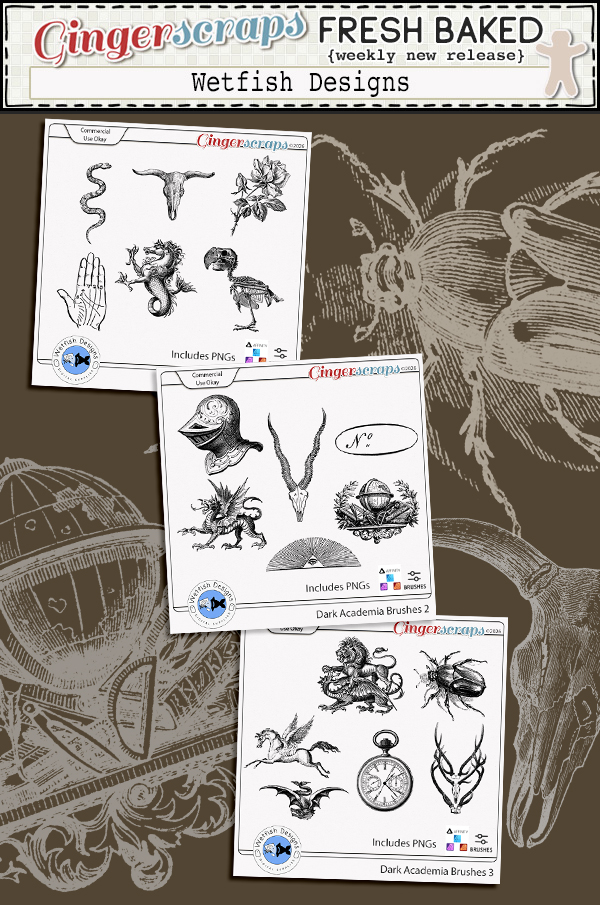
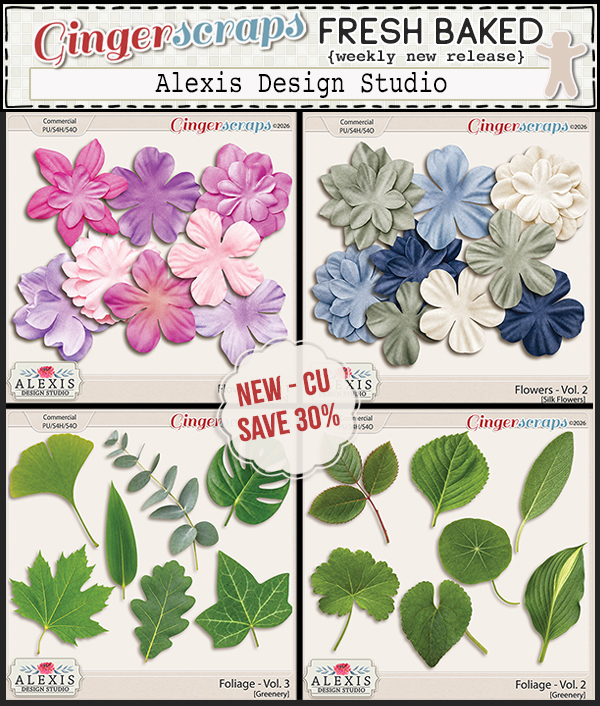
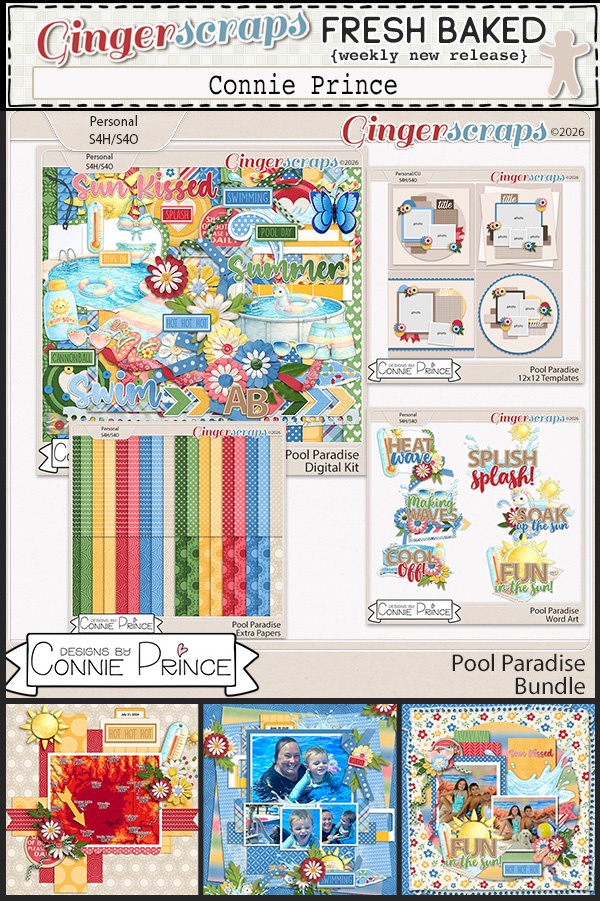
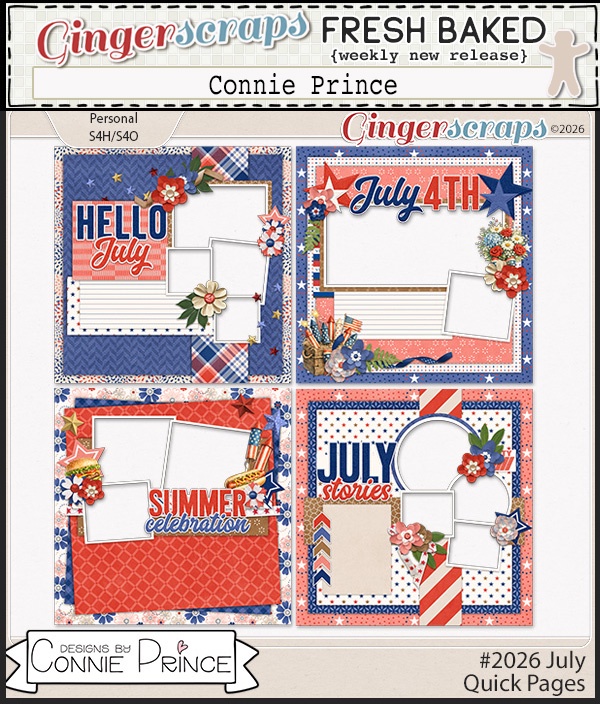
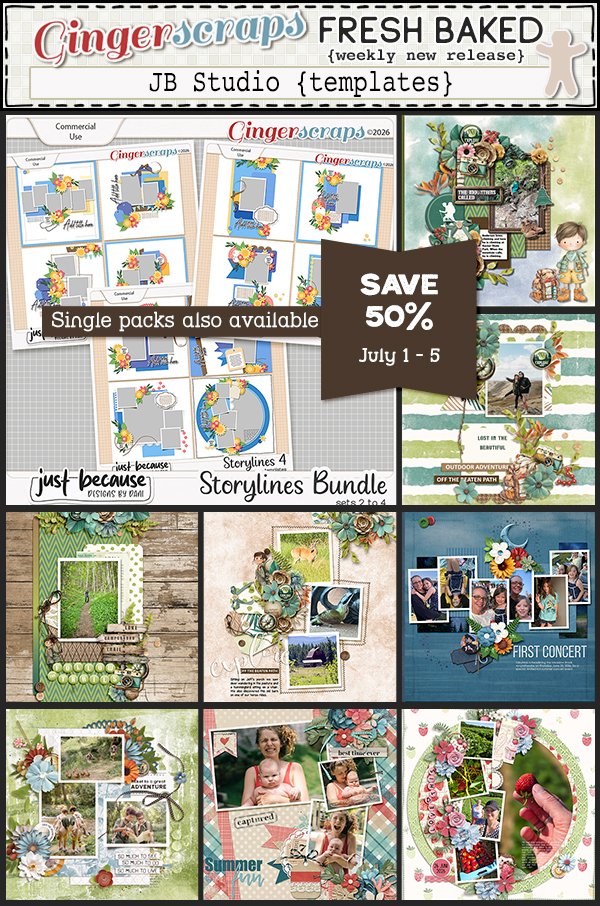
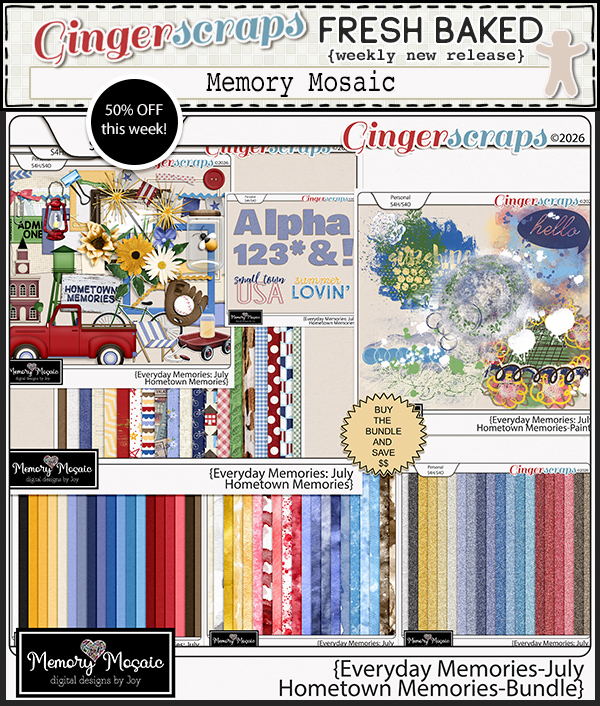
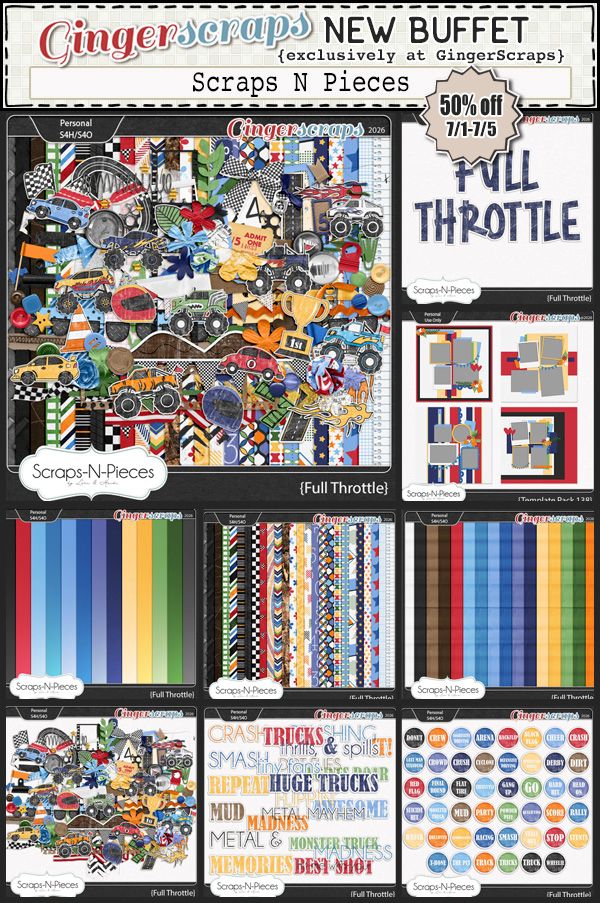
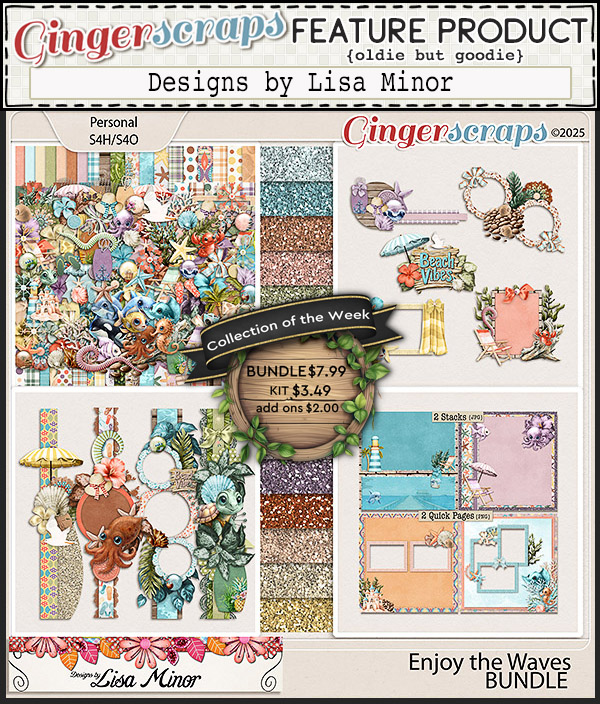
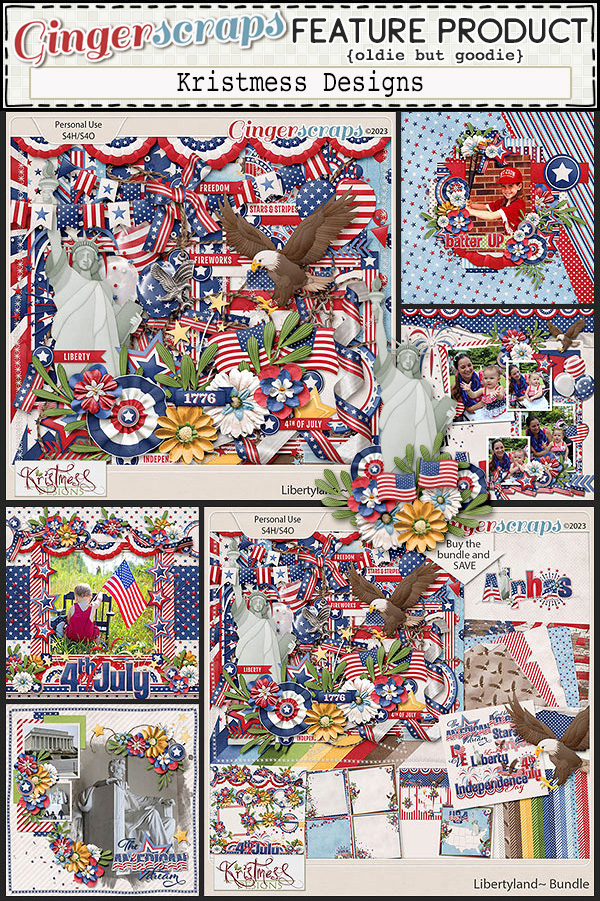
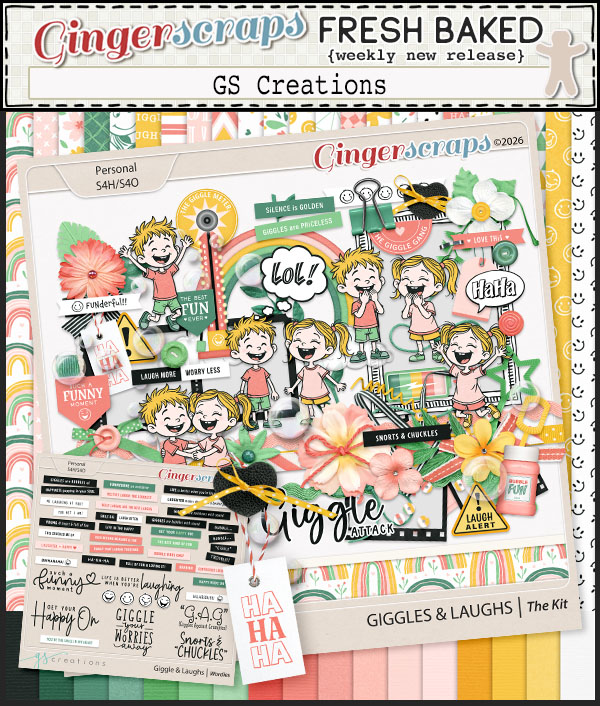
Time to see what is new in the store today.

Also in the store is the July Bake Sale. A lot of full kits and template packs for just $1.50.

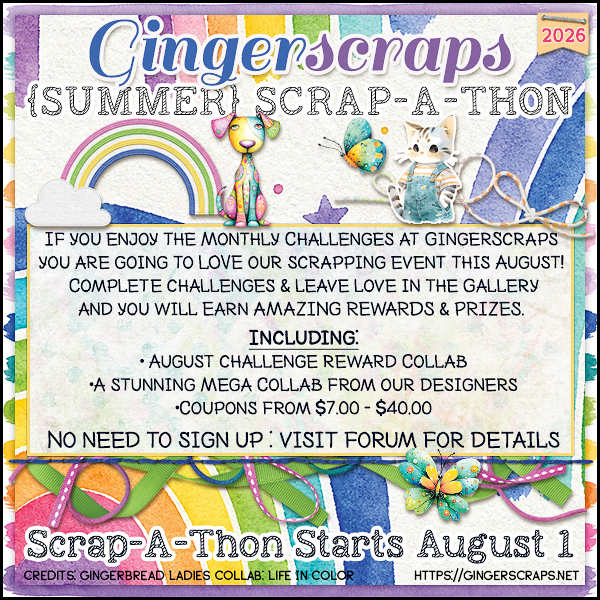
How are your July challenges going? If you complete any 10 challenges this month, you get this gorgeous collab (or a variety of other choices from previous challenge collabs) as a reward!
DD: JUL 17

DD_July_2026_Day_17_eatgoxqi.zip

Follow Cindy on her Facebook Fan Page and her Facebook Group.

Follow Lisa on her Facebook Fan Page.

Remember, the download is kept up for 5 days, and then it is taken down. If you miss pieces, the kit will be available for purchase on the first day of the following month.

Post expires at 10:00am on Thursday July 23rd, 2026

Tutorial Tuesday (Photoshop Elements)

Paper Folds with a Twist

Alright, you can pick your jaws up off the floor. Yes, I’m here with FRESH content! And I’m late… So. Many. Appointments this month! Anyhoo, Ginger got in touch with me about a tutorial request she received. The GingerScrapper asked about creating a paper fold, but to give the appearance that the paper is double-sided with patterns on both sides. I don’t know who made the request, but I’m happy to refresh a previous tutorial on paper folds for double-sided paper. This is the image the GingerScrapper shared with Ginger.

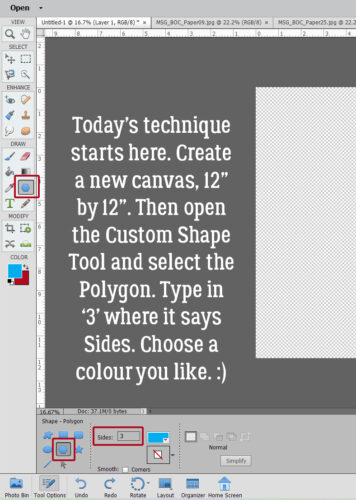
Let’s get on with it! The screenshot says what to do…

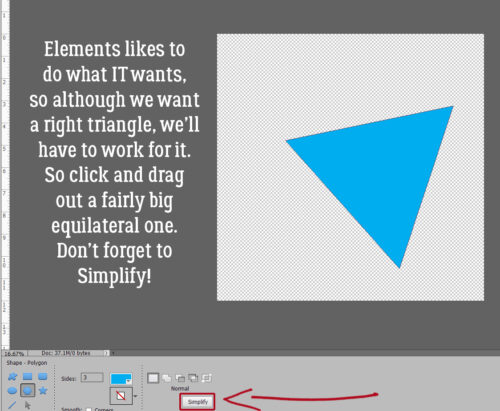
It would be so wonderful if Elements could read our minds and just give us what we want. 😀 The default for three-sided Polygons is to give you an equilateral one. So we’ll have to force it to make a right-angled one. As always, remember to Simplify your Custom Shapes so that you can manipulate them.

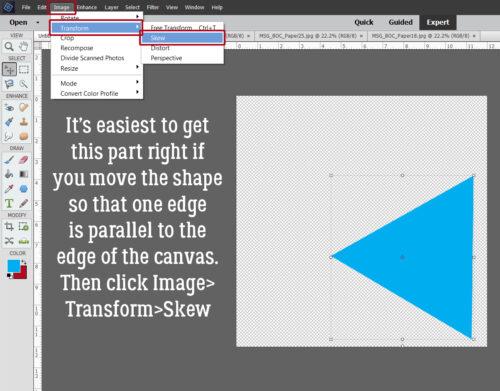
In the screenshot below, I’ve Rotated and Moved the shape over so that one edge is (almost) parallel with the right side of the canvas. It’ll make sense when you see how the next steps work. Click Image>Transform>Skew to change the angles.

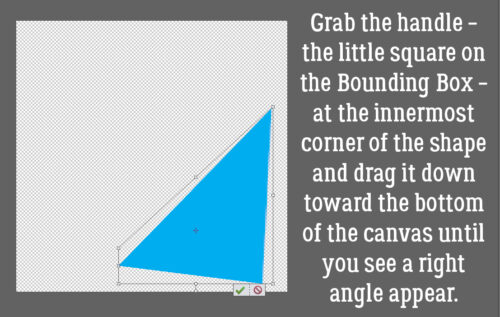
To make the Transformation, grab the handle – the little square at the upper left corner of the Bounding Box – and drag it down toward the bottom of the canvas. You’ll see the bottom right corner gradually shift to a right angle.

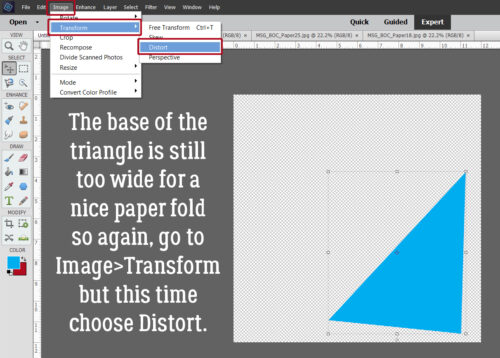
So. The base of the triangle is a LOT wider than the one in the sample layout. So to fix that, go back to Image>Transform>Distort.

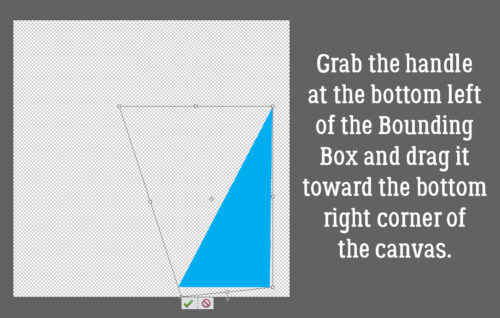
Now grab the bottom left handle and drag it down and toward the right corner of the canvas. That move squares up the angle and narrows the fold.

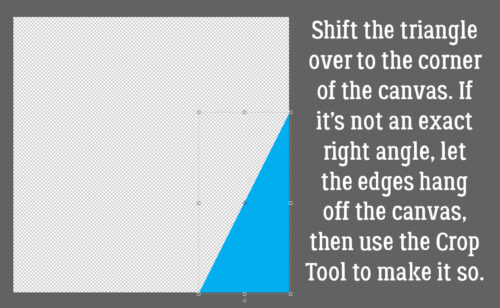
Don’t fret if the triangle isn’t perfectly square. That’s an easy fix. Move the shape right into the corner and let it hang over the edges of the canvas. Then use the Crop Tool to make it perfect.

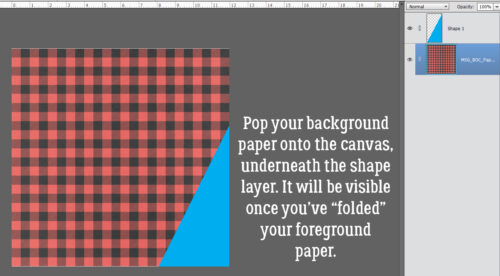
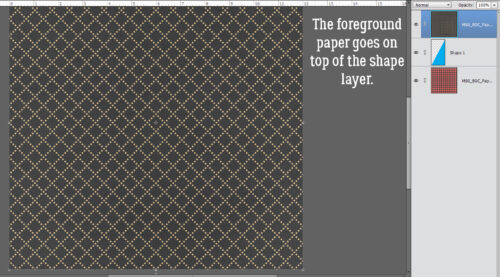
Drag and drop your background paper onto the canvas underneath the shape layer. I’m using Magical Scraps Galore’s Best of Canada papers.

Then the foreground paper goes ON TOP of the shape layer.

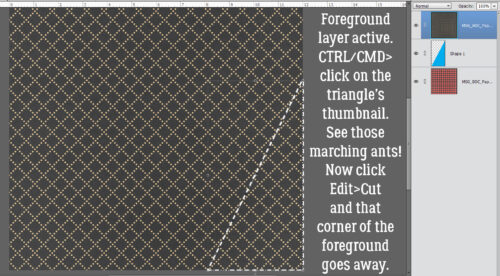
With the foreground paper layer active, Select the edges of the shape by CTRL/CMD>clicking on the shape layer thumbnail. The marching ants will appear. Then Edit>Cut [or CTRL/CMD>X]

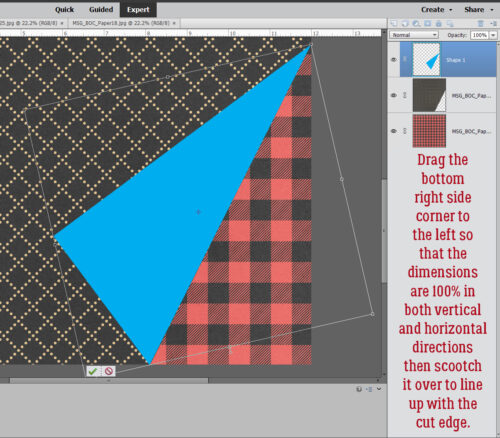
Move the foreground layer underneath the shape layer. Then drag the right bottom corner over to the left. Using the Tool Options make sure the triangle is the same size both horizontally and vertically, but flipped. Then line the two long edges up as shown.

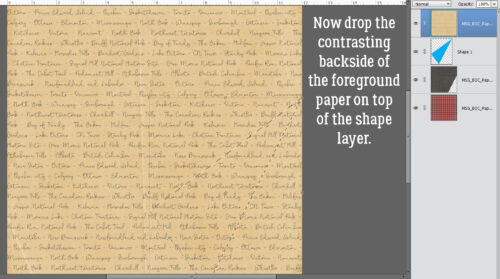
The sample layout shows the backside of the foreground paper as a newsprint. Logically, the print should be backwards but we’re going to ignore that. Drop the paper you’ve chosen for the reverse onto the canvas on top of the shape layer.

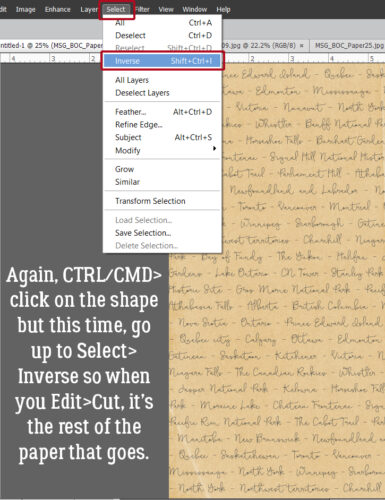
Once again, Select the edges of the shape layer, but this time, go up to Select>Inverse so that when you Edit>Cut, you’re removing the rest of the paper, leaving the triangle shape there.

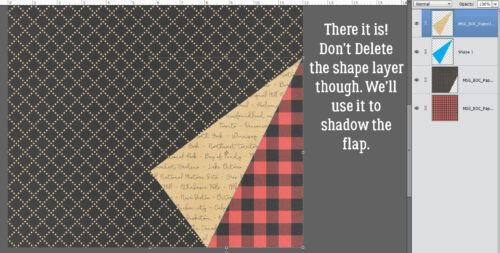
There. Now it looks like the tan pattern is on the reverse side of the black diamond patterned paper. Don’t Delete the shape layer though! It’s going to become the shadow layer!

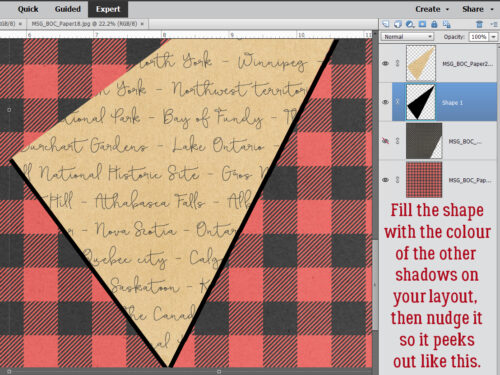
Use the Paint Bucket to Fill the shape layer with the shadow colour of the Style you’re using. (To find out that colour, right-click on the fx icon on any shadow layer of your template or layout then click on the Color Picker box that appears. CTRL/CMD>C will Copy the hex code.) My shadows are black so I used the hex code 000000. Then I nudged the shape so it creates a border as shown.
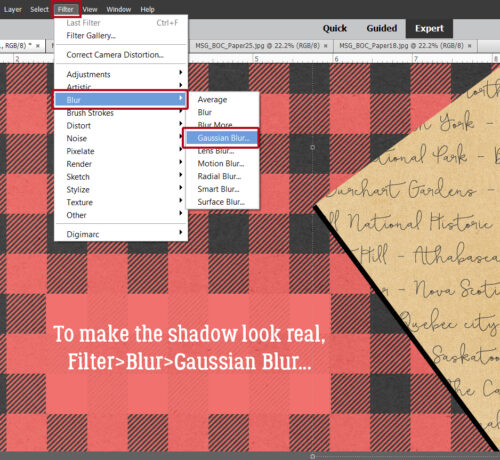
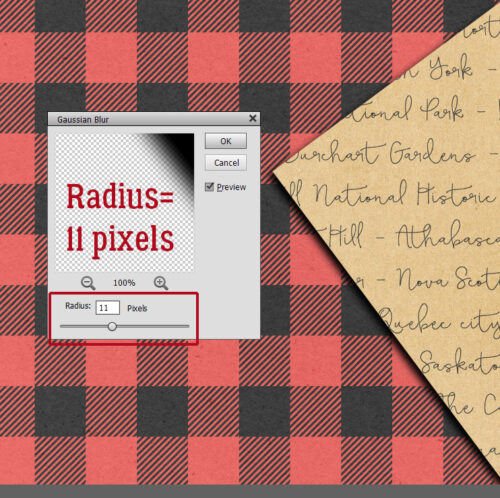
For a realistic shadow, the shape needs to be softened a bit. To do that, click Filter>Blur>Gaussian Blur.

This dialog box opens. I pulled my Radius slider over to the right and stopped at 11 pixels.

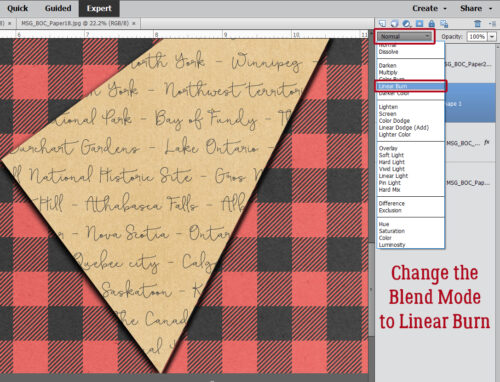
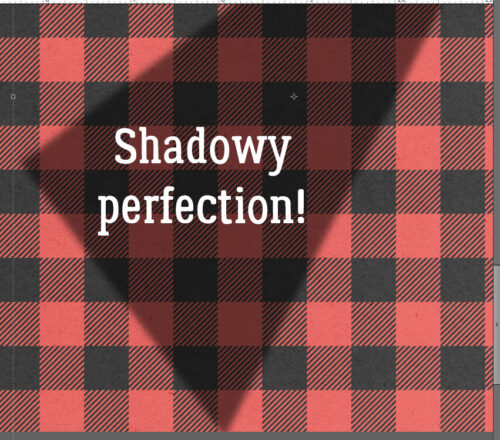
Shadows don’t completely obscure whatever is under them. To achieve that transparency, change the Blend Mode to Linear Burn by clicking on that bar labeled Normal just at the top left of the Layers Panel and scrolling down.

Adjust the Opacity. I went to 50% here.

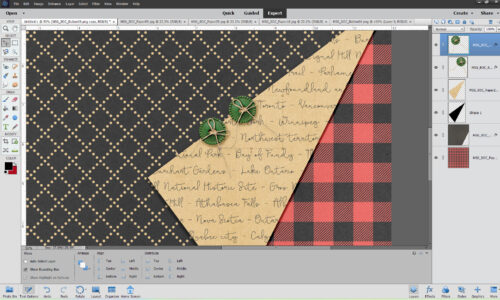
Just for fun, I added a couple of buttons so this looks more like the sample layout. Now, wasn’t that easy?

Next week is Challenge Spotlight Tuesday! See you then.


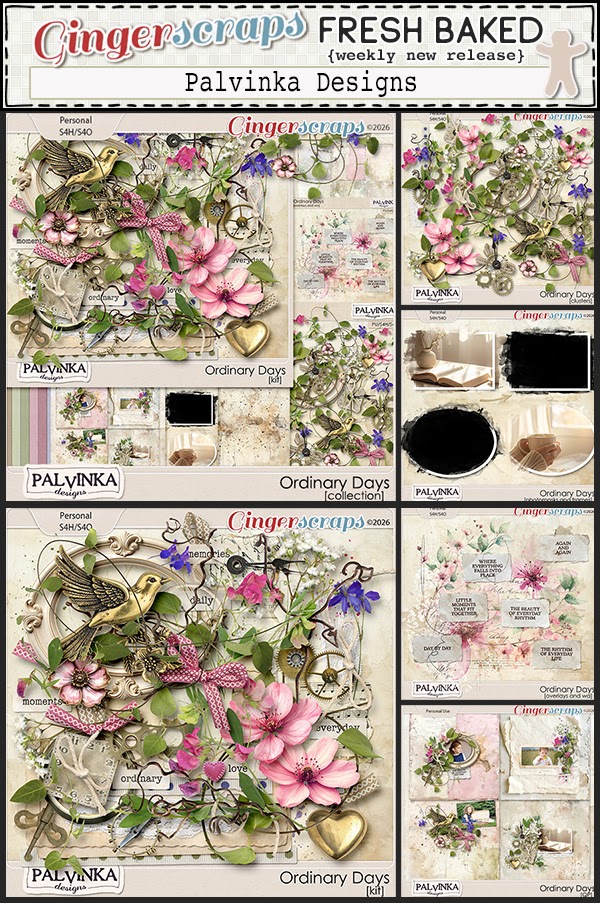
Fresh Baked Friday @ Gingerscraps – July 10, 2026

Welcome to another beautiful Friday, my scrapping friends!

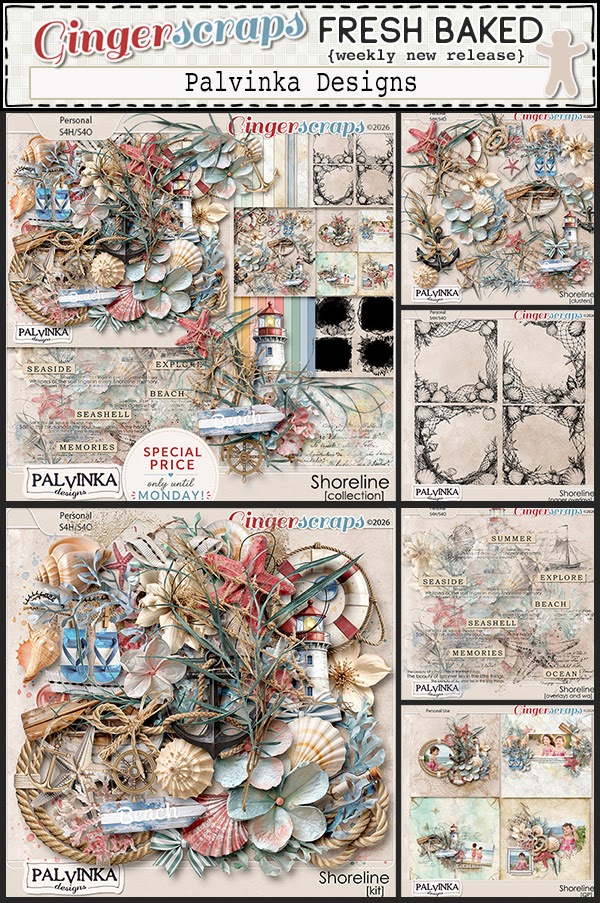
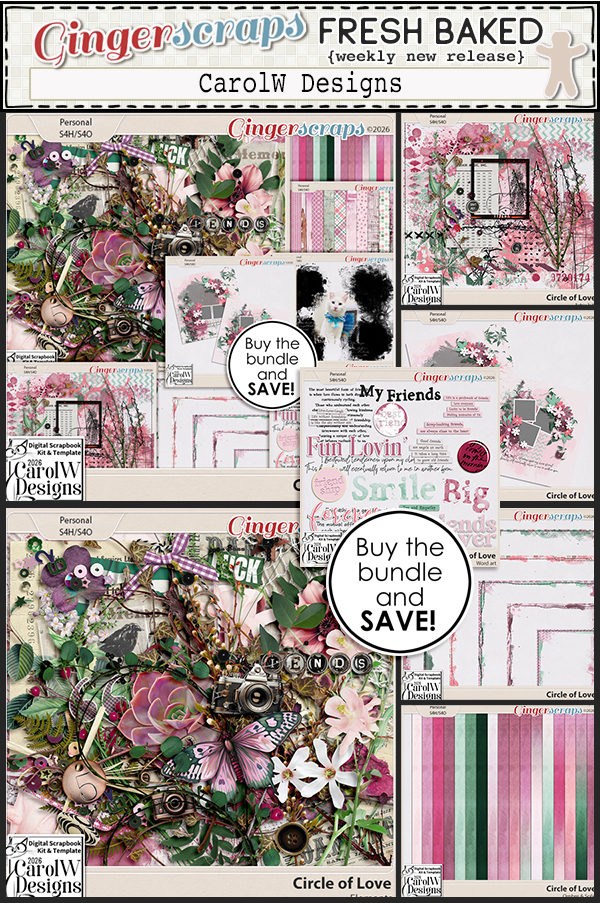
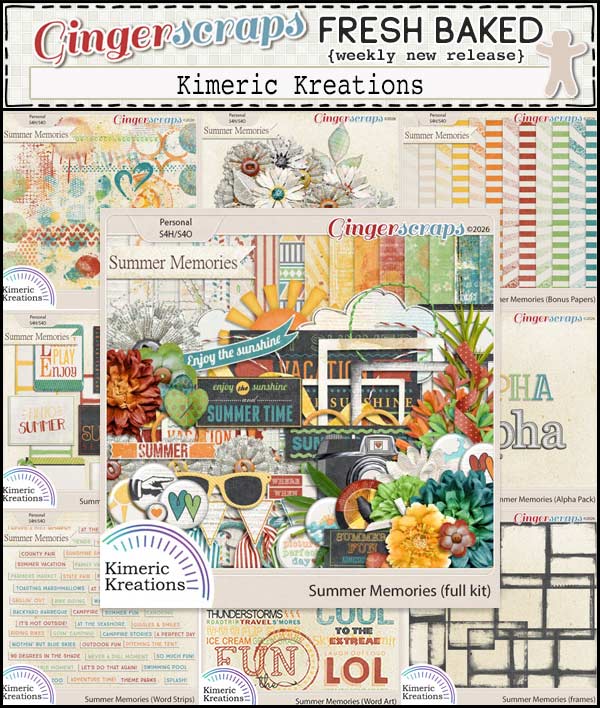
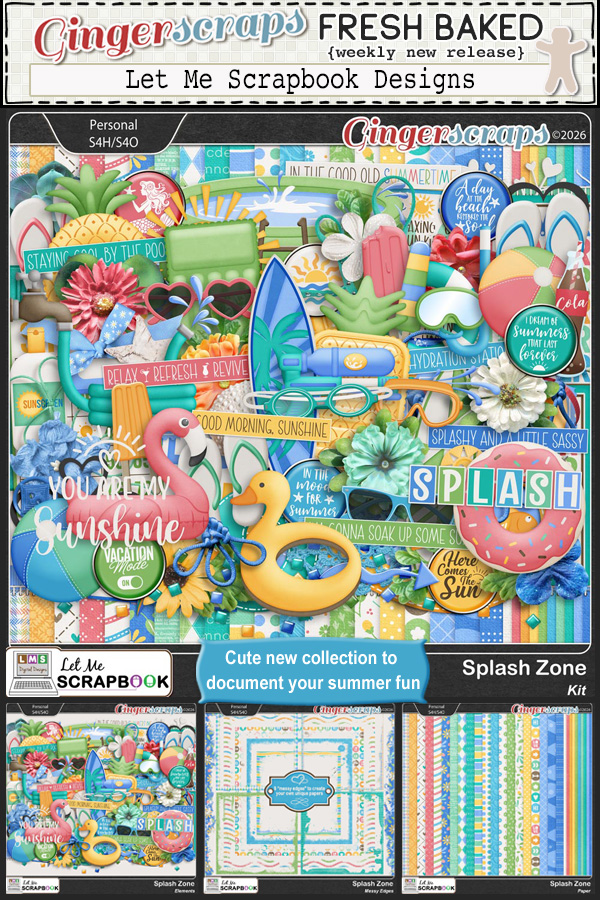
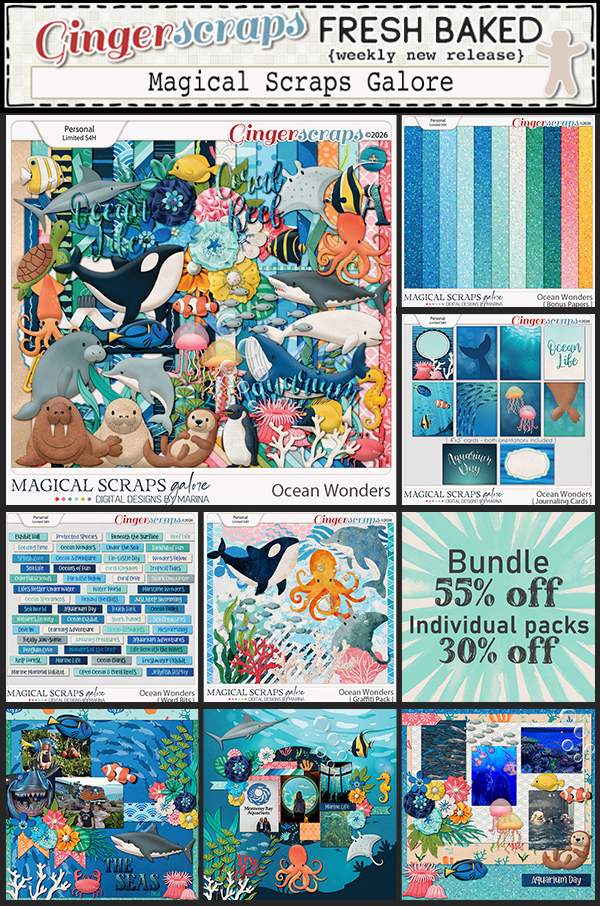
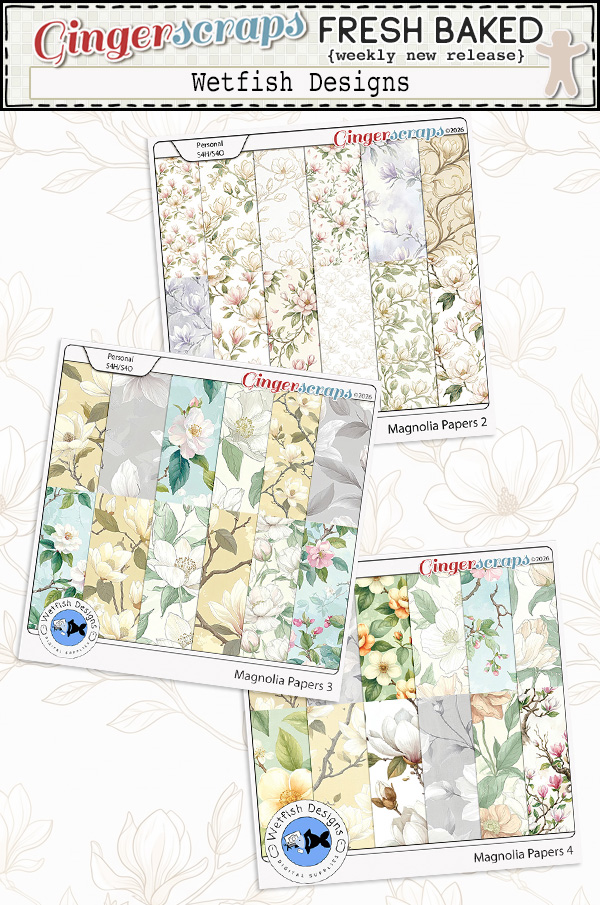
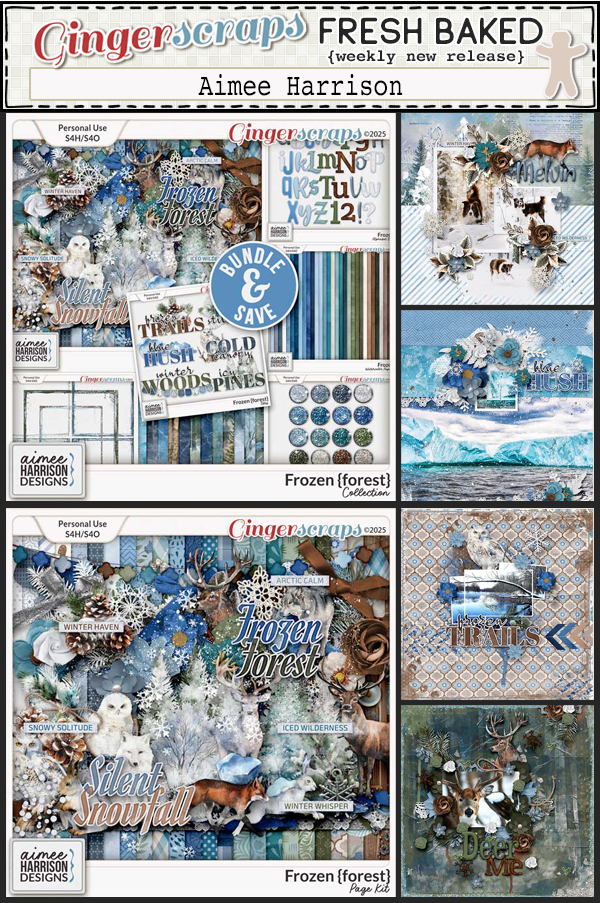
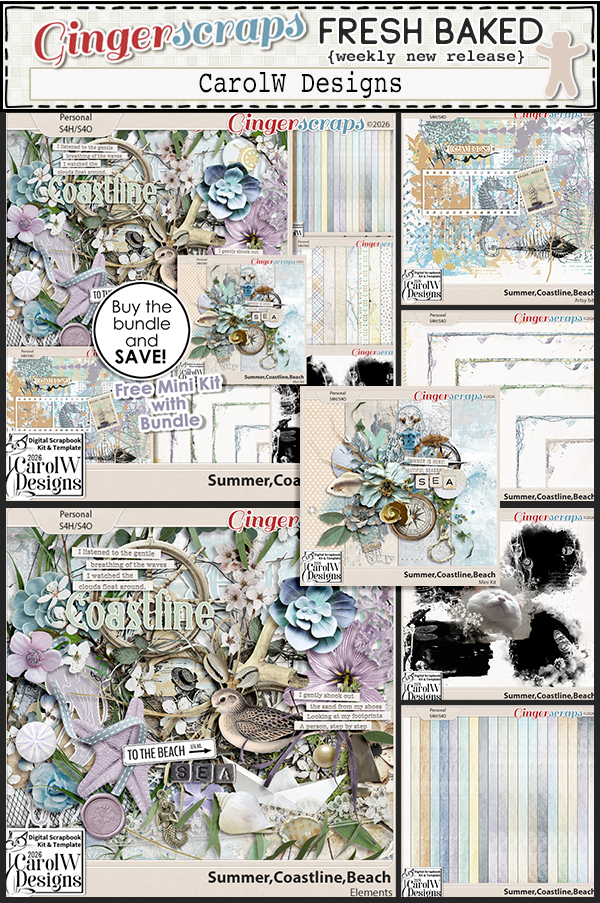
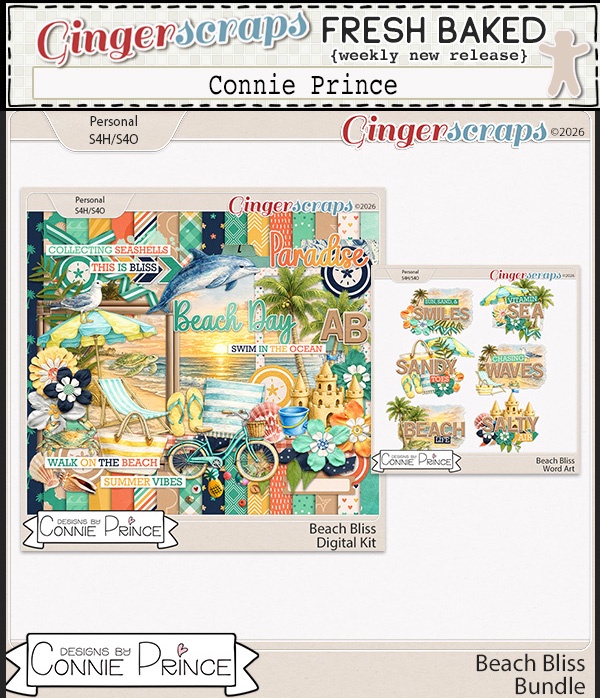
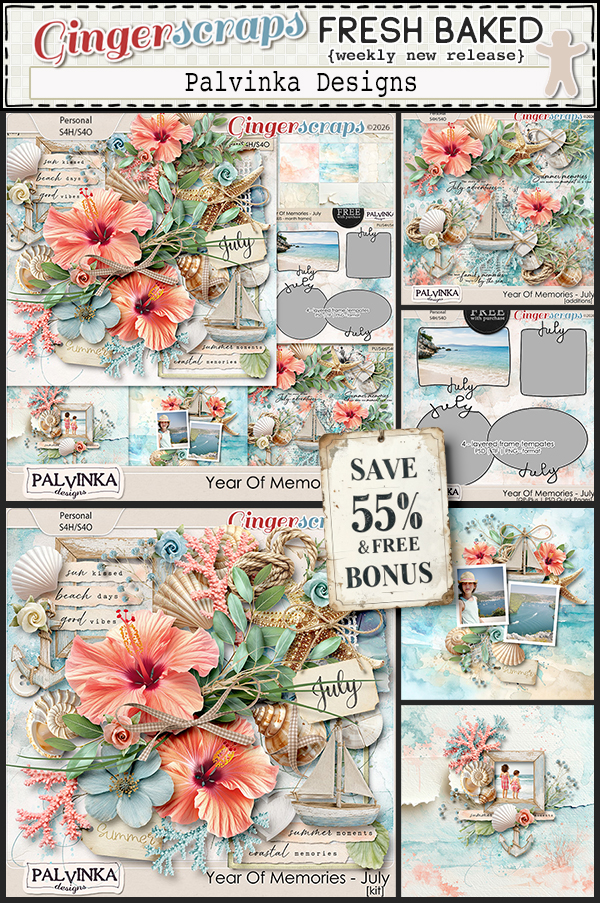
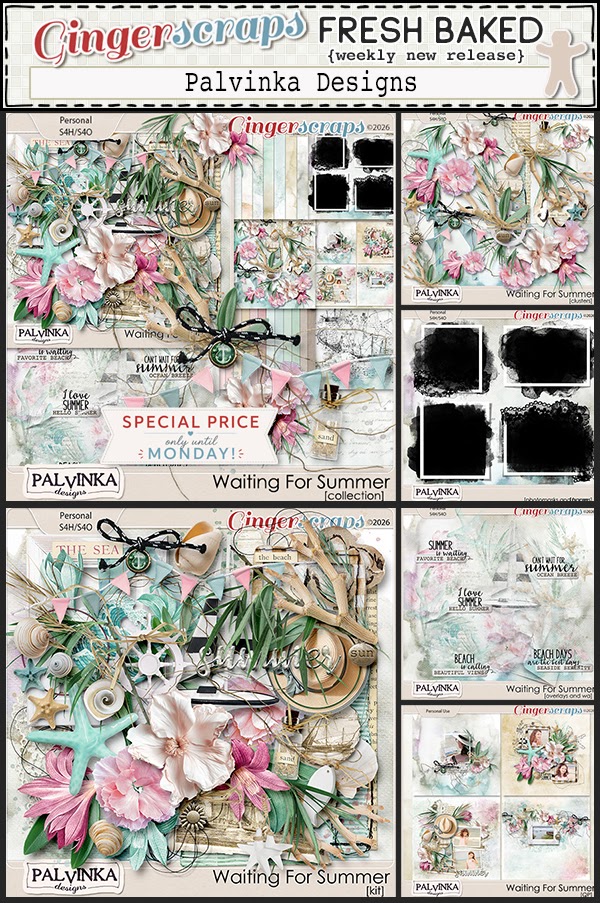
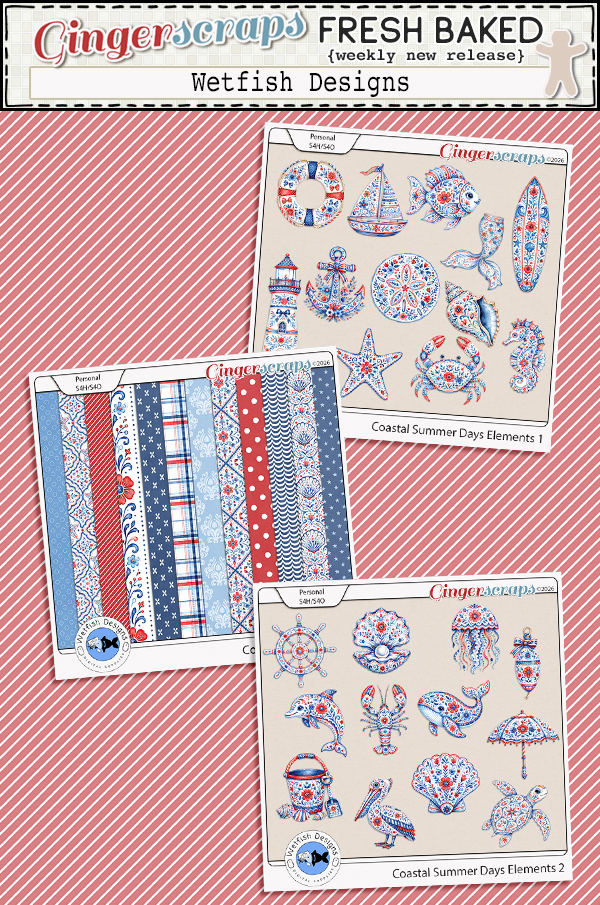
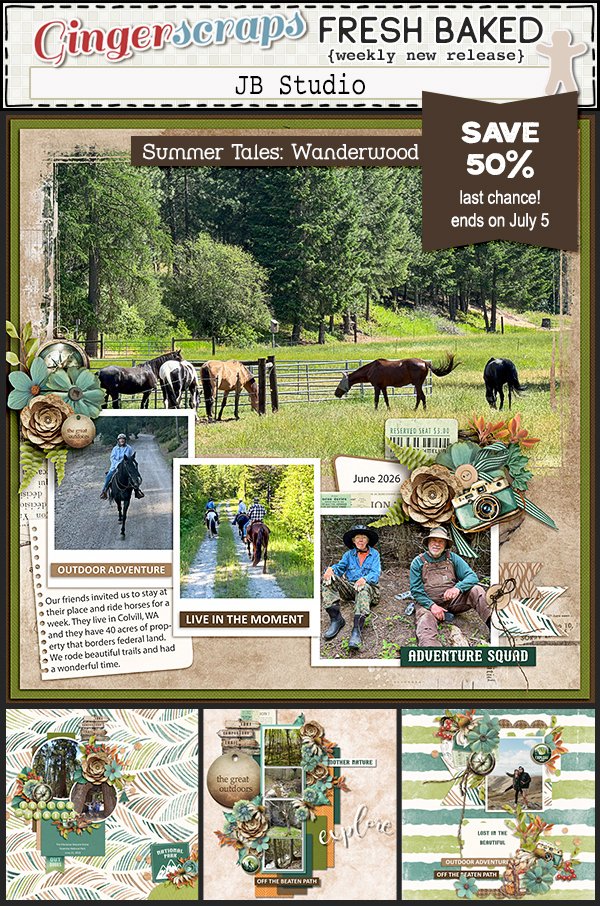
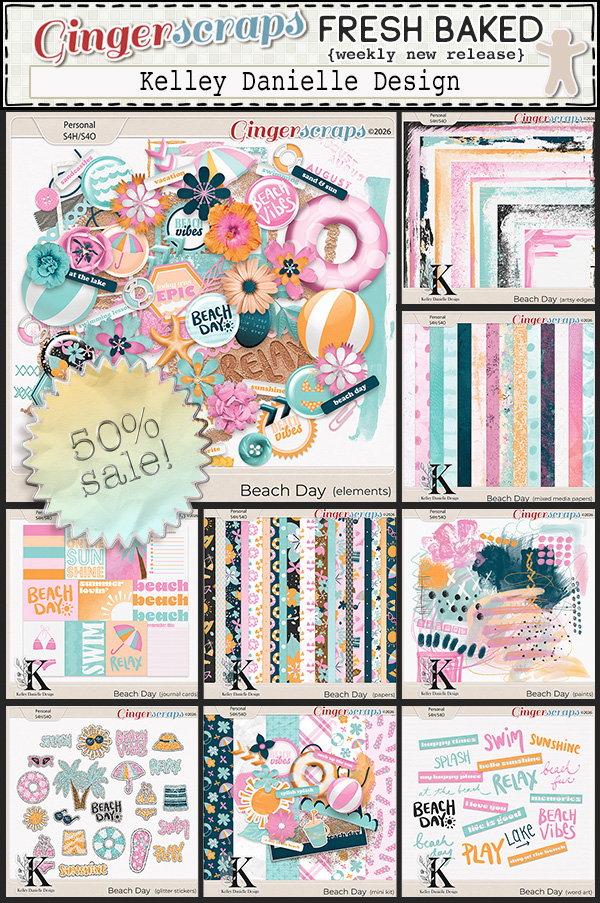
I’m not sure what inspired the designers this week, but they’ve definitely captured the feeling of a day at the coast. Many of the new kits are filled with gorgeous colors and beautiful beach-inspired elements that are perfect for showcasing all of your favorite summer memories. Whether you’re scrapping a family vacation, a relaxing day by the water, or simply dreaming of the beach, you’ll find plenty of inspiration in this week’s designs.

Happy scrapping!

If you spend $10 in the store, you will get this beautiful collab for free.

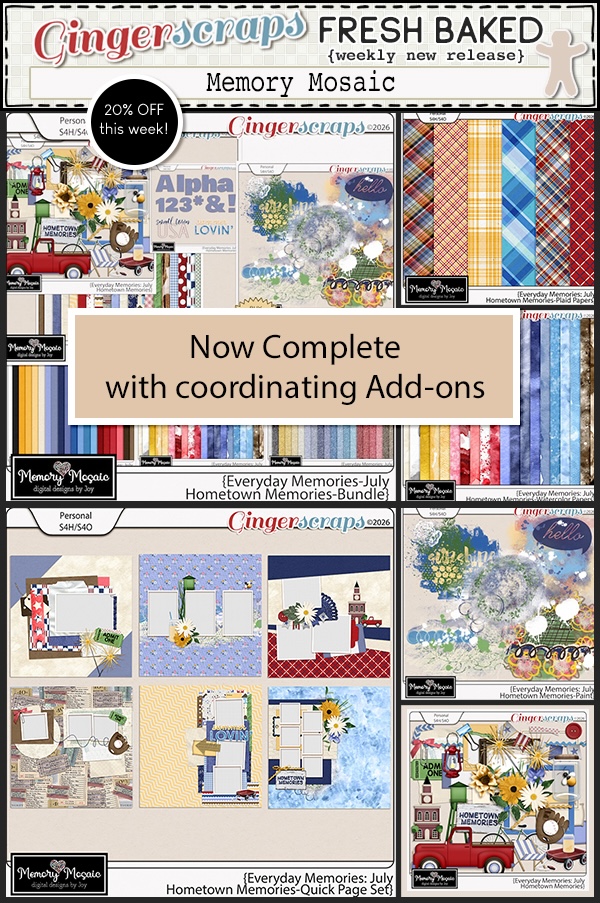
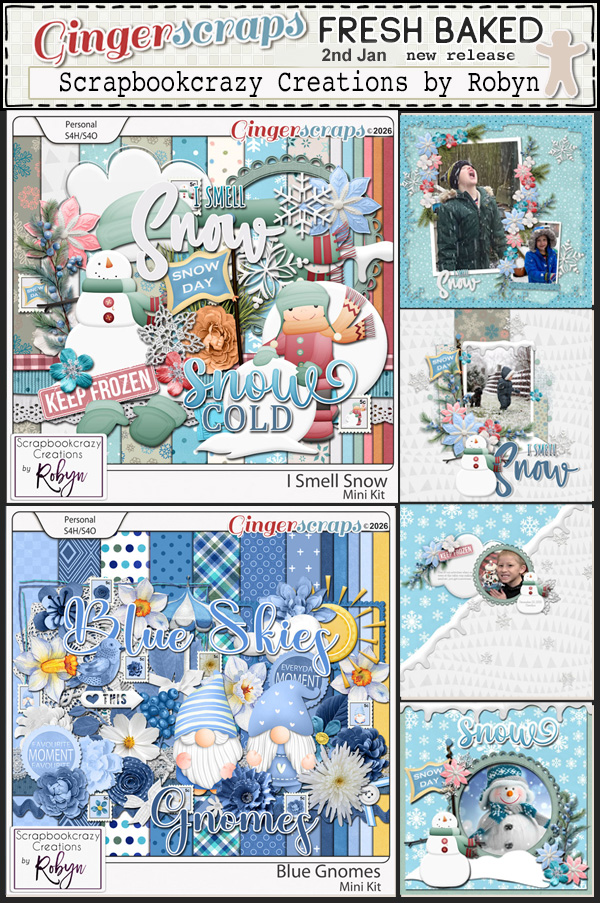
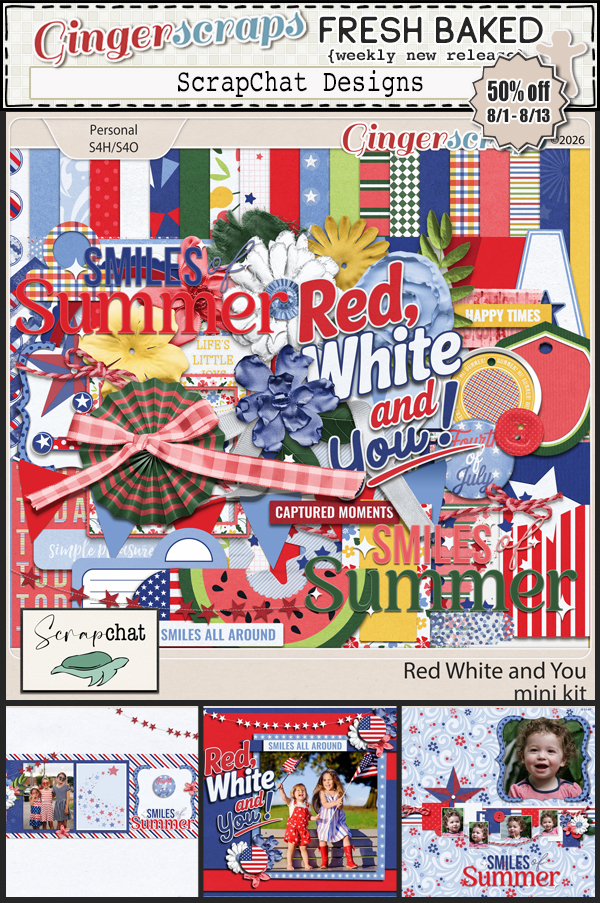
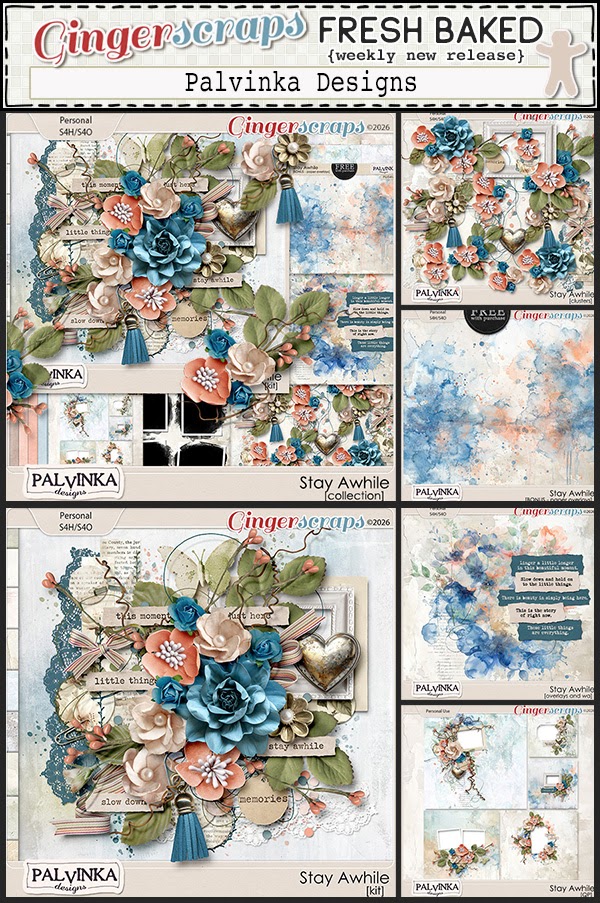
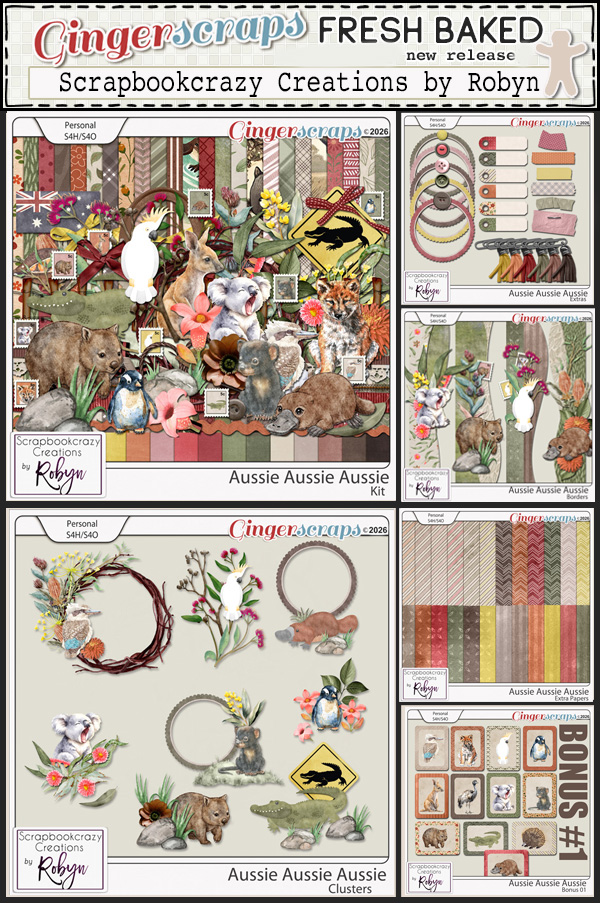
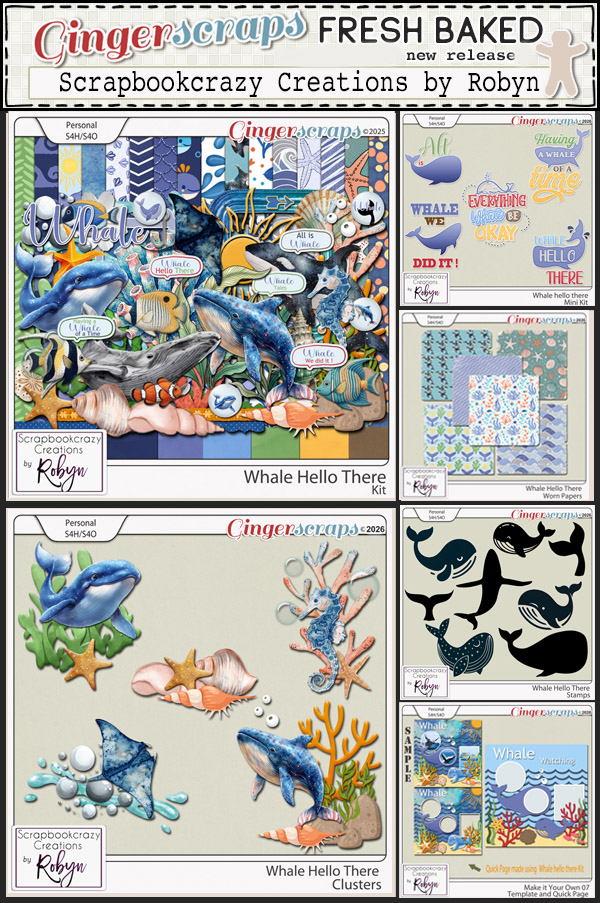
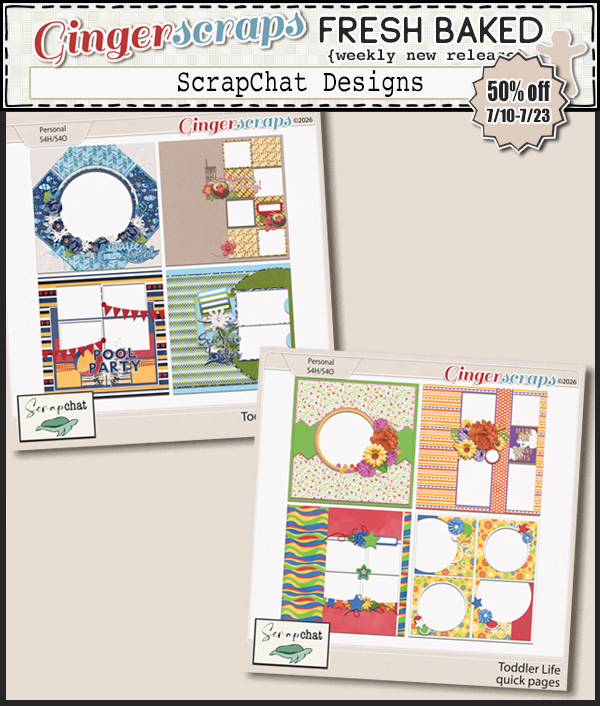
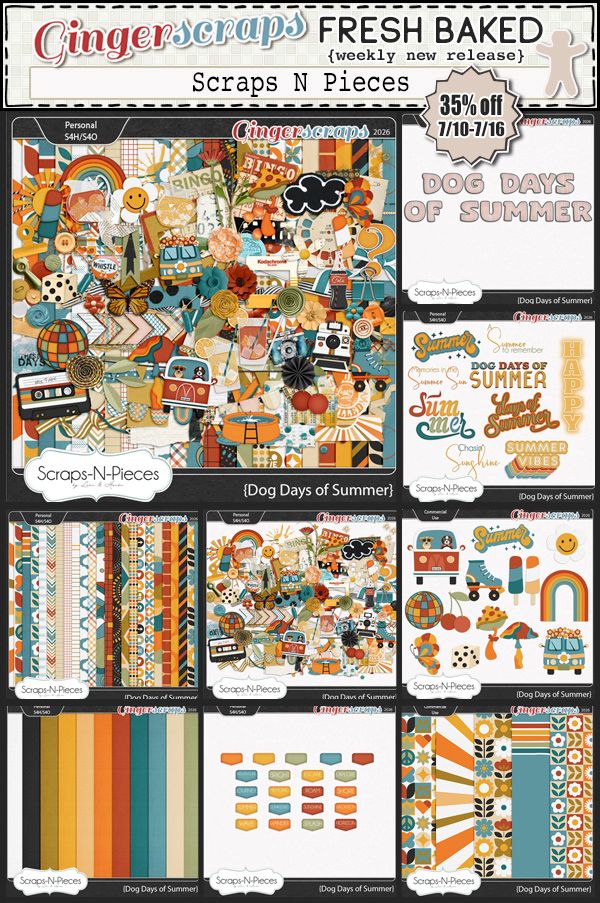
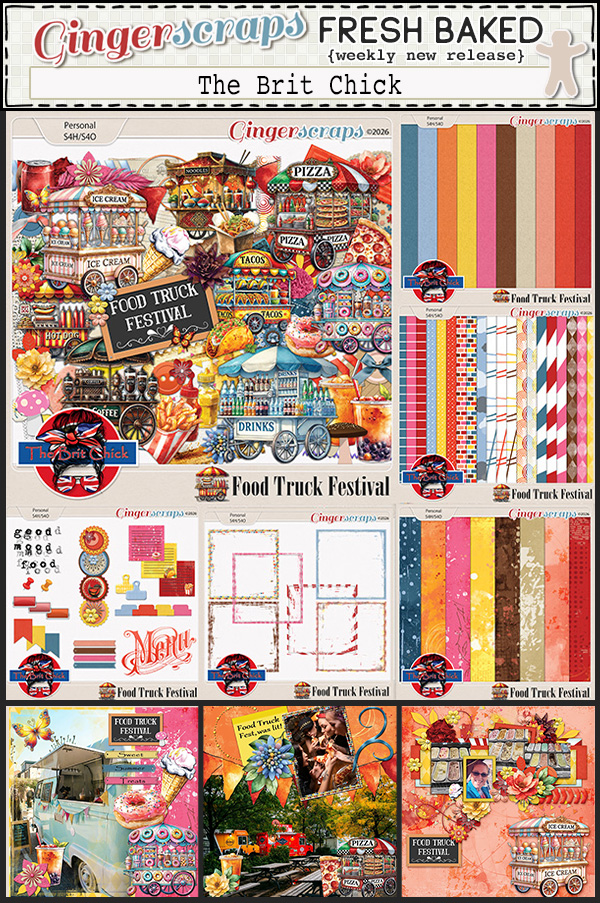
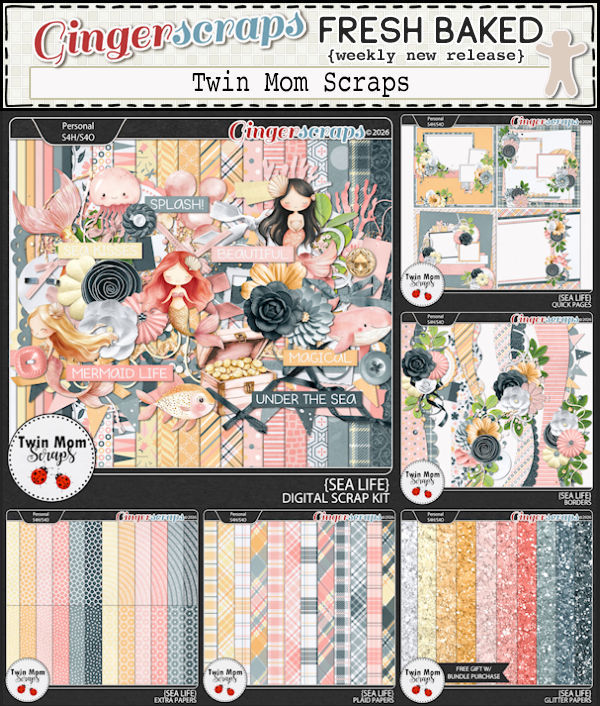
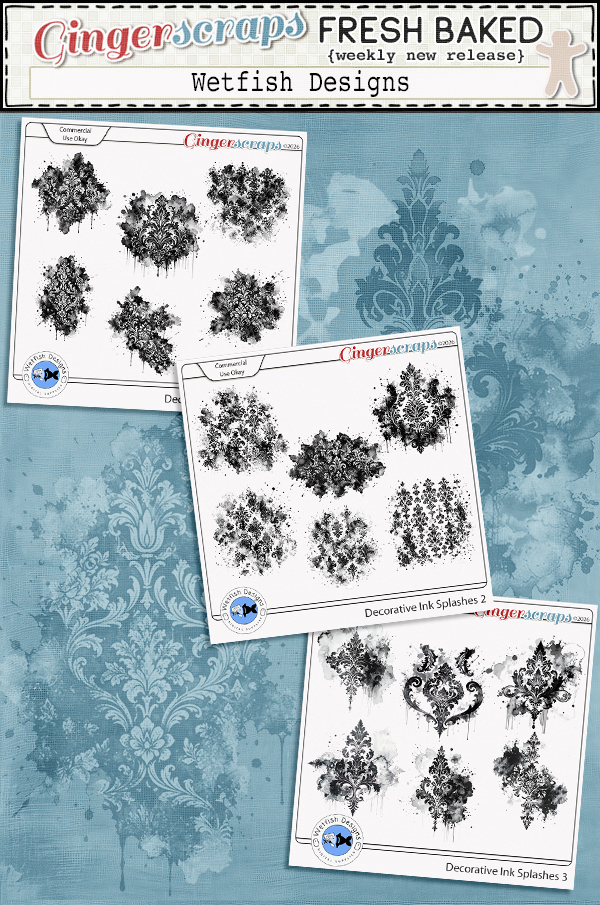
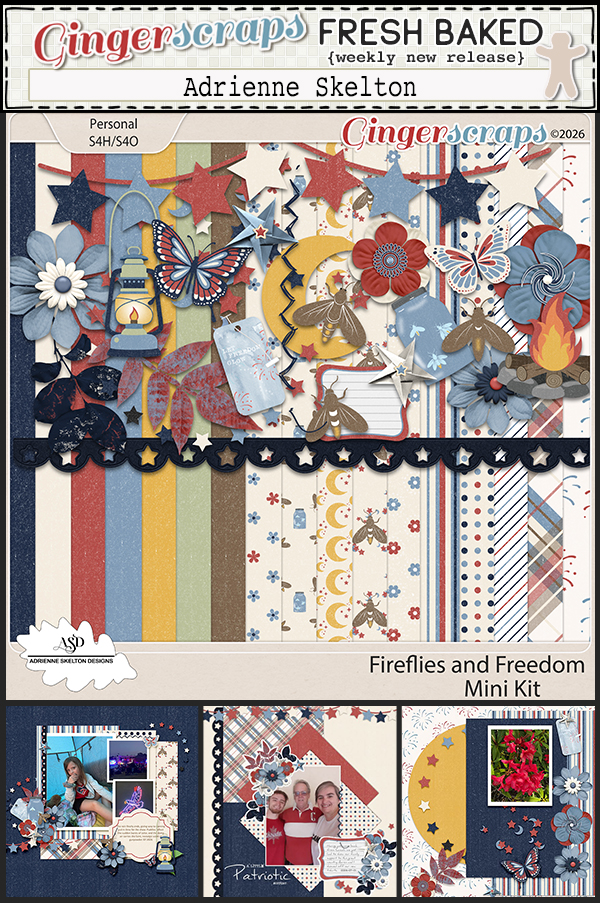
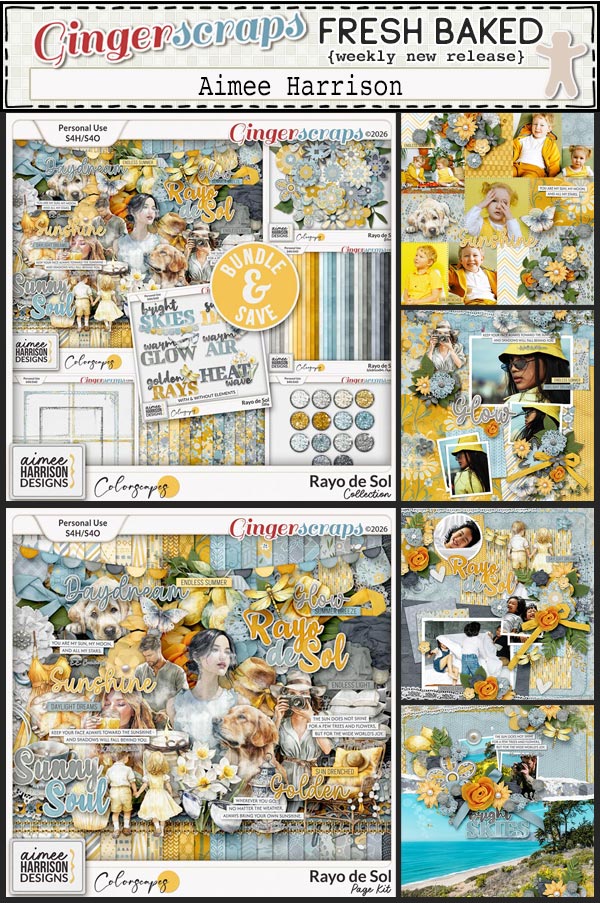
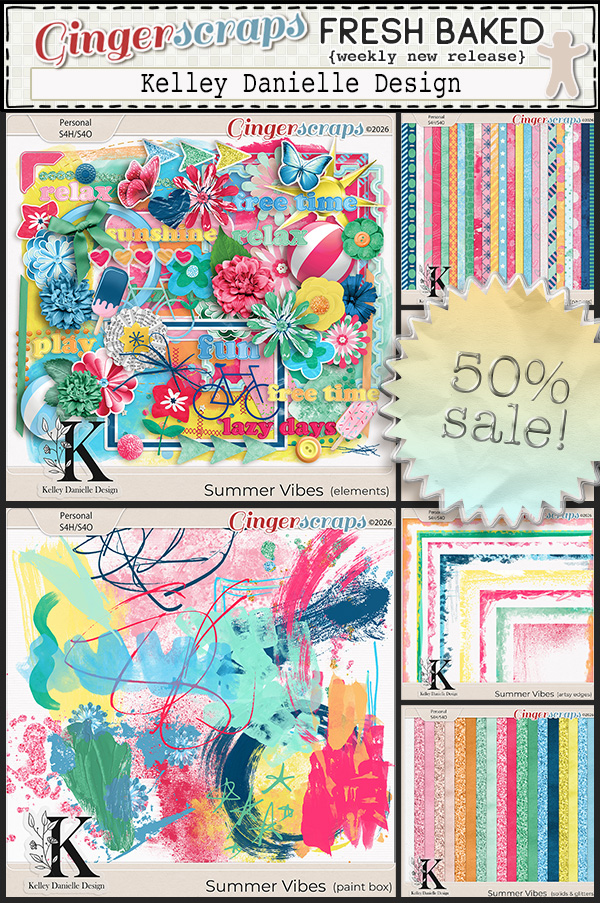
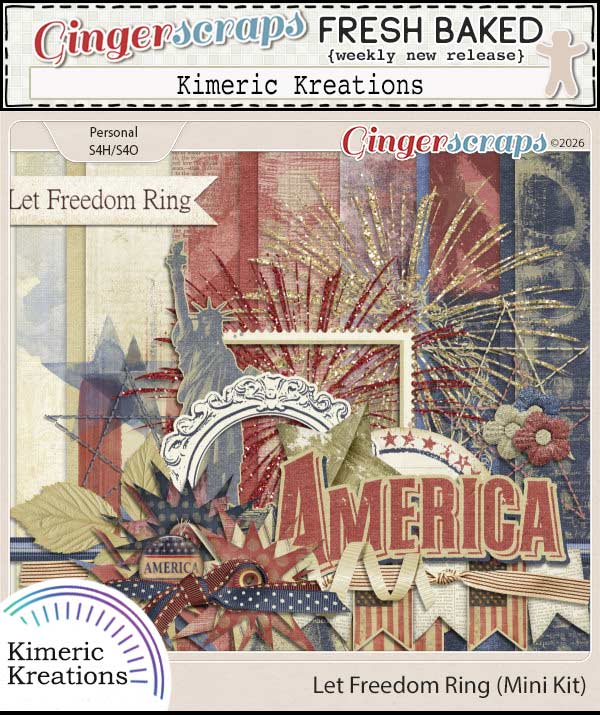
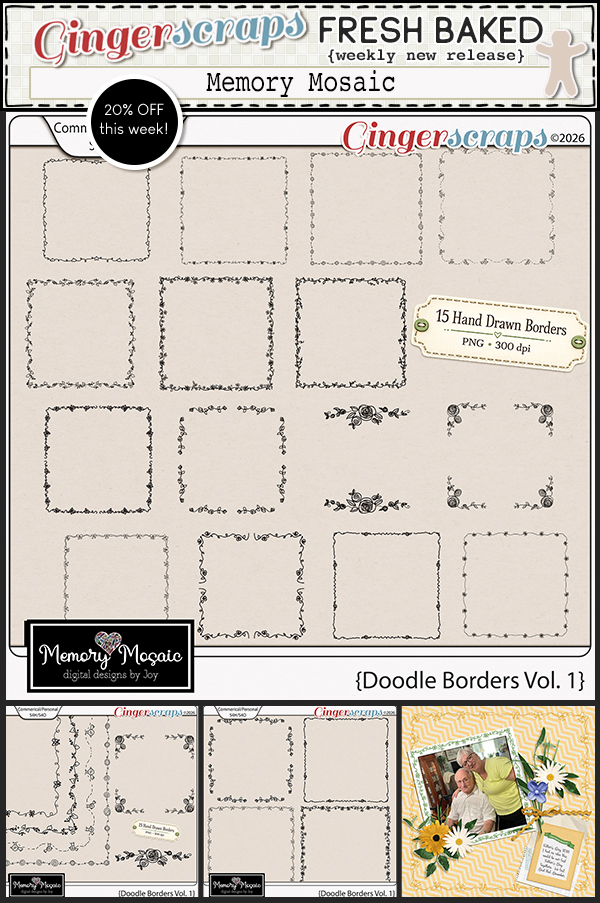
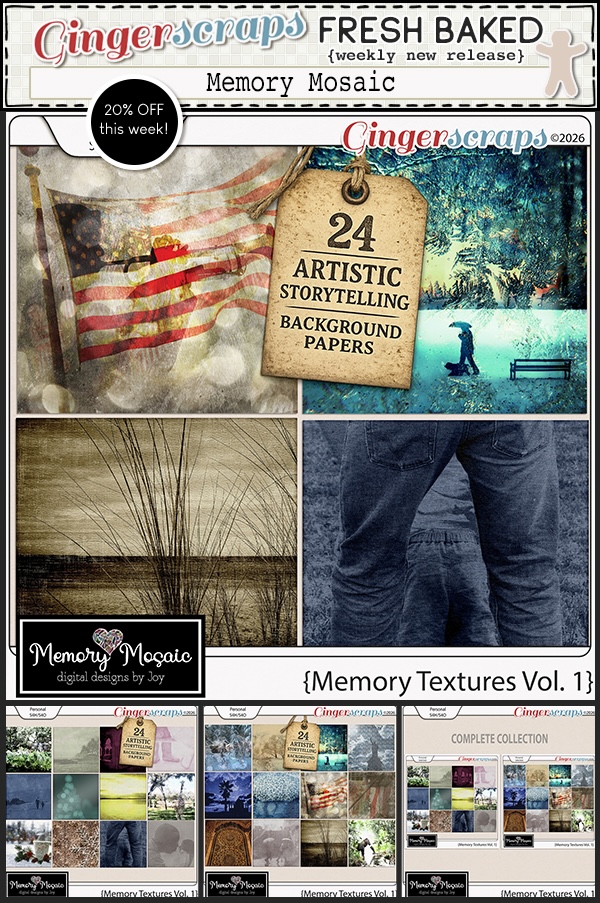
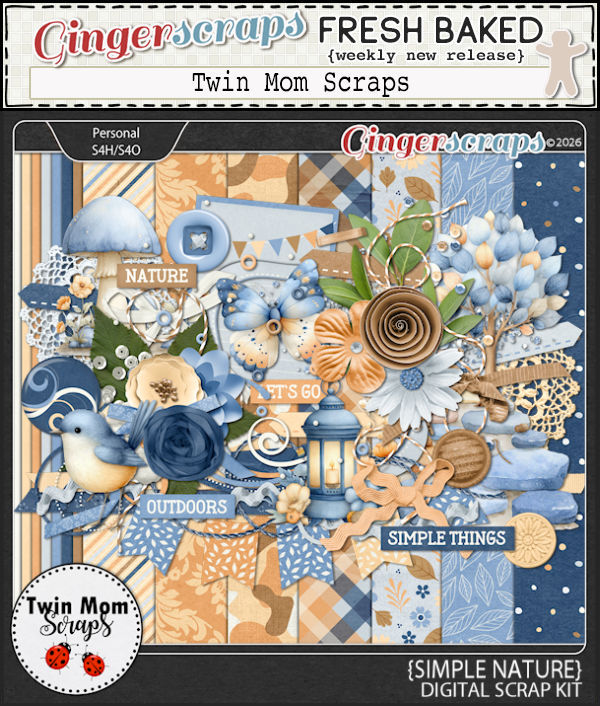
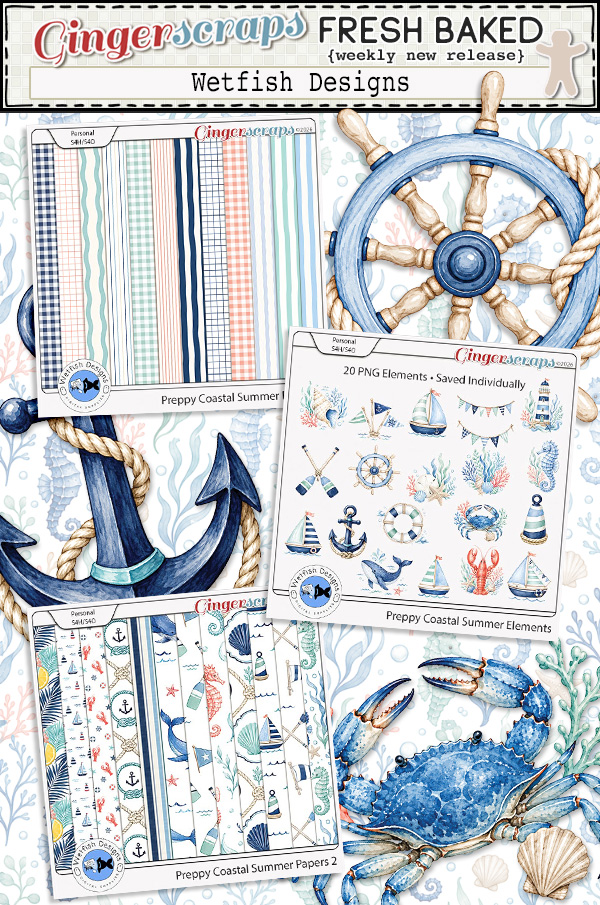
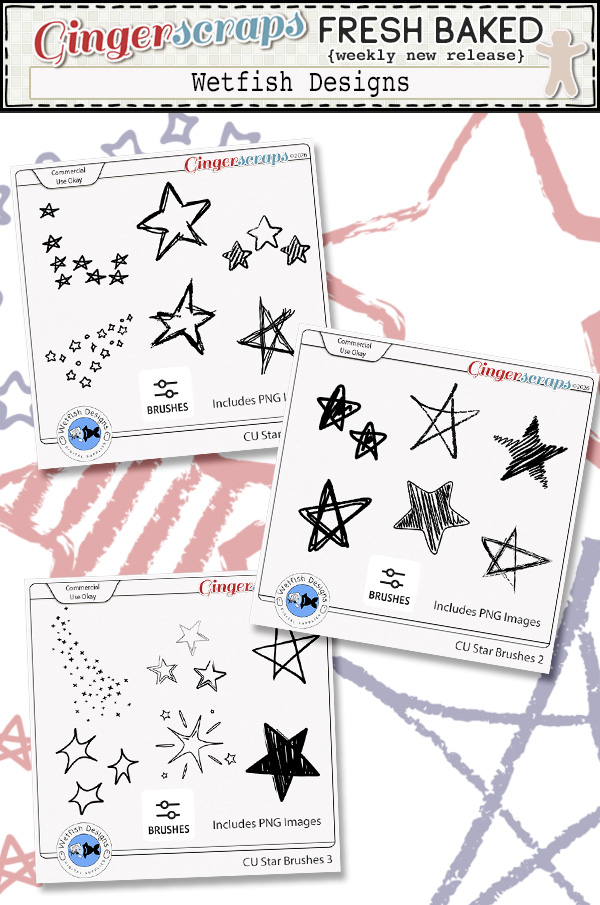
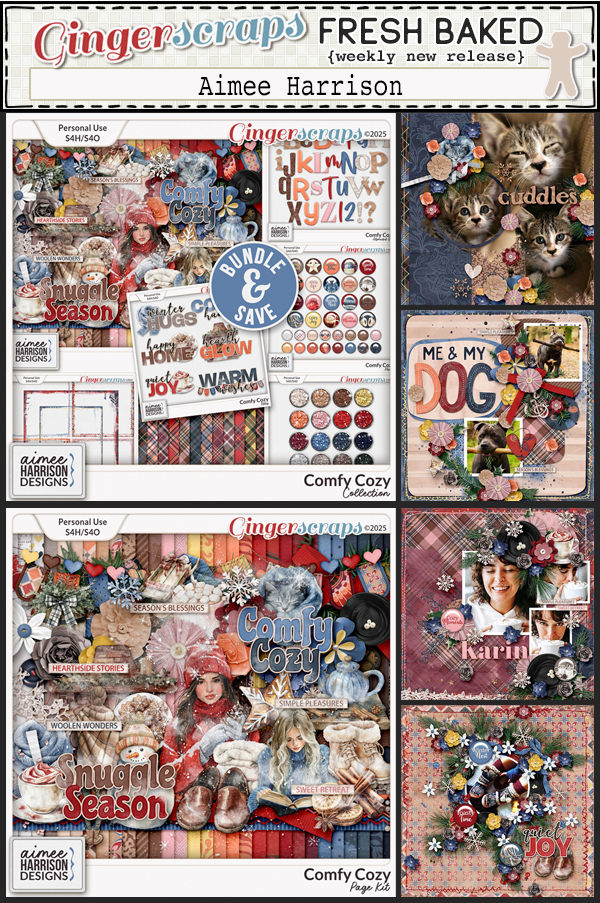
Now let’s take a peek at some of the kits new this week in the store.

How are your July challenges going? If you complete any 10 challenges this month, you get this gorgeous collab (or a variety of other choices from previous challenge collabs) as a reward!