Title-Topia
![]()
PDF Version: https://bit.ly/3RfWQqL
I think we’d all agree that the title elevates the layout. That could be why I’ve created so many tutorials on creating wow-worthy titles. Ellen (gmae) had a great suggestion after my last title tut (the echo technique) – she thought it may be helpful to have a master list of title tutorials in one place. So that’s where we’re going today. A few words before I get started. I’ll provide the name of the tutorial (since I don’t always use succinct language) linked to the tutorial on the Blog -just click on the tutorial’s name – and a thumbnail photo of the finished product. These tutorials include a broad range of techniques; I write from the premise that the reader is just beginning their digital scrapbooking journey, so there will be review and repetition. If you’re an intermediate or expert user, you can skip the parts you already know, but the new learner can’t fill in the blanks if they don’t know there are blanks. And finally, I don’t always create layouts with the things I Blog about so many of the images I’ll be adding below are screenshots from the actual tutorial and not nice, tidy layouts. (In some ways, the screenshots give a more detailed look at the finished title than the layouts do.)
Up first is Titles Revisited: Alphas plus Fonts which is one of the first tutorials I wrote almost 5 years ago. It touches on a few tips for mixing fonts with designers’ alphas to create eye-catching titles.
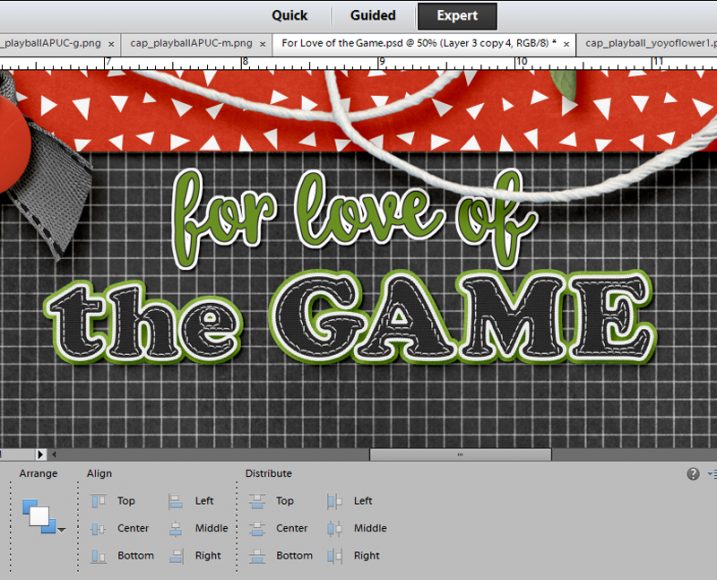
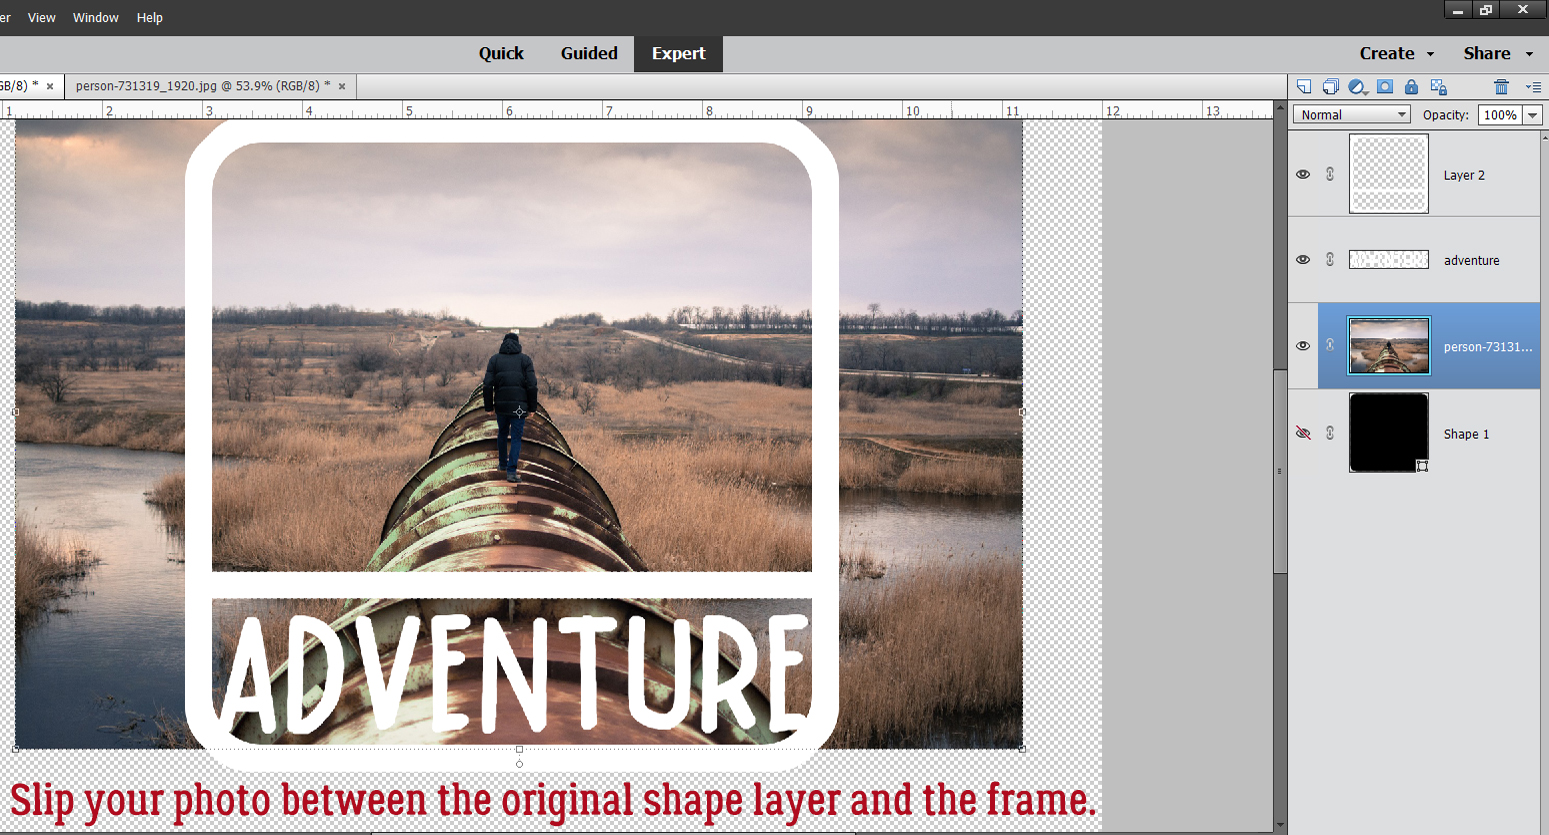
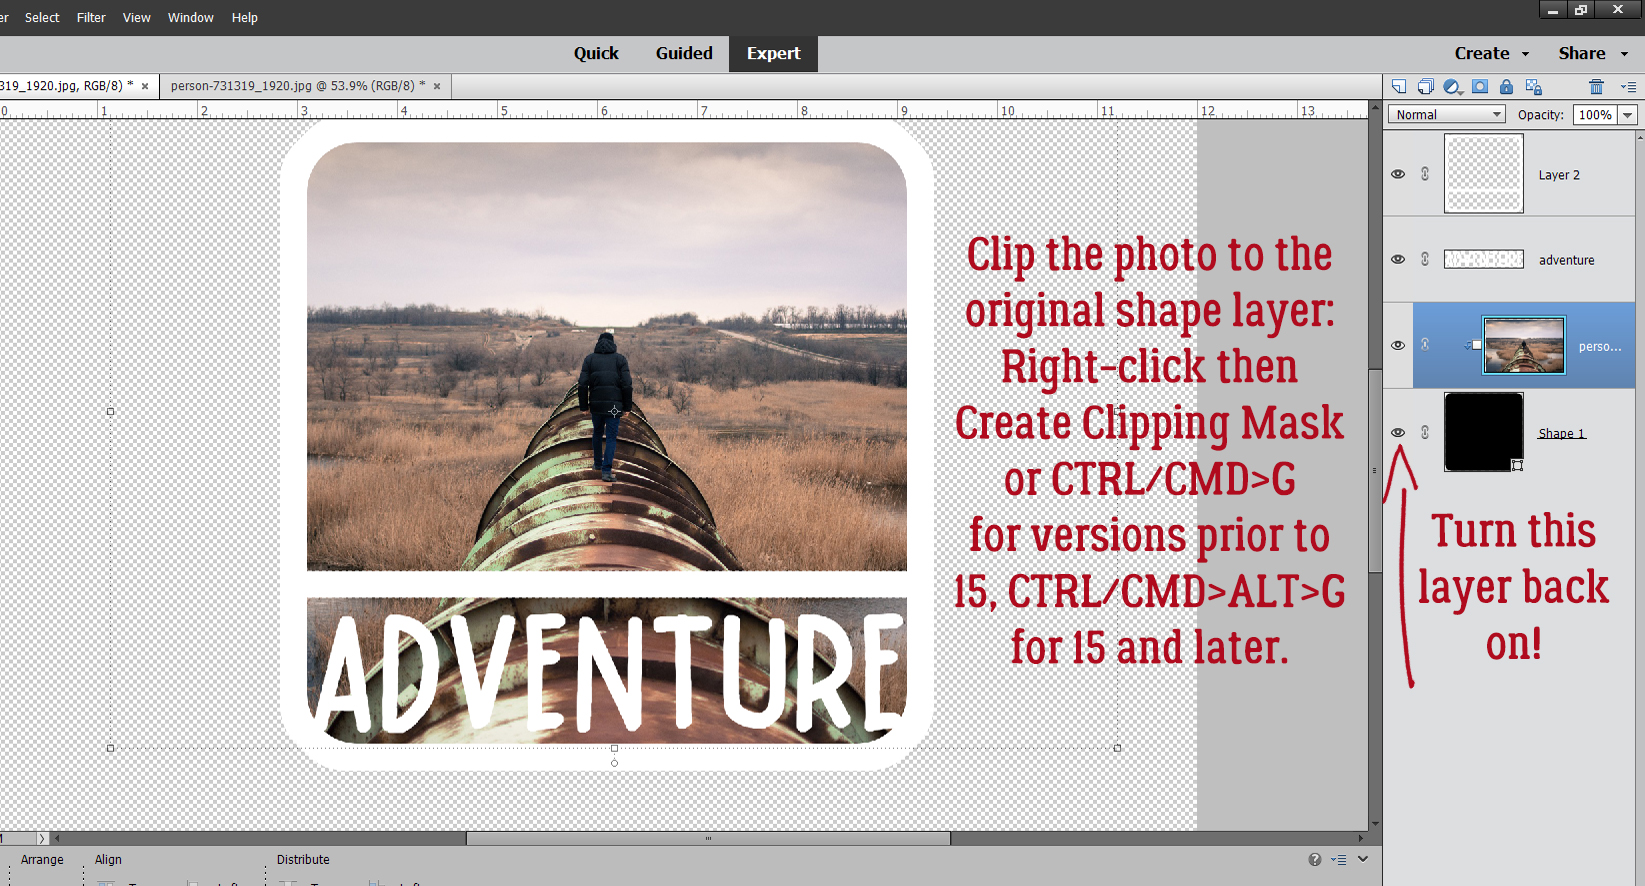
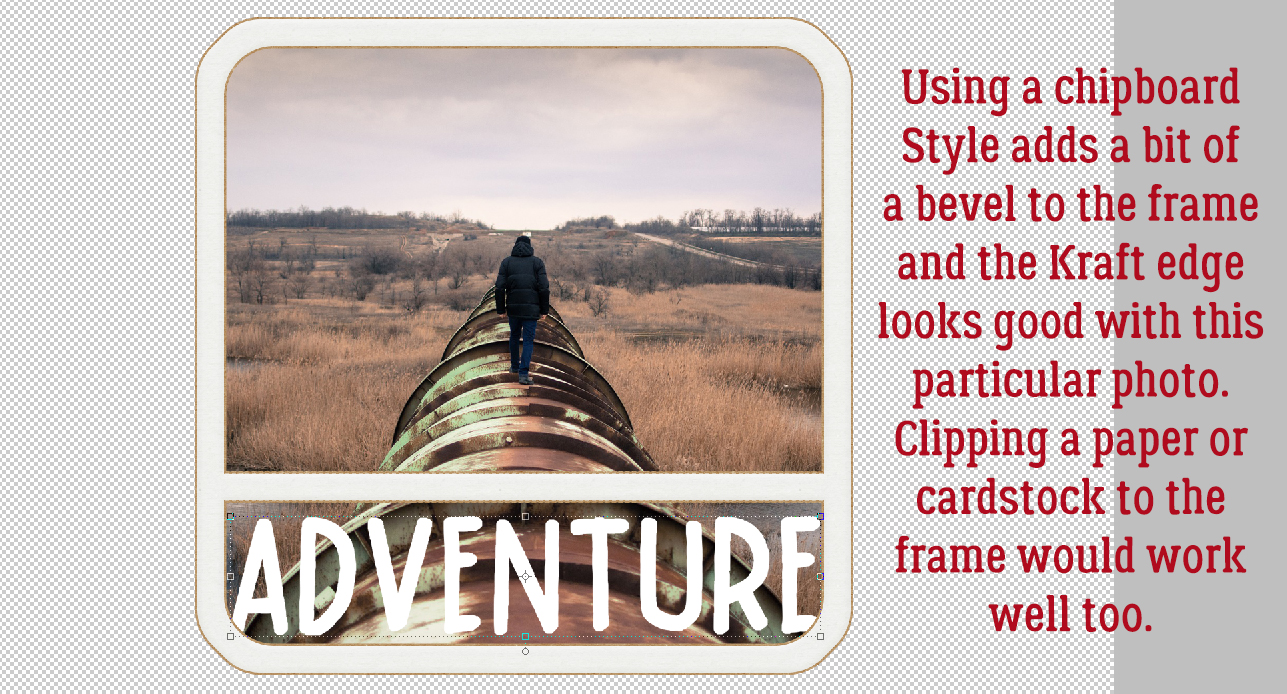
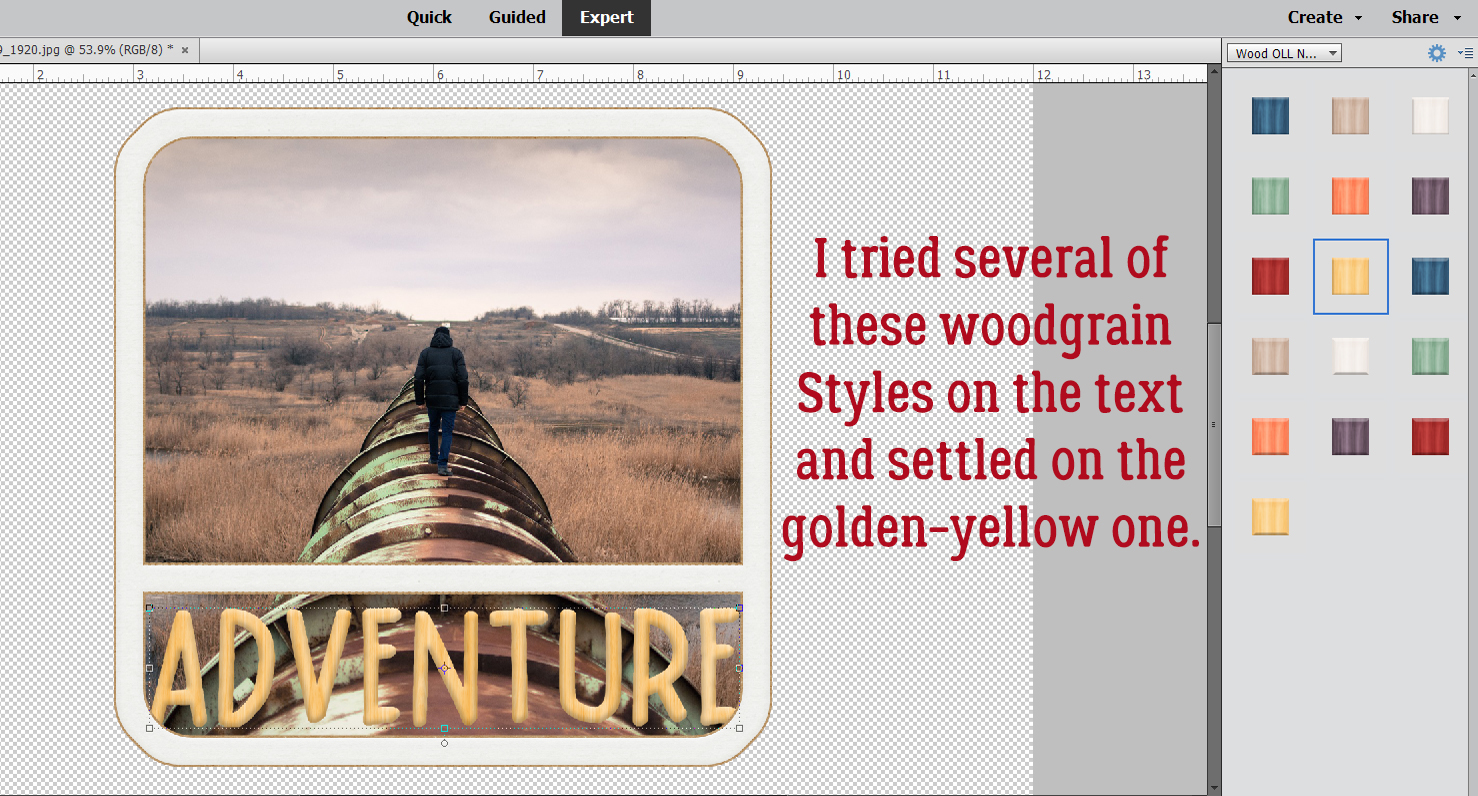
Titles with STYLE(s) gets into using Style effects to take fonts from ordinary to awesome, as well as adding paper backing to simulate those fancy title stickers you can buy at the craft store.

In Title Tweaks the technique is a riff on stickers, with some added weight. It builds on the previous two tutorials and has several variations included so you can truly customize your work.

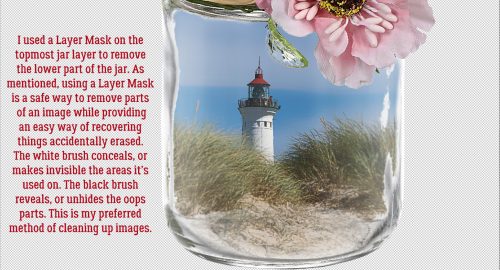
Over-the-Top TITLES sounds a bit grandiose. The technique incorporates a title into a large photo, making it appear to rise out of the image.

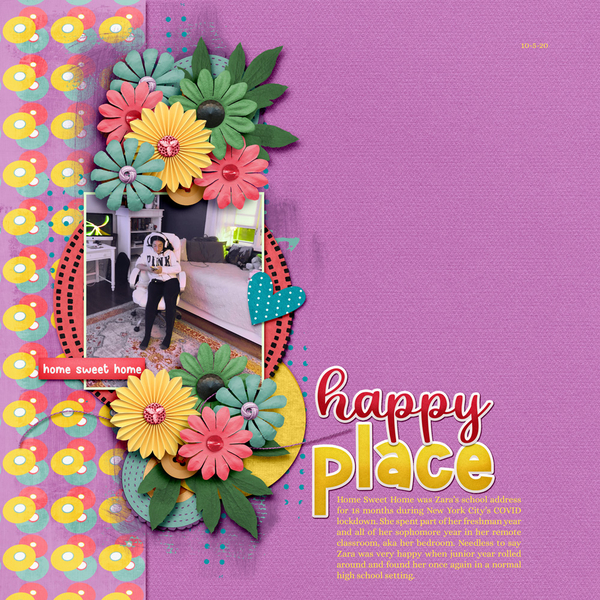
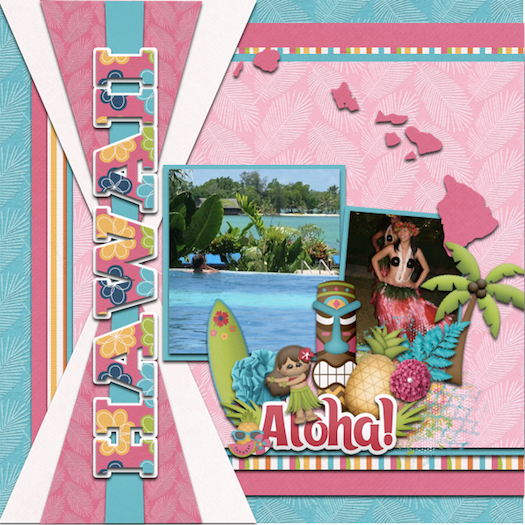
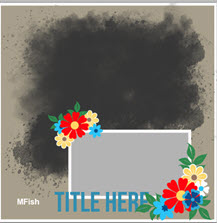
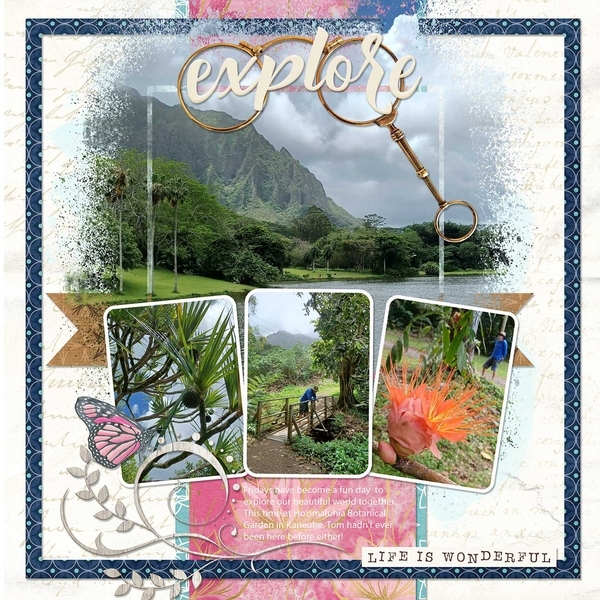
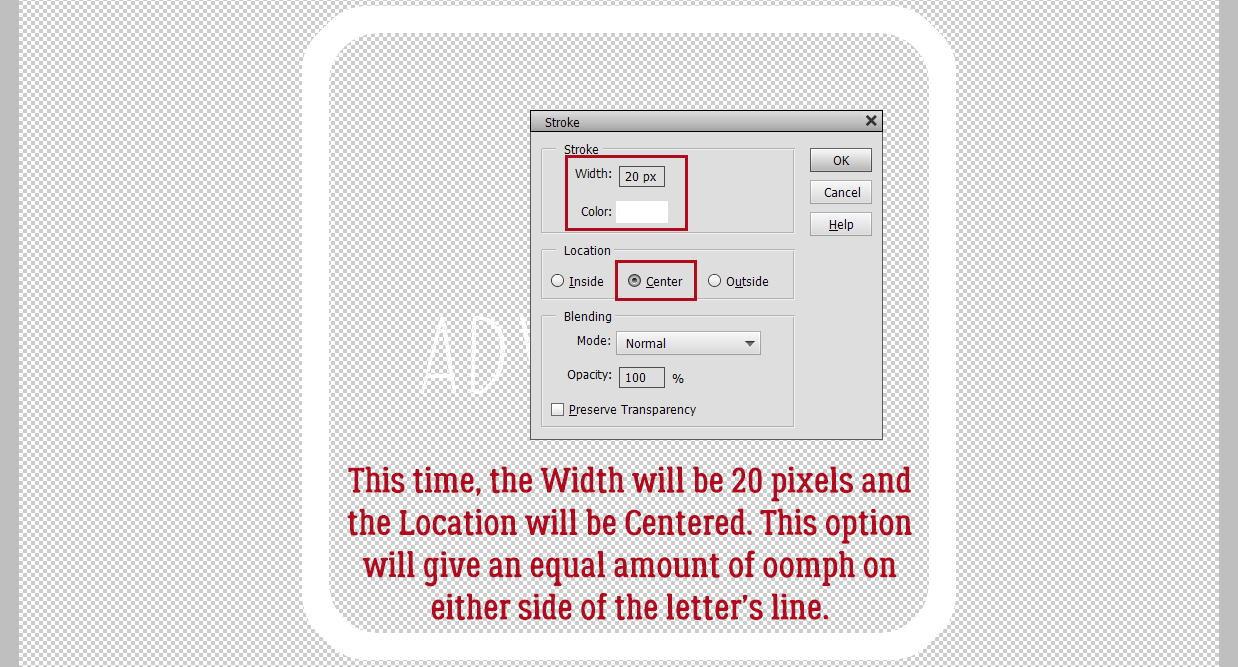
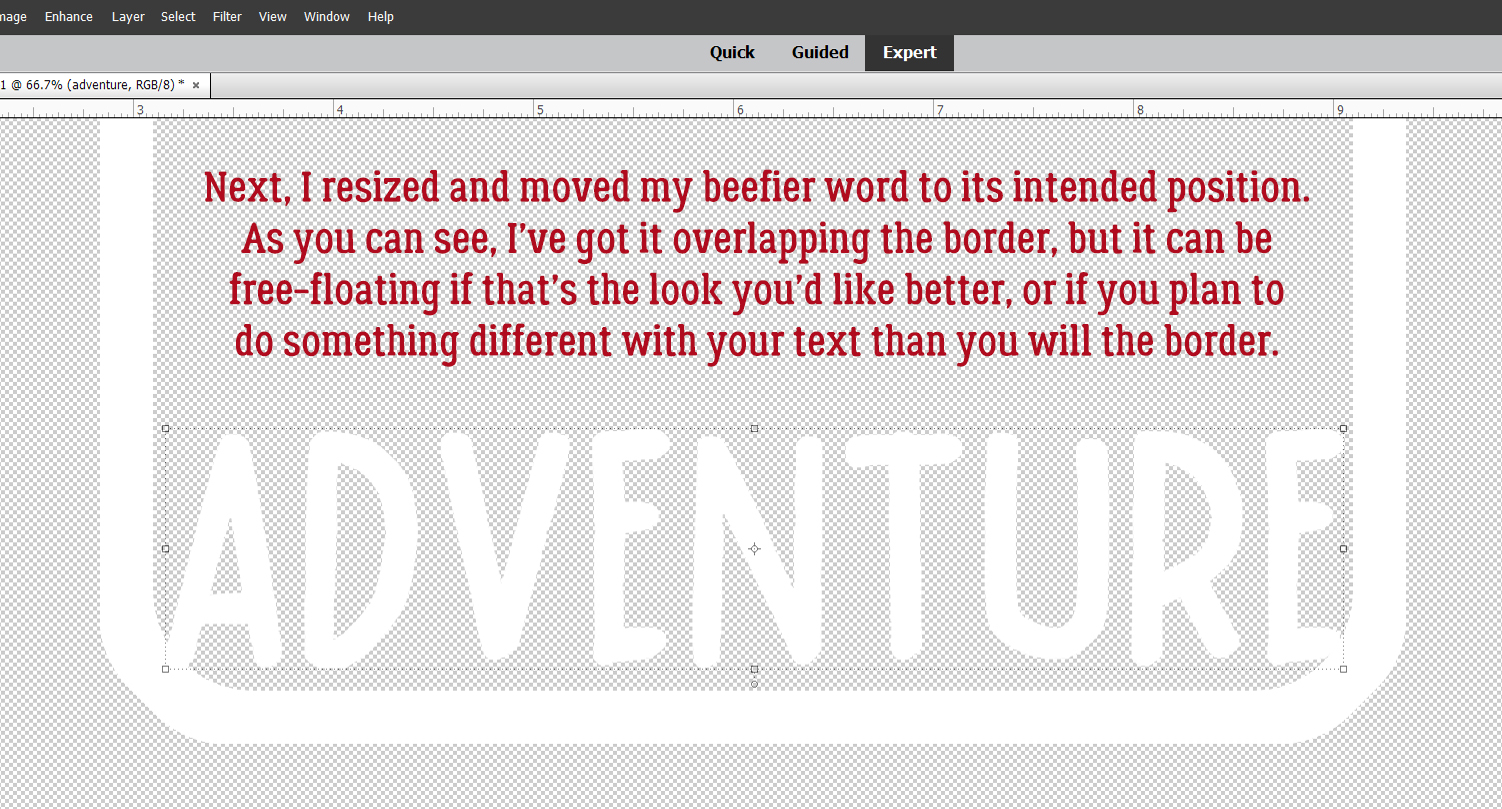
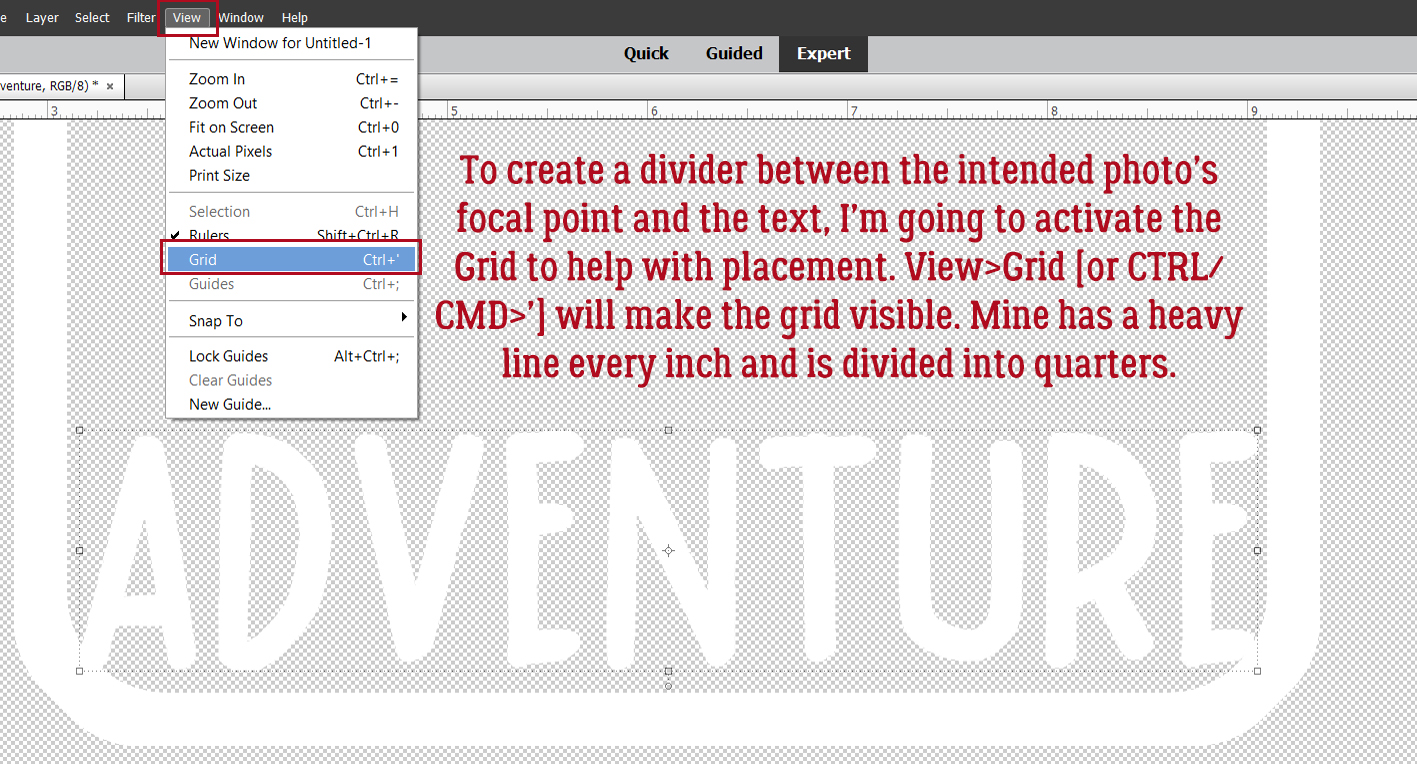
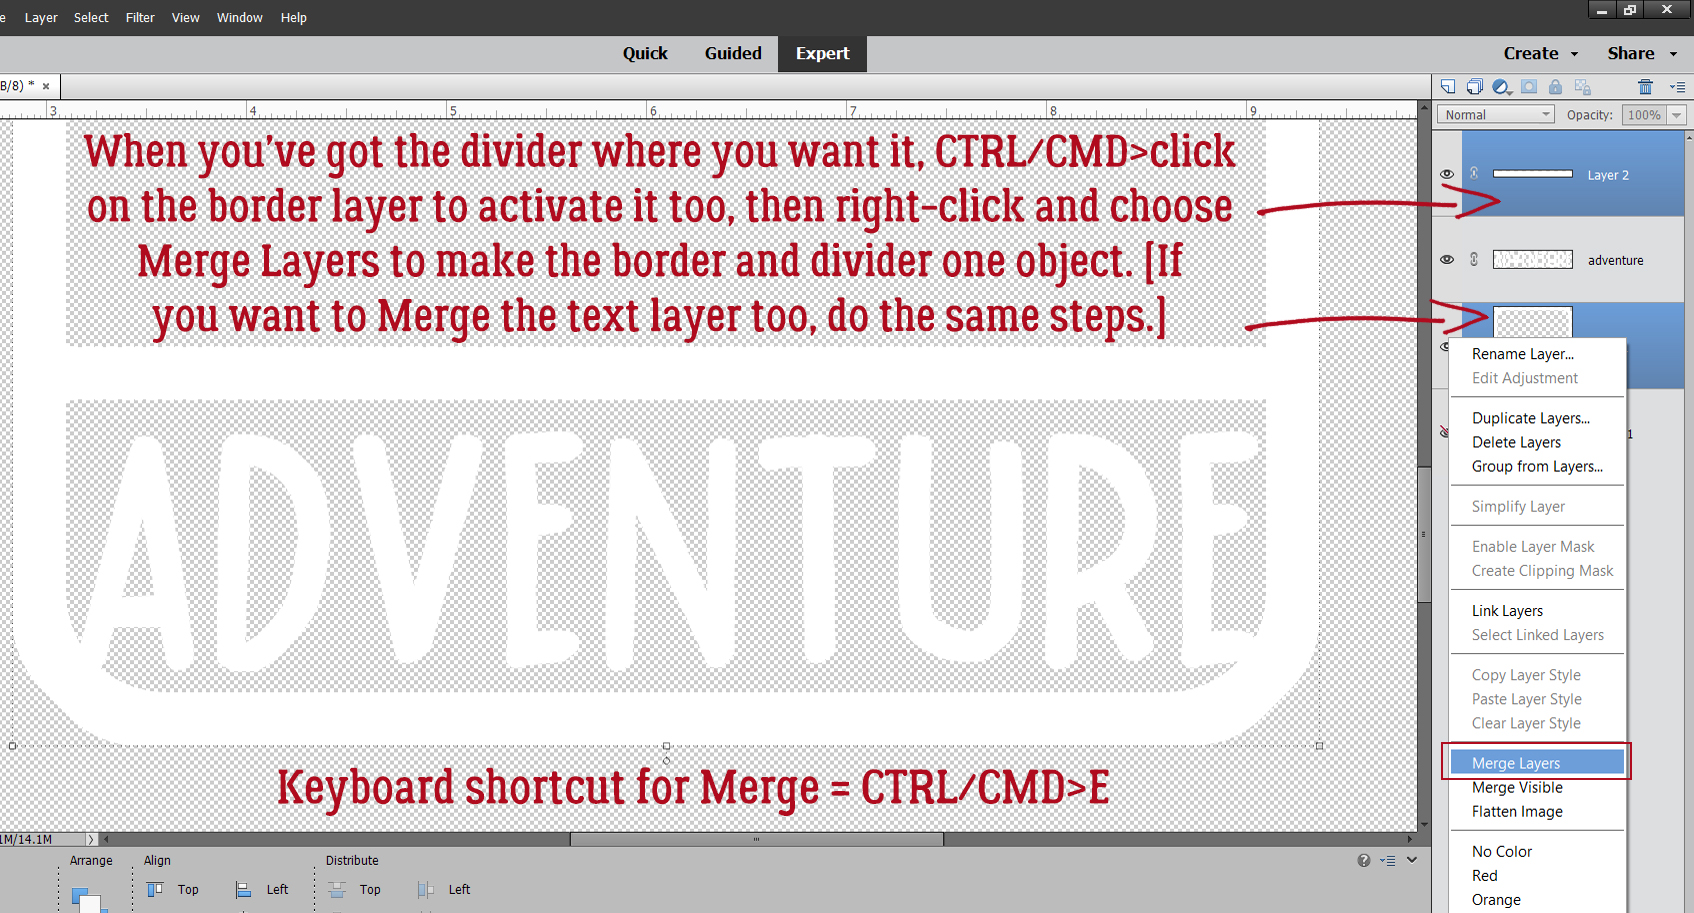
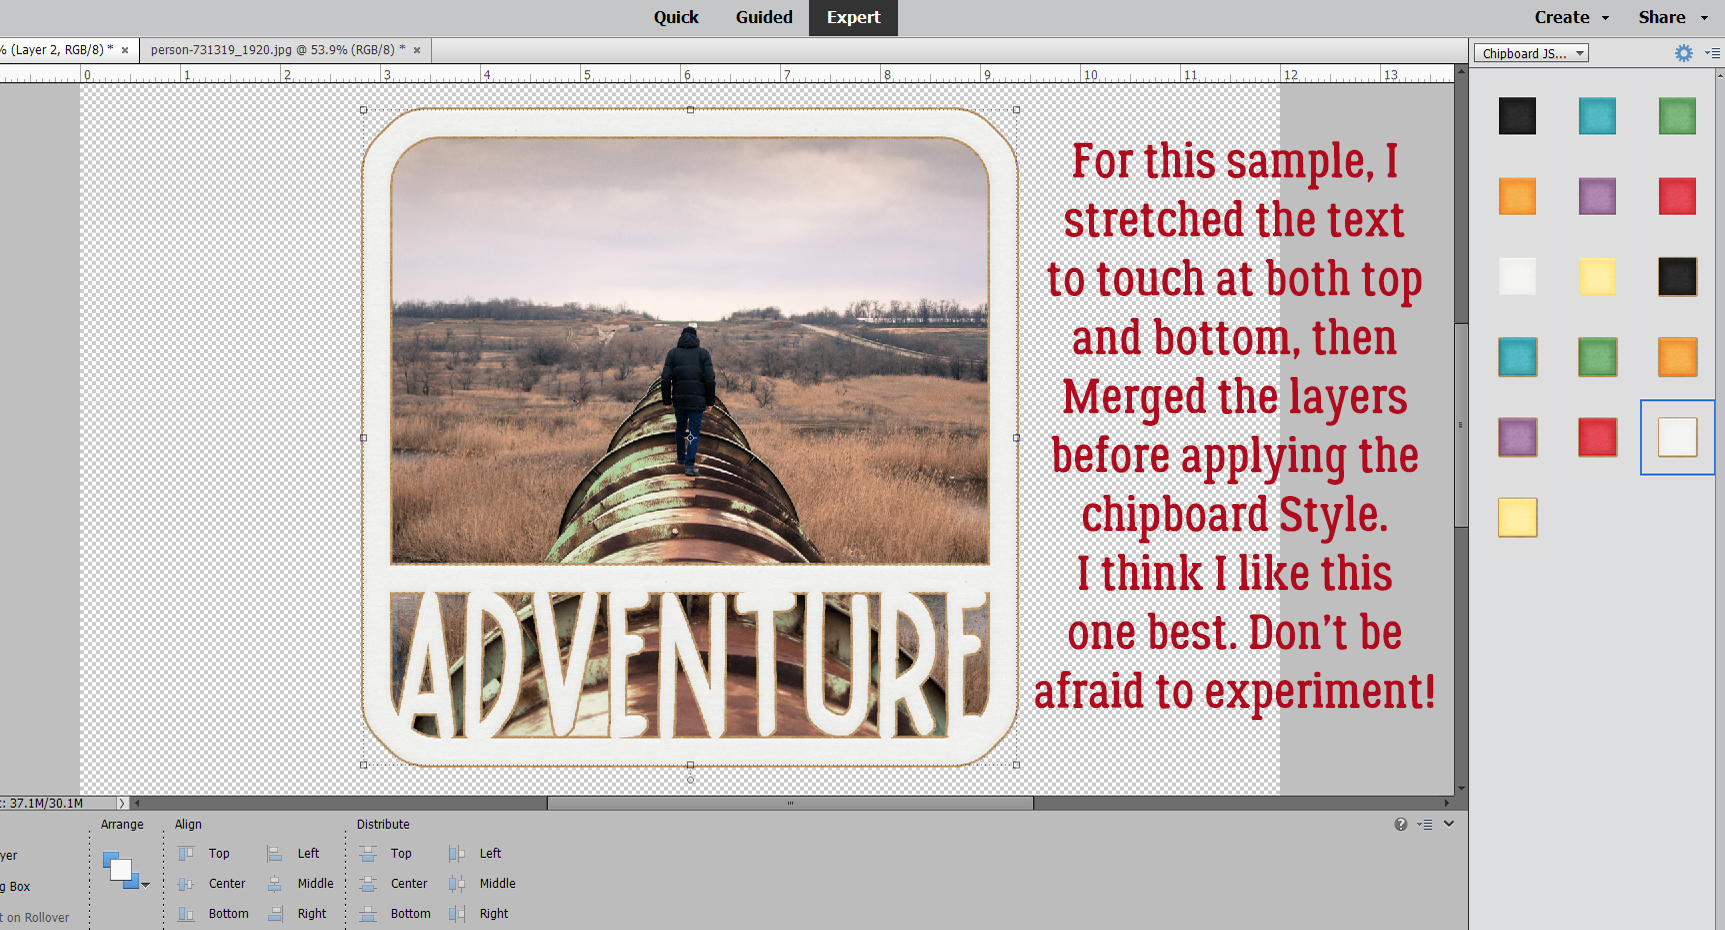
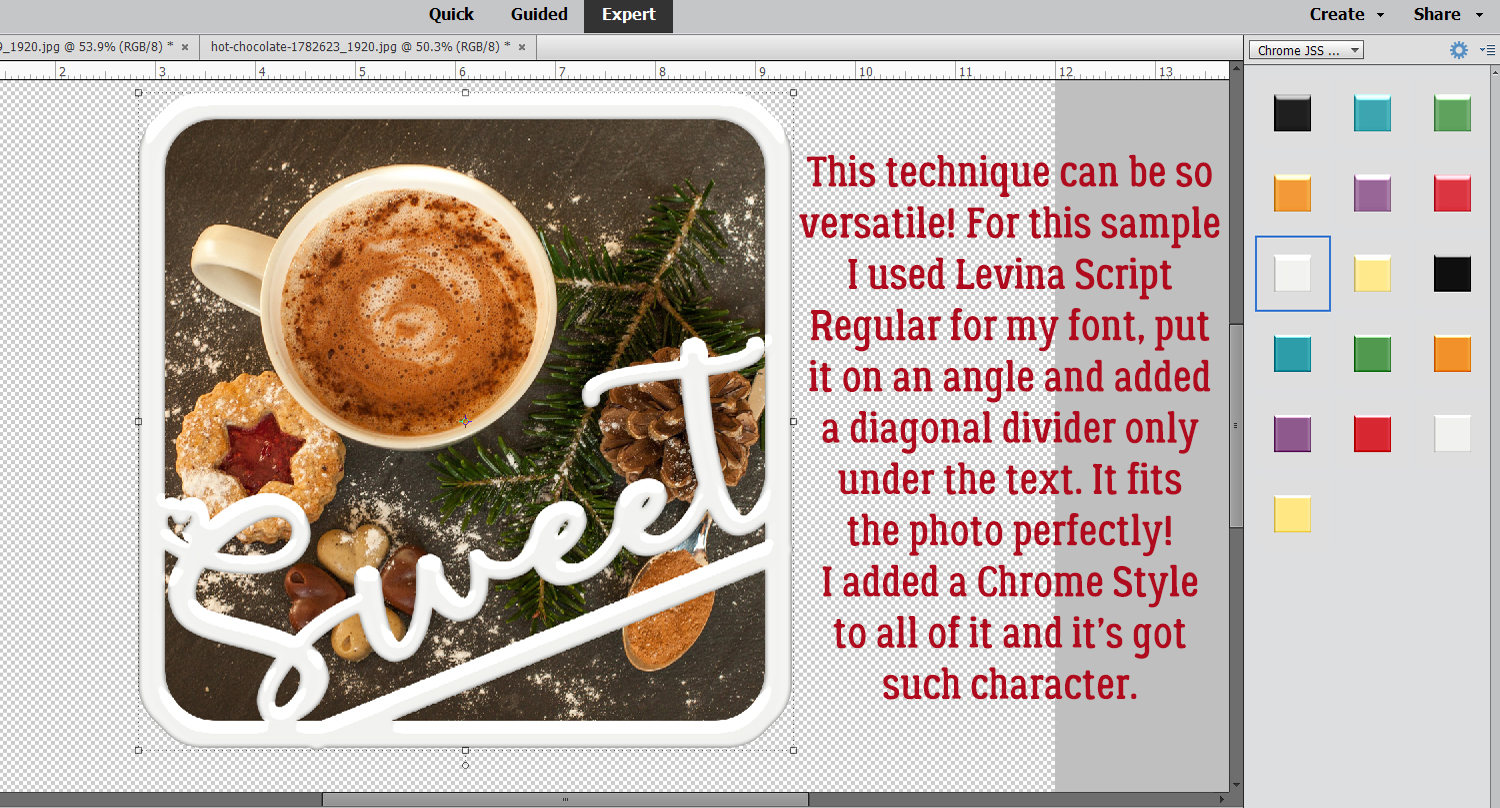
A really fun way to add interest to a large photo layout is to use the title as a divider, as shown in One BIG Word – Using a Title as a Divider. This technique can be used horizontally, as shown, vertically or diagonally – it all depends on what the large photo is showcasing.

The name of this tutorial – Another Take on Titles – is pretty nebulous. What you’ll see is a title with an assortment of papers clipped to individual letters, with a beveled outline.

With A 3D Title with Punch! the punch refers to a curving title that seems to grow as it crosses the page.

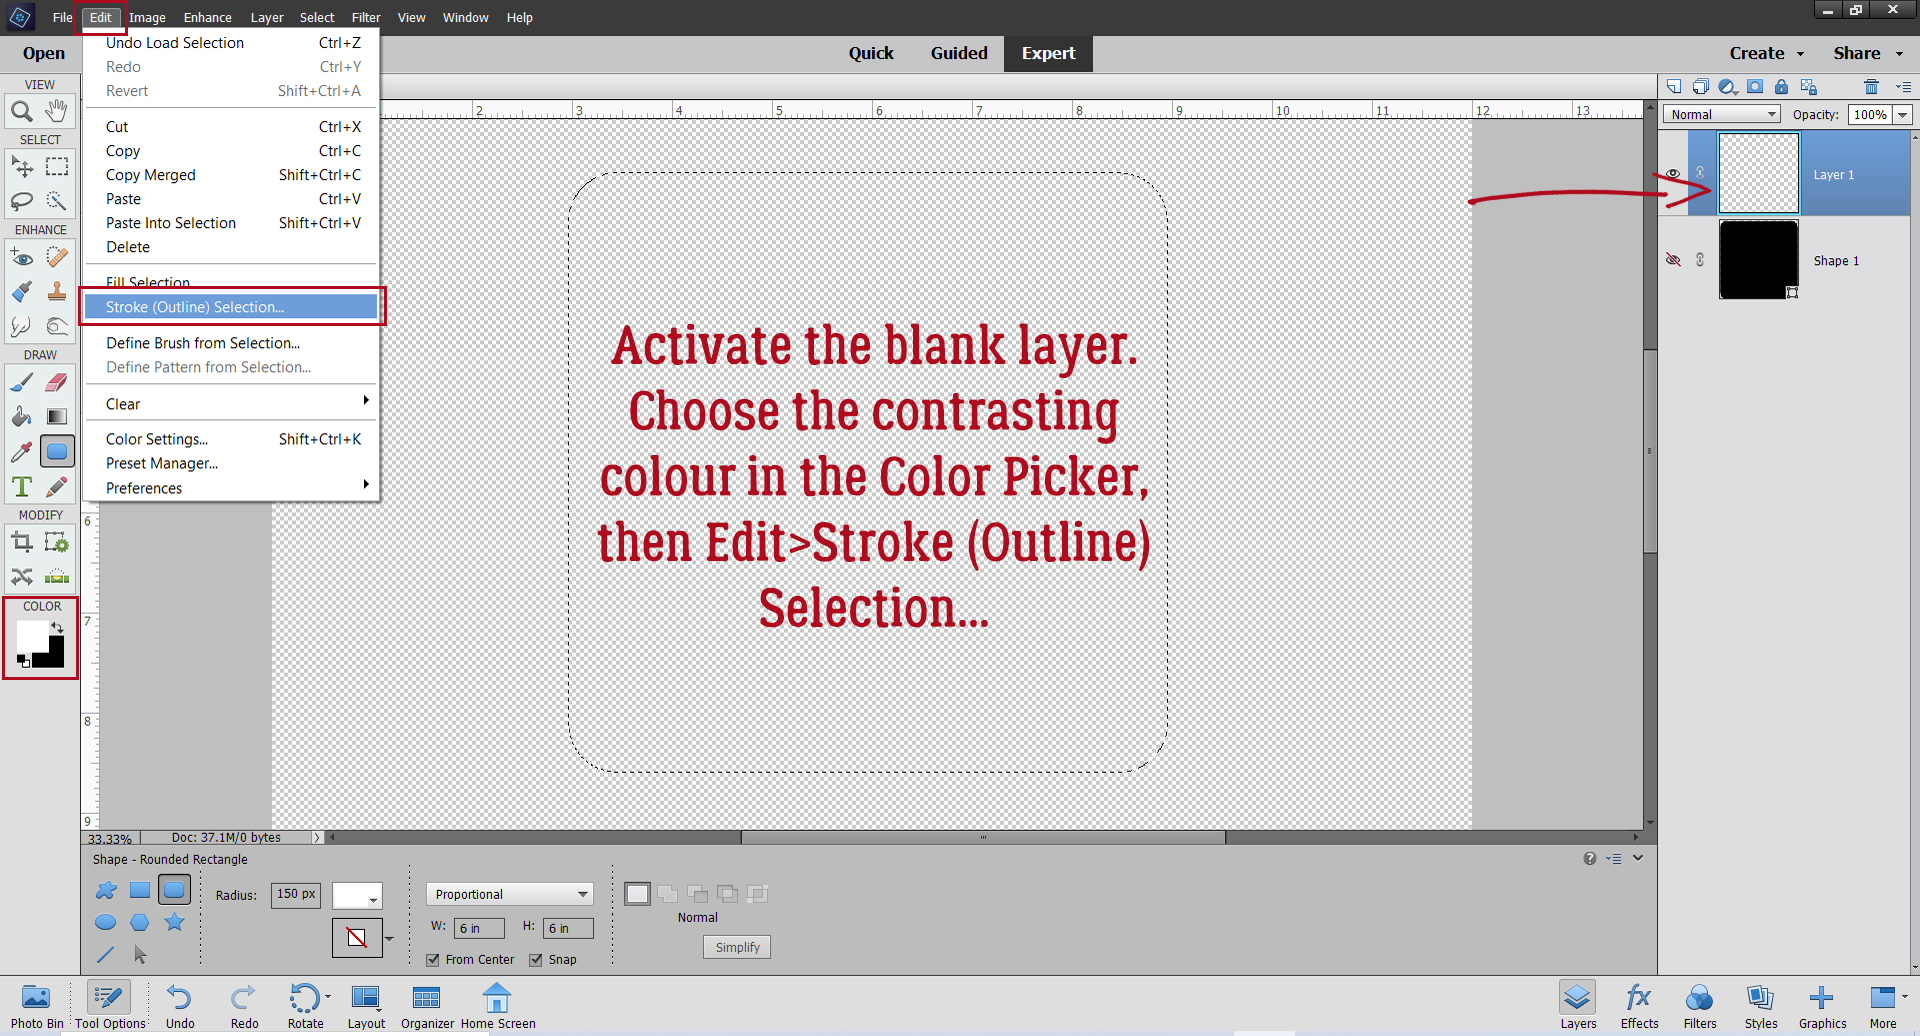
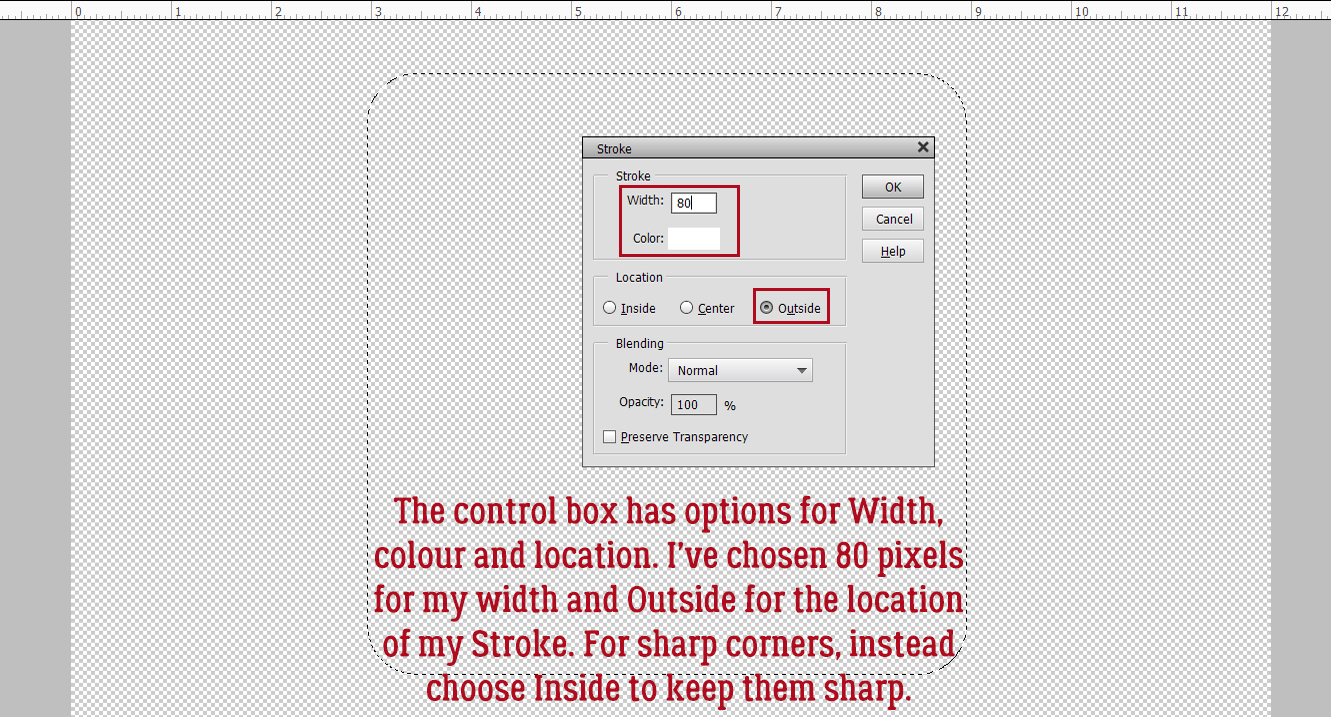
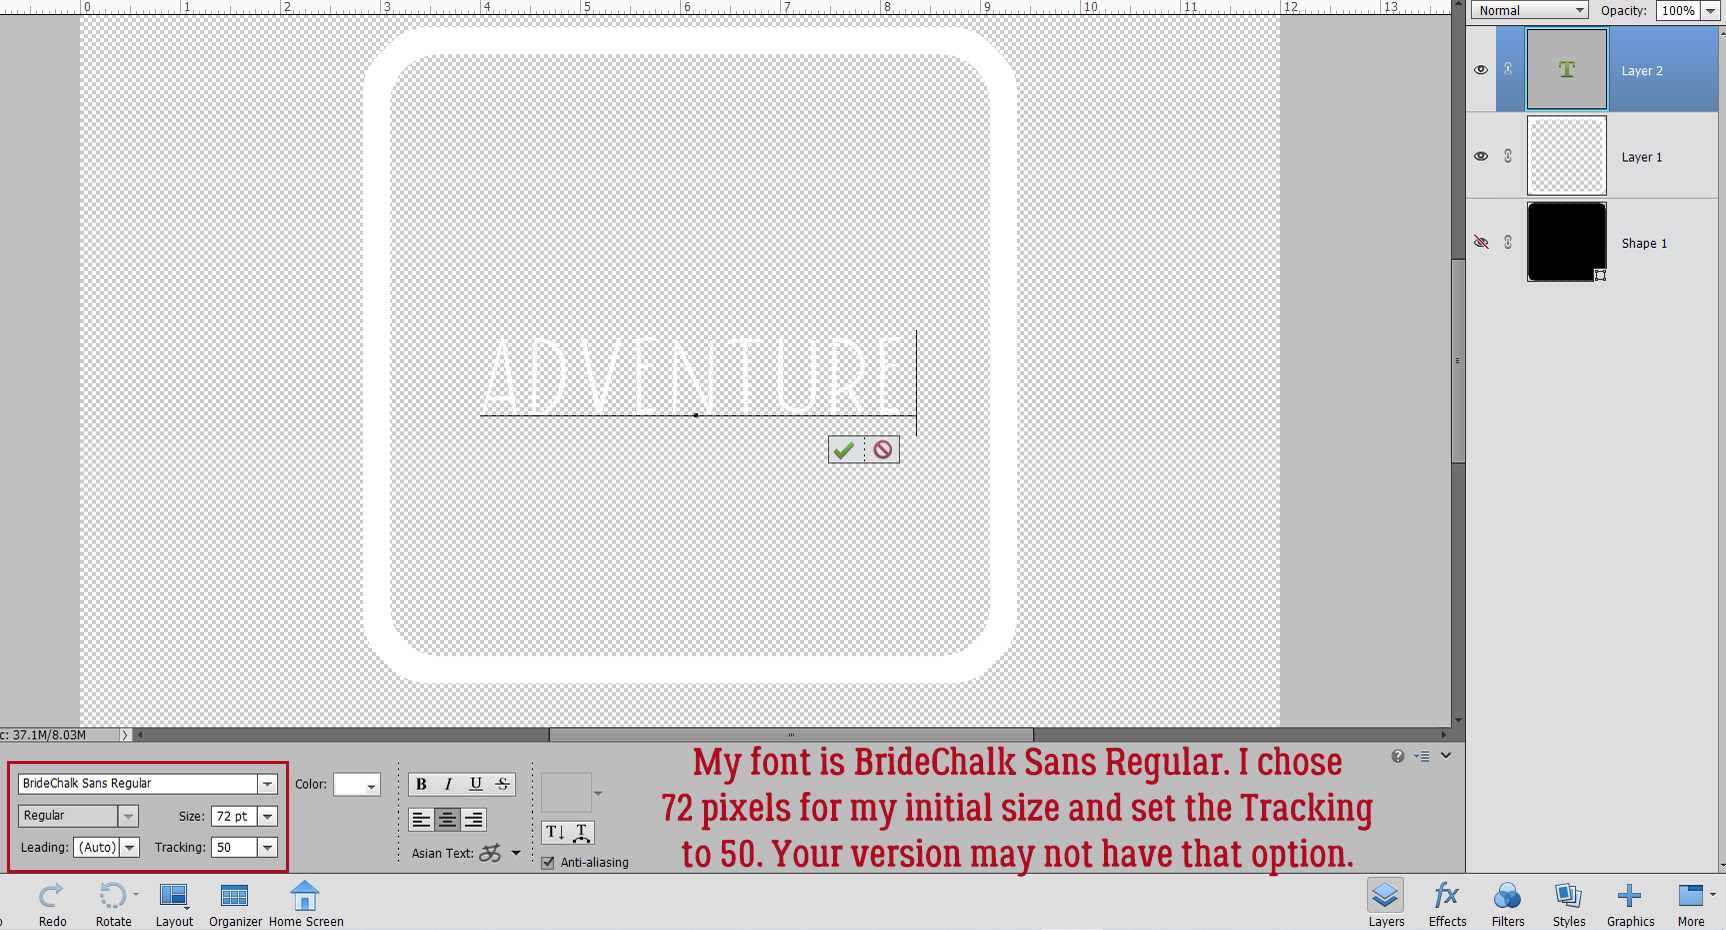
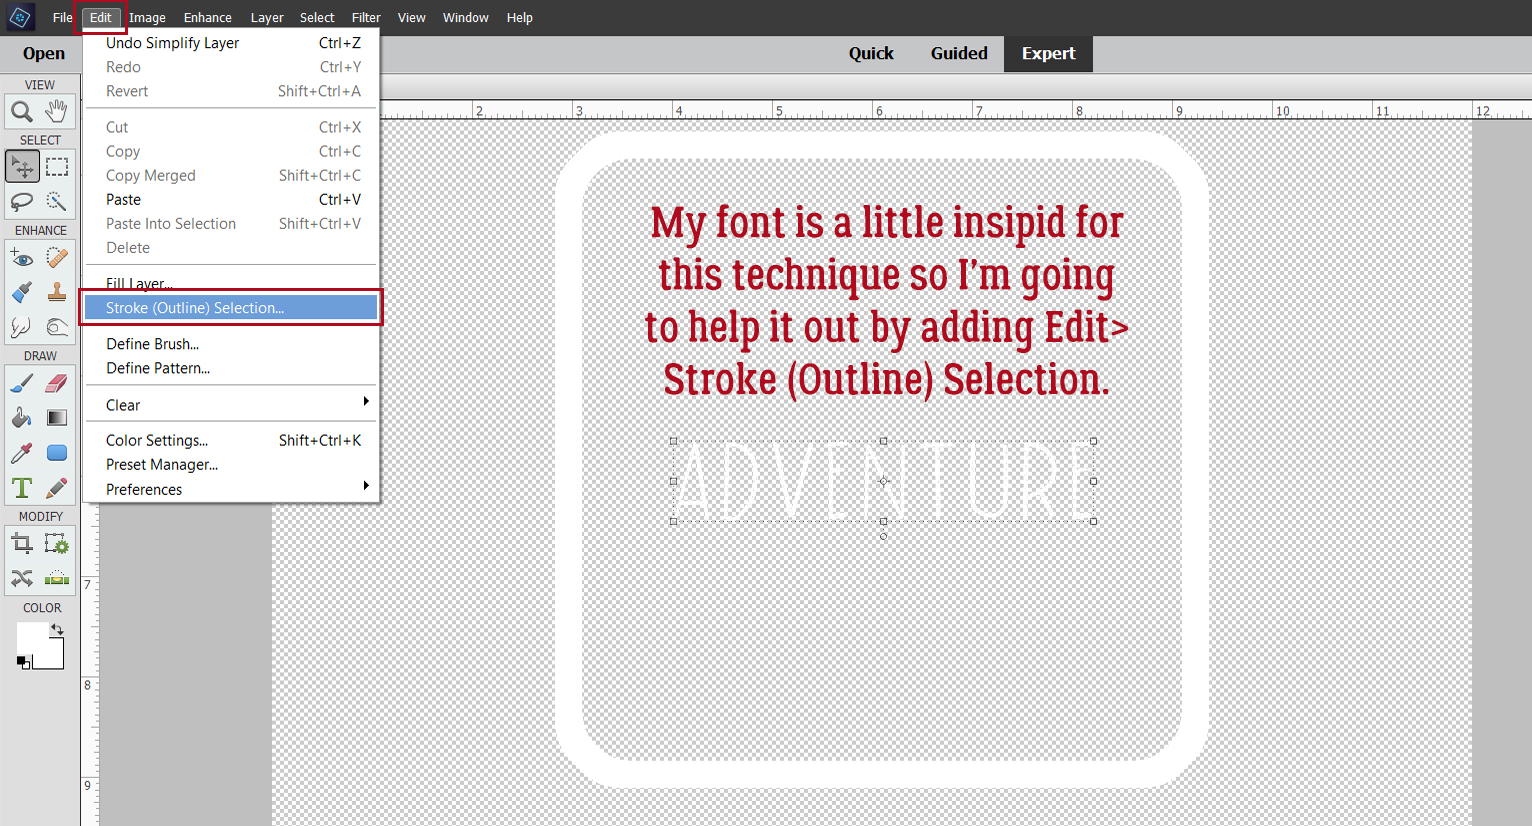
How Did They Do That? (Outlining a Title with Paper Cuts) was another request from a reader. It can be achieved with either a font or an alpha, and can be combined with some of the other techniques to really boost its impact.

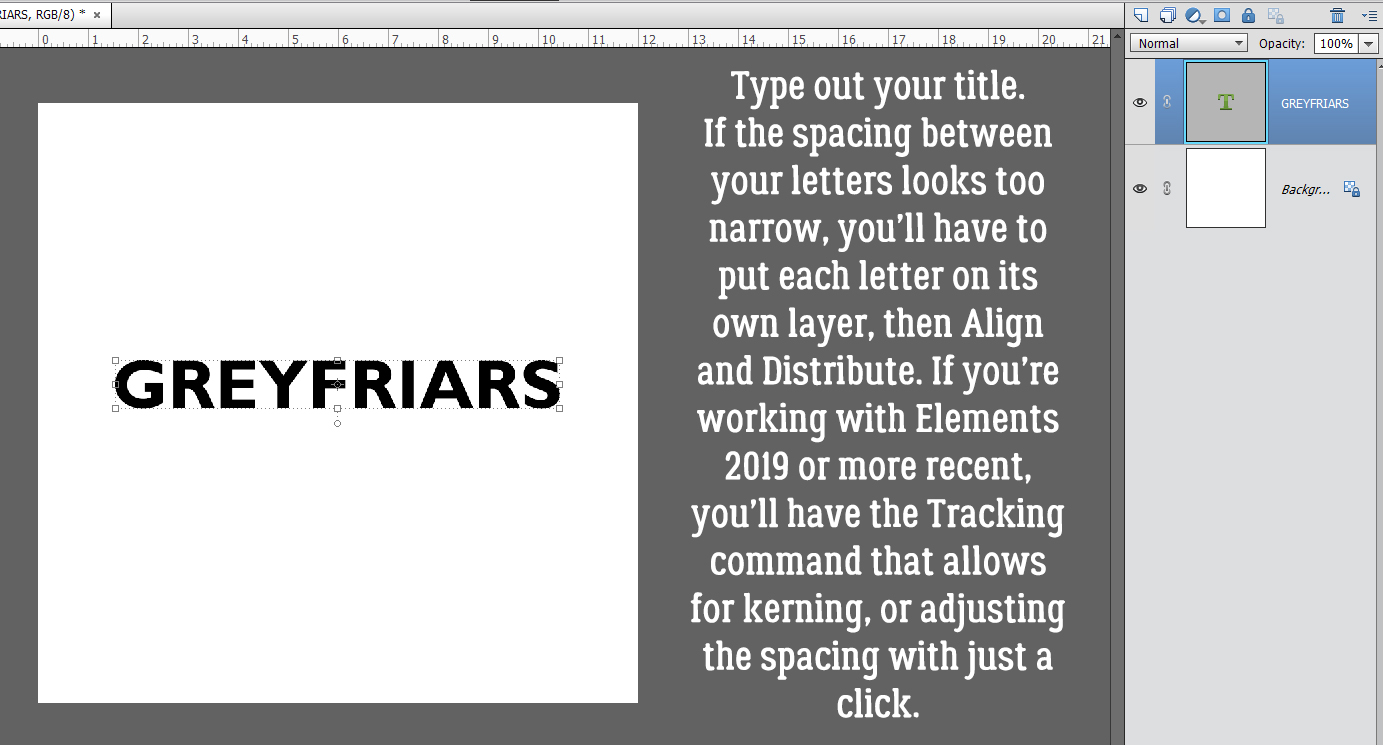
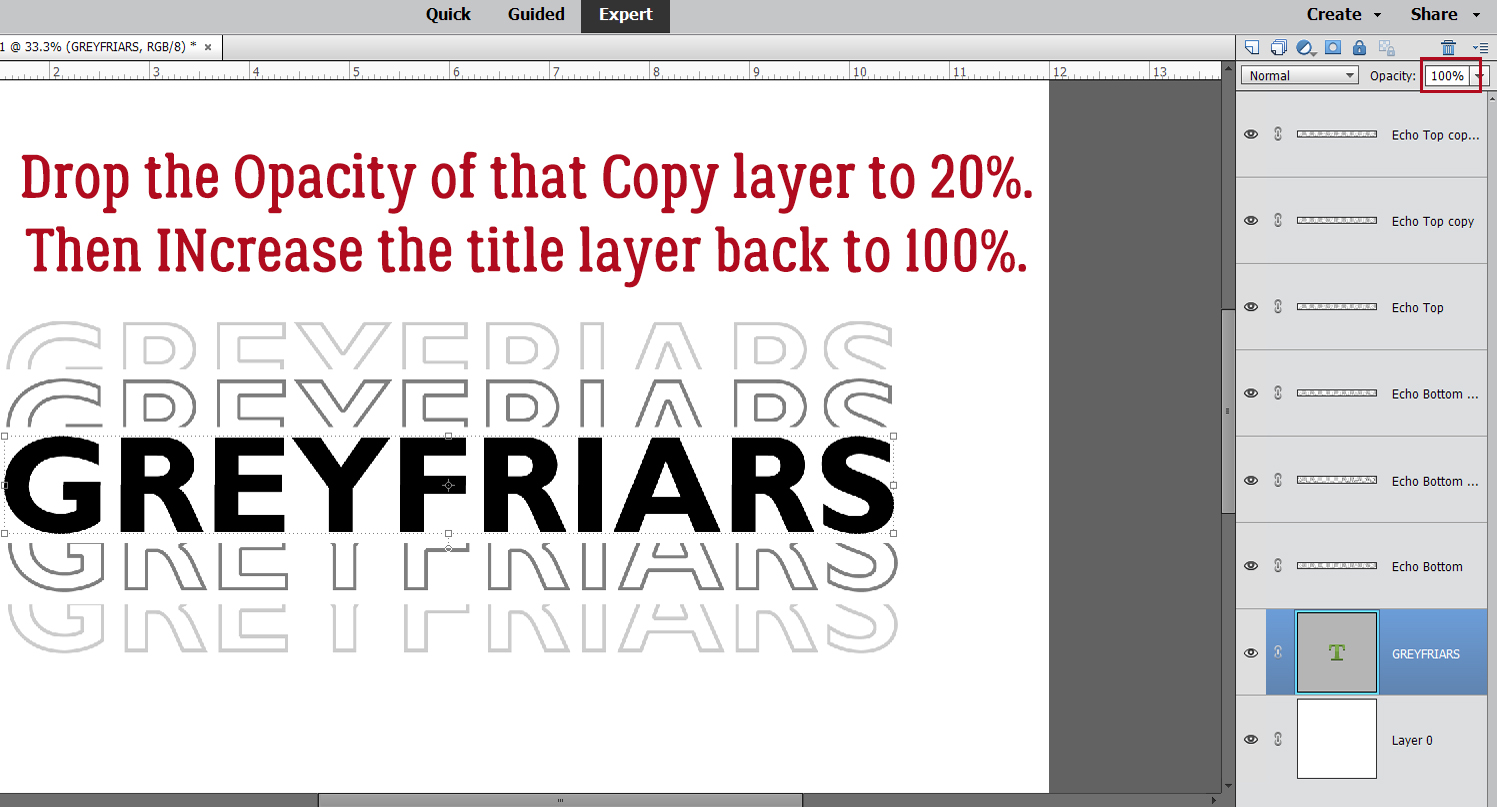
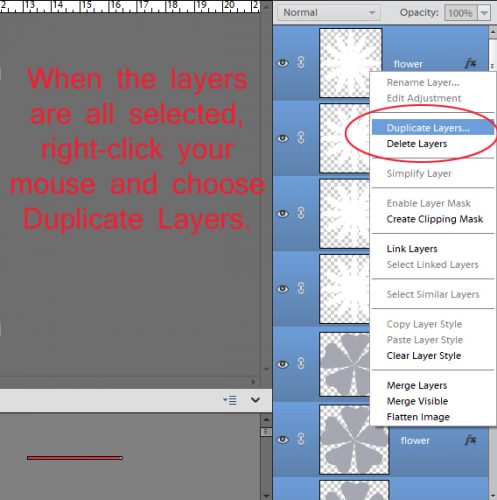
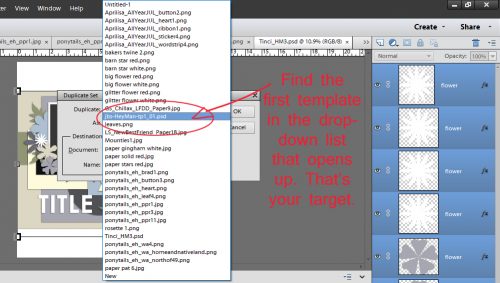
This is the tutorial that led to Ellen‘s suggestion (she also suggested it as a topic in the first place): Creating a Title Echo for Your Layout.

There are a few tuts that don’t include “title” in the name. For example, Fancifying Those Fonts is one of my earlier efforts. Part of my brain is always assessing how something might be worked into a layout or a tutorial, or both. This is one of those assessments!

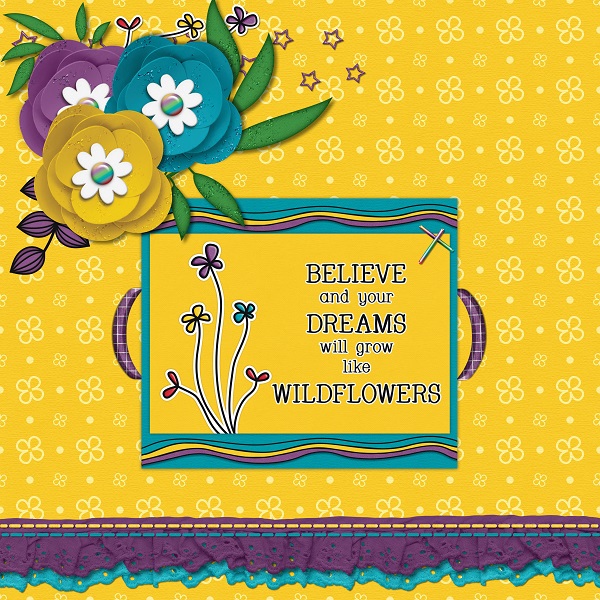
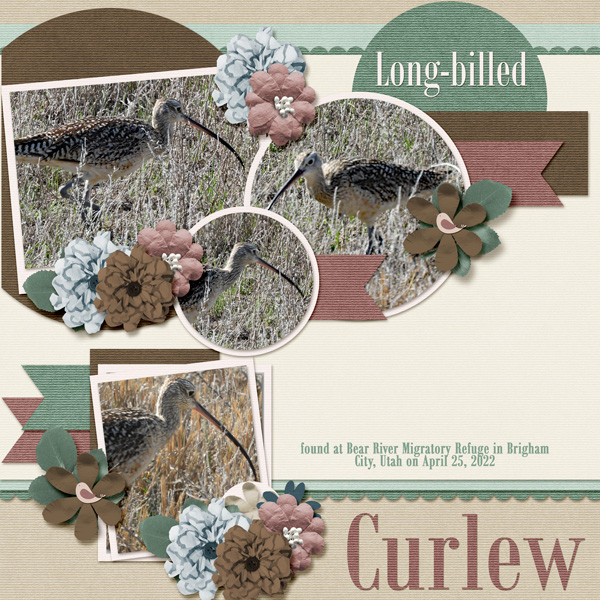
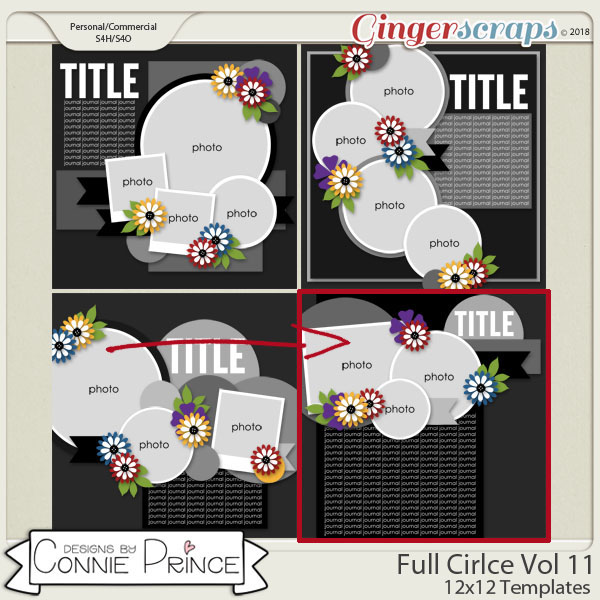
This one is another of the early days’ offerings. Alphas Revisited describes placing a title around a circular photo. I like to think my skills have improved and my ideas more expansive since then.

One thing I really enjoy is coming up with digital versions of paper scrapping looks. I dabble a bit with mixed media for things like greeting cards, using commercial die-cuts (or now that my daughter has a Cricut, custom ones) along with printed digital elements and sentiments. That’s where More Fun with Fonts – Die-Cut! comes from.

The final addition to the list is Another Font-to-Alpha Option that uses a perforated bubble font. It also includes some instruction on using Styles.

I’m sure there are others that I’ve missed. If you know of one, please link me up in the comments so I can edit this list to include it. And, of course, if there’s a title you’ve seen somewhere that you’d like to duplicate but can’t figure out the steps for, shoot me a Private Message through the Forum. My user name is ObiJanKenobi and I love getting requests! (Glee, your recent request is a work-in-progress… not forgotten! And Karen Hampton, your request is also cooking. Stay tuned!)
PDF Version: https://bit.ly/3RfWQqL
![]()