Neia Scraps

For our first Spotlight this month, I chatted with Neia, or Neia Scraps as she’s known in the GingerScraps Store. She’s sharing the Spotlight with CarolW, and I’ll share our (very lengthy) chat with you tomorrow.
I think we’ve all caught glimpses of Neia‘s sense of humour before, but this time she didn’t hold back. 🙂 You’ll see what I mean…
J: Neia, it’s been awhile since our last visit In that time you’ve been VERY productive!! Last time we talked I told you how much I love the way your design style has evolved, and I followed that up with buying something like a dozen complete collections. I’ll tell you, the Daily Download has me drooling. But now I’m wondering, how do you make it all work? Designing, commitments, family and personal time… how do you make it fit?
N: With coffee, good playlists, and a lot of controlled chaos. Sometimes I design while waiting for the pasta to boil. Multitasking queen.
J: I used to be really good at that, but since I retired, I’ve started to slip. 90% of the time it doesn’t matter, though. What do you most enjoy about how GingerScrappers (and others) use your designs to create their layouts?
N: It’s like watching someone decorate with things you love — but even better!
J: Remind me again, how did get into digital scrapbook designing in the first place?
N: Accidentally. One download turned into a hobby, then a passion… then 5,000 layers later, here we are!
J: Uh… I’m pretty sure it’s WAY more than 5,000. You don’t skimp on your kits by any definition! Let’s play “what if” for a few minutes. What would you choose if you could learn any new skill instantly?
N: Sword fighting. Not useful at all in real life, but imagine how cool I’d feel.
J: OMG!! I have this mental picture of you dressed like one of the Musketeers now! I’m probably always going to see that image when I think of you. My son-in-law teaches fencing, but I didn’t see you in the white jumpsuit. Nope, the knee-high boots, full-sleeved white shirt, vest and scabbard. And you look MAHVELOUS! To sort of stick with the fantasy theme, if you could be any age for a week, how old would you be?
N: Maybe 25 — young enough to eat pizza at midnight, old enough to know that was a terrible idea.
J: Hmm. when I was 25, I already had three kids. I wasn’t even seeing midnight. Ever. And the one time I ate pizza while nursing my son, he screamed the entire next day. Definitely a terrible idea! 😀 In a similar vein, if you could time travel, which way would you go? (I, of course, would go back and skip the pizza.)
N: I’d go to the future just far enough to see if someone finally invented self-cleaning laundry. Priorities.
J: Hahahahaha! That would be amazing! I have four loads waiting for me to get it into the machine. Maybe tomorrow. 😉 I’ll have to get the dog to move though. She’s sleeping in the doorway. If you could be any animal for a day, which one would you choose?
N: A spoiled house cat. Naps, snacks, and dramatic staring? Sounds like my kind of schedule.
J: Oh, my… yes! Bonus for me is hubby is allergic to cats, so he’d let me scrap in peace. He’s already bugging me about what’s for supper. I don’t know. It’s pretty hot so I won’t be grilling. Maybe it’s a mac-and-cheese day. What’s your favourite comfort food?
N: A warm bowl of homemade soup with bread. Bonus if I didn’t have to make it.
J: I make really good soup, but usually only do it in the fall. I won’t ever let hubby eat soup in a restaurant. The slurping would be embarrassing. I mean… it’s so LOUD! What was your most embarrassing moment?
N: I waved back at someone who wasn’t waving at me. Then tried to play it off by fixing my hair. Oscar-worthy recovery.
J: Too funny! I’ve done that, but instead of trying for the Oscar, I just put my head down and changed direction. You’re braver than me! So now I’m gonna talk about business. I won’t mind if you wander away.
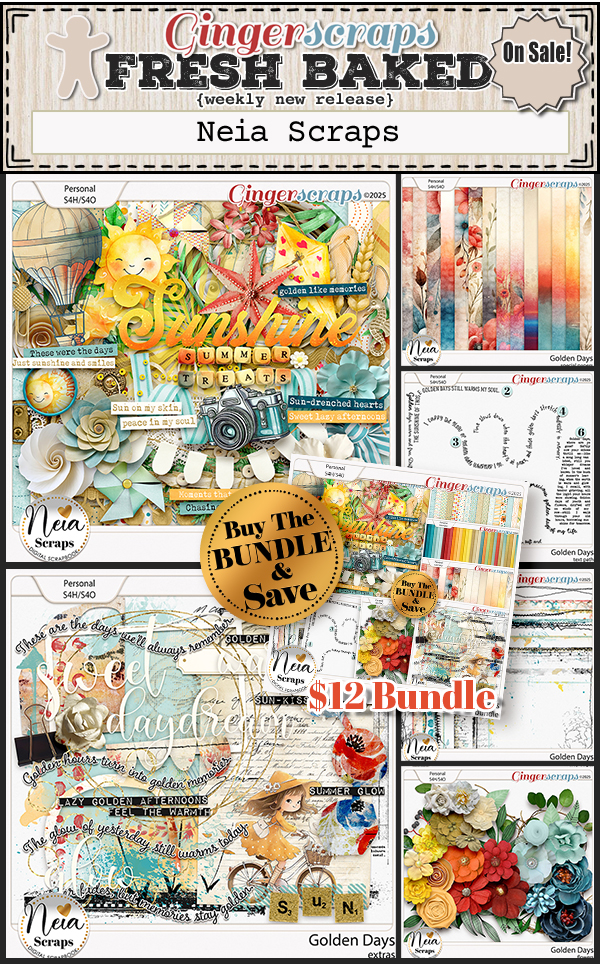
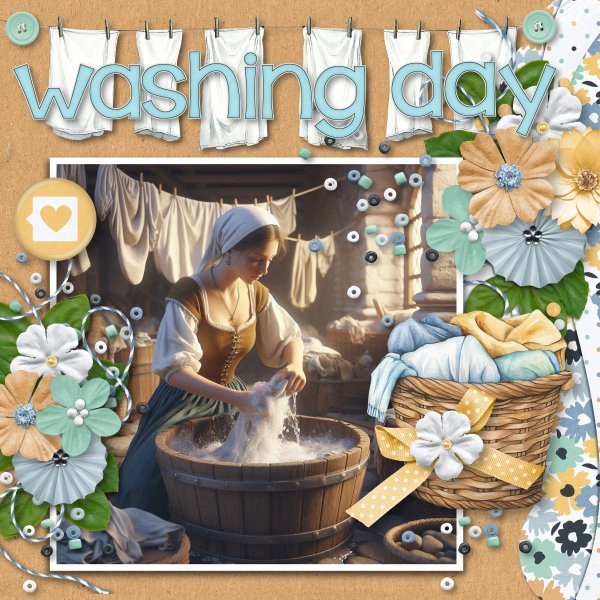
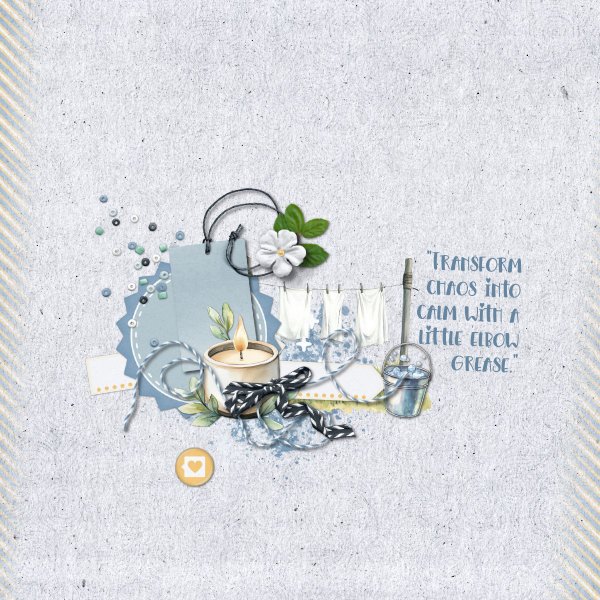
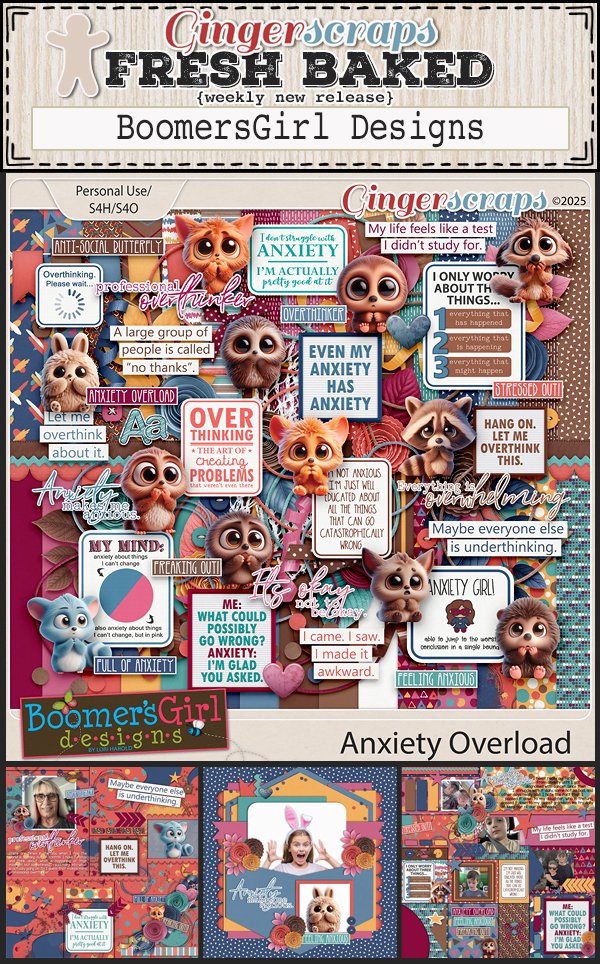
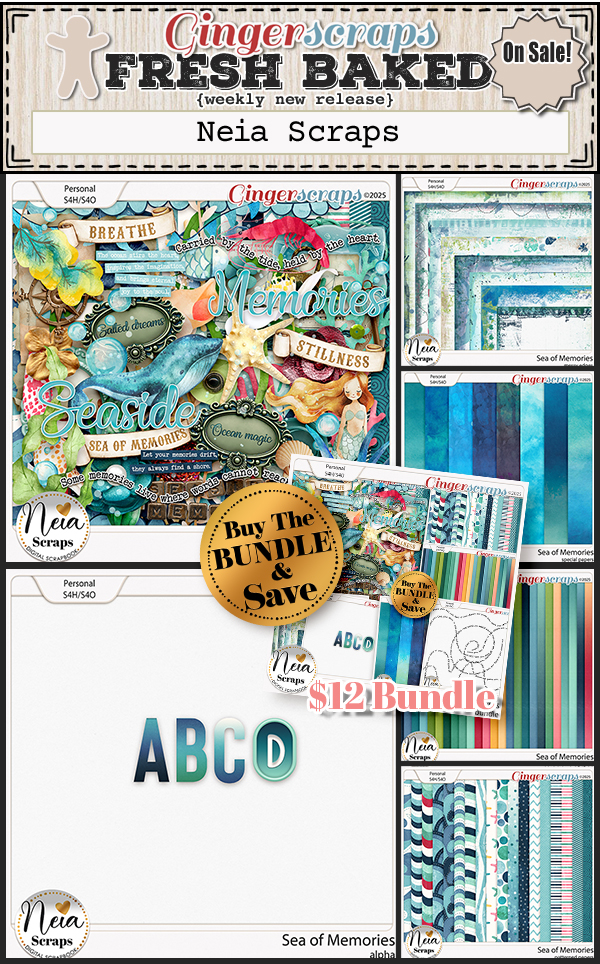
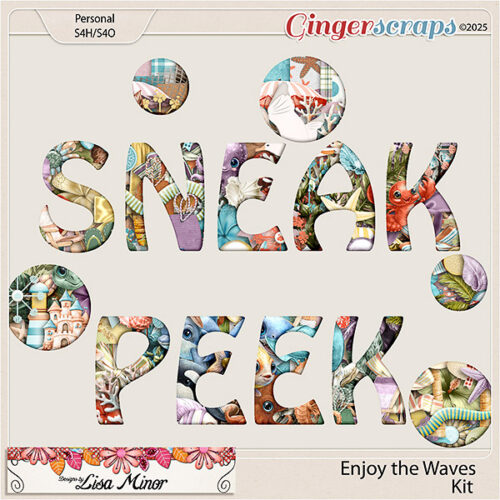
Business? Well, I already mentioned the Daily Download. There’s only a Sneak Peek on the Blog, but I have an image of the full kit, and it’s FABULOUS!
There’s a coordinating mini-kit and some messy edges in the Shop. Of course, I have to have it all. If you’re in a rush and can’t wait for the DD, the entire collection is in the Shop. Half price, too!
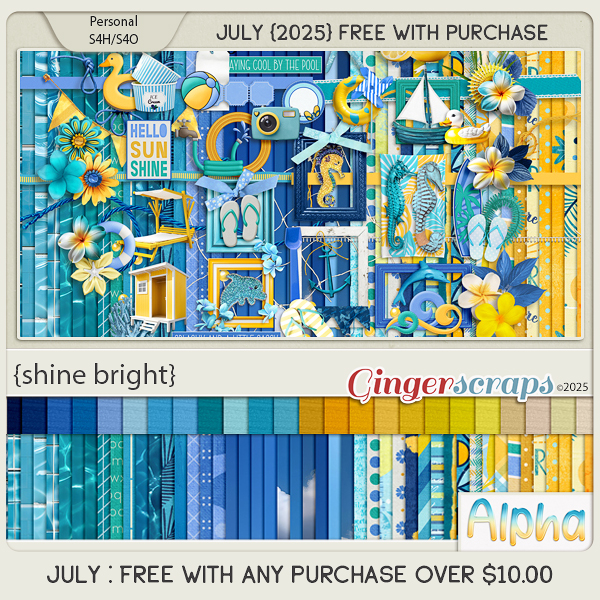
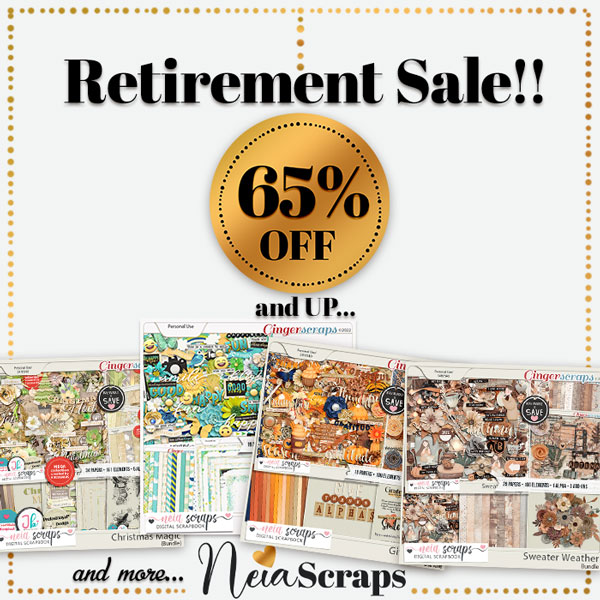
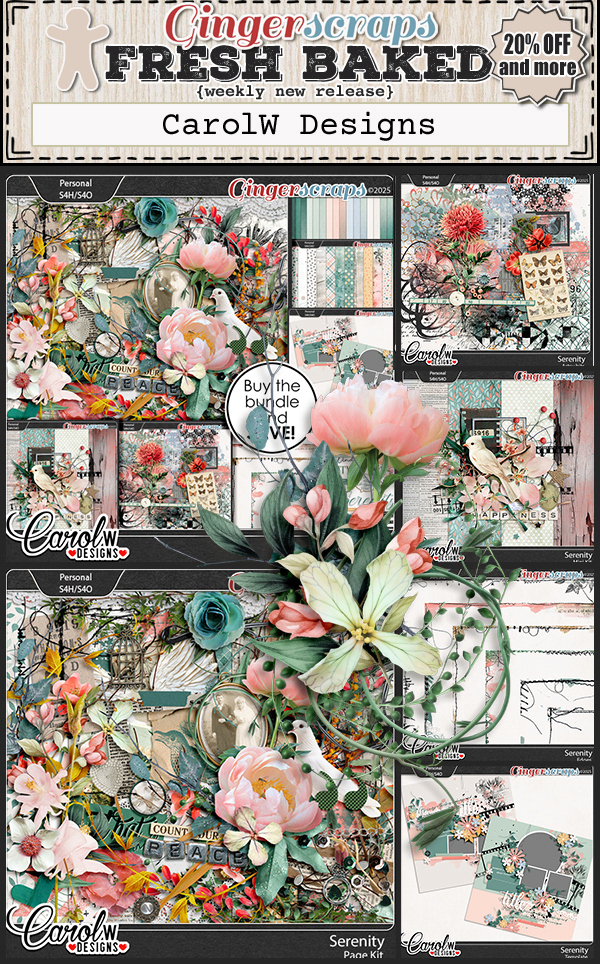
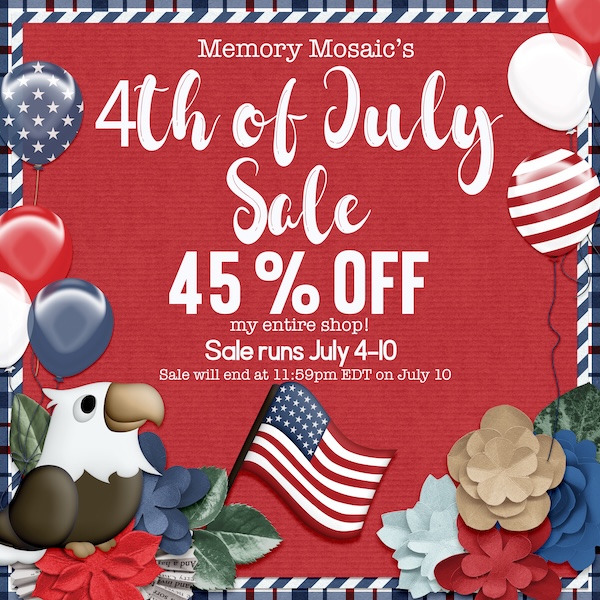
This month, everything in her shop is 45% off—or even more on bundles!
And here’s a little bonus: spend $20 or more and get an extra 10% off at checkout. Use the coupon: NEIA-SL202510
Neia is hosting one of the August Designer Spotlight Challenges. Click on the underlined text to see what she’s up to. (ANY text that’s in bold and underlined in my Blog posts will be hyperlinked.) This is in addition to her regular, monthly My Memories Challenge. She’s so busy…………………………
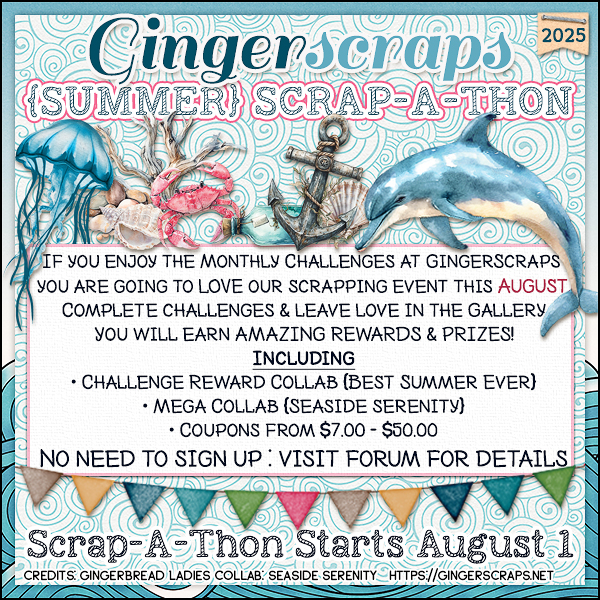
Be sure to check out the Summer Scrap-a-Thon that started yesterday. The mega-kit reward for 20 Challenges is going to make you so thirsty! Check back tomorrow to meet CarolW.
![]()