Happy Friday the 13th Eve! The designers have been hard at work churning out another great week of new releases and I have an exclusive look at some of the goodies! Let’s get started!
From Mags Graphics


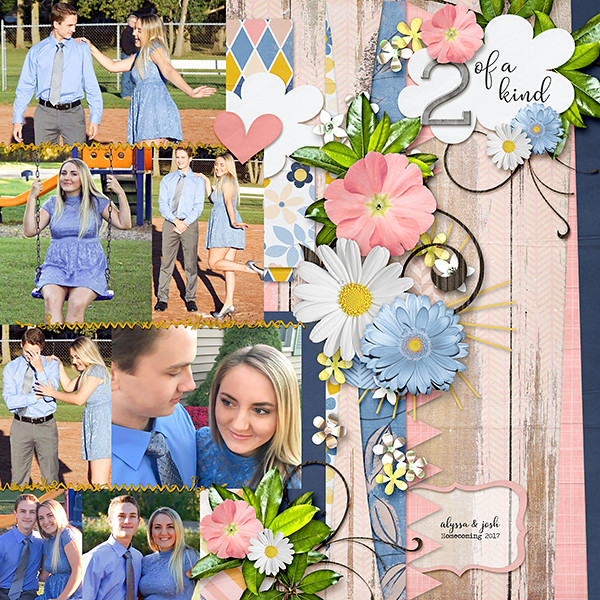
From Heather Z

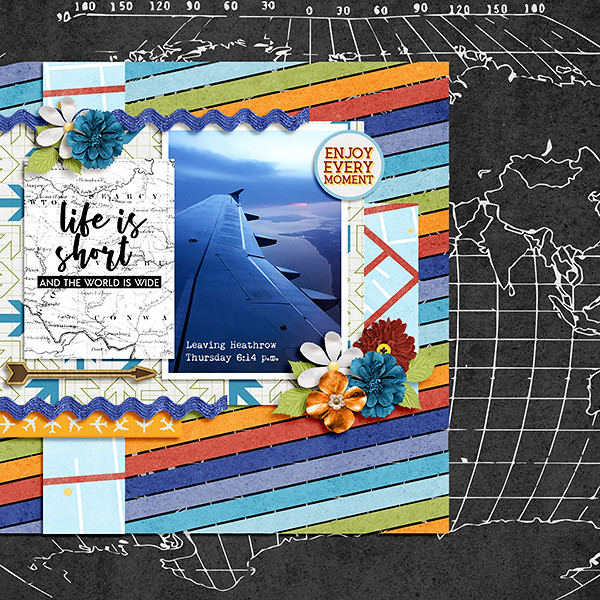
From Ponytails


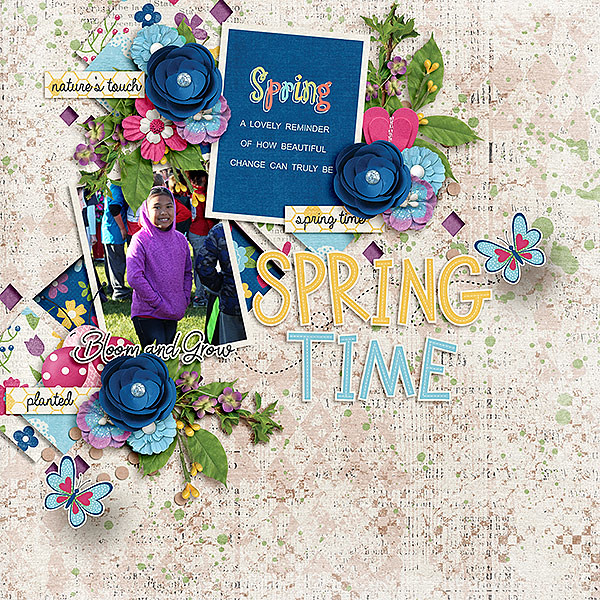
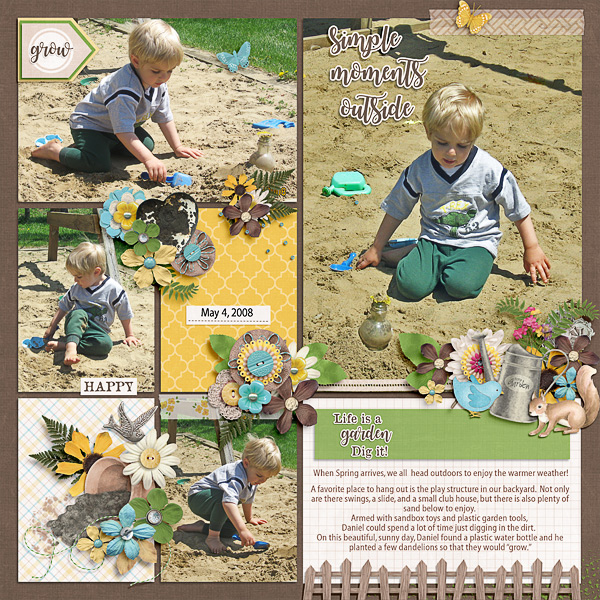
From Aimee Harrison


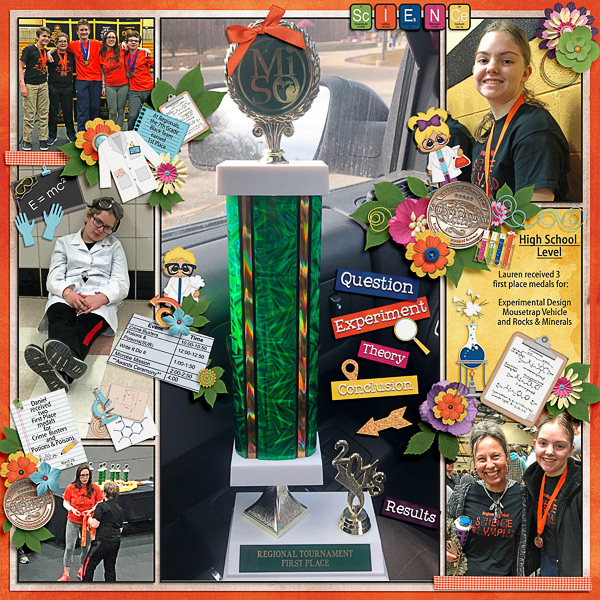
From Key Lime Digi Designs


From Miss Fish


Have a wonderful weekend!