Quick Trick: Cleaning Out the Cookie Jar
![]()
PDF Version : https://bit.ly/3PzYww0
I’ve noticed when I’m adding my Cookie Jar entry for the month that a lot of GingerScrappers fill their Cookie Jars with lots of unnecessary text, and I think that has to make life for Missi much more difficult than it needs to be. She checks every Cookie Jar every month to make sure Challenge Rewards are distributed to all who qualify. Sifting through the chaff to find the wheat takes time. Right? So I thought I’d show you all a way to ONLY have Cookies in your Jars.
I think we all understand the basics of Copy-and-Paste when it comes to putting the Gallery links into our Jars, so I won’t spend a lot of time on that. But I will tell you how I do things so that I’m Working Smart, Not Hard. My method is probably not what IT security folks would call safe, but it’s worked for me for 14 years, so I’m not gonna change it now. I always have three GingerScraps tabs open. One has my Cookie Jar (so I don’t have to remember what page it’s on, since I usually end up somewhere around page 90) all ready to edit. One has the Gallery open so I can quickly upload my new layouts. And one has the Forum open, so I can move between Challenges quickly, both for making sure I’m meeting the requirements of the Challenge and adding my finished layouts to the Threads. [editor’s note: If you do this, you’ll need to Refresh the tabs before you can do any editing of posts. Ask Jan how she knows.]
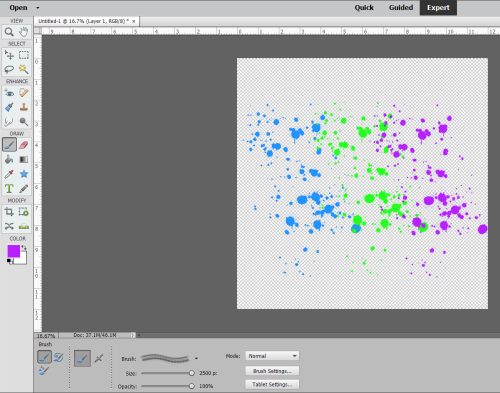
Let’s start by going to my Cookie Jar tab. (I reallyreallyreally wish I could make these screenshots bigger so you can see things better. Sorry…) In this image, I’ve clicked on the Edit button to get into the actual post so I can add my new layout.

The first thing I do after that is change the number of Challenges Completed. So I don’t forget to do it! When I set up my Cookie Jar post, I only Copy-and-Paste the first bolded line from Missi’s Cookie Jar post. I leave the bold format in, because I like it. 😀 I don’t bother with all the possible Challenges, because I know I’m not going to do them all. Or even most of them… Doing this gives me a place holder in the Thread.

Then I type in the name of the Challenge I’ve completed, followed by a colon and the name I’ve given my layout. As a modified Type A, I insist the Challenges are in alphabetical order. You can see how I’ve done that in the screenshot, if you squint.

Next, I Highlight just the name I’ve given my layout by click-dragging my cursor over it. Then I click on the button in the Control Panel that has a globe-with-links-of-chain on it, the one to the right of the emoji icon.

If I’ve remembered to Refresh the tab, this dialog box will open up. The outlined bar is where the layout’s URL from the Gallery goes. It’s been copied and pasted into the box. Then I click OK.

All that’s left is to click Save, so the name of my layout becomes a clickable link to the Gallery, making it super-easy for Missi to check if she needs to. And the bonus is that my post takes up very little space in the Thread while being simple, tidy and straight-forward. It can be scrolled past in a matter of one second…

Do you think you might switch to this method? You might find you like it!
![]()