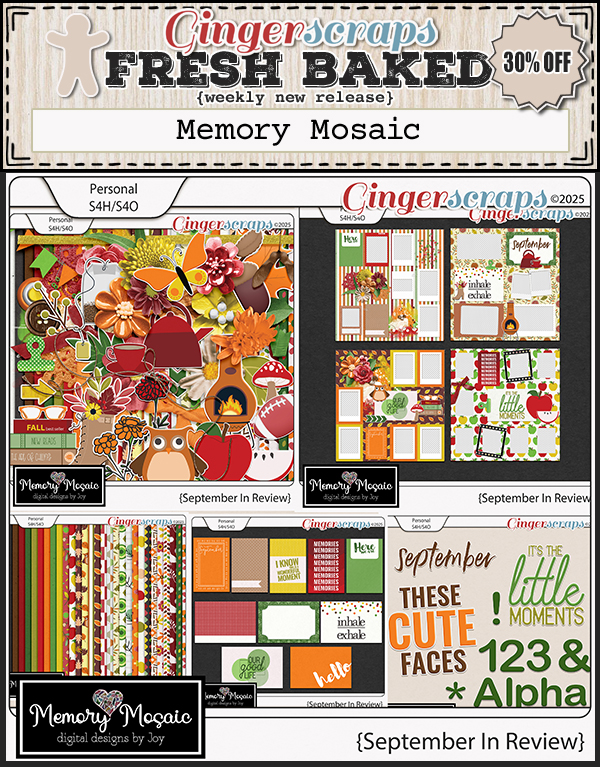
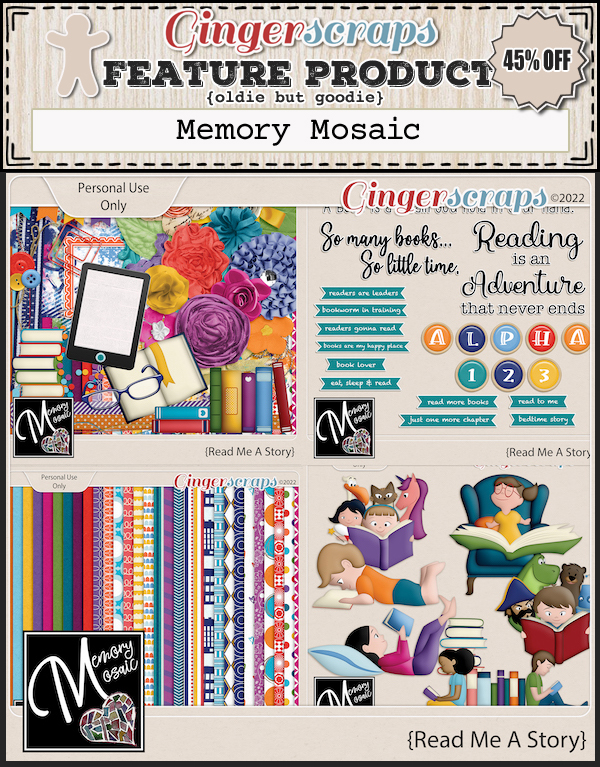
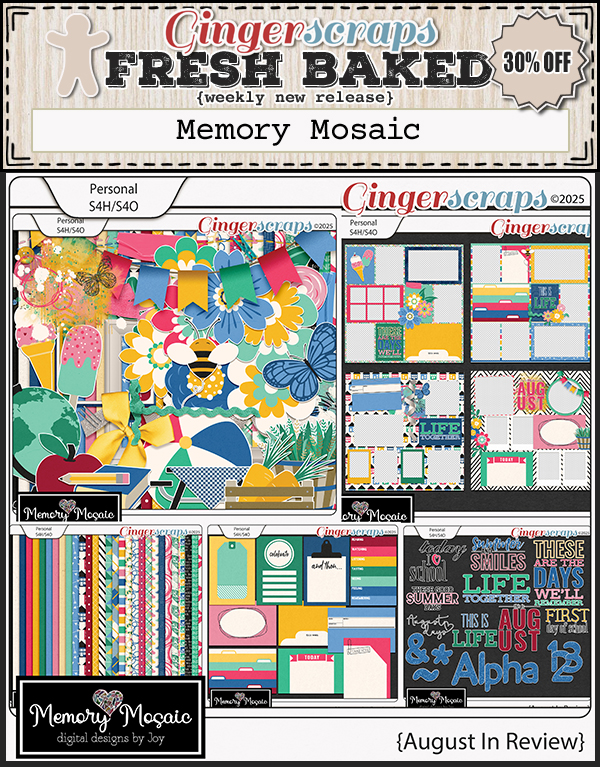
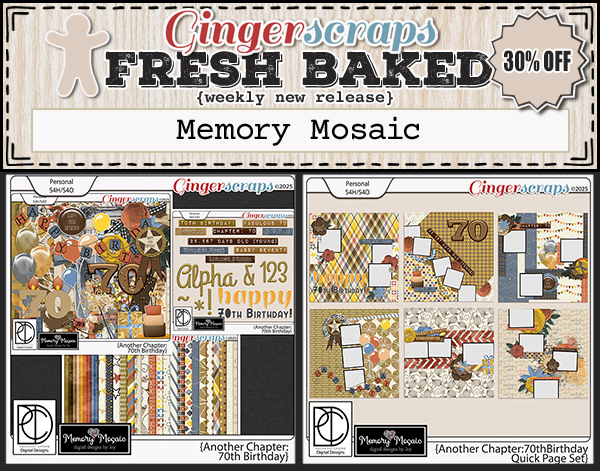
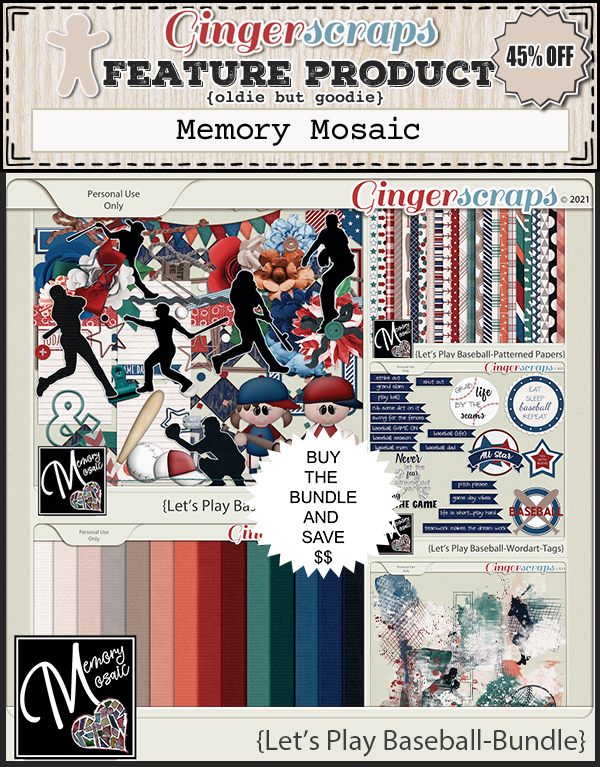
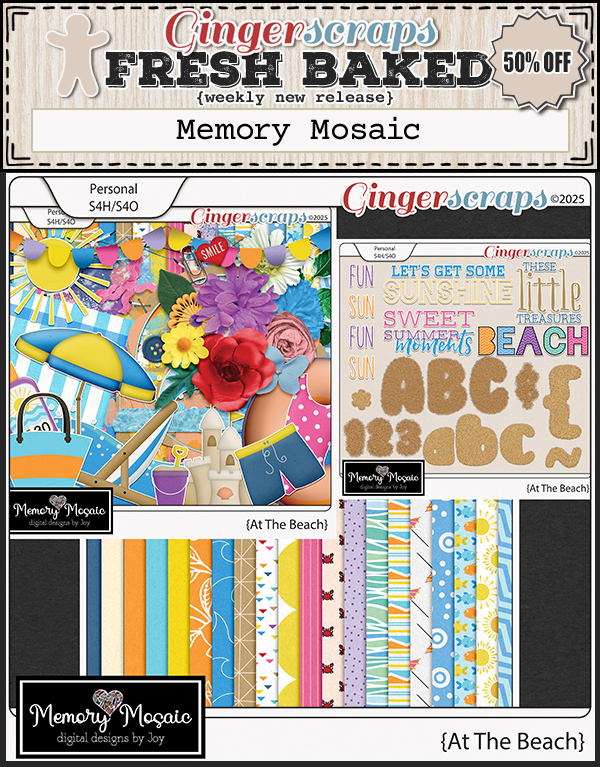
Memory Mosaic

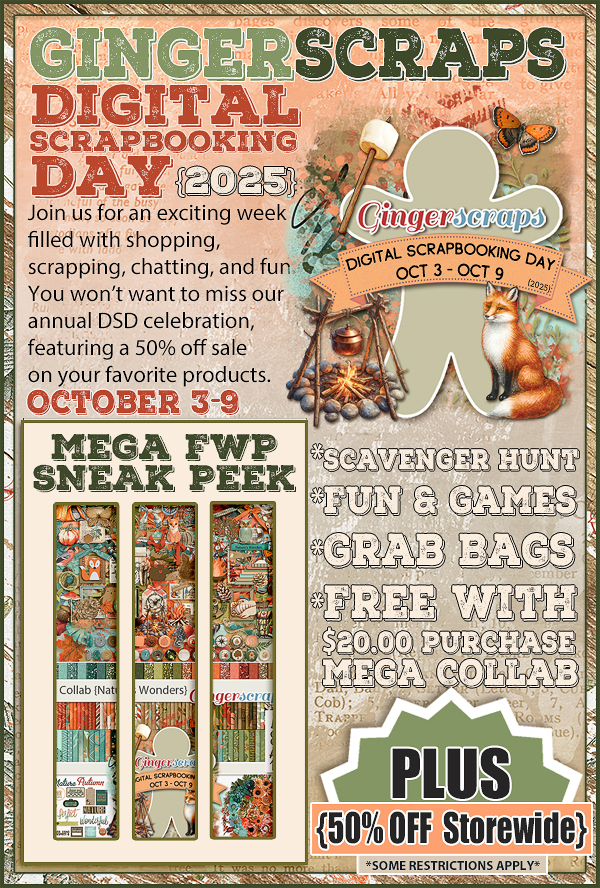
Yep, it’s October. And in my world, October is always crazy busy. One of the best parts is [inter]National Digital Scrapbooking Day which now has expanded to fill a week.<claps hands gleefully> That means October is a GREAT time to be in the GingerScraps Designer Spotlight!! As I mentioned on Tuesday, this month we again have two Spotlights, Memory Mosaic and WetFish Designs. I had a visit with Joy, aka Memory Mosaic, first, so her Spotlight will post first. Let’s get after it!
O: Joy, it’s lovely to see you again! Are you ready for a grilling?
J: <chuckles> Sure! Want to start with the business stuff?
O: Yes, let’s! I’ve linked this post to your Store (it’s the underlined, bold text above) so our GingerScrappers can check it out. Tell me a little about your design process.
J: When I started, I would just make whatever came to my mind… and I would start making papers, and then elements… with no real plan. Each kit would take me forever, because I wasn’t really organized, and just doing whatever came to mind. Then I got some help from an experienced designer, who is super organized, and now this is my routine…
Around November, I will make a spreadsheet for the upcoming year. I first come up with any on-going collection themes I want to do for the coming year… I then go through and add extra kits to fill in the month. My goal is to have 1 new release each week. (that doesn’t always happen, but It is on the plan. LOL!) When I get ready to work on a particular kit, I first search for a color palette I like, (if one wasn’t already provided to me) I also might search the internet for inspiration around that theme, if I’m struggling with that. I also make a list of any sayings I might want to use for word art in the kit. I have a general list for each kit, depending on the size, how many patterned papers, how many solid papers etc, and I have an elements list too. I gather up all my supplies, (templates if using) and put them in folders so they are easy to access.
I usually always start with the solid papers that I am going to have in a kit, and then move on to patterns. Once the papers are done, I start on the elements. Sometimes I just start with my general elements that are in every kit, buttons, tape, flowers, etc. But, sometimes I start with the themed elements for the kit, and then move to the basic ones. Once the papers and elements are made, I make a coordinating Alphabet. At that point, I send the whole kit to my daughter who does a Quality Check for me. While she is doing that, I work on getting my previews ready. Once I get the kit back from her, I work on getting it all uploaded, ads made and posted and the kit given to my creative team and often the creative team at GingerScraps.
O: I can so relate to your earlier self! Over the years I’ve developed routines that are a lot like yours, only I don’t have anyone to do QC for me. Lately I’ve had some logistical issues that really threw me off. What do you find to be the most challenging part of designing?
J: Well, life can get busy and crazy. It is sometimes hard to just make sure to make the time to design. Also I think the hardest part for me is previews, the uploading, the advertising. I am thankful for the help I have around me, but there are some things that we just have to do ourselves. Everything takes time, and I think sometimes, people don’t realize how much time and energy goes into just getting a kit from the “idea of it” to actually having it loaded in the shop.
O: YES!! All that unseen, internal work is still work. And sometimes inspiration has to be replaced with perspiration. When you’re stuck, where do you seek that spark?
J: Online; Pinterest and Instagram are great places to get inspiration… but sometimes, I have to walk away from the computer and go do something else. I have found that when I do other things creatively, such as drawing in Procreate for fun, or sewing or crafting…decorating my house for the season, these creative outlets often help to get my creative juices going and I can come back with inspiration and almost always the process comes together, much faster, then when I’m trying to force something.
O: I’ve gotten away from Pinterest a bit lately, but I’ve joined a few online communities where I’ve gotten some really great ideas. My phone is FULL of screenshots… and I’m noticing a definite similarity to a lot of those images. Trendy, I suppose. Do you try to keep up with digi-scrapping trends?
J: I am still working on this. I often do searches for trends on-line, I look at physical scrapbooking supplies, in shops, and also on-line, I try to talk to people and get their ideas and see what they like and don’t like.
O: Of course, you want to give people what they want. This “hobby” of memory-keeping is already quite niche, so there will be some specific demands; you get that, since you have “memory” in your brand. I’m sure that’s intentional.
J: Well, the name for my brand, “Memory Mosaic” came from my husband. When I was first getting ready to open a store, and put my designs out there, I was looking for a name… All the names I was coming up with were just things you might think of, “Scrapping with Joy”, etc. (which were fine), but I was wanting something different. When I talked to him about it, he almost immediately said, what about, “Memory Mosaic”, piecing together memories to make something beautiful. So it was born. My daughter made my “mosaic heart” that has been part of every logo I have made.
O: I love a family affair! My younger daughter enjoys crafty stuff and sometimes borrows my supplies or asks for help bringing her vision to reality. We’ve had some fun times and have had some true adventures. (We won’t talk about us out in her back yard in the dark, cutting down pallets with a power jigsaw, ‘kay?) What have you always wanted to try but just haven’t yet?
J: I would love to try soap making. I actually have a beginner’s kit to try, but have not made the time to do it. Maybe soon.
O: Sounds like me and resin art… got all the stuff but haven’t made the effort yet. Sometimes I think of all the things I want to do and become quite anxious that time’s flying by. So I have a glass of wine and read a steaming novel until it passes. How do you unwind at times like that?
J: I love to have a hot shower, get in my pjs, get on the sofa, with a drink and a snack, and watch tv, usually with my hubby. In the winter, I snuggle under a warm blanket.
O: Ooh, that sounds delightful! We’ve been having unseasonably warm weather for autumn so far, and even have a late-summer wildfire burning not far away. We’re still weeks away from our first frost. So no need for warm blankies. I’m still wearing shorts and a tee-shirt, my uniform from early May until whenever. I’m even going to purge most of the contents of my closet – I haven’t worn most of that stuff in more than 5 years. If you had to wear the same outfit everyday for the rest of time, what would you wear?
J: I love my wide legged jeans, a comfortable shirt, sweater, and flats. That could be my daily “uniform”.
O: Sounds very comfy! And versatile. Oops, sorry! That noise you hear is Maeve chewing on her new stuffy. It’s got the world’s loudest squeaker in it, perfect for a terrier. Do you have pets?
J: I am definitely a dog person. There have been very few times in my life when we did not have a dog. The hardest thing about having dogs, is that even with the best of care, their lives are relatively short, and since our dogs become part of our family when we lose them it is like losing a beloved family member, but the pain of loss has not stopped me from having dogs.
O: We have two, Claddagh is 10 and Maeve is 7. They’re soft-coated wheaten terrors. (ed. note: not a typo) You’re so right about losing them… Claddagh has a history of pancreatitis and one bout was so scary, even for this old retired ICU nurse. She looked AWFUL. But we want to have her around and healthy for as long as possible. So she’s on a special diet, although we refused to do the “vet$$$$$” diet. She gets a low-fat grain-free commercial food with a little granola topper. Weird, right? Grain-free food with grain on top. For her heart. What’s the weirdest food combo you’ve ever had?
J: In Ecuador they make an amazing peanut sauce, it looks like gravy and the first time I had it on some boiled potatoes, I thought it was gravy, so that was quite a shock, but I actually learned to love it, served usually on grilled beef and potatoes. (it is sort of like thinned peanut butter, but there is no sugar in it)
O: I love Thai peanut sauce, so maybe I’d like that too. Now, speaking of food, it’s getting close to suppertime, so maybe we should wrap up. Let me give the usual Spotlight spiel about the Daily Download and all that. Thanks for the visit!!
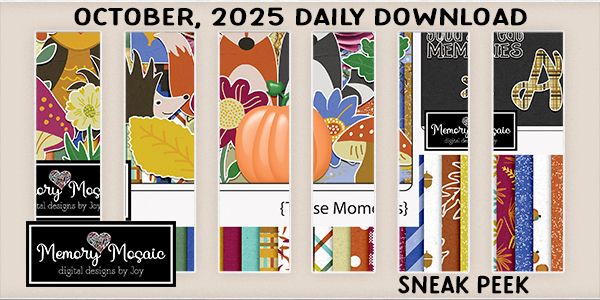
Yes, one of this month’s Daily Downloads is brought to us by Memory Mosaic. It’s a very autumn-y kit with a hedgehog!
Joy is also hosting one arm of the Designer Spotlight Challenge for October in addition to her usual Mini Kit Challenge. This is her mini….

And if all that (and the DSD extravaganza coming up) Joy has a coupon code for her Store!
Now, go check out her Store!!
![]()