Quick Trick: Dropping Things Where You Want Them
![]()
PDF Version : https://bit.ly/3oLcNMb
And that’s a wrap on May… Time for our Quick Trick of the month. This handy little tip may just blow your mind!
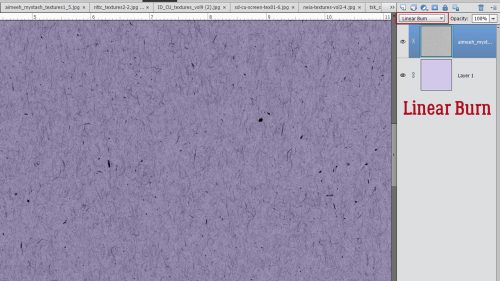
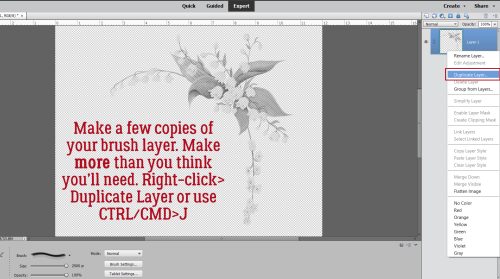
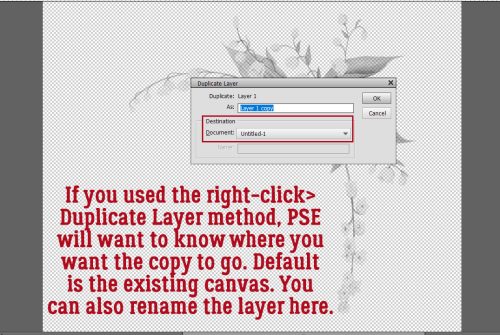
Back in the earlier versions of Photoshop Elements, dragging and dropping objects onto our templates was simple. You activated the layer where you wanted your (flower) and when you dragged it up onto the template it landed on the layer where it was intended to be. Then somewhere around Elements 14, that all changed. Suddenly it didn’t matter what layer was active, it seemed Elements put the (flower) wherever it wanted. Randomly. It’s incredibly frustrating and time-consuming to constantly have to move things up and down the template’s layers stack and I know it was a MAJOR pet peeve for me. Why mess with something that worked?? Well, let me show you how to get around Elements‘ penchant for doing its own thing.
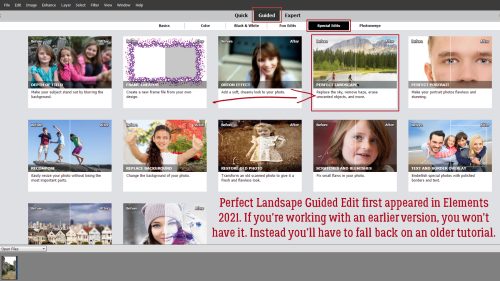
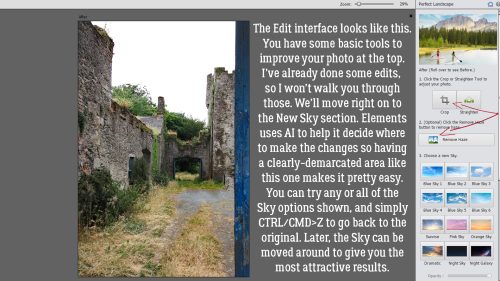
I’ve got the May Template Challenge template from Tinci Designs open on my workspace. I also have a daisy-like flower element from Cindy Ritter‘s Real Moments-Metamorphosis open and plan to put it where the large dark pink place holders are.
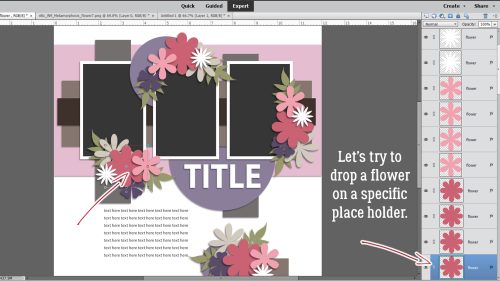
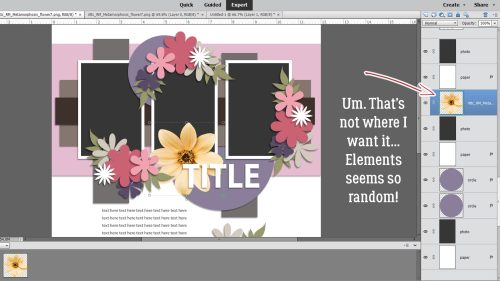
If I just drag-and-drop… um NO! That’s not where I want it. It seems random but it really isn’t, as you’ll see in a second.
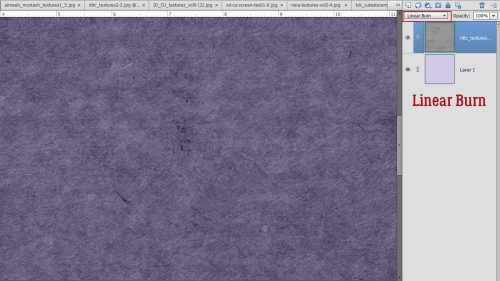
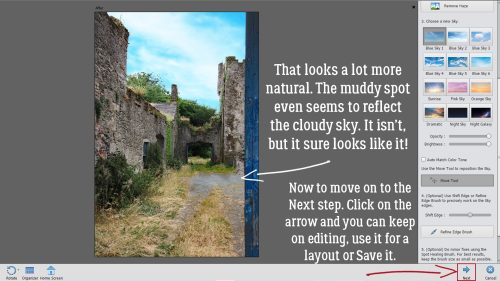
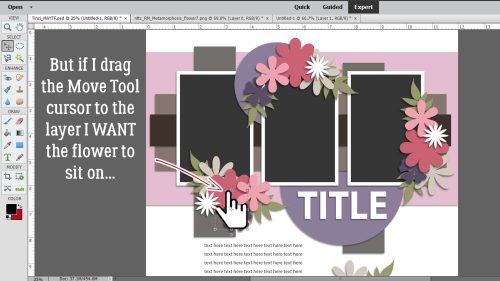
By taking an extra nanosecond to be precise and intentional, I dragged the flower up and positioned the Move Tool cursor – looks like a pointing finger as shown (enlarged for visibility) – over the exact place holder I want to swap out, THEN drop it.
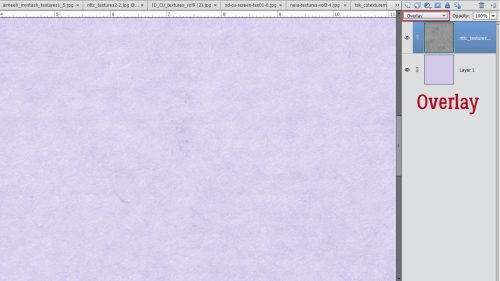
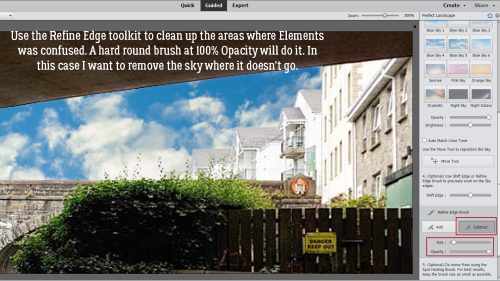
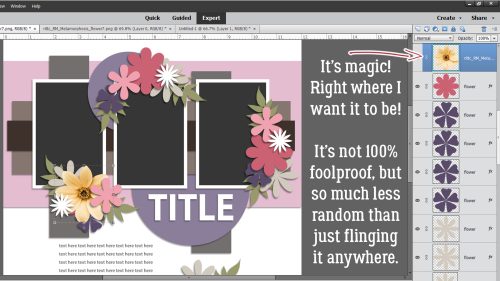
And there’s the flower… right on the layer where I want it! (Of course, it still drops in the centre of the canvas, but at least it only needs to be shifted into place, not moved up or down the stack.) Now, this isn’t 100% perfect. For example, if you’re working with a particularly small object on the template, it may be difficult to get the cursor on the exact layer. I’ve found that if I Zoom in on the template I have better success in those situations. Going just a smidge slower actually speeds up my workflow!
Give this a try if you’re working with Elements 14 or later and let me know how you like it.
![]()


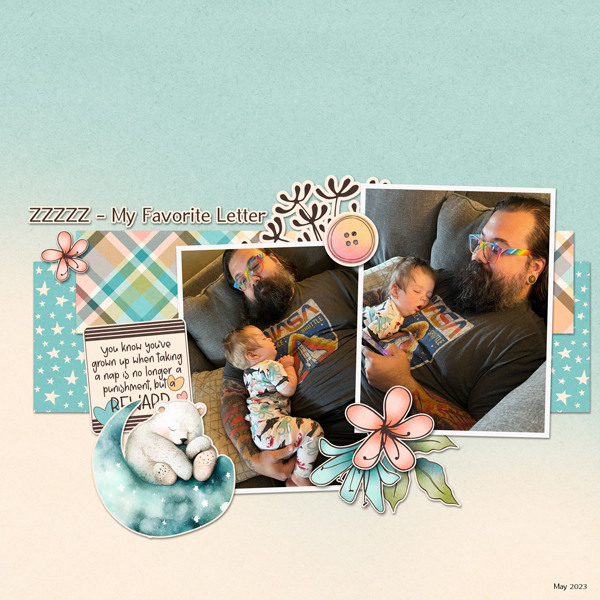


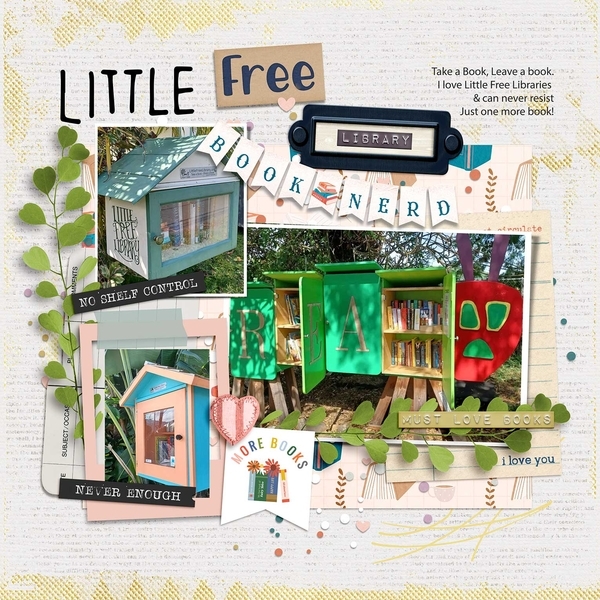
") ” Jen commented she likes to have lots of journaling on her layouts, and that her favourite papers or cardstock are the lighter, more neutral papers.
” Jen commented she likes to have lots of journaling on her layouts, and that her favourite papers or cardstock are the lighter, more neutral papers.