History in the Making
Today is Election Day in the United States. I think the whole world is holding our collective breath, waiting to see which direction history will take. As a Canadian, I feel confident in stating that we want the very best for our neighbours to the south, our most improtant trading partner with whom we share the longest undefended border in the world. I have a daughter, a son-in-law and three grandchildren who will be more directly affected by the outcome of this election, and the stakes are ever so much higher for many of you. The stress of it is palpable! To distract myself, I went Windows shopping in the GingerScraps store for coordinating kits. These are the ones I found.

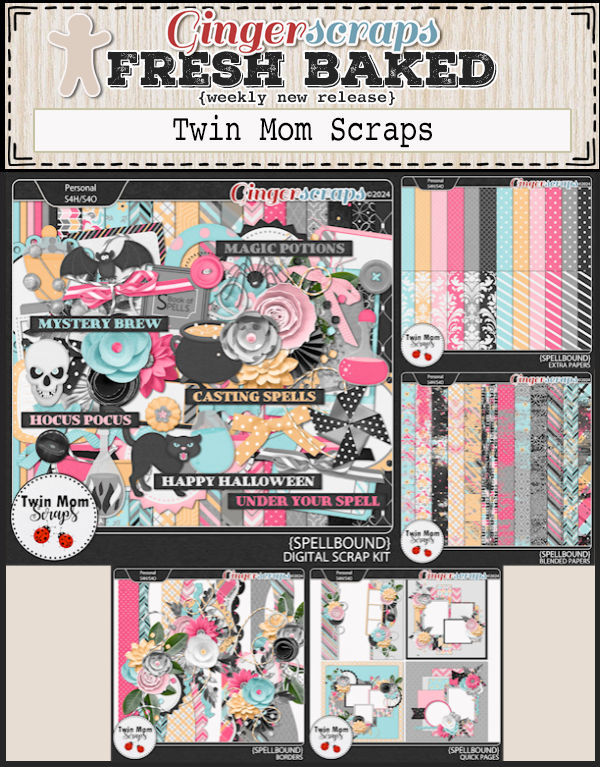
This was the only election-specific kit in the store. But I found some others that could definitely apply…
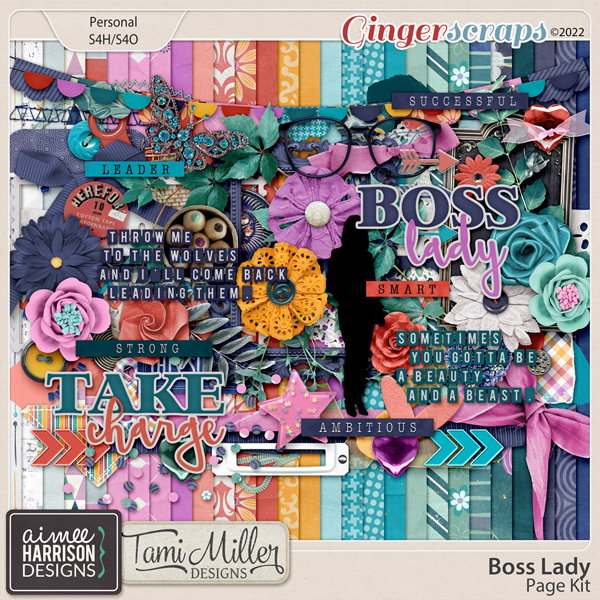
There’s a decent chance America will elect its first woman President, and how much more appropriate could this kit be? Check out the title word art that is part of the bundle.

I do declare, that silhouette looks remarkably familiar.

Women have only had the right to vote in the US since 1920. Canada wasn’t that far ahead, granting suffrage to women in 1917. France waited until 1944 and Lichtenstein until 1984! Many people are saying it will be women who decide this election. Go get it, girls!!
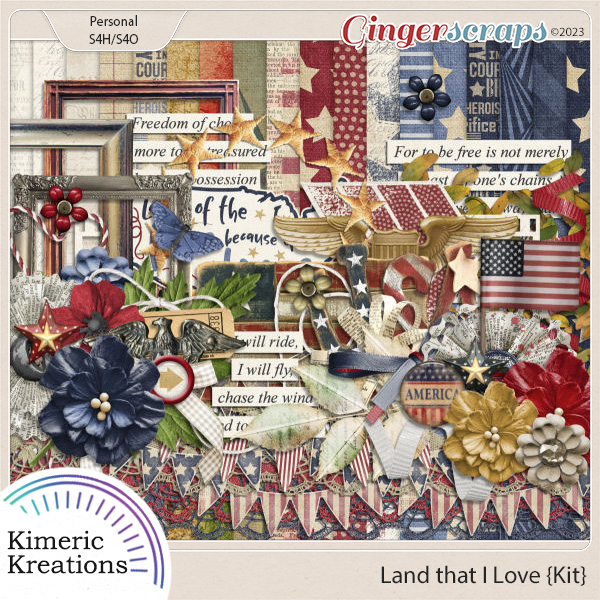
I feel like this kit ticks a lot of patriotic boxes, as a reminder of how the United States came to be.

And almost every word in this word strip pack has been spoken at campaign rallies over the last few months.
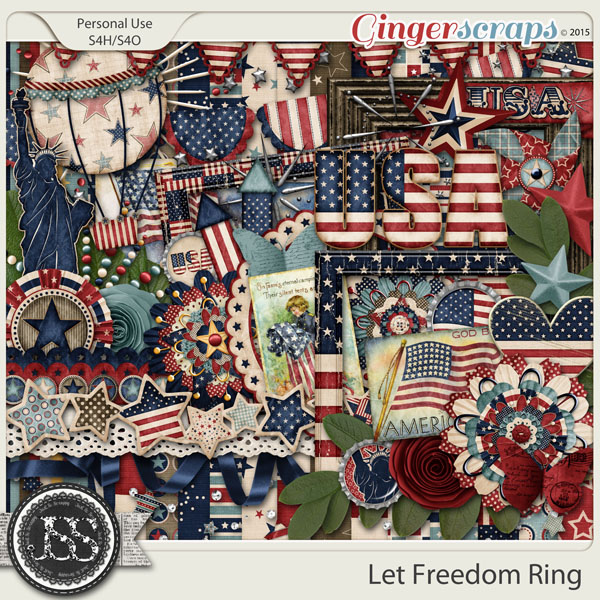
I love this kit, which so ably defines the entire 248-year experiment that is the United States. It also epitomizes what should be the focus of every voter – freedom. Whatever that means to you, I pray you’ll have every opportunity to have the freedoms you deserve.
If you want to see more related kits, the search feature in the store will show you ALL the things! Just type in a key word and go.
Tomorrow, while everyone waits for the final word on the future of the nation, my son will be undergoing an urgent procedure related to his transplanted liver, so I’ll be a little distracted. But I’ll be keeping an eye on the outcomes of both!
![]()