Happy Thursday!!! Don’t forget the dreaded time change happens this weekend in the states. I always hate the spring forward! I don’t like my hour of sleep taken away!! Also if you are playing Scrapping Survivor don’t miss the deadline! Maybe some of the oodles of new releases might help you out with you page! Let’s take a look at some of what’s releasing tomorrow!
From Tinci


From Neia Scraps


From Heather Z


From JoCee


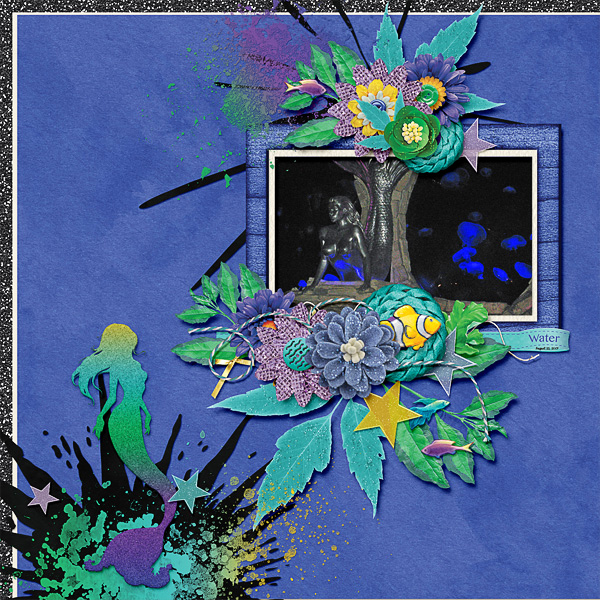
From Aimee Harrison


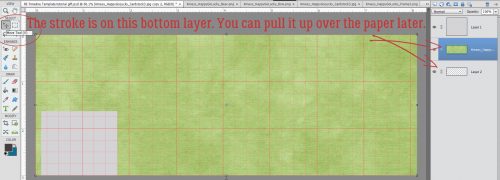
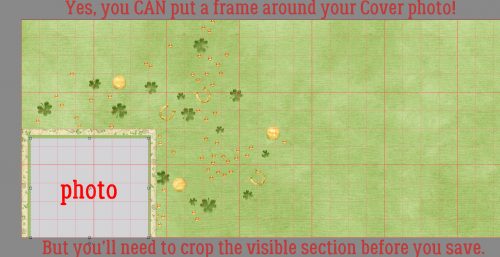
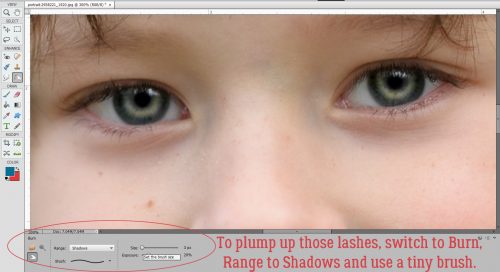
From Miss Fish


Have a wonderful weekend!