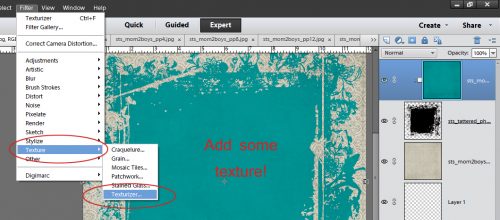
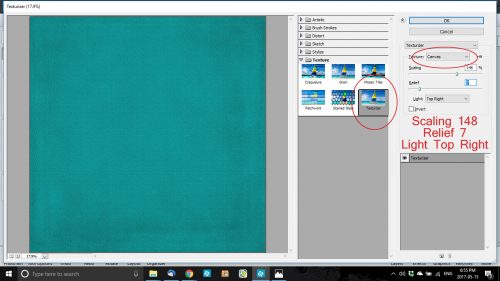
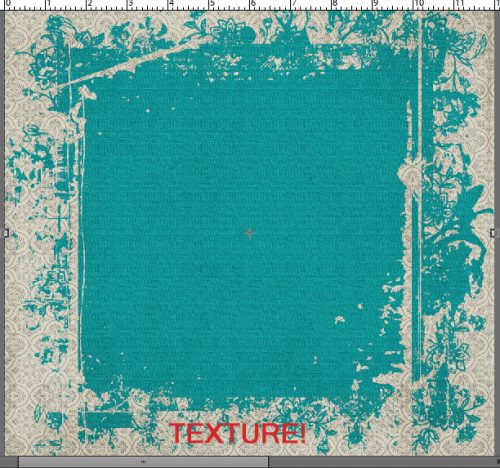
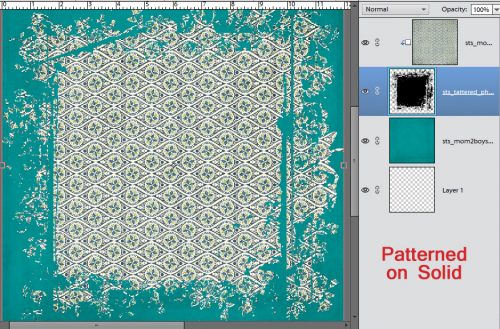
Happy Thursday! Happy day before Memorial Day Weekend! My son is already out of school. Summer is upon us! I know kids all over the country are getting ready for Summer Vacation! I hope you have your camera’s ready! Check out this week’s new releases, hopefully they will inspire awesome layouts!
From Neia Scraps


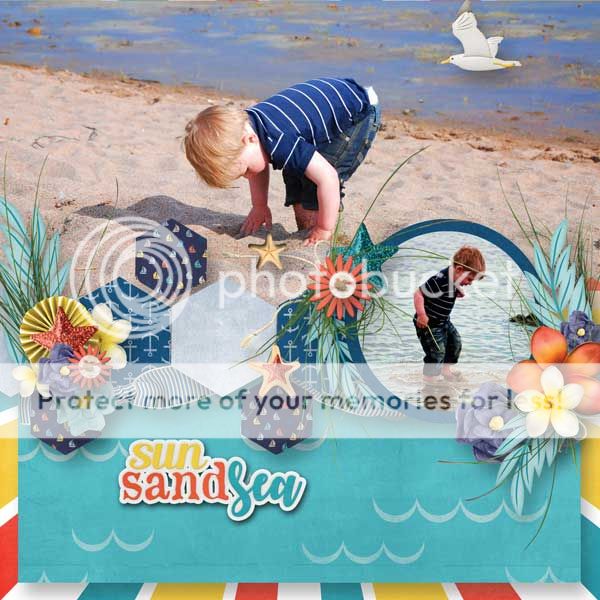
From Tinci


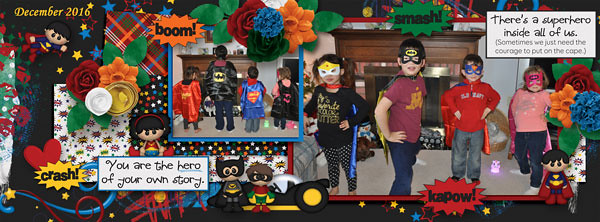
From Craft-tastrophic


From Aimee Harrison


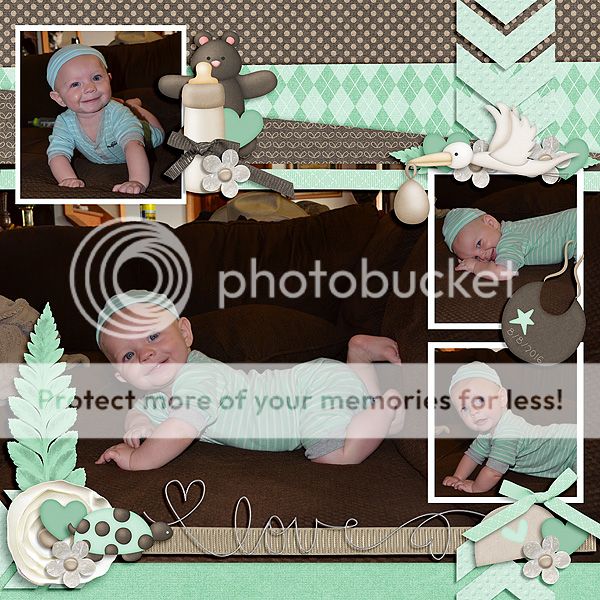
From Luv Ewe Designs


From Deer Friends Designs