Happy May Day! May brings us iNSD. Have you been over to the forum yet to see all the fabulous things we have going on?
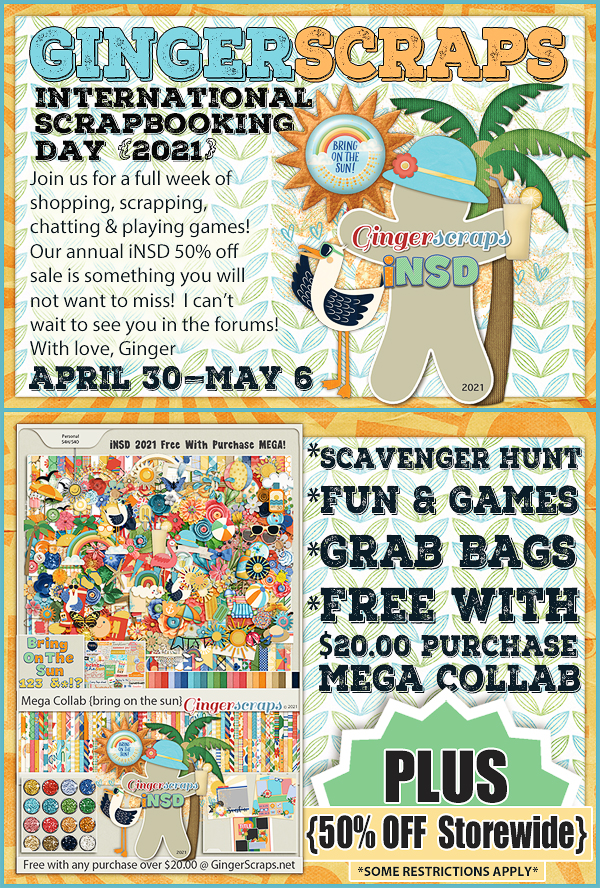
This mega collab is yours as a gift with any $20 spent in the store.
Don’t forget to check out the Buffet Bundles. One easy click to add bundles of Buffet goodies to your cart.
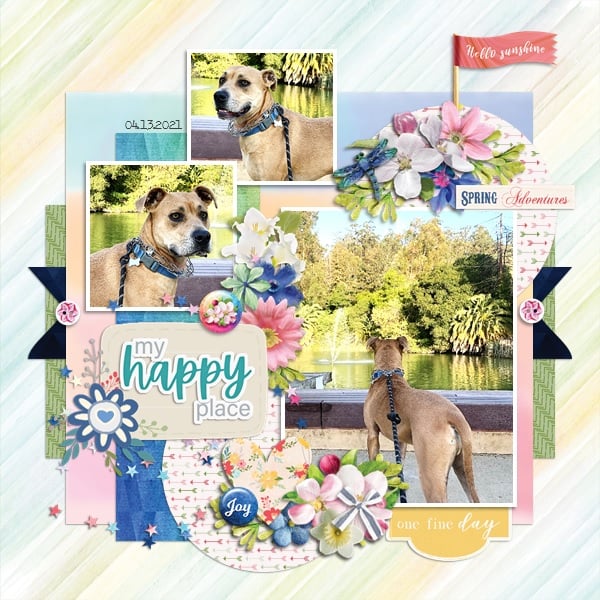
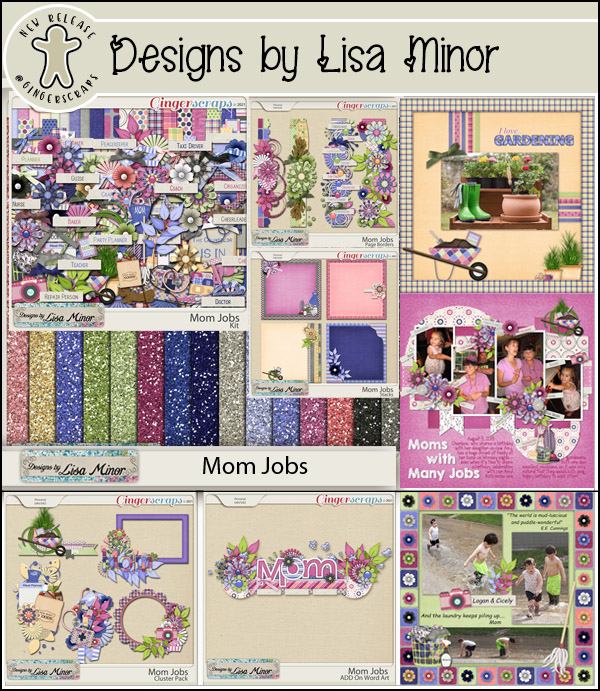
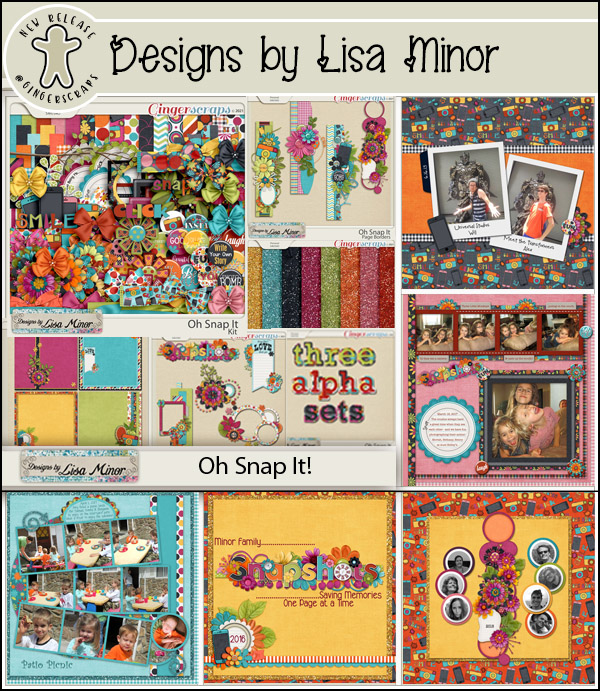
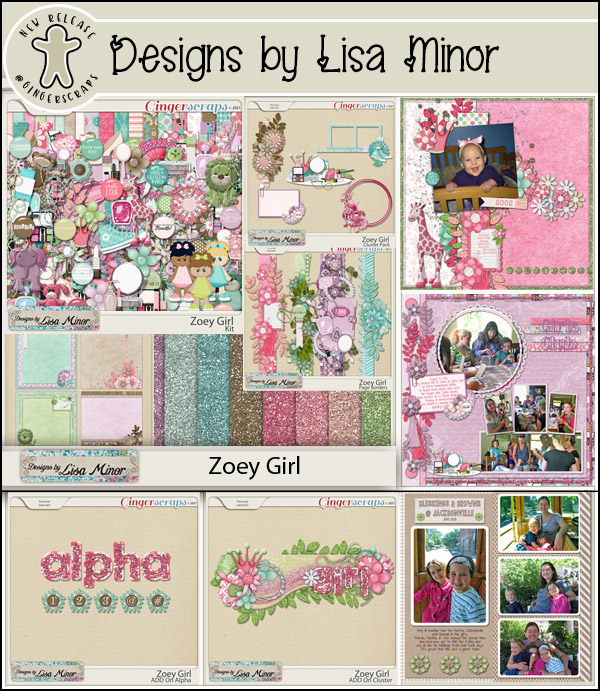
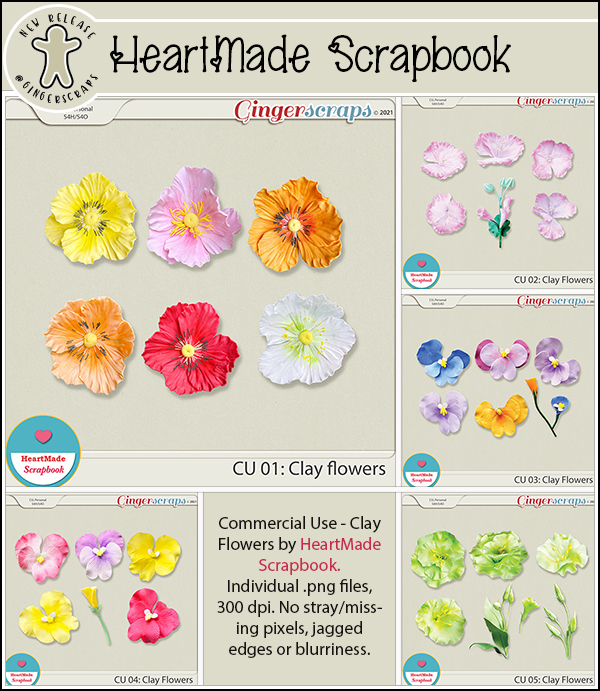
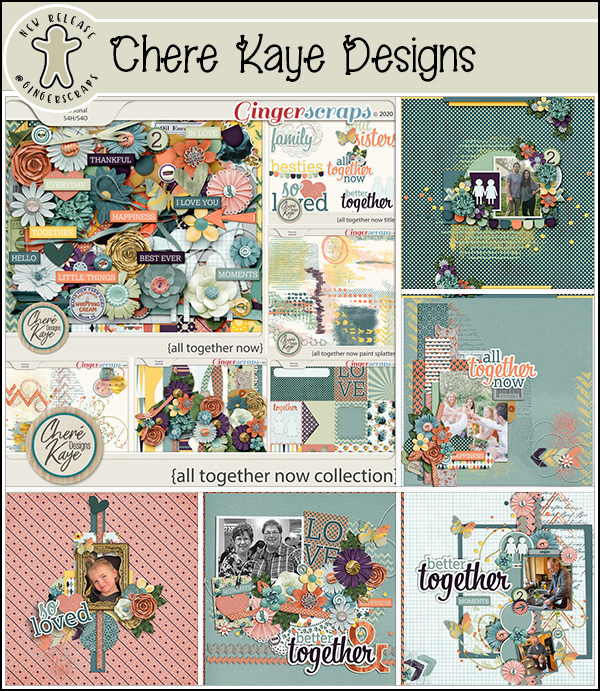
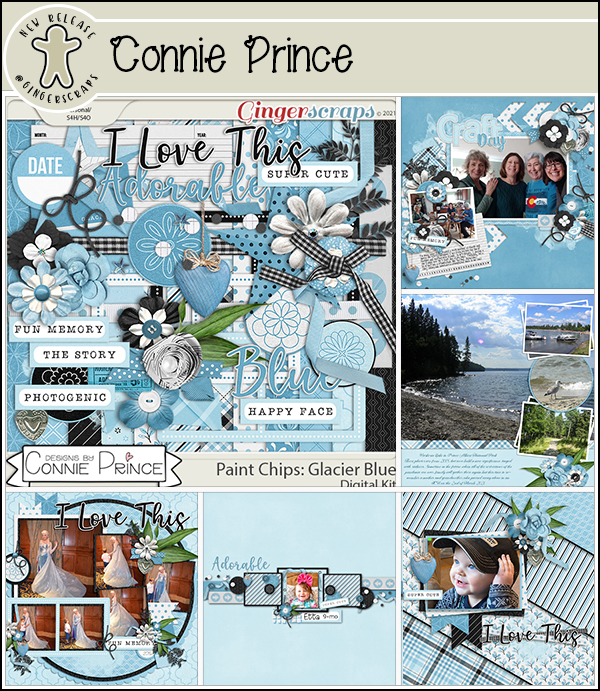
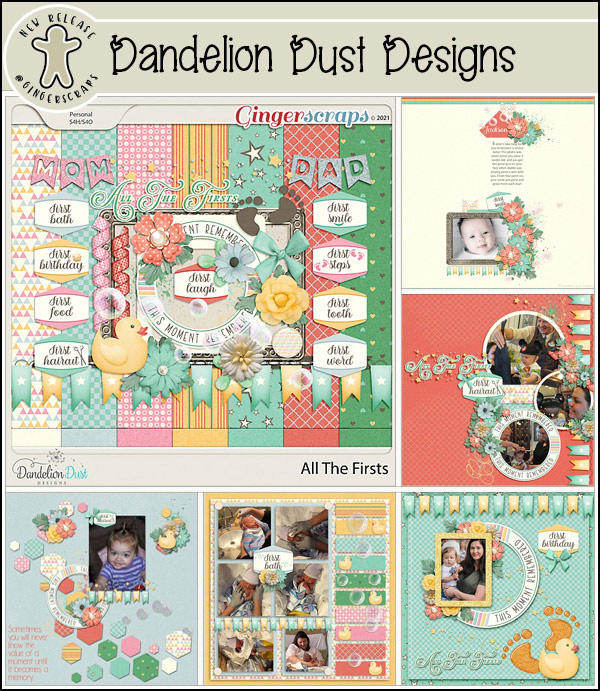
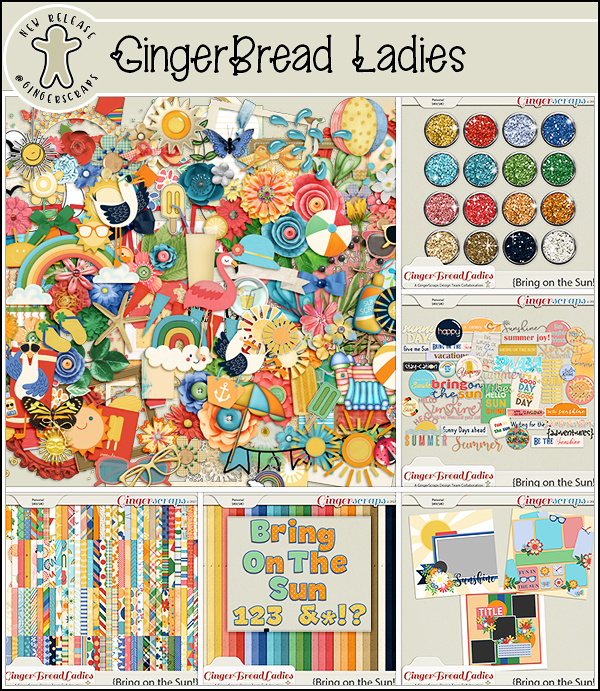
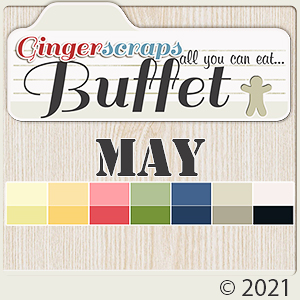
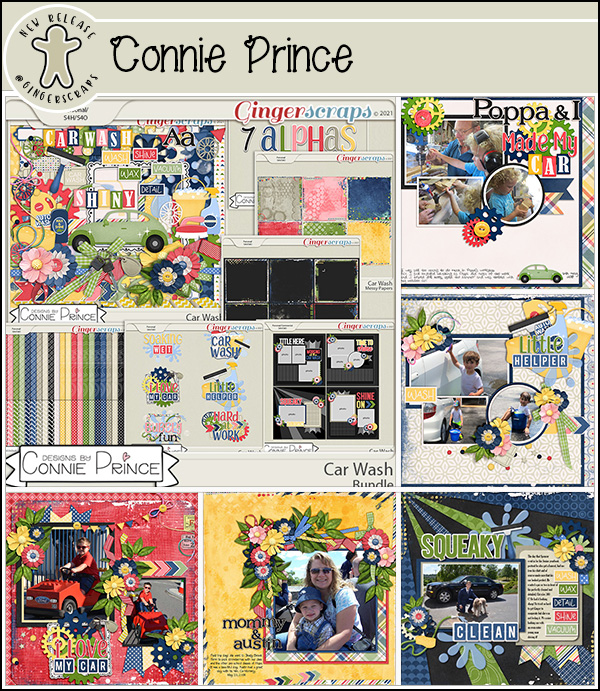
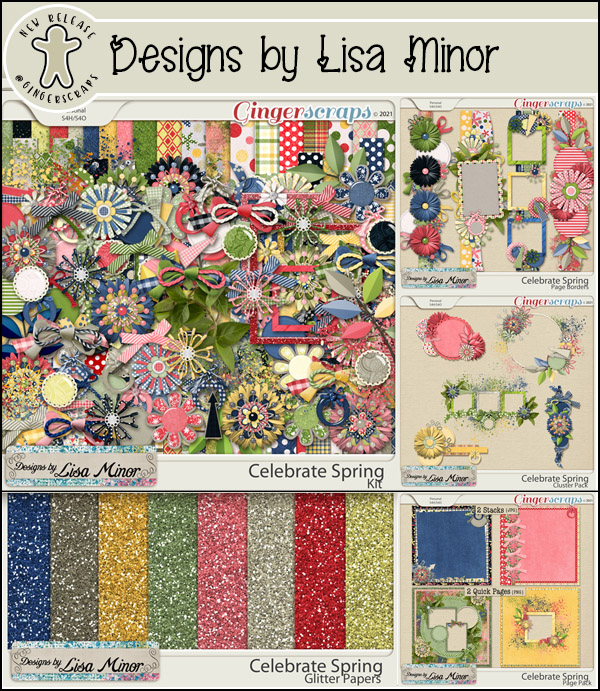
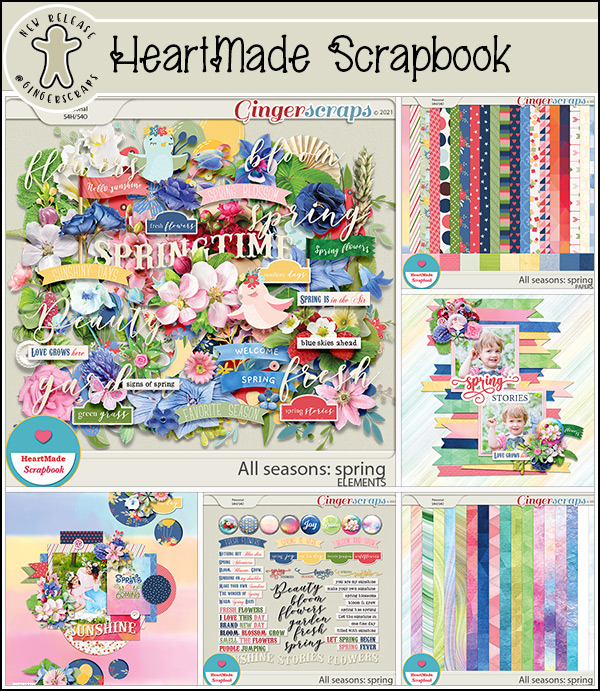
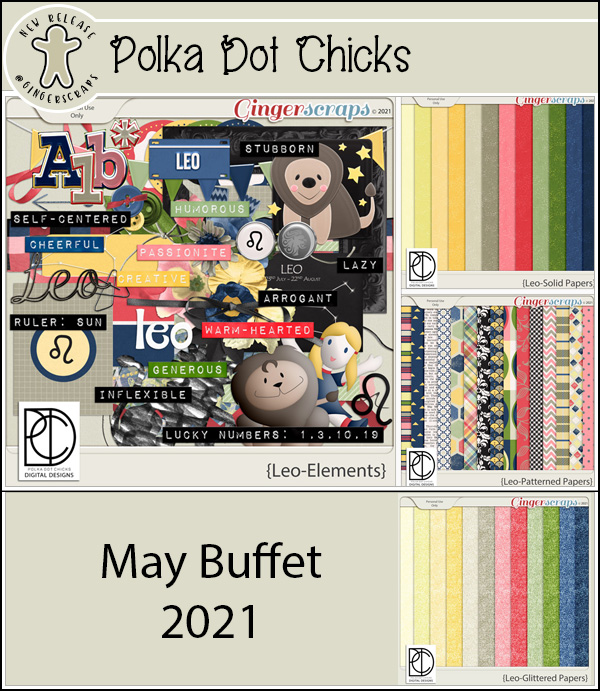
Look at these gorgeous spring colors for May. The designers had fun with these colors. Also check at the bottom to see some samples from our talented store creative team.

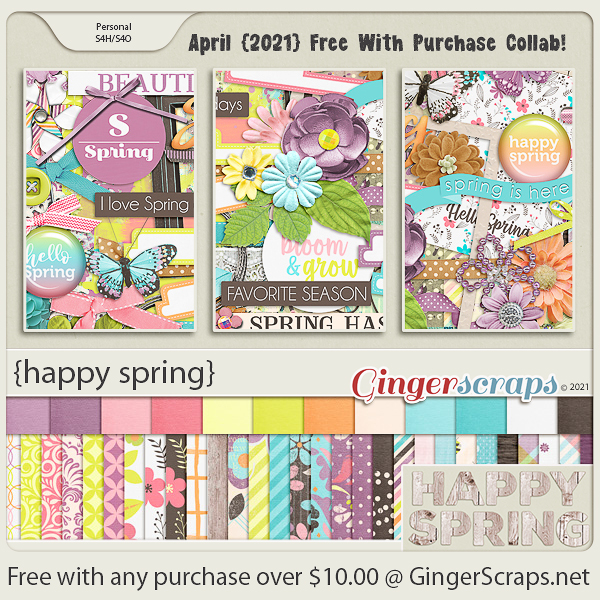
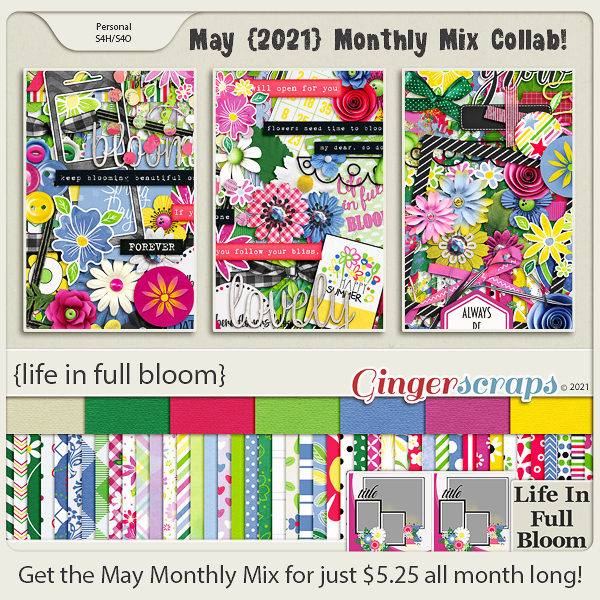
Remember any $10 spent in the store gets you this great collab. So many bright colors.

The colors in the May Monthly Mix go so well together.
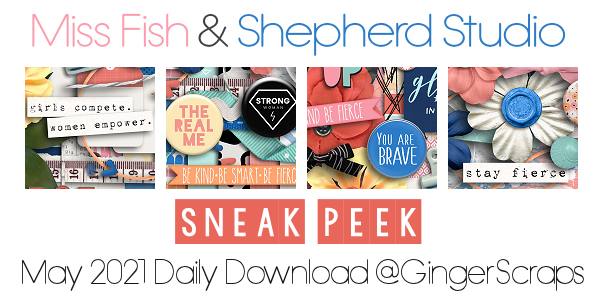
Now to the May Sneak Peek. This month’s Daily Download is a collab from Miss Fish and Shepherd Studio.
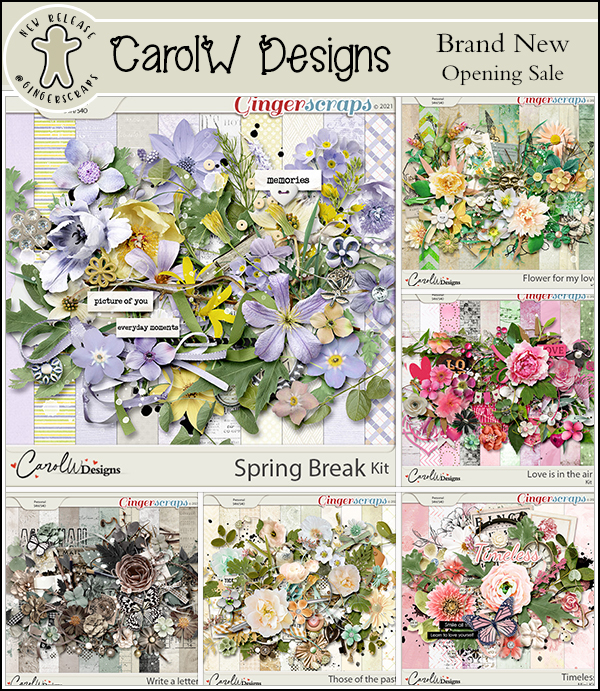
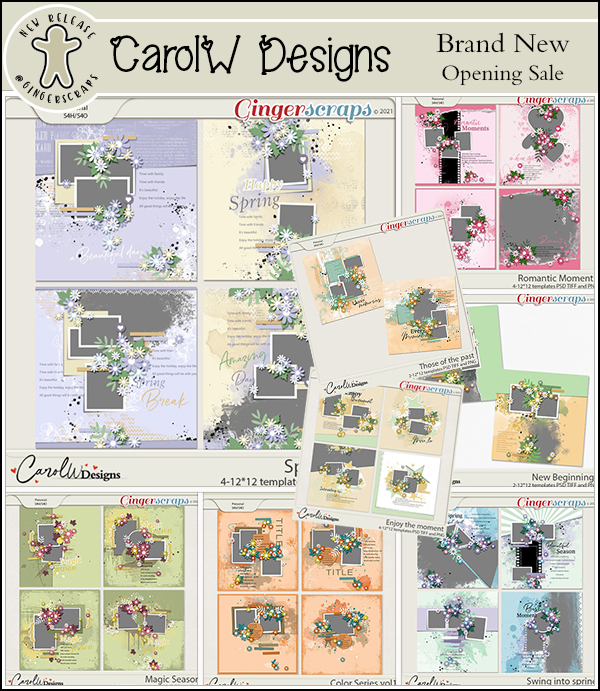
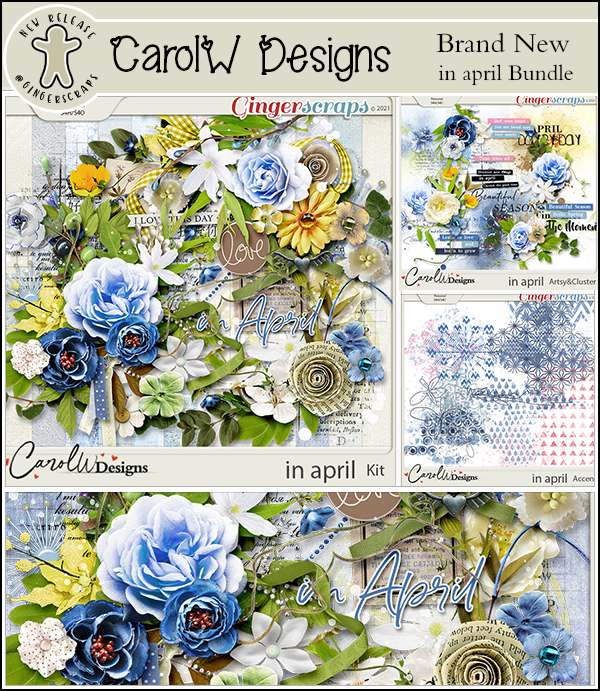
I’m excited to announce that we have a guest designer for May.
Carol W Designs

Bio:
Hi~Everyone~I’m Carol
Nice to meet you all. I come from China. Chinese name is: WEN XIN
Now I live with my parents and a little dog.
I’ve been working with scrapbook since 2009.
I like it very much. A page in a scrapbook.
I had a terrible car accident in 2015. So far one is resting at home recovering.
I became a template designer in 2018. Now we are starting to design some collections as well.
I hope you like my design.

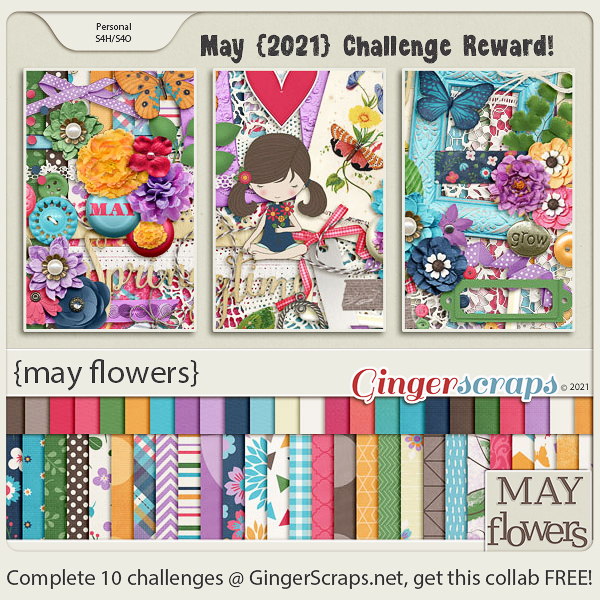
Take a look at the new challenge reward kit. If you complete any 10 challenges this month, you get this beautiful collab as a reward!
And to complete a wonderful Buffet post, let’s see some samples from our talented store CT. You can find more samples in the Gallery.