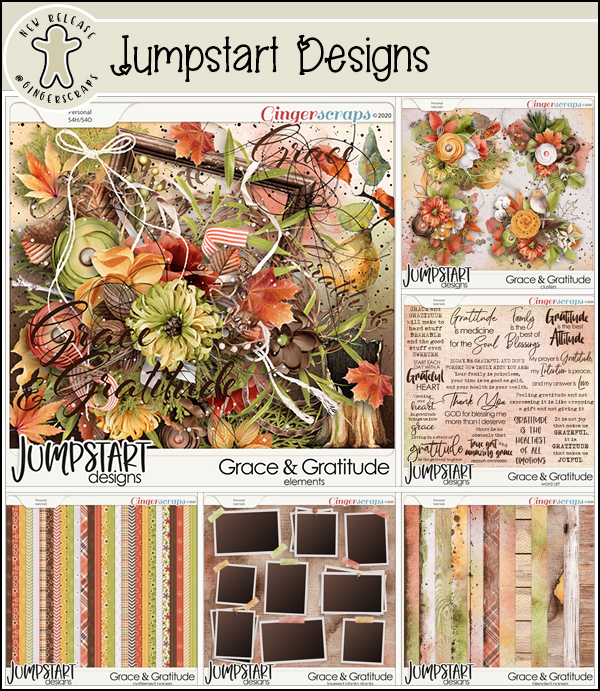
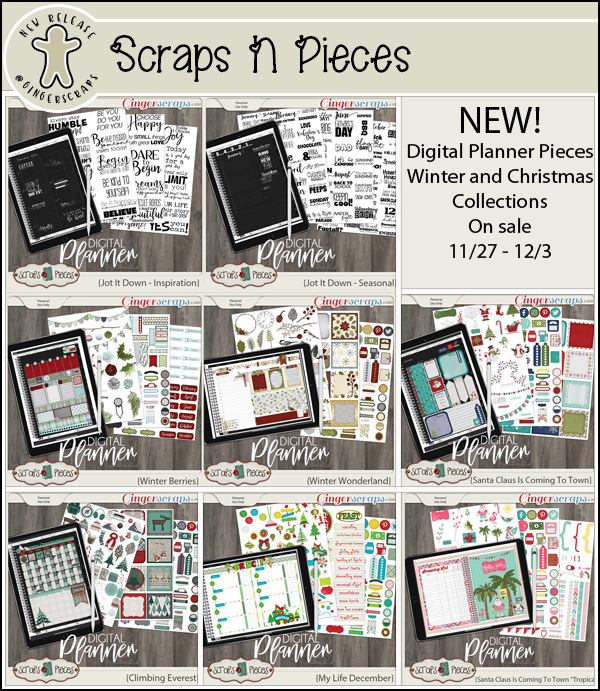
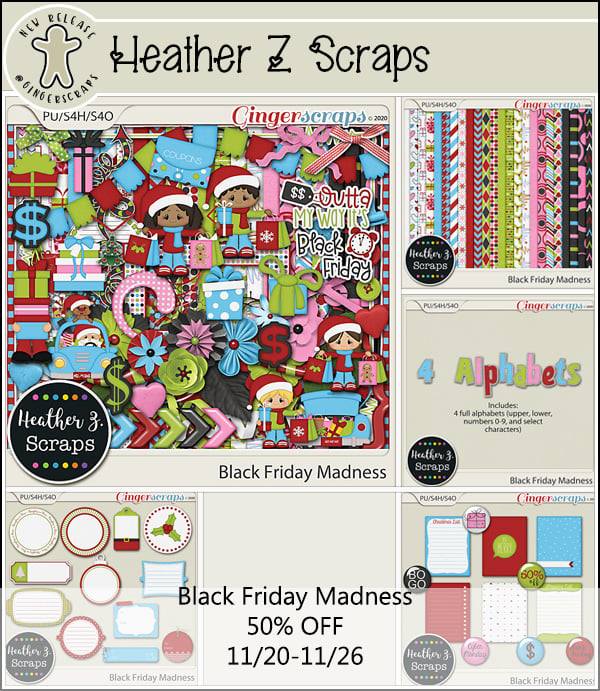
Christmas is Coming… Get Your Fancy Fonts HERE!
![]()
I’m pretty sure I’m not the only one whose having a hectic time right now. Even though Christmas will be a little different this year, it’s still coming and there are still lots of jobs to take care of. I haven’t had much free time this week to do something wildly creative to share with you, so I went for the low-hanging fruit – free Christmasy fonts! (It’s been a while since I shared some wintertime fonts with you, after all.) I have a baker’s dozen for you, and four sets of dingbats that I think you’ll love. They’re all from dafont.com and are 100% free for personal use. The bold blue test links you right to the download area, so have fun! (I won’t tell you how many I downloaded while I was doing my “research”.)
We’ll start with this brand new font called Christmas Bell. It has a bunch of glyphs (swirlicues, doodles and tiny ornaments) that turn the letters into something really special. If you’re unsure how to find those fancy add-ons, I have a tutorial for you called Unlocking the Secret Extras in Your Font Files and one for Mac users here.

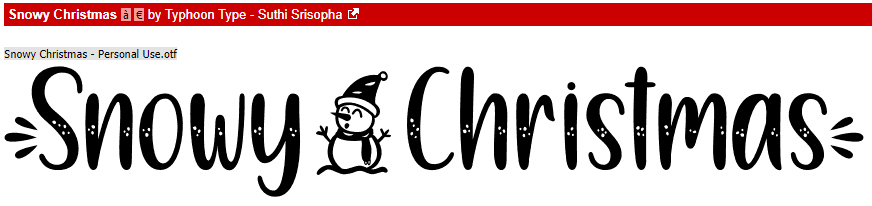
Next up is Snowy Christmas. It’s a cute one, with lots of potential. It too has some little add-ons like that adorable snowman.
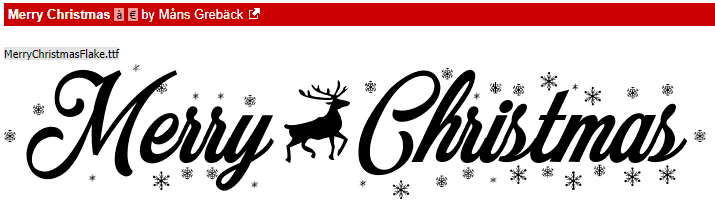
The third one has the very imaginative title of Merry Christmas. But those snowflakes! And the reindeer!!
Holly and Berries looks similar to Snowy Christmas, but it’s got lots of its own charm.

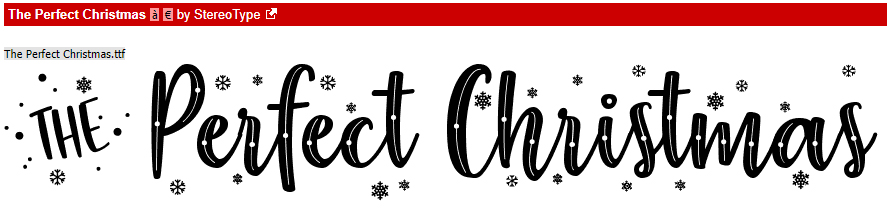
The Perfect Christmas is also similar, but is a cursive font that looks almost hand-drawn. And it has snowflakes.
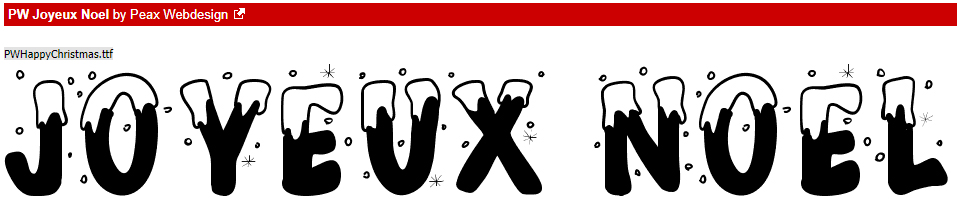
Sorry, I got sidetracked there for a second. I was watching a red-tailed hawk looking for lunch! PW Joyeux Noel is font #6 on my list today. It’s more wintery than Christmasy, but it’s fun. (Joyeux Noël is Merry Christmas in French.)
This one has a delicious distressed, grunge look. Miraculous Christmas would be ideal for layouts with a farmhouse or rustic theme.

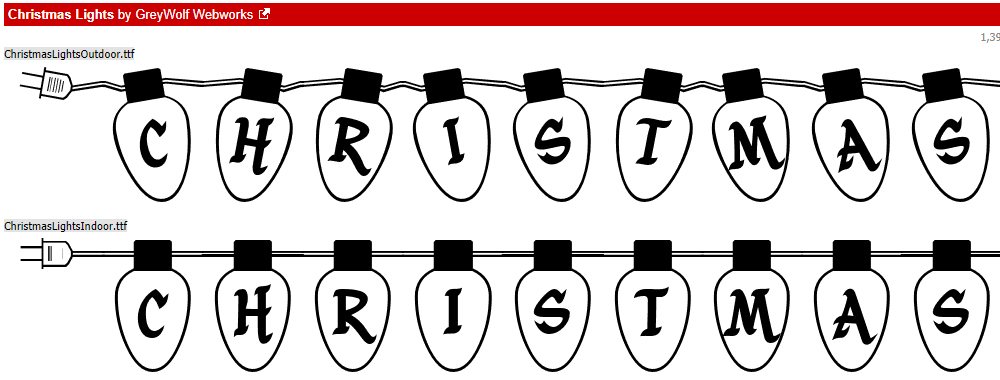
Christmas Lights is like a font/dingbat hybrid. It has two different looks: the “outside” version reminds me of all the times hubby and I were outside in the freezing cold, putting lights on the gutters without enough clips and freezing our fingers off. Yep, it’s good enough, now let’s get inside! Then the “inside” version looks like the lights have been carefully strung on a mantel or around a door, with plenty of attention to detail.
This one, Christmas Time, comes with two versions, one with stars and one without.

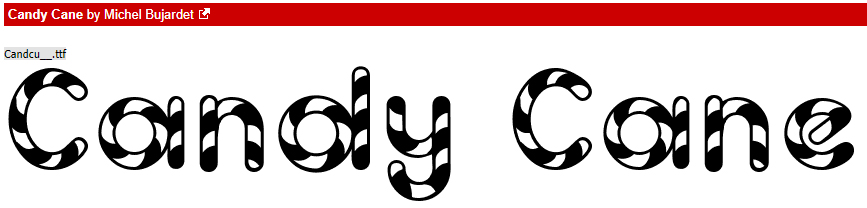
I think I might have shown you Candy Cane before. But it’s cute enough and has so many possibilities, so here it is (maybe) again.
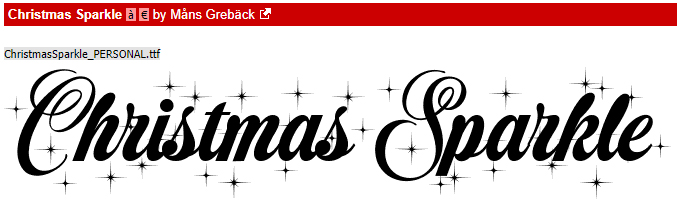
Next Tuesday, December 21, is the first time in nearly 800 years that the “Bethlehem star” (a conjunction between Jupiter and Saturn that will look like a huge star) will be visible to the whole world. (Astronomers say those living near the Equator will have the best view.) If you’d like to know more about why I’m calling it the “Bethlehem star”, drop me a comment and I’ll expound. What made me think of it is the way the stars in Christmas Sparkle look a lot like artistic portrayals of the original New Testament star.
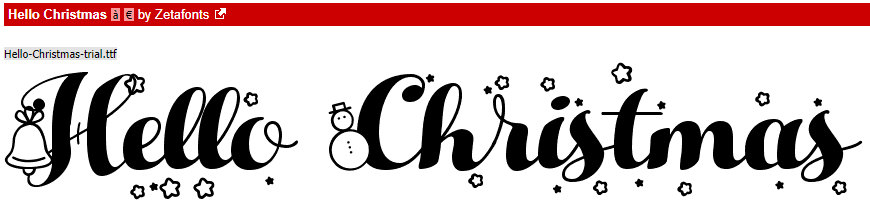
I like this next one for its title-potential. Hello Christmas has a calligraphic style with a scatter of glitz.
What can I say about Christmas/Flakes? It’s a very formal, very upright, very elegant all-caps font with snowflakes!

Now on to the dingbats. There are so many things that can be done with these!! You could create a customized coloring book for a special little person, create a brush you can use over and over, turn them into Christmas cards or gift tags, really the only limit is your imagination.
Xmas TBF Christmas is filled with festive images. That reindeer cracks me up!

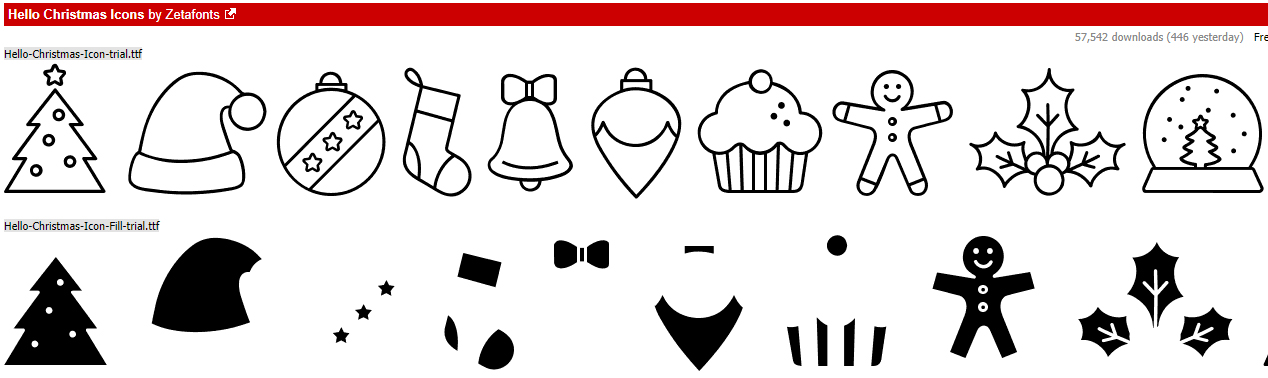
I think this one is really creative. The outlines can be done in one color, the fillers in another. Hello Christmas Icons is simple but interesting.
I think Merry Christmas Go would be perfect for the littlest kiddos as coloring pages. The outlines are thick and dark, the shapes aren’t overly fussy and they could be used to teach new words to little readers.

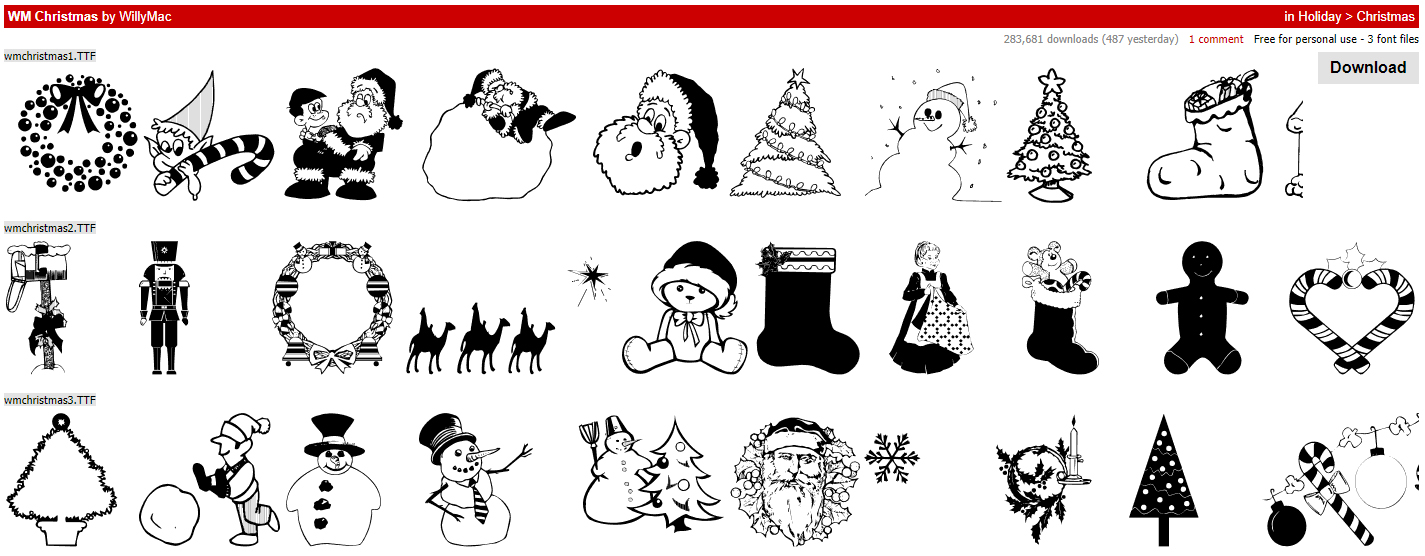
I saved the BEST dingbat set for last. It’s crammed with images both spiritual and fun. There are 3 dingbat sets in one collection called WM Christmas. Pro tip: This one takes a lot of time to queue up to install, so make sure you verify a successful install before you want to use it.
Hopefully next week I’ll have something new and creative for you, but I’m not making any promises. I’m going to make a drive-by visit at my parents’ house on Sunday, just to see them with my own eyes. It’s a 2 1/2 hour drive each way, but the weather should be good. Maybe inspiration will strike while I’m driving… To my Jewish friends out there, may the last days of Hanukkah be blessed.
![]()


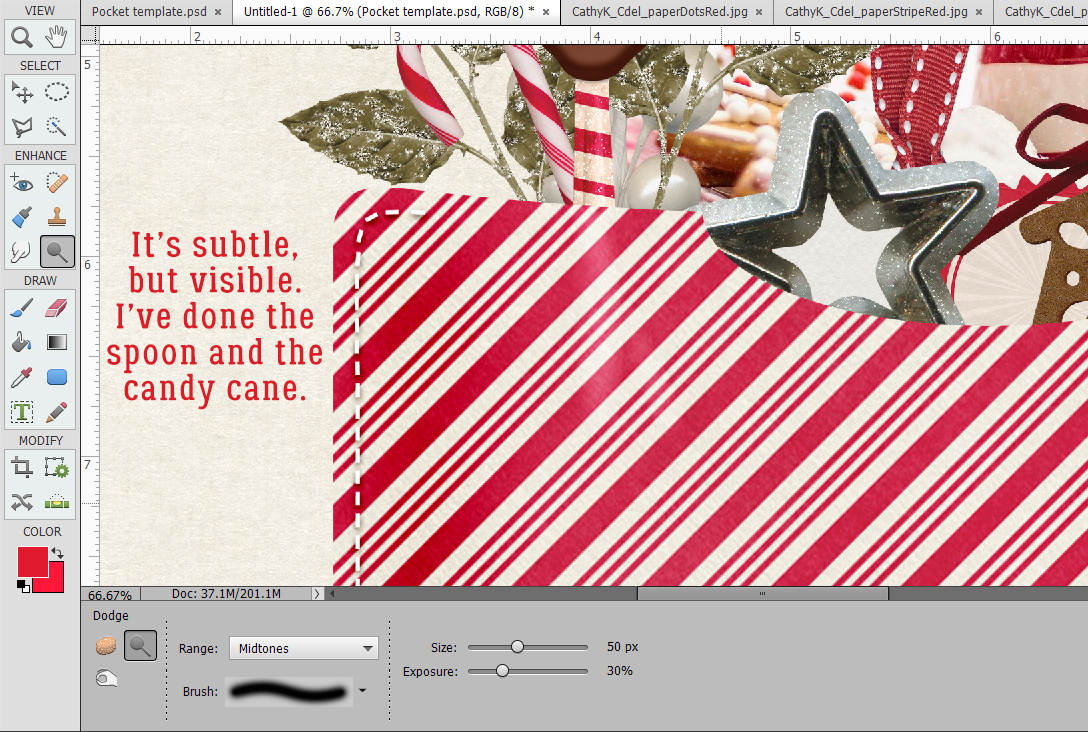
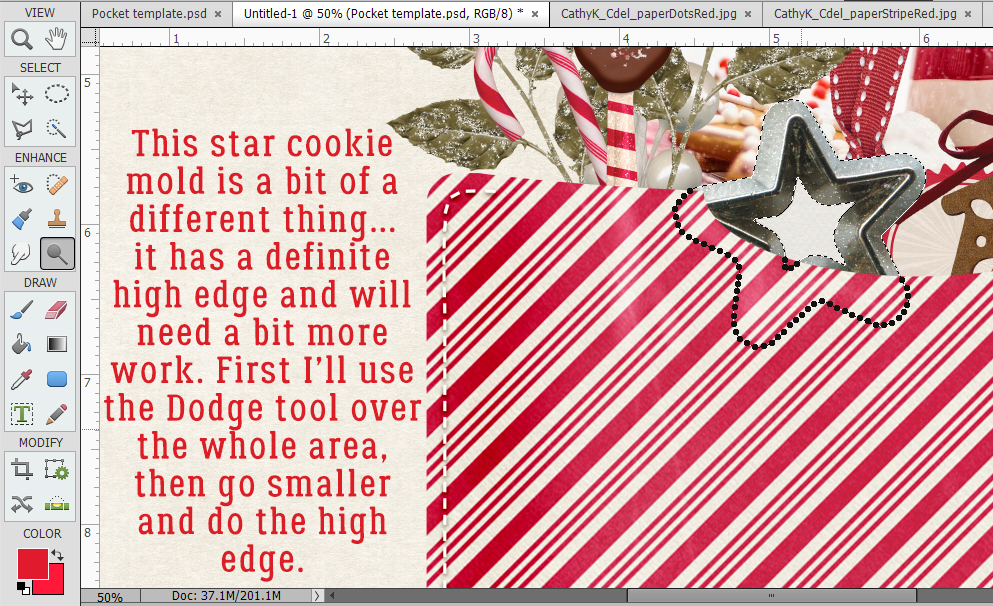
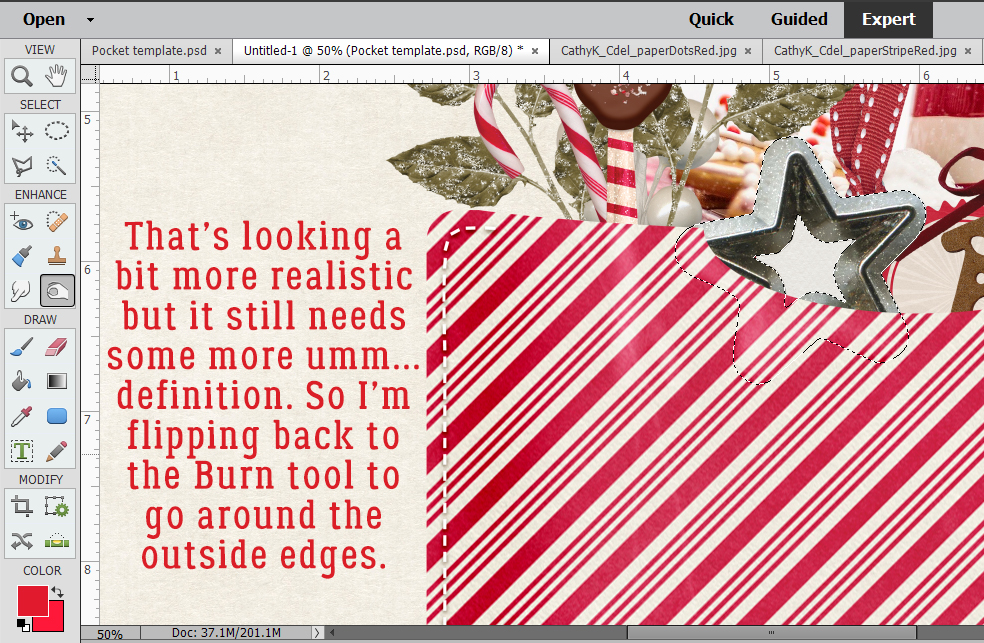
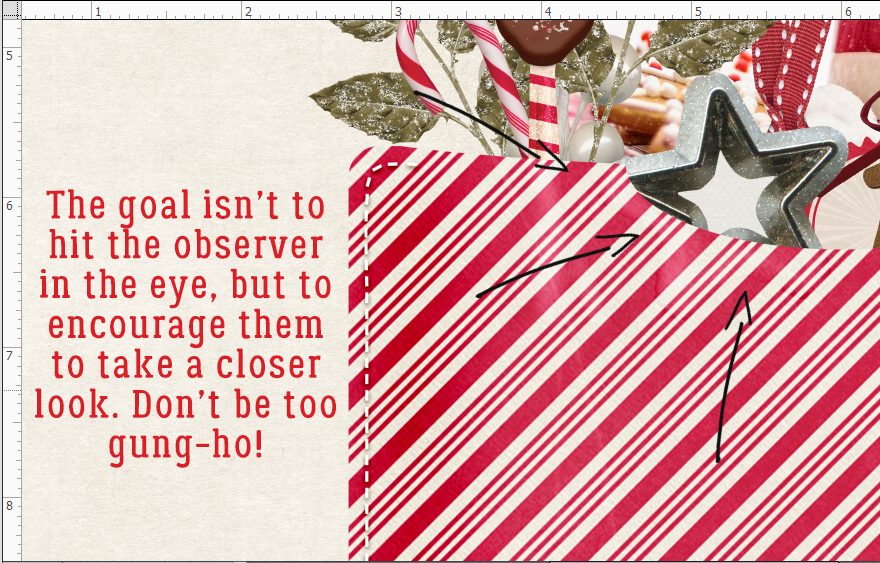

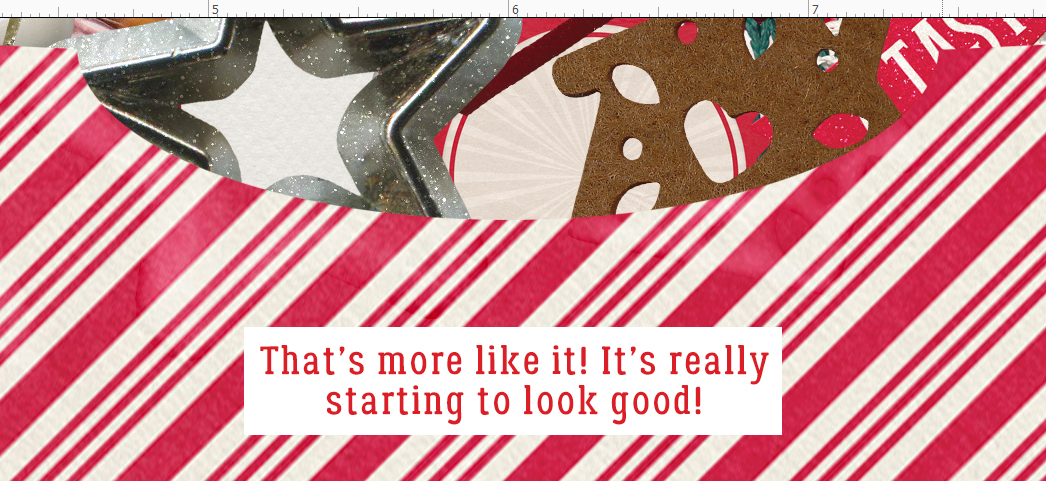
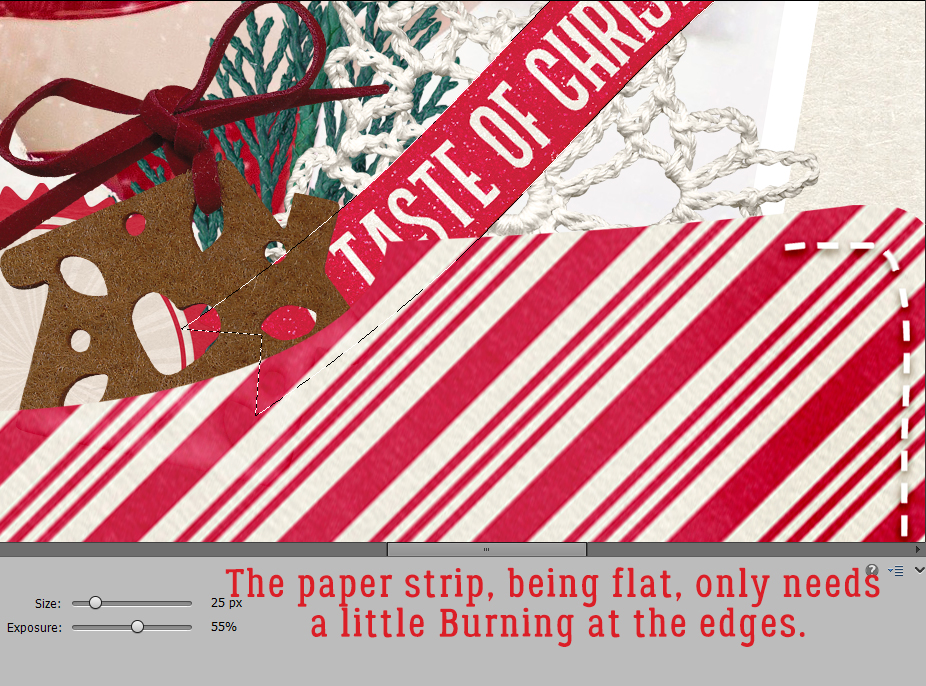
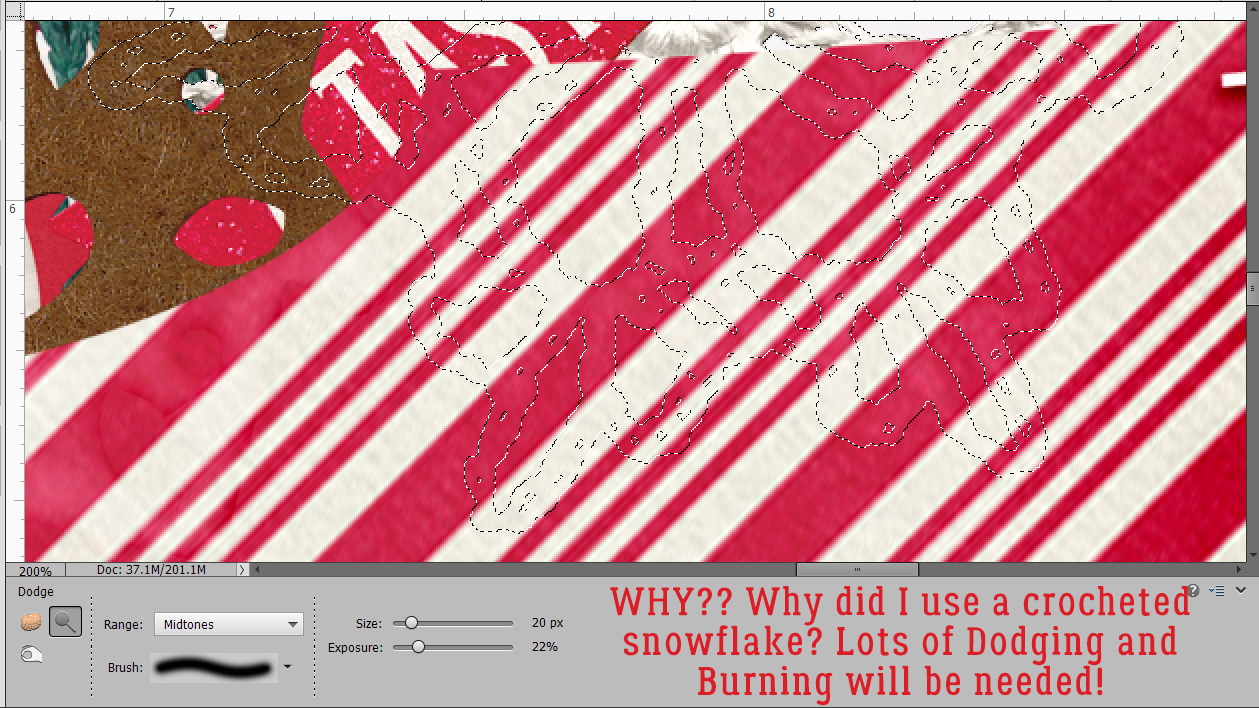
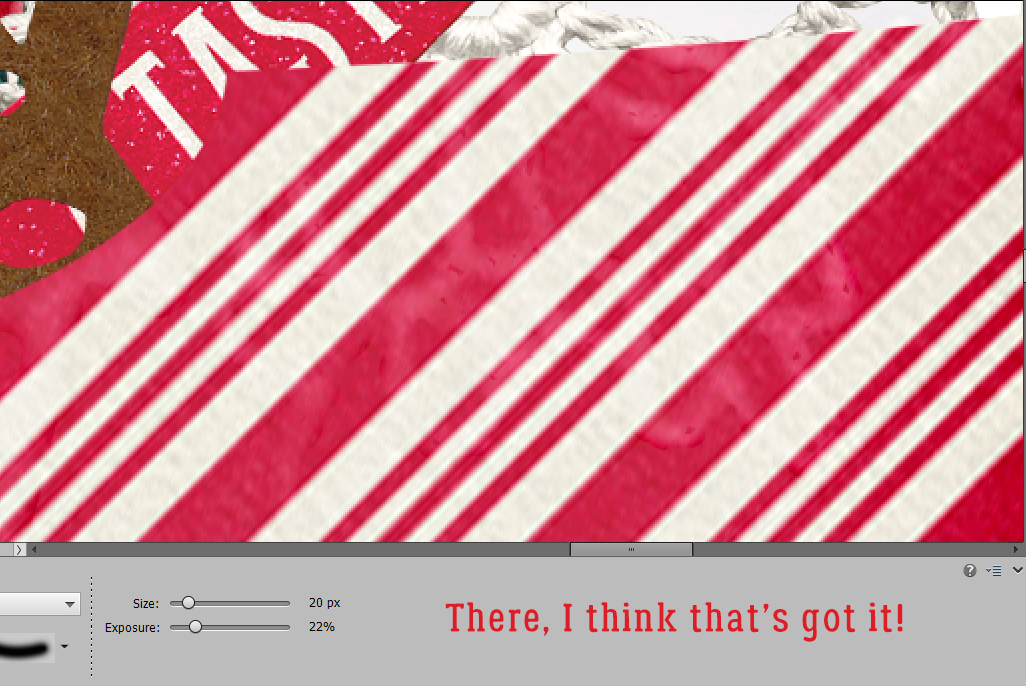
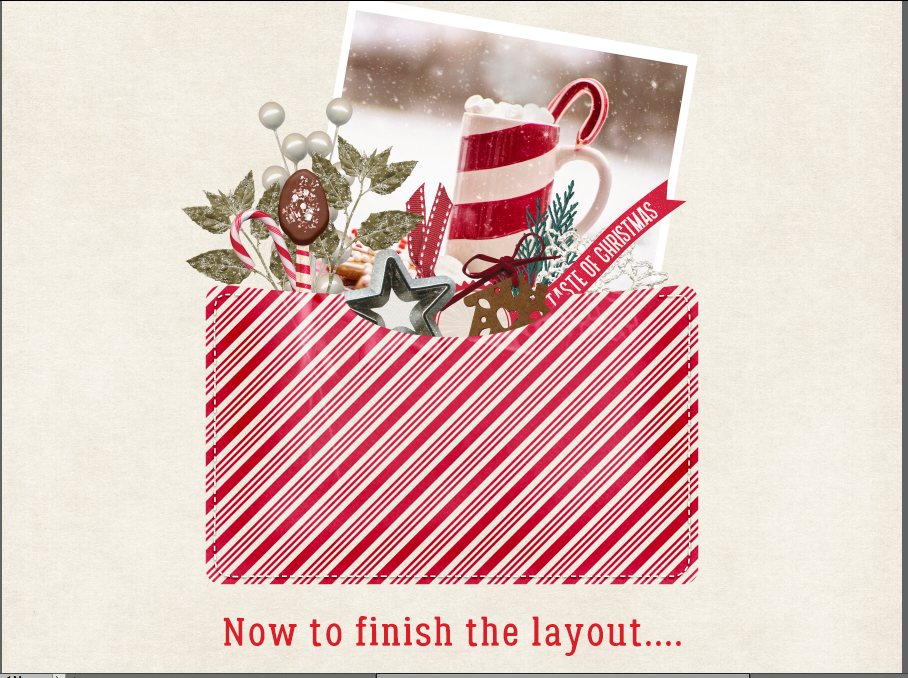
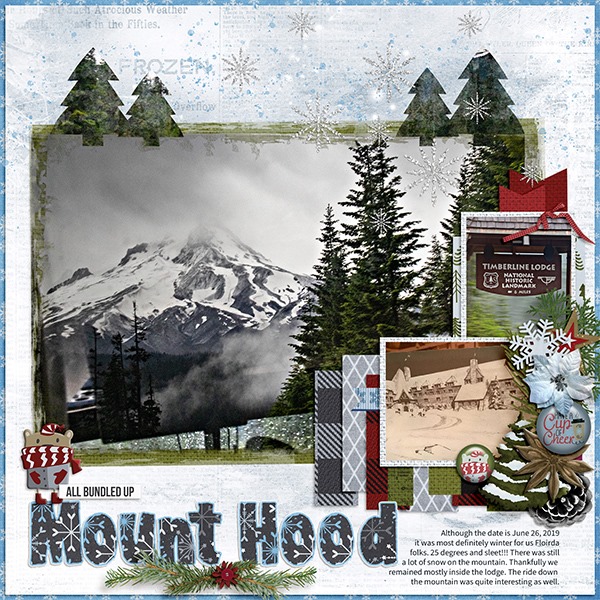
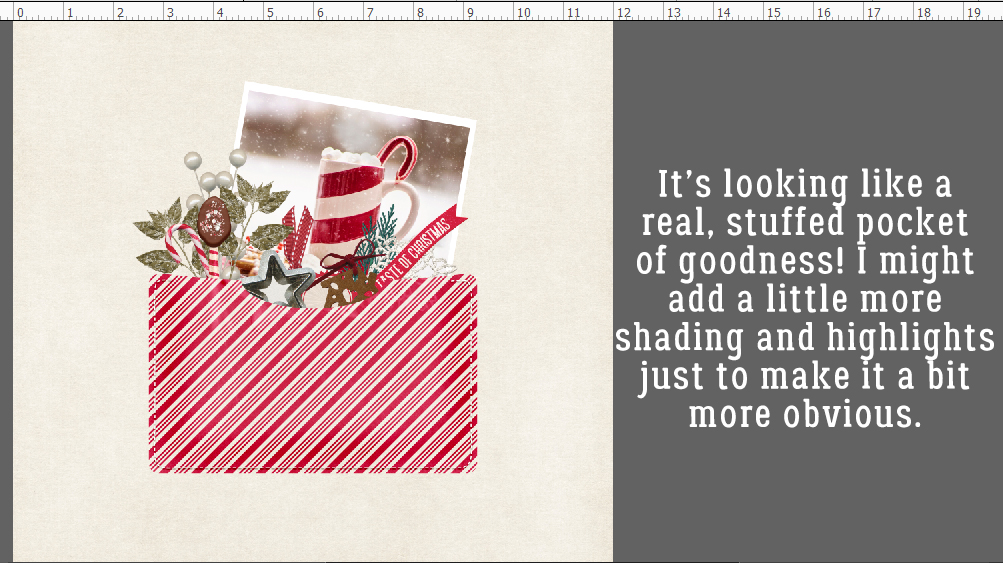 I’m really pleased with how it looks. So now to finish the