Goodness! Where did April go? We are already 1/3 of the way through 2022. I hope you have had a great week!
Have you gotten the Free With Purchase kit for April Spend $10 in the store and get this great kit for free.

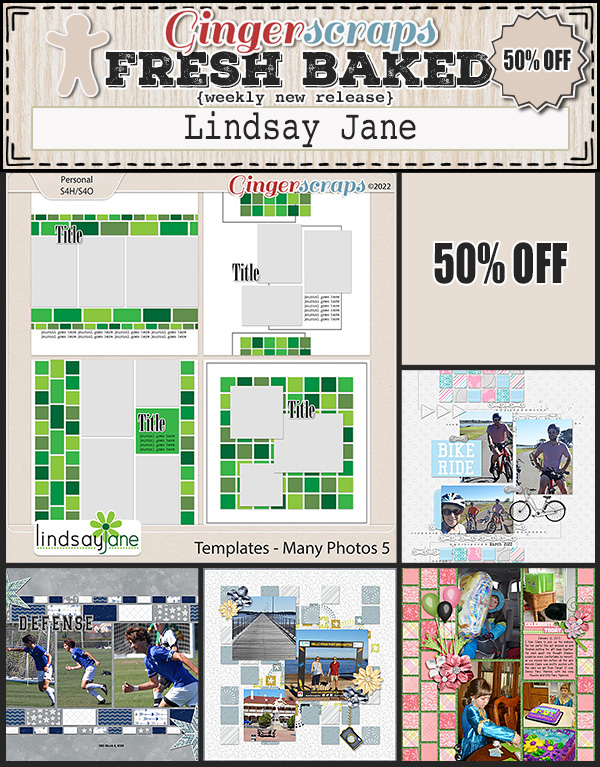
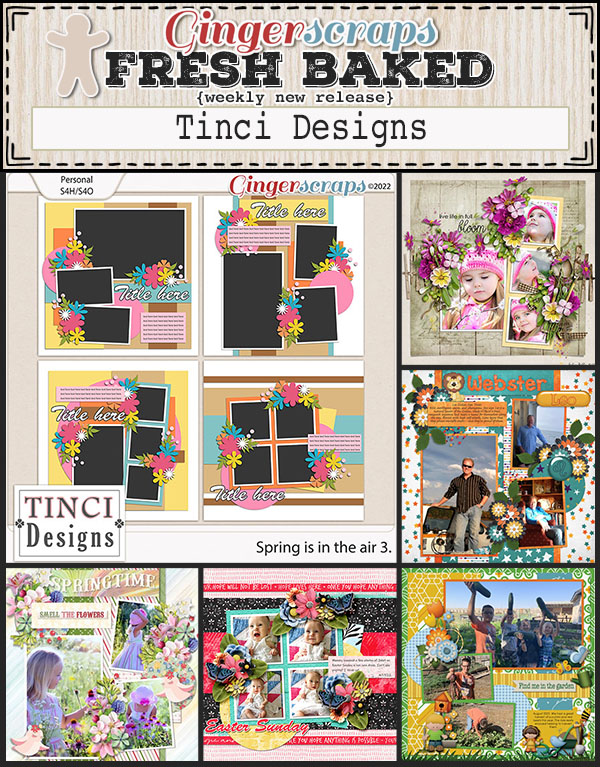
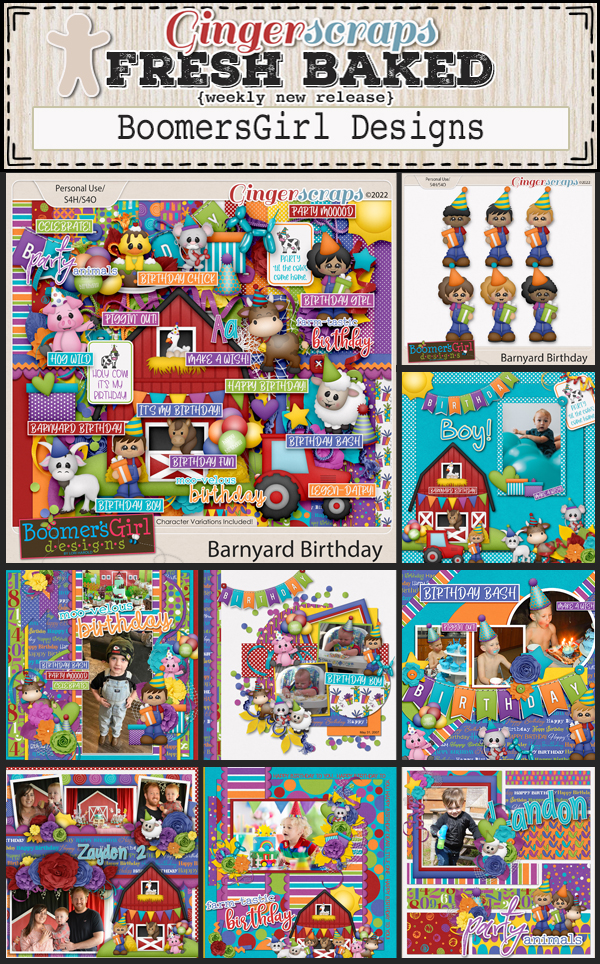
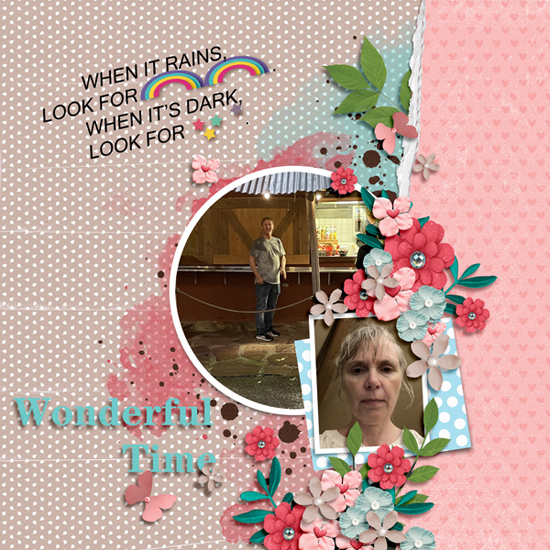
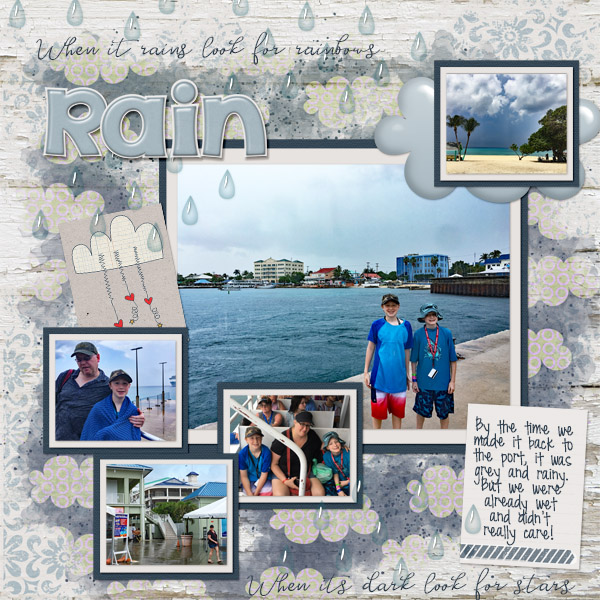
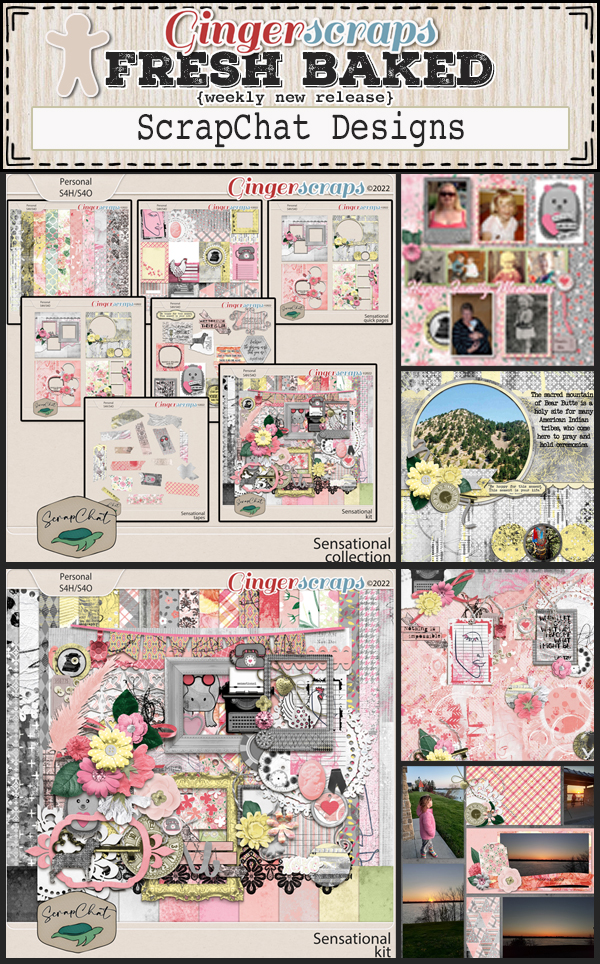
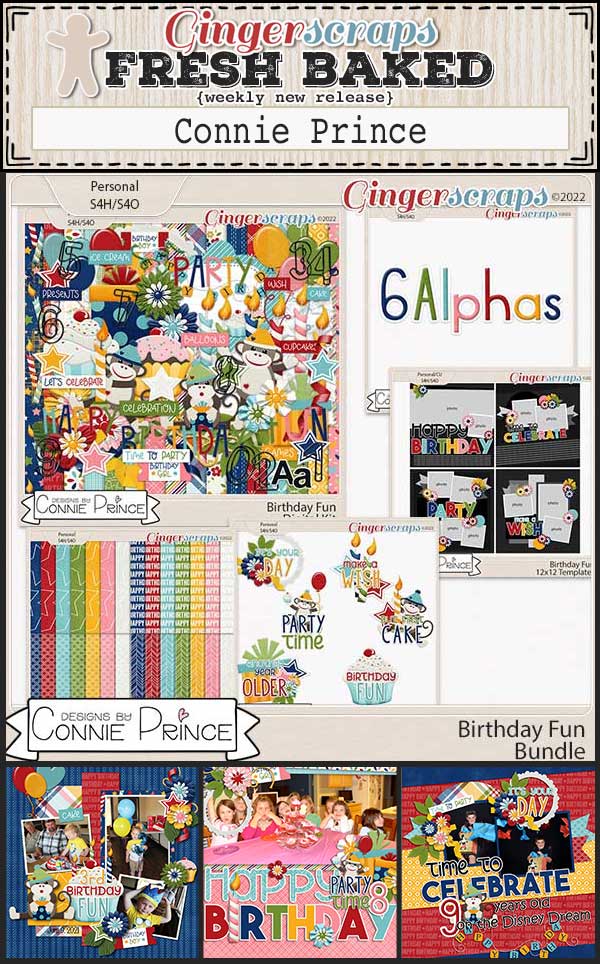
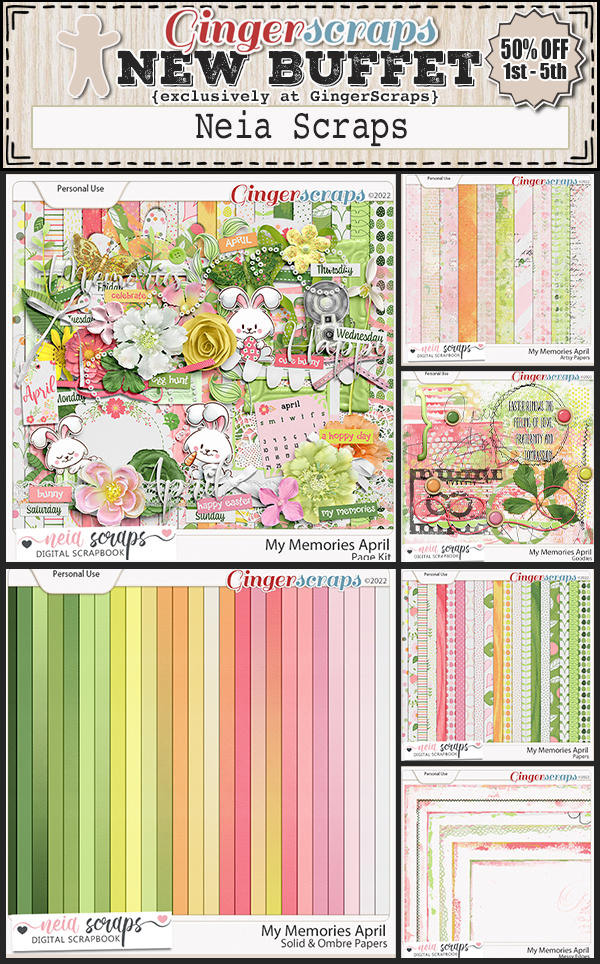
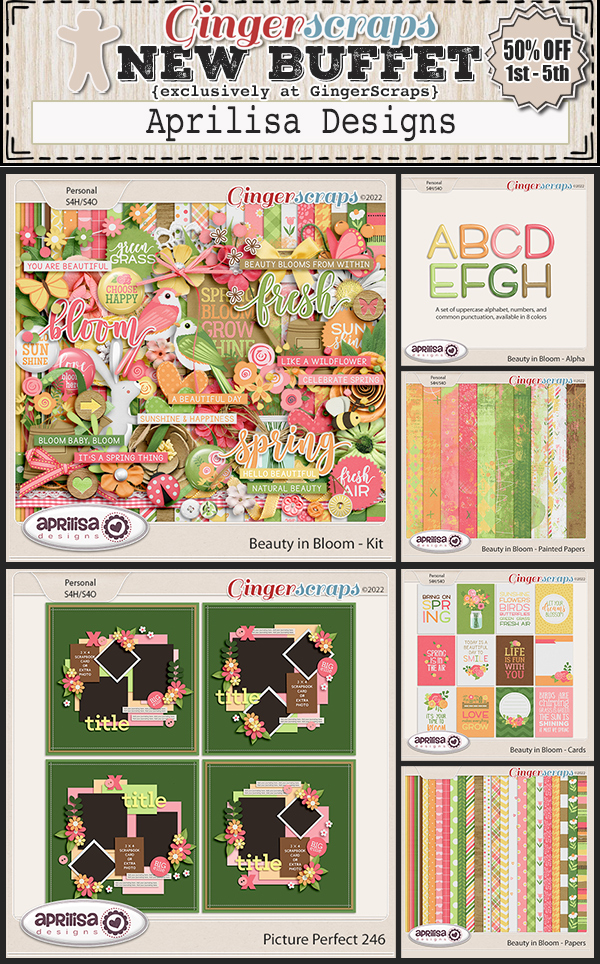
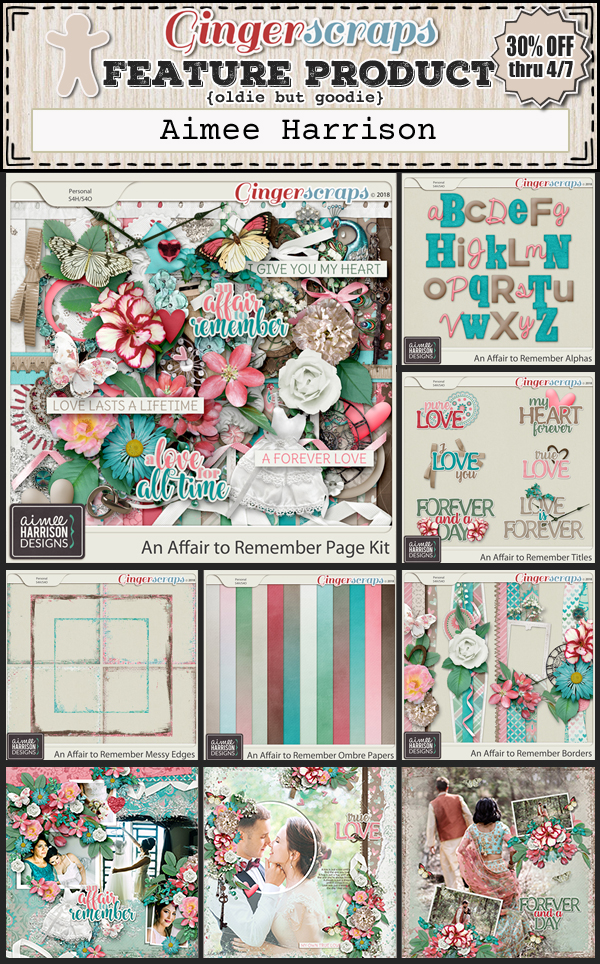
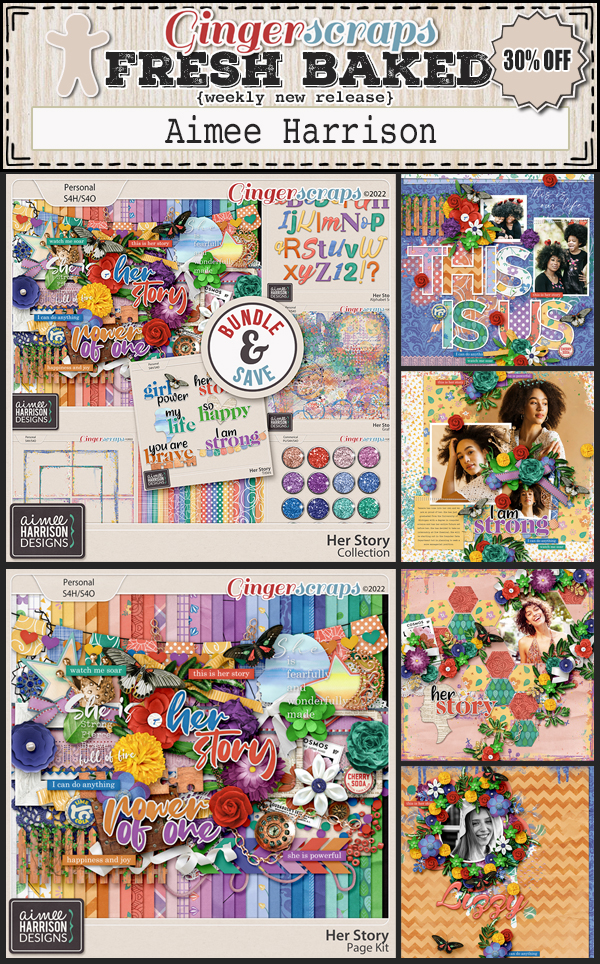
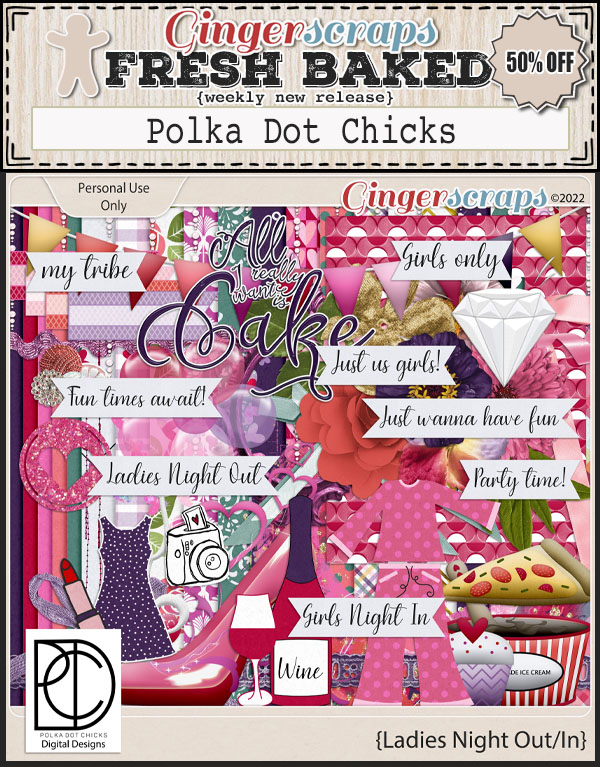
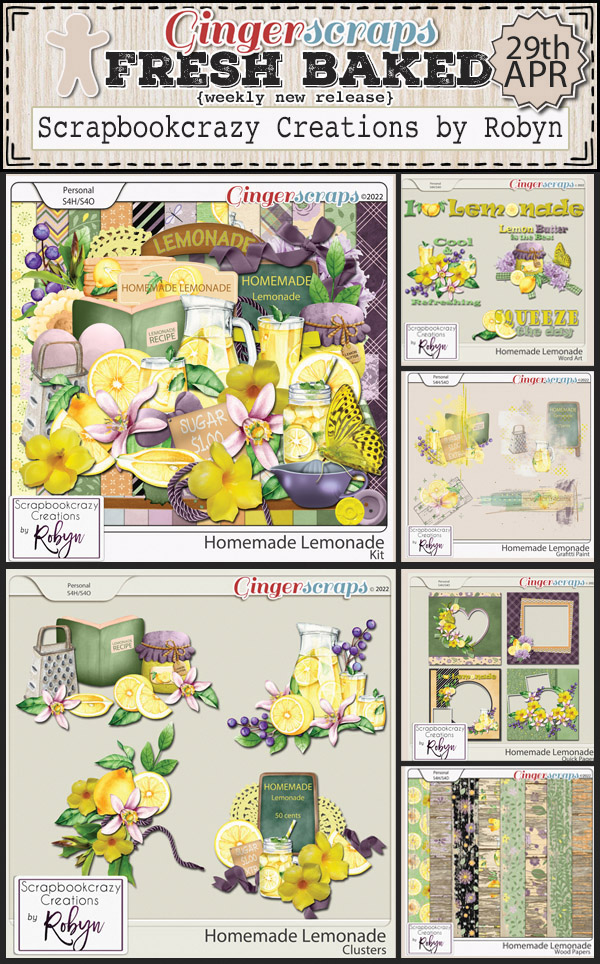
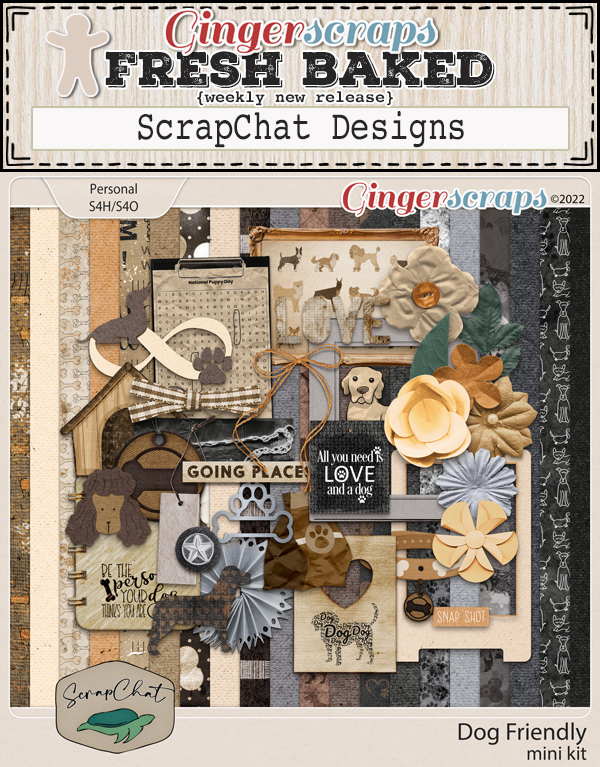
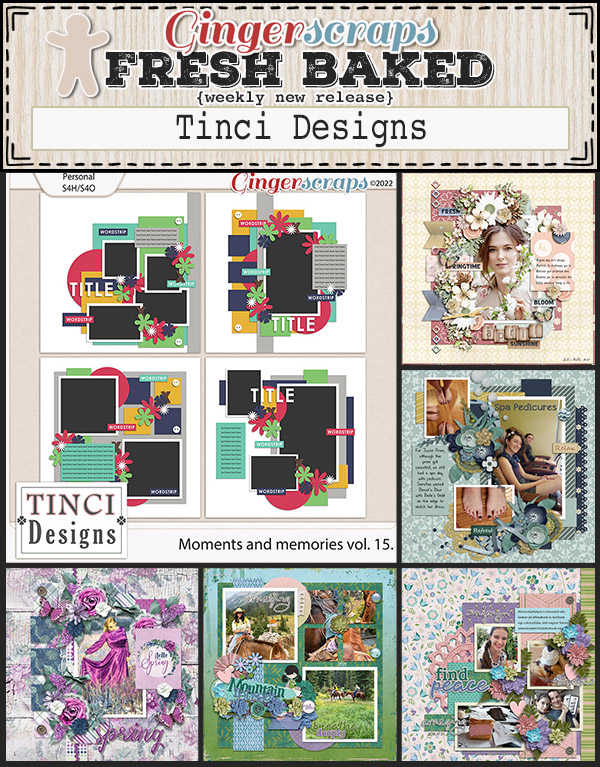
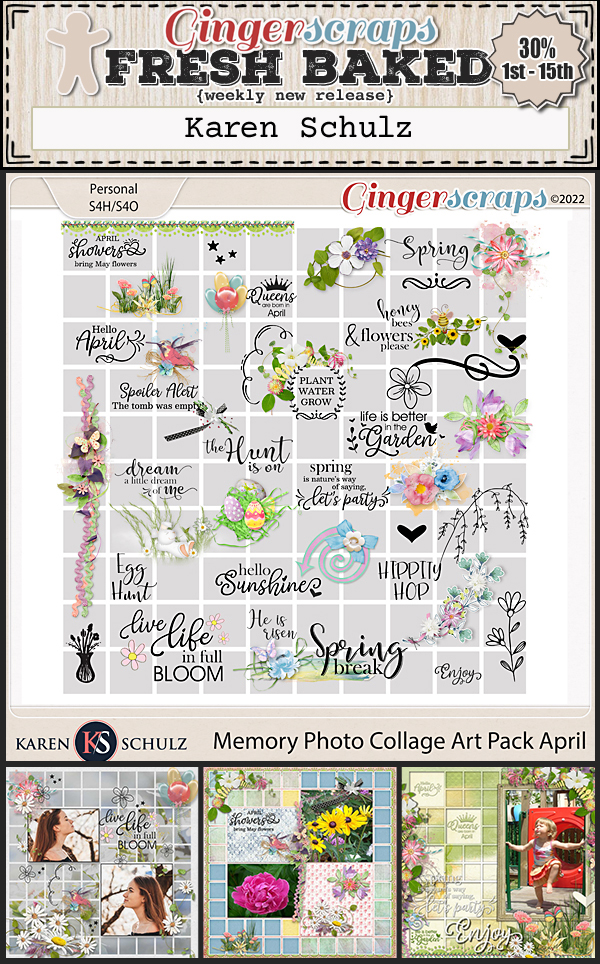
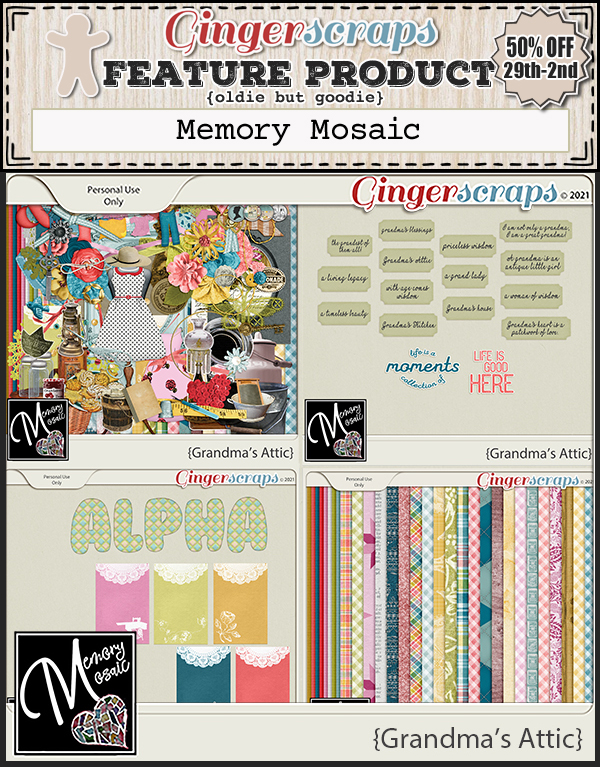
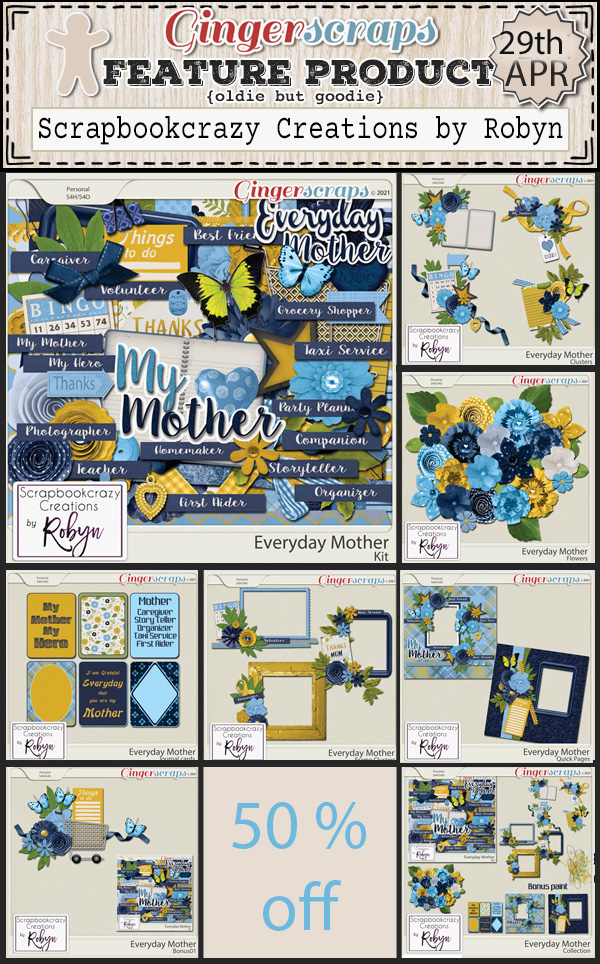
Look at these beauties from our designers:


Have you grabbed the April Monthly Mix?

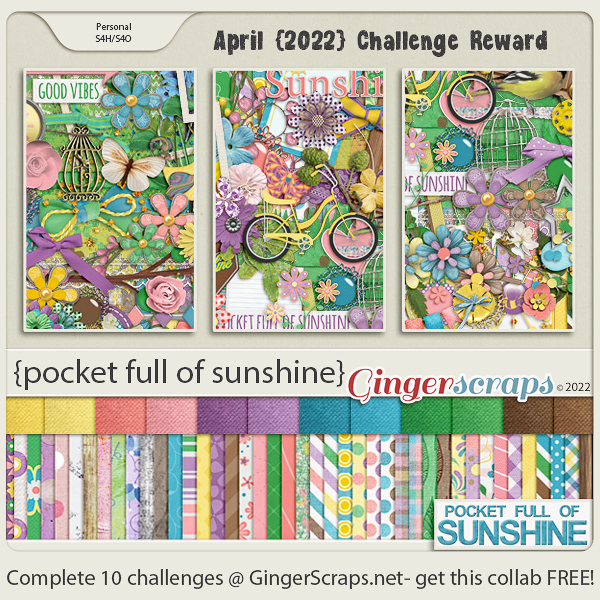
How are your challenges going? Just complete 10 challenges and get this full kit as a reward.