Quick Trick: Auto Colour Correction
![]()
PDF Version : http://bit.ly/3GTAA3e
With Thanksgiving looming over all our American members, it’s pretty convenient that today’s regularly-scheduled tutorial is a Quick Trick.
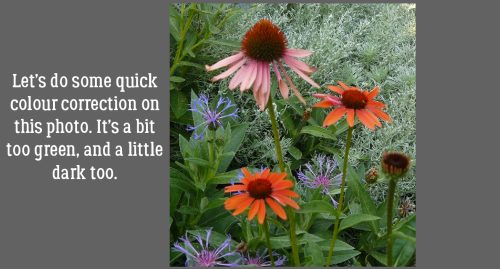
Today’s Quick Trick is another CS/CC-to-PSE workaround. Colour correction can be a bit of a time suck in Elements. But this little trick is brilliant! It uses an Adjustment Layer to accomplish in a couple of steps what can take MANY steps in any other method. The colours in this photo were so much more vivid in real life and just didn’t make it into the camera. So let’s give it a whirl.
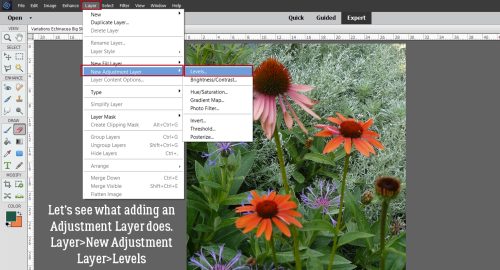
Click Layer>New Adjustment Layer>Levels. All changes to the photo will happen on the new layer, so if you don’t like the change you can save the original as is.
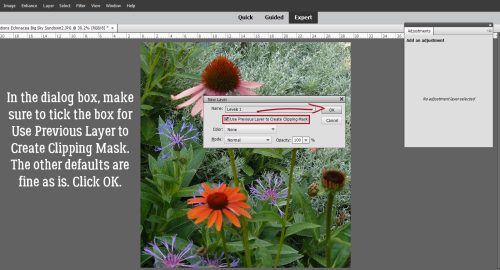
I like to Clip the mask to the previous layer. It isn’t essential, but it does ensure that the two layers move as one. Click OK. The dialog box in the upper corner will come into play in the next step.
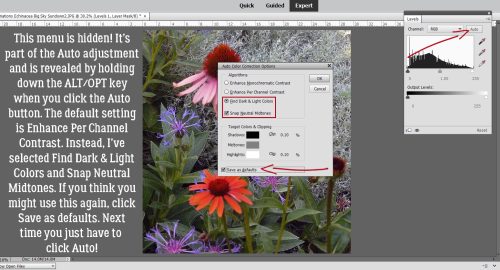
To access this hidden menu, hold down the ALT/OPT key then click the Auto button. As the screenshot says, the default setting is Enhance Per Channel Contrast. For this tutorial we’ll select Find Dark & Light Colors and Snap Neutral Midtones. You’ll see what’s happening to the image in real time behind the dialog box. If you think you might use this trick again, it can be set as a default so that when you click Auto in the Adjustment Layer menu, Elements will automatically do all these steps.
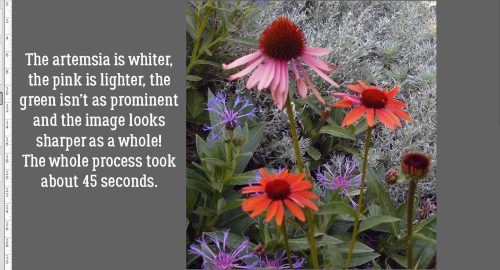
Here’s the result. It’s subtle, but definitely better. The artemesia in the background is whiter, the pink coneflower is pinker, the centaurea montana is bluer, there’s more definition in the leaves and the green cast is gone! No tinkering, just boom!
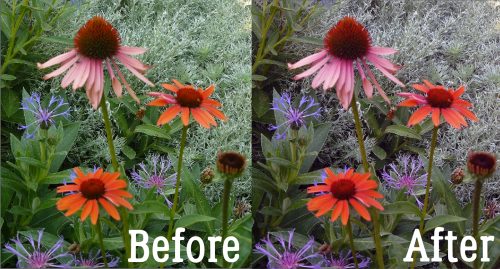
Since I’ve gotten some feedback about a side-by-side look, here it is!
That’s it. That’s all! Happy Thanksgiving to those celebrating this week. And remember, football is just a game…
PDF Version : http://bit.ly/3GTAA3e
![]()