Part Two: Miss Fish

Did you miss me? 😀 As promised, here is a recap of my conversation with Juli, aka Miss Fish. She’s been a Spotlighter before so again, there won’t be a lot of strictly business chatter. You’ll notice that some of the topics are similar to those I reported on yesterday, and that’s what makes this fun!
O: Nice to see you again, Juli! It’s been a while since you’ve had the Spotlight, so let’s catch up. What’s the best part of belonging to the GingerScraps community?
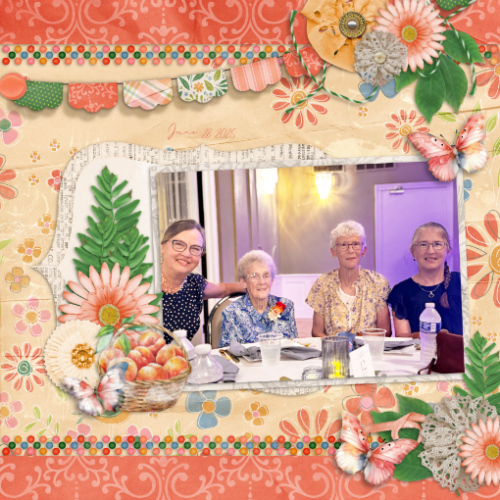
J: I love how many long‑time scrappers we have. It’s such a joy to see babies grow up, head to college, and even start their own families.
O: It’s wild, isn’t it? I’ve *only* been with GingerScraps since spring 2013, but even in that time, I’ve gotten to know so many people through their layouts. I was a Sugar Cookie for a couple of years. then I started writing tutorials for the Blog at the end of August, 2016, so I feel like I really *know* so many of our community members. The good old days when we had a chatroom are deeply missed! But I digress. Tell me about a day in the life of Juli Fish.
J: I get up early (5–5:30 a.m.) to design a full‑page template, or at least get the bones in place. After work, I finish that page and often create another while listening to TV. On weekends, I design in the mornings so my husband and I can enjoy the day together. Packaging, loading, and promoting happen in the evenings early in the week — after years of doing this, it’s become a well‑oiled routine.
O: It sounds like you’ve got a great rhythm in place. Sometimes I feel like I’m shoe-horning things in where I can, even now that I’m retired. What do you find to be the most challenging part of being a digital designer?
J: Balancing my role as a health care executive with designing. Time and fresh ideas can be a challenge, but I’ve built a system that lets me design anywhere — even from hotel rooms and airports.
O: I didn’t realize you were in health care! I think I’ve mentioned that I was a pediatric ICU nurse for 24 years. So I get the juggling act part. Good thing there are so many differences in the pressure level! What do you do when you just don’t have any oomph for designing, but really have to get it done?
J: I love browsing paper scrapbook layouts and mixed‑media journal pages for fresh ideas.
O: That sometimes works for me too, although we’re coming at things from different angles. I know when I’m browsing the Gallery for the Challenge Spotlights, I often find my imagination picking up speed. I approach my greeting card creation the same way. I’ll buy a new set of dies or a new embossing folder, then I do a test run to see how they behave. Before I know it I have a card taking shape in my mind. Do you have a preferred colour palette?
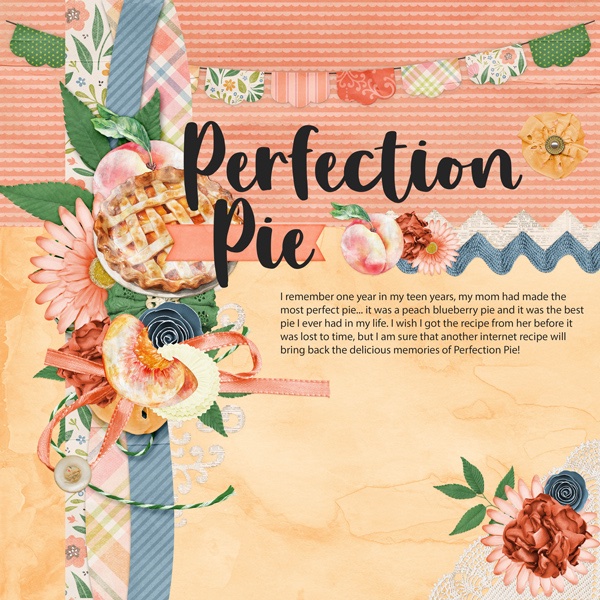
J: Kraft paper paired with navy, red, green, and yellow — warm, versatile, and timeless.
O: Kraft is a perfect neutral, isn’t it? I bought a whole pack of Kraft cardstock and some envelopes that I just might turn into Christmas cards. I might want to get cracking on that… my craft space is my happy place. I go in there, close the door, turn on some music, and get into the Zone. How do you unwind after a crazy day?
J: I love to come home and soak in the tub, followed by a 20‑minute power nap. Then it’s dinner (definitely not cooked by me) and a nice glass of Riesling.
O: Not a napper. Never a napper. But Riesling!! Yummmmm. I live in wine country; our northern climate is better suited to white varietals so there are some fabulous local Rieslings. I think my favourite is the 2022 Summerhill Vispering Vines. Next time I’ll have a bottle chilling! Wine leads to food. If you could only eat one food for the rest of your life, what would you choose?
J: A loaded baked potato with extra bacon. Mmm!
O: Ooh, I love baked potatoes too. Not sure I’d live on them, but you never know. While we’re talking about fantasies, let’s talk teleportation. Where would you go if you could blink and be there?
J: I’d head straight to the Big Island of Hawaii to see the active lava flows from Kilauea — nature’s raw beauty in motion.
O: That would be an interesting experience. I’m a little too familiar with nature’s raw beauty in motion with all the wildfires… can’t see across the valley today for smoke. I wish I had the power to command the elements so I could bring a solid week of rain to our area. They could call me the Decimator of Drought. What would your superhero name be?
J: My co‑workers call me Juli Does‑It‑All Fish because I’m always juggling ten things at once.
O: Ah, another multitasker! (I think all women are that, though. Amirite?) We all have many skills and talents. What’s one skill you wish you had?
J: Adobe Illustrator. I’m comfortable in Photoshop, but Illustrator would open up endless creative possibilities — I could design all kinds of kits.
O: I feel like AI is going to be the Next Big Thing and all of us will be made redundant. 🙁 Maybe we’d need new hobbies. Is there something you’d like to pick up?
J: Crocheting. I’ve tried knitting but I’m terrible at it. I’d love to make little crocheted animals — plus, people who crochet always look so zen.
O: I can do both. Amigurumi though… that wouldn’t be a good choice for me. My eyes aren’t what they used to be. Those big cuddly blankets would be more my speed these days. Hmm. I have some super bulky yarn somewhere and I’d like to learn the herringbone stitch. Project for the winter! I used to take a totebag with yarn and knitting needles in it to work when I was on nights so I could keep myself awake. I also had a screwdriver, a flashlight, a multitool and a few other assorted necessities. What’s the most unusual thing you carry in your bag?
J: A handheld, battery‑powered fan — perfect for those “personal summer” moments when the whole world suddenly feels 100 degrees.
O: I’m so glad I’m past that part of life! I worked with a woman who carried icepacks in her tote for those times. It was the inside joke of the unit. I gave her a pretty silk fan for times when she needed to be a bit more discreet. 😉 OMG, is that the time? My son will be home any minute! Before I switch hats though, thank you for the visit. I’ll get the readers up to speed on the rest of the Spotlight goodies so you can get back to your world. Take care!
So, as I mentioned, Juli and Jill have collaborated for the Daily Download this month. Make sure you grab all the pieces! Also, don’t miss Juli‘s Designer Spotlight Challenge, and be sure to check out her regular monthly Everyday Memories Challenge too. Lastly, although her Store is on sale this month (40% off, and even more on bundles!), she has a coupon code too! If you spend $20 or more you’ll get another 10% off with this: MISSFISH925ds
Before I jet, were you one of the 69 GingerScrappers who completed 20 or more Challenges during Scrap-a-Thon? You ROCK!!
![]()